We Finally Framed The Built-In Bench! | ORC, Week 04

Today marks the official half-way mark of the One Room Challenge and I’m low-key freaking out because I don’t feel like I’m even half way through my to-do list. I’m the type of person who gets fixated on something until it’s done, but I need to remind myself that these things take time. I’m thankful to have the display cabinet project done and I have already stripped the dining table down to be refinished, so although it doesn’t always feel like I’m making progress, I think that I am.
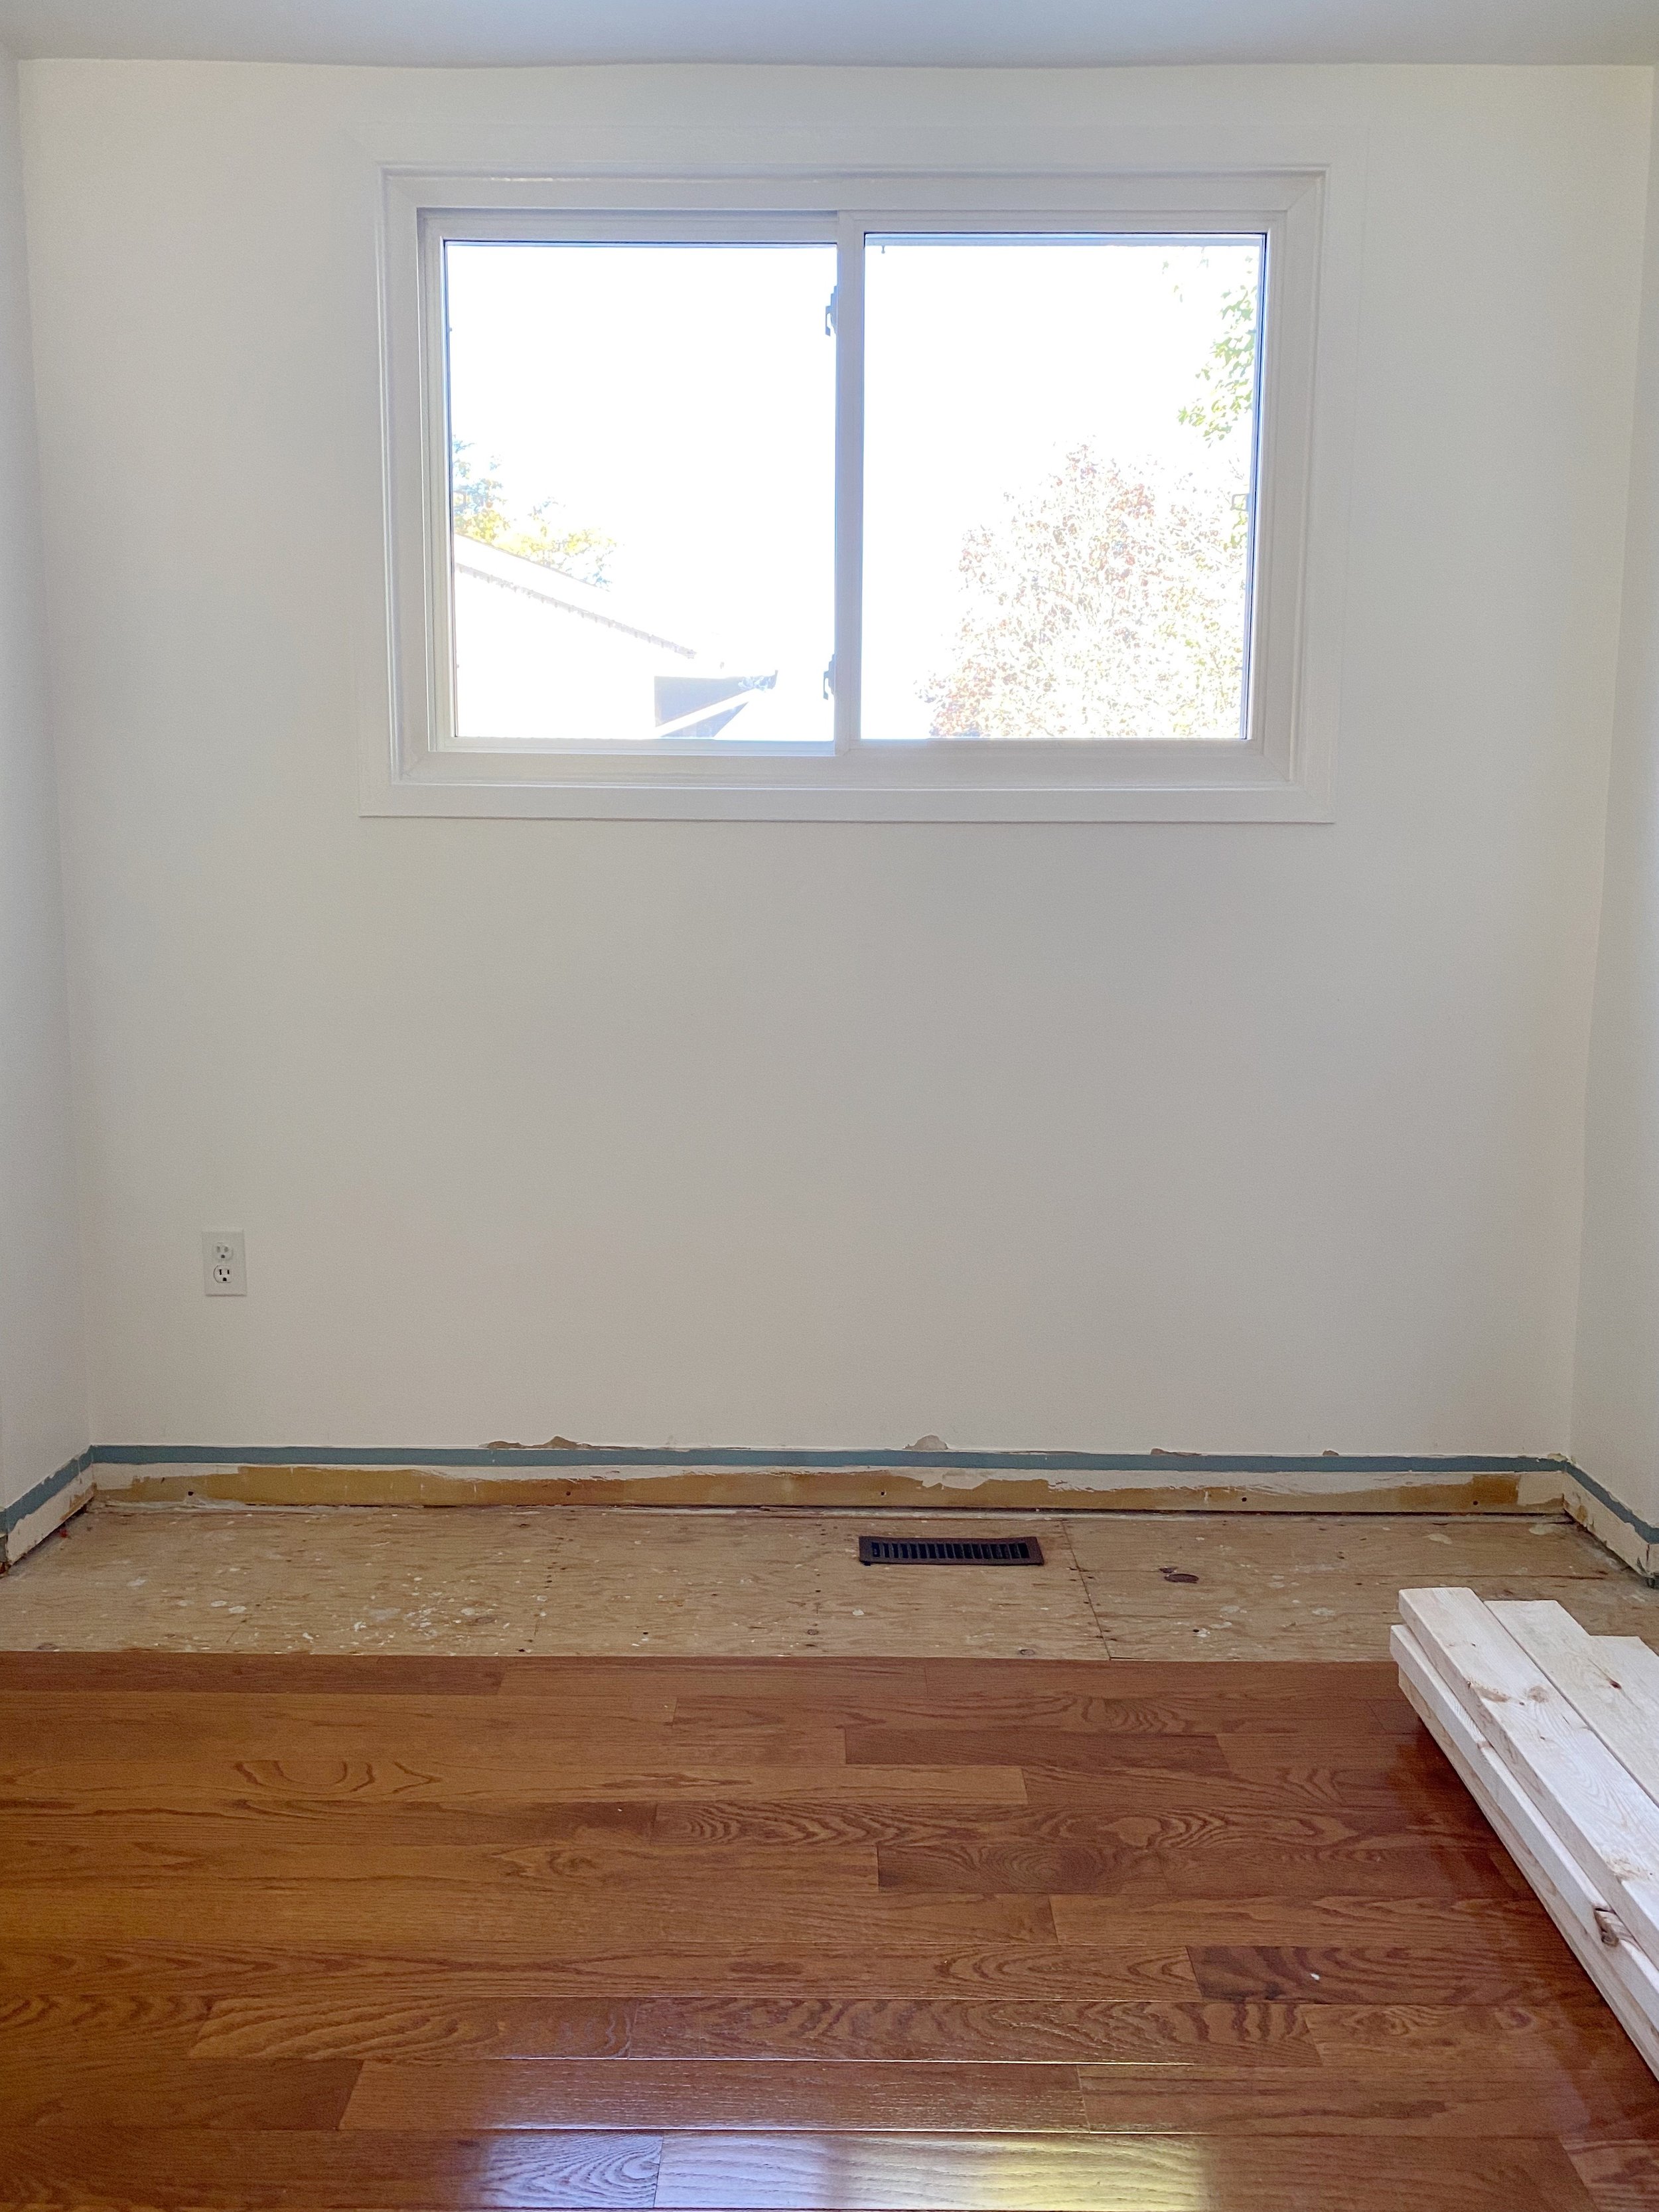
It’s been a couple of weeks since I updated you on the progress of the biggest project within this room makeover - the built-in bench. Where I left it last time, I had basically only cut out my hardwood floors where the bench would sit. Over the past week, I was able to get some concrete measurements drafted up, pick up my framing supplies, and actually construct the frame unit. It doesn’t look like much, but this frame is the foundation to the entire bench project so I’m feeling pretty good about finally having it done.

The Plan
Before I got started, I did what I always do and drew up a specific plan with my measurements and cuts so I had a clear visual about how to create the frame. I based my plan off of this tutorial from the HGTV website, but plugged in my own specific measurements and shape to fit my space. Having this plan in place allowed me to visualize the frame layout and accurately calculate the materials I would need to build it. I ended up grabbing eleven pieces of 2x4”x8’ lumber and a big box of 2 1/2” construction screws.
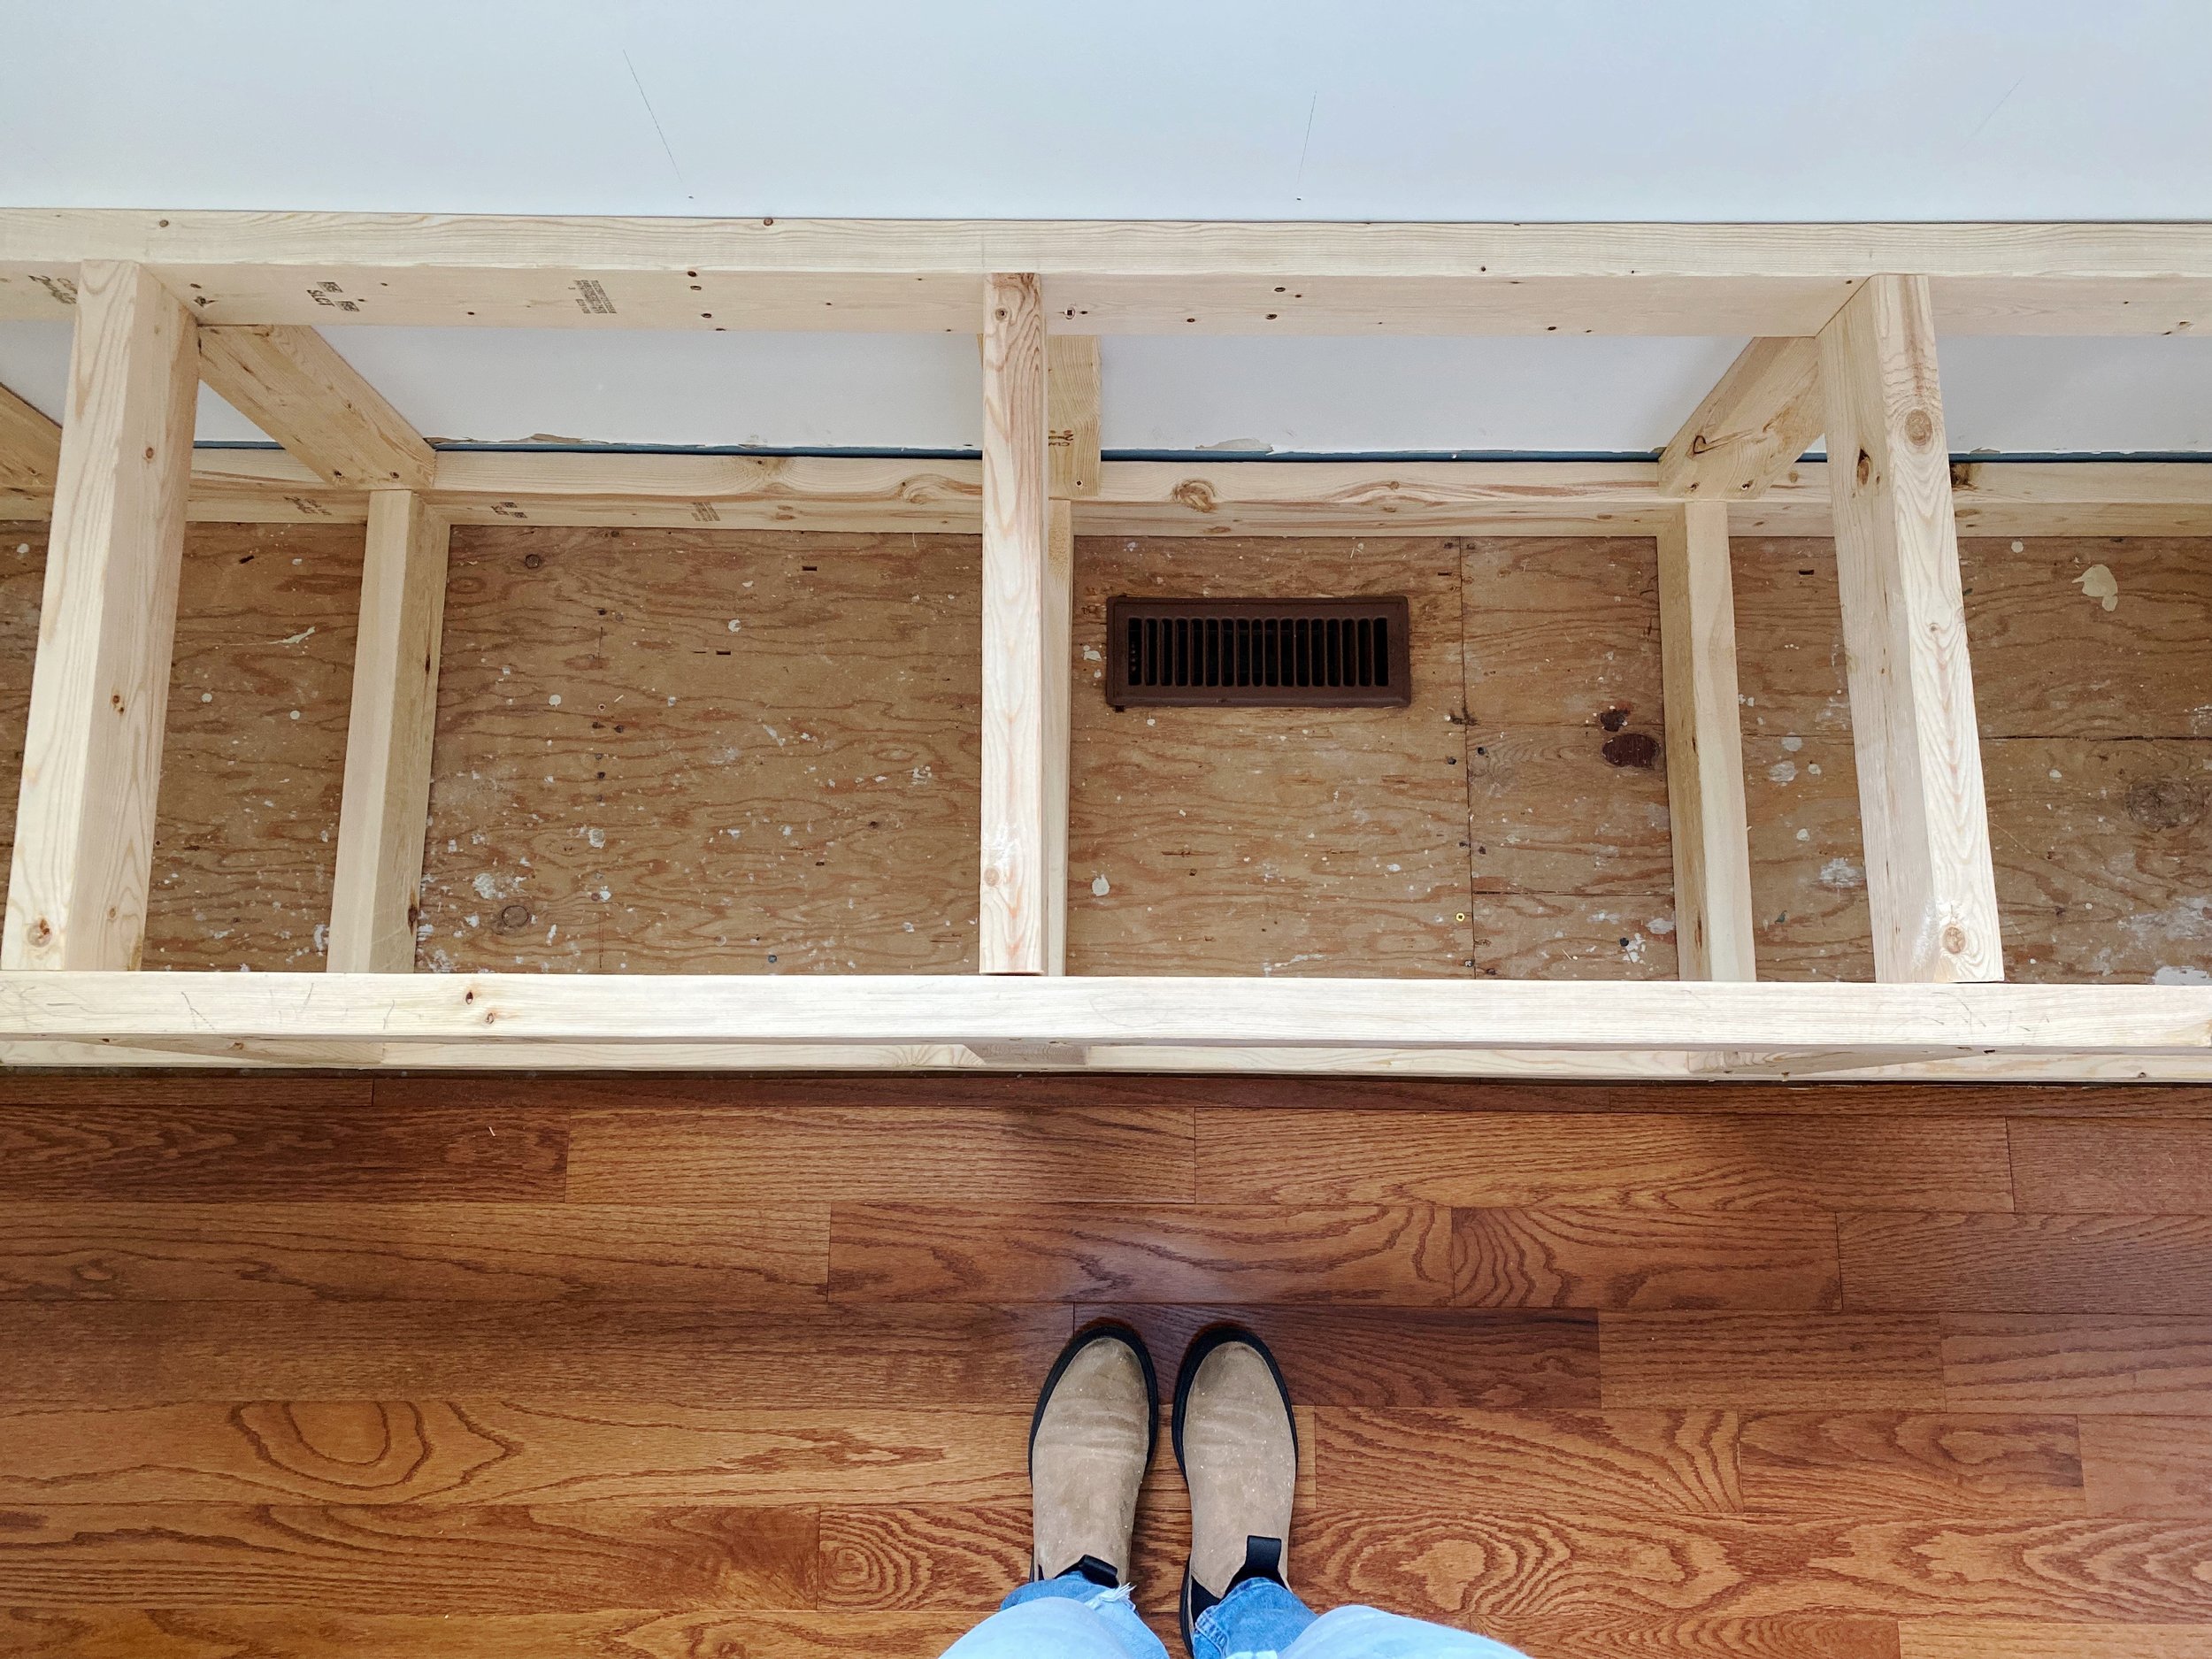
It may have been overkill, but I decided break the frame up into three individual parts. The bench sits along the back wall of our dining room that has a bulkhead with two columns, so I wanted the bench to wrap around the two side columns. I built the main frame (which will have accessible storage in it) to fit between the columns and then built two separate side boxes to sit in front of the columns on either side. This will make more sense when you see some of the photos down below.

The Progress
The very first thing I did was run a stud finder along the walls to locate all of the wall studs. I wanted to fasten the entire frame to the wall so it was sturdy and extra secure.
To start on the actual frame, I first built the bottom to fit in the space I had cut out of the hardwood floors. Once I had the bottom piece built, I recreated it for the top. I could then create the support pieces and put them in place while I attached the top portion to the wall. I admittedly took very few photos of this process because I was also filming it for a YouTube video that I’ll release once the entire built-in is complete. The process actually took me quite a while because I was trying to be incredibly accurate with my measurements. Our walls are not perfectly straight, so it took some fine tuning to get everything to fit into place.
Once I had the entire thing built, it just didn’t feel quite right. I re-measured the frame and re-measured our table height and decided that the bench was maybe just a touch too tall to comfortably sit up to our table. Even though it was defeating, frustrating, and tempting to just let it go, I decided to take it apart and lower the height of the bench by two inches. It was a small adjustment, but once I had it reassembled, it felt so much better. I just wanted to mention that because I personally get so discouraged when I make mistakes, but that’s part of the joy in doing these types of projects. I have to remind myself that it’s in those experiences that I’m doing the most learning.

Once the main unit was built, I had to create the small side frames to fill in around the columns on either side. In order to make sure that these were seamlessly level with my main frame, I opted to build them top-down instead of bottom-up. These little side units will likely never have anyone actually sitting on them, but I decided to fully build out the frames in the same way I did the main frame just to make sure they were solid and secure. I can’t even tell you how many times (double, triple, quadruple, and more!) that I checked the entire unit with my level and square. I wanted to make sure this foundational step was absolutely perfect so it doesn’t make my life more difficult in the subsequent steps.


There was one area along the back wall where our support pieces lined up directly with a power outlet. We decided that we wanted to keep this outlet in case we ever needed to conceal a chord, but I had to be creative about building around it. I ended up cutting the back 2x4 to accommodate it, but added some additional support pieces around the cut area. This entire back piece is also fastened into the wall studs, so I have no concerns about it’s structural integrity. This entire bench is plenty strong!
We are going to be using the interior of this bench for concealed storage, so I was pretty mindful about the spacing of the support pieces. I obviously wanted them to support the seat as much as possible, but I wanted to be careful to space them out enough that we had the space to actually store things like small kitchen appliances. I’ve put this frame through the ringer - seat tests, jump tests, toddler-climbing-all-over-it tests - and it’s definitely very sturdy.


As you can see, there is also an air vent that comes up right where the bench sits. To solve this, I am going to add some additional venting to the inside of the bench and direct it out the front. I’ll add a discrete vent cover on the front. Obviously this isn’t my favourite choice, but it is very important not to block the air flow. The dining table will cover where it comes out, so I’m not too worried about how it will impact the final design. It is what it is and sometimes you have to problem solve these little things when you work on an existing home.

I’m really excited to have the frame completed so I can move on to the pretty finishing components. But don’t let that fool you - I still have tons of work to do on this thing before it looks pretty.
The Next Steps
Cover the front with 1/2” plywood
Add additional venting and vent it out the front of the bench
Add some trim work to the front of the bench
Figure out how to create a hinged top out of 3/4” plywood and finish the edge with some edge banding
Add beadboard to the back wall around the bench
Prime the entire unit
Paint the entire unit
Make it comfortable and stylish with pillows, pillows, and more pillows!

That’s all the progress I have to share today. Curt and I are both taking some time off work next week, so I’m hoping to make a lot of progress on this entire project. I think I may shift my focus to wrapping up the dining room table in time for next week’s update, so be sure to check back in if you’d like to hear more about that project. And of course, if you, like me, love being inspired by what other people are doing, be sure to check out what some of the other guest participants of the ORC are up to this week. There will be no shortage of beautiful and inspiring projects to browse through!