

Sunshine in a Desk — Another Thrifted Furniture Flip
Note: This post contains affiliate links. You can learn more about our use of affiliate links here.
It’s starting to seem like all I share around here are furniture projects, but I guess that’s just the reality of settling into a new house and patiently waiting to find the pieces that fit our space and serve the needs of our family. My latest little project has quickly become one of my favorites thanks to the joyful dose of sunshine it brings, not to mention the fact that it’s for one of my favorite little ladies in the whole world. My seven year old daughter has been asking for a desk for her bedroom for a long while now and I’ve been waiting for the perfect little project piece to come along that fit the bill. I finally found the perfect little desk at a decent price just waiting to be scooped up from our local thrift shop and I didn’t hesitate — I got right to work.
The Perfect Little Thrifted Desk
As the months went on and I periodically popped into the thrift store, I came across a handful of desks, but none of them were quite right. I was particular about what I was looking for. It needed to be the right size, the right price, and in the right condition. I was looking for a desk that was small enough to fit in a small shared bedroom, had working drawers for storage, was under $50, and in rough enough shape that I could add a painted finish without any guilt. I almost purchased one on a couple different occasions, but something about those options was just not quite right. I’ve been at this long enough to know that the perfect piece doesn’t always exist, but also that if you have a little patience, you can eventually find something pretty close to what you’re looking for.
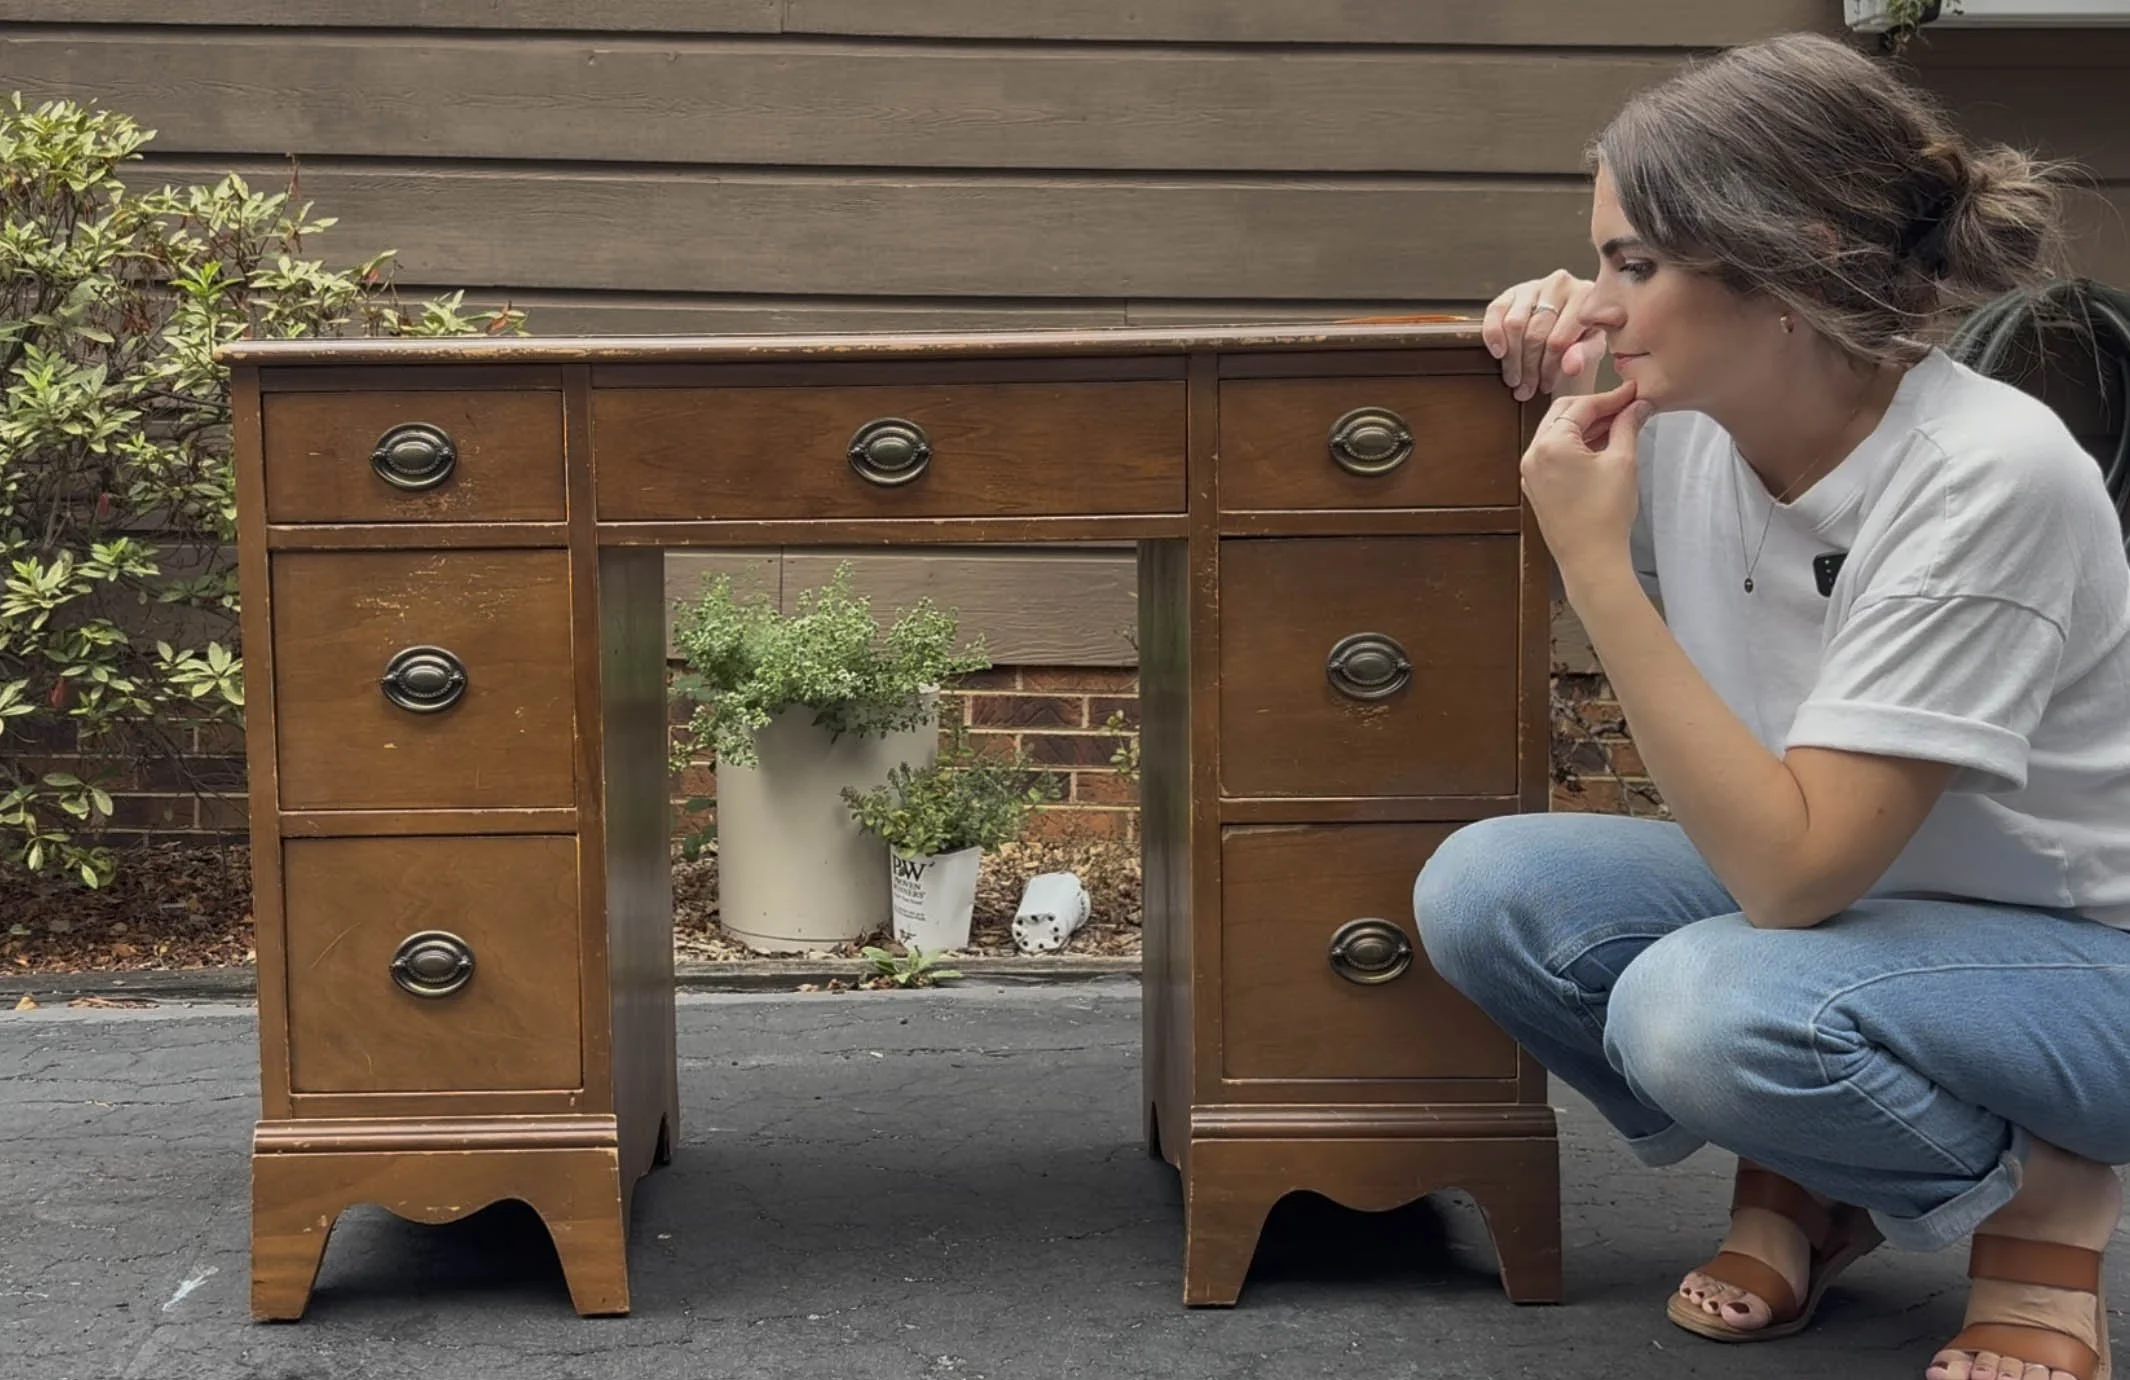
I’m glad I was patient. I found it when I was least expecting it, but thankfully the trunk of my car was clear and I had just enough space to load it up and shut the door. I was about two weeks out from having surgery when I scooped it up and it was the least ideal time to be starting a new project, but as it goes, I couldn’t resist getting started. I had a vision for the little desk and I wanted to try and get it finished before I was prohibited from any heavy lifting and strenuous activity for the couple months after my surgery date.
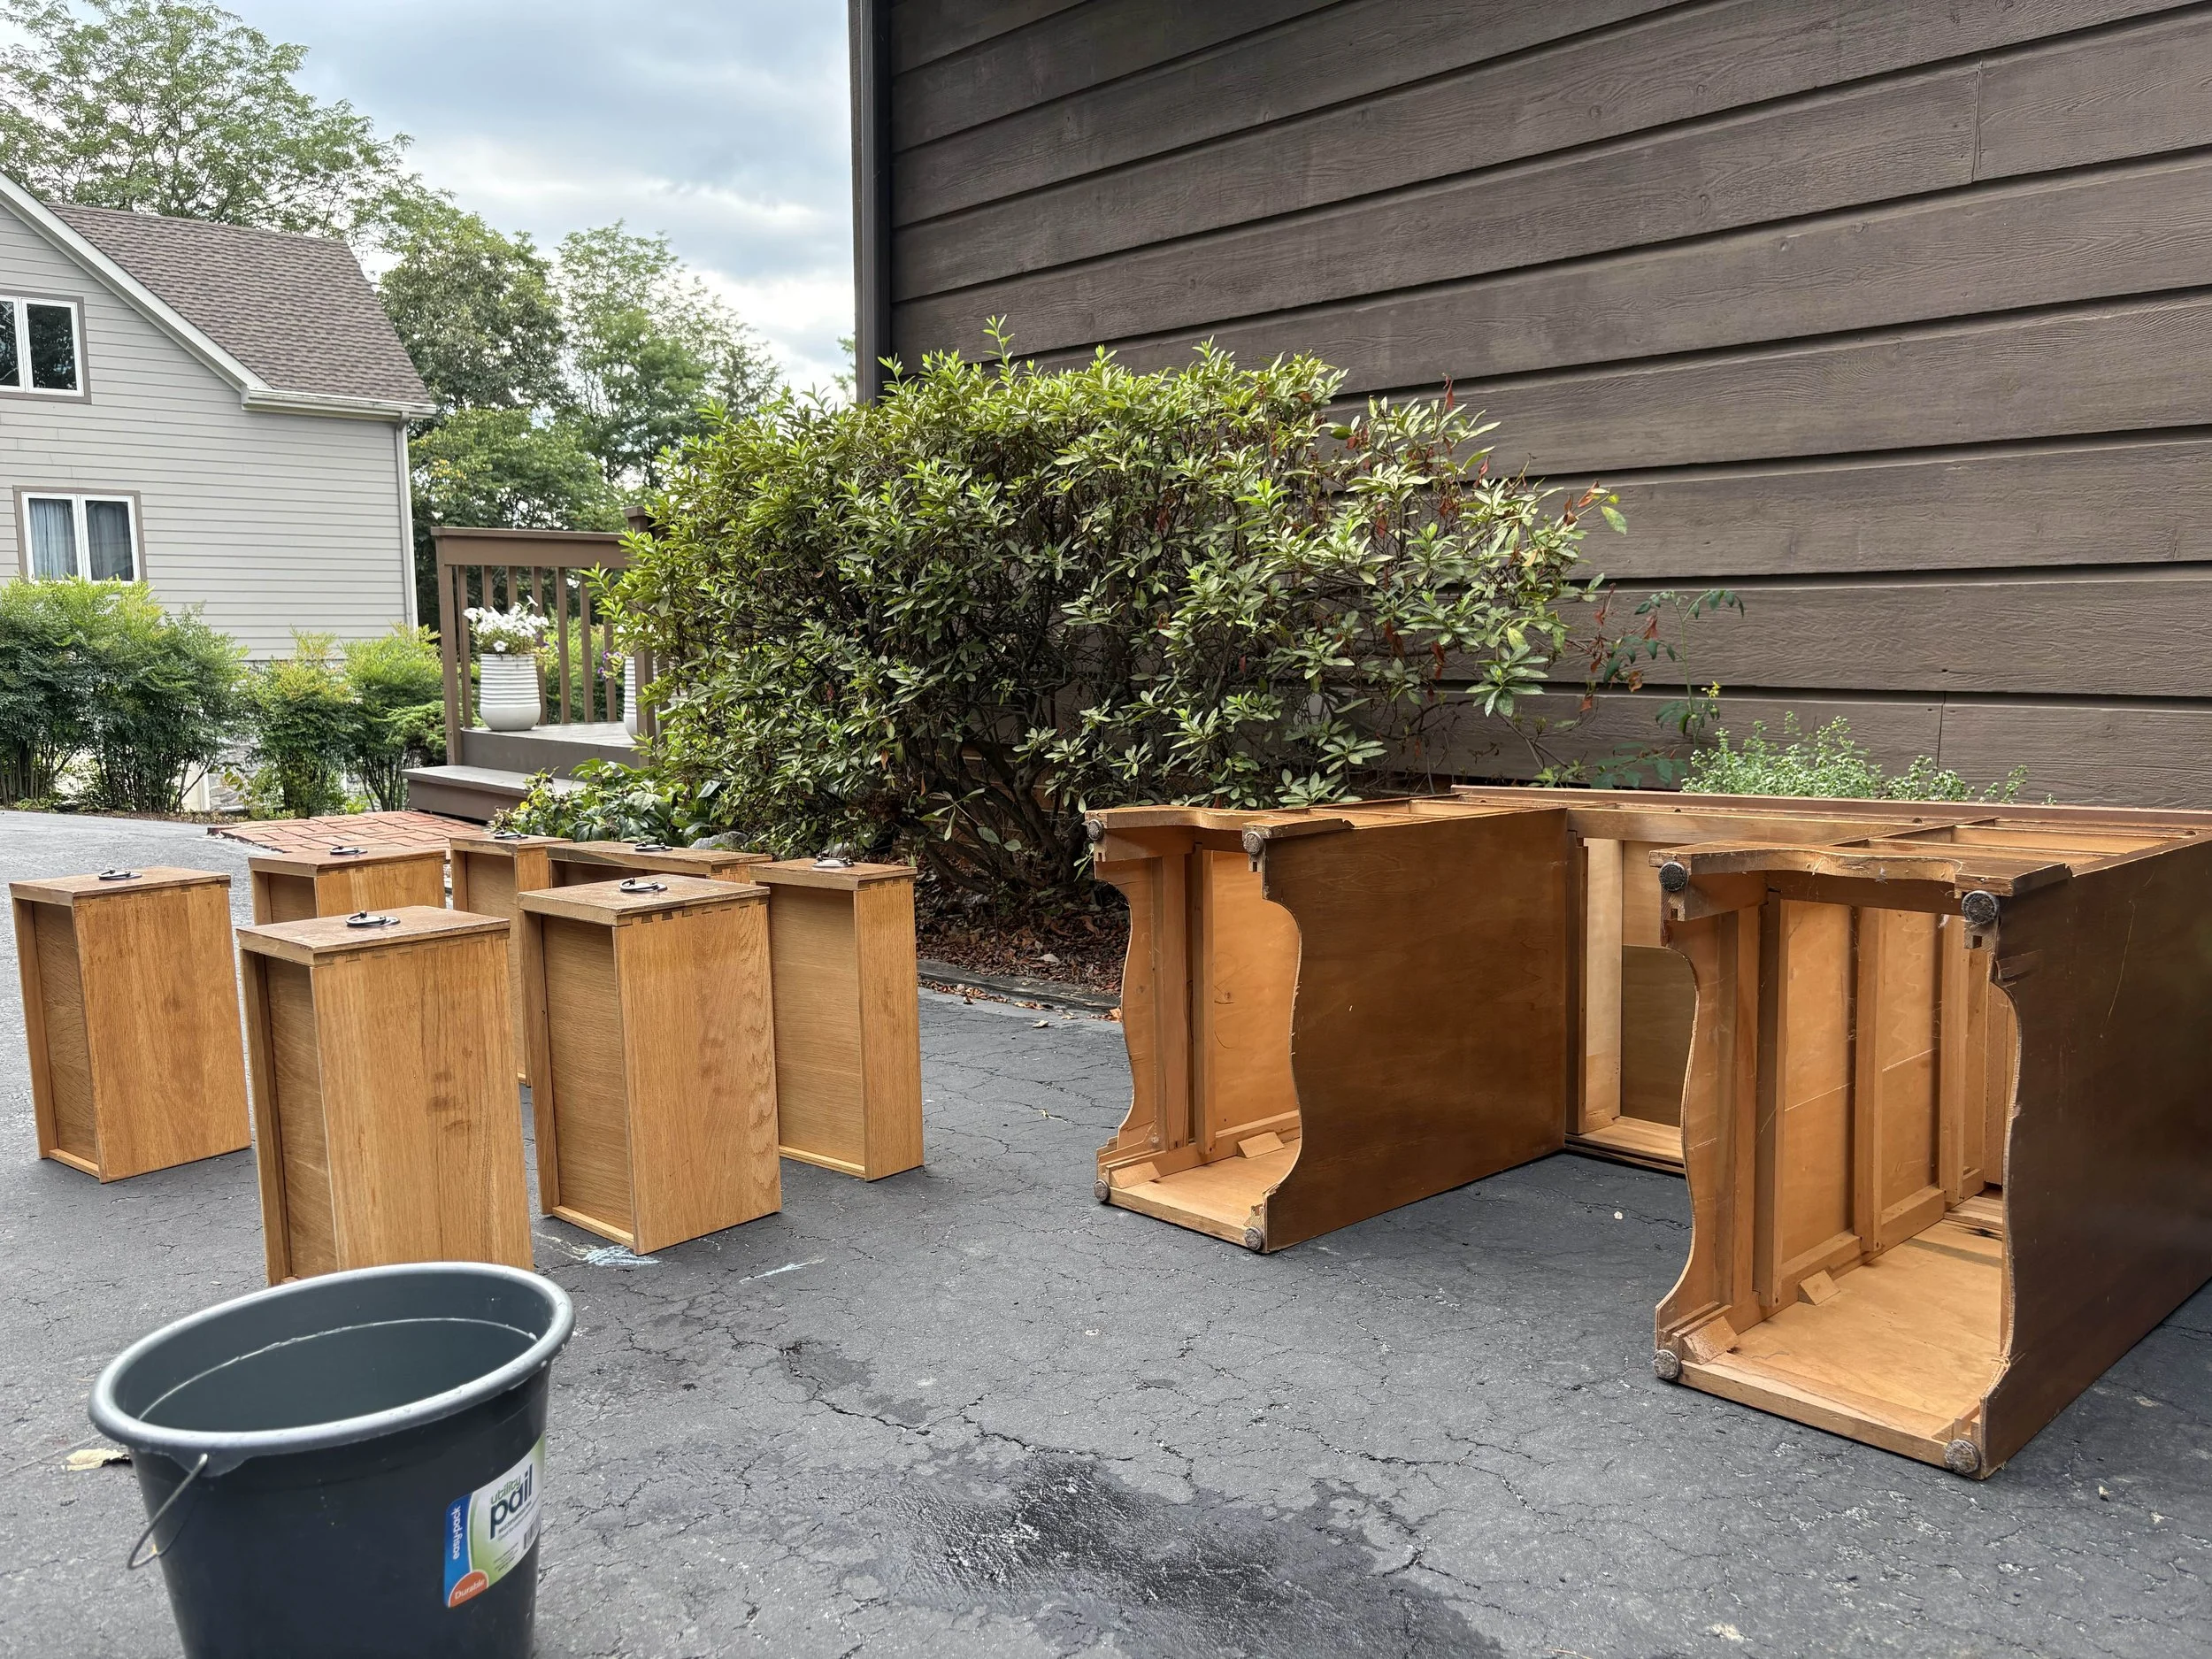
I started the process as I always do with a good scrubbing using a degreasing cleaner and some warm water. I also used a vacuum to clean out a few cobwebs caught up in the underside. But as far as secondhand furniture goes, this was definitely on the cleaner side. It had some damage to the veneer in some areas, but since I wanted to paint it, I knew I’d be able to patch up some of the imperfections and give it a new life.
The Makeover Plan (With a Big-Picture View)
I always keep a working mood board file going for each of the rooms in our home. Our girls share a bedroom and it has been an interesting challenge to bridge the gap between their preferences and interests, while also finding solutions to make a small space work for two people. Having a general mood board in mind helps me to visualize how different pieces work together when we are only able to tackle spaces one little bit at a time. Over time, I find myself referencing it when I need to make decisions about elements in their room and purchasing individual items (or similar items) when they go on sale or when we realize it’s finally time we need them. When I found the secondhand desk and realized I would be painting it, I was able to pull up their bedroom mood board, pull in some color options, and then give my daughter a choice about what paint she preferred. I can’t overstate how helpful it is to have a visual reference point for all of these small decisions. It’s also fun to see how the plan slowly shifts as we let time determine what items will actually stand the test of time.
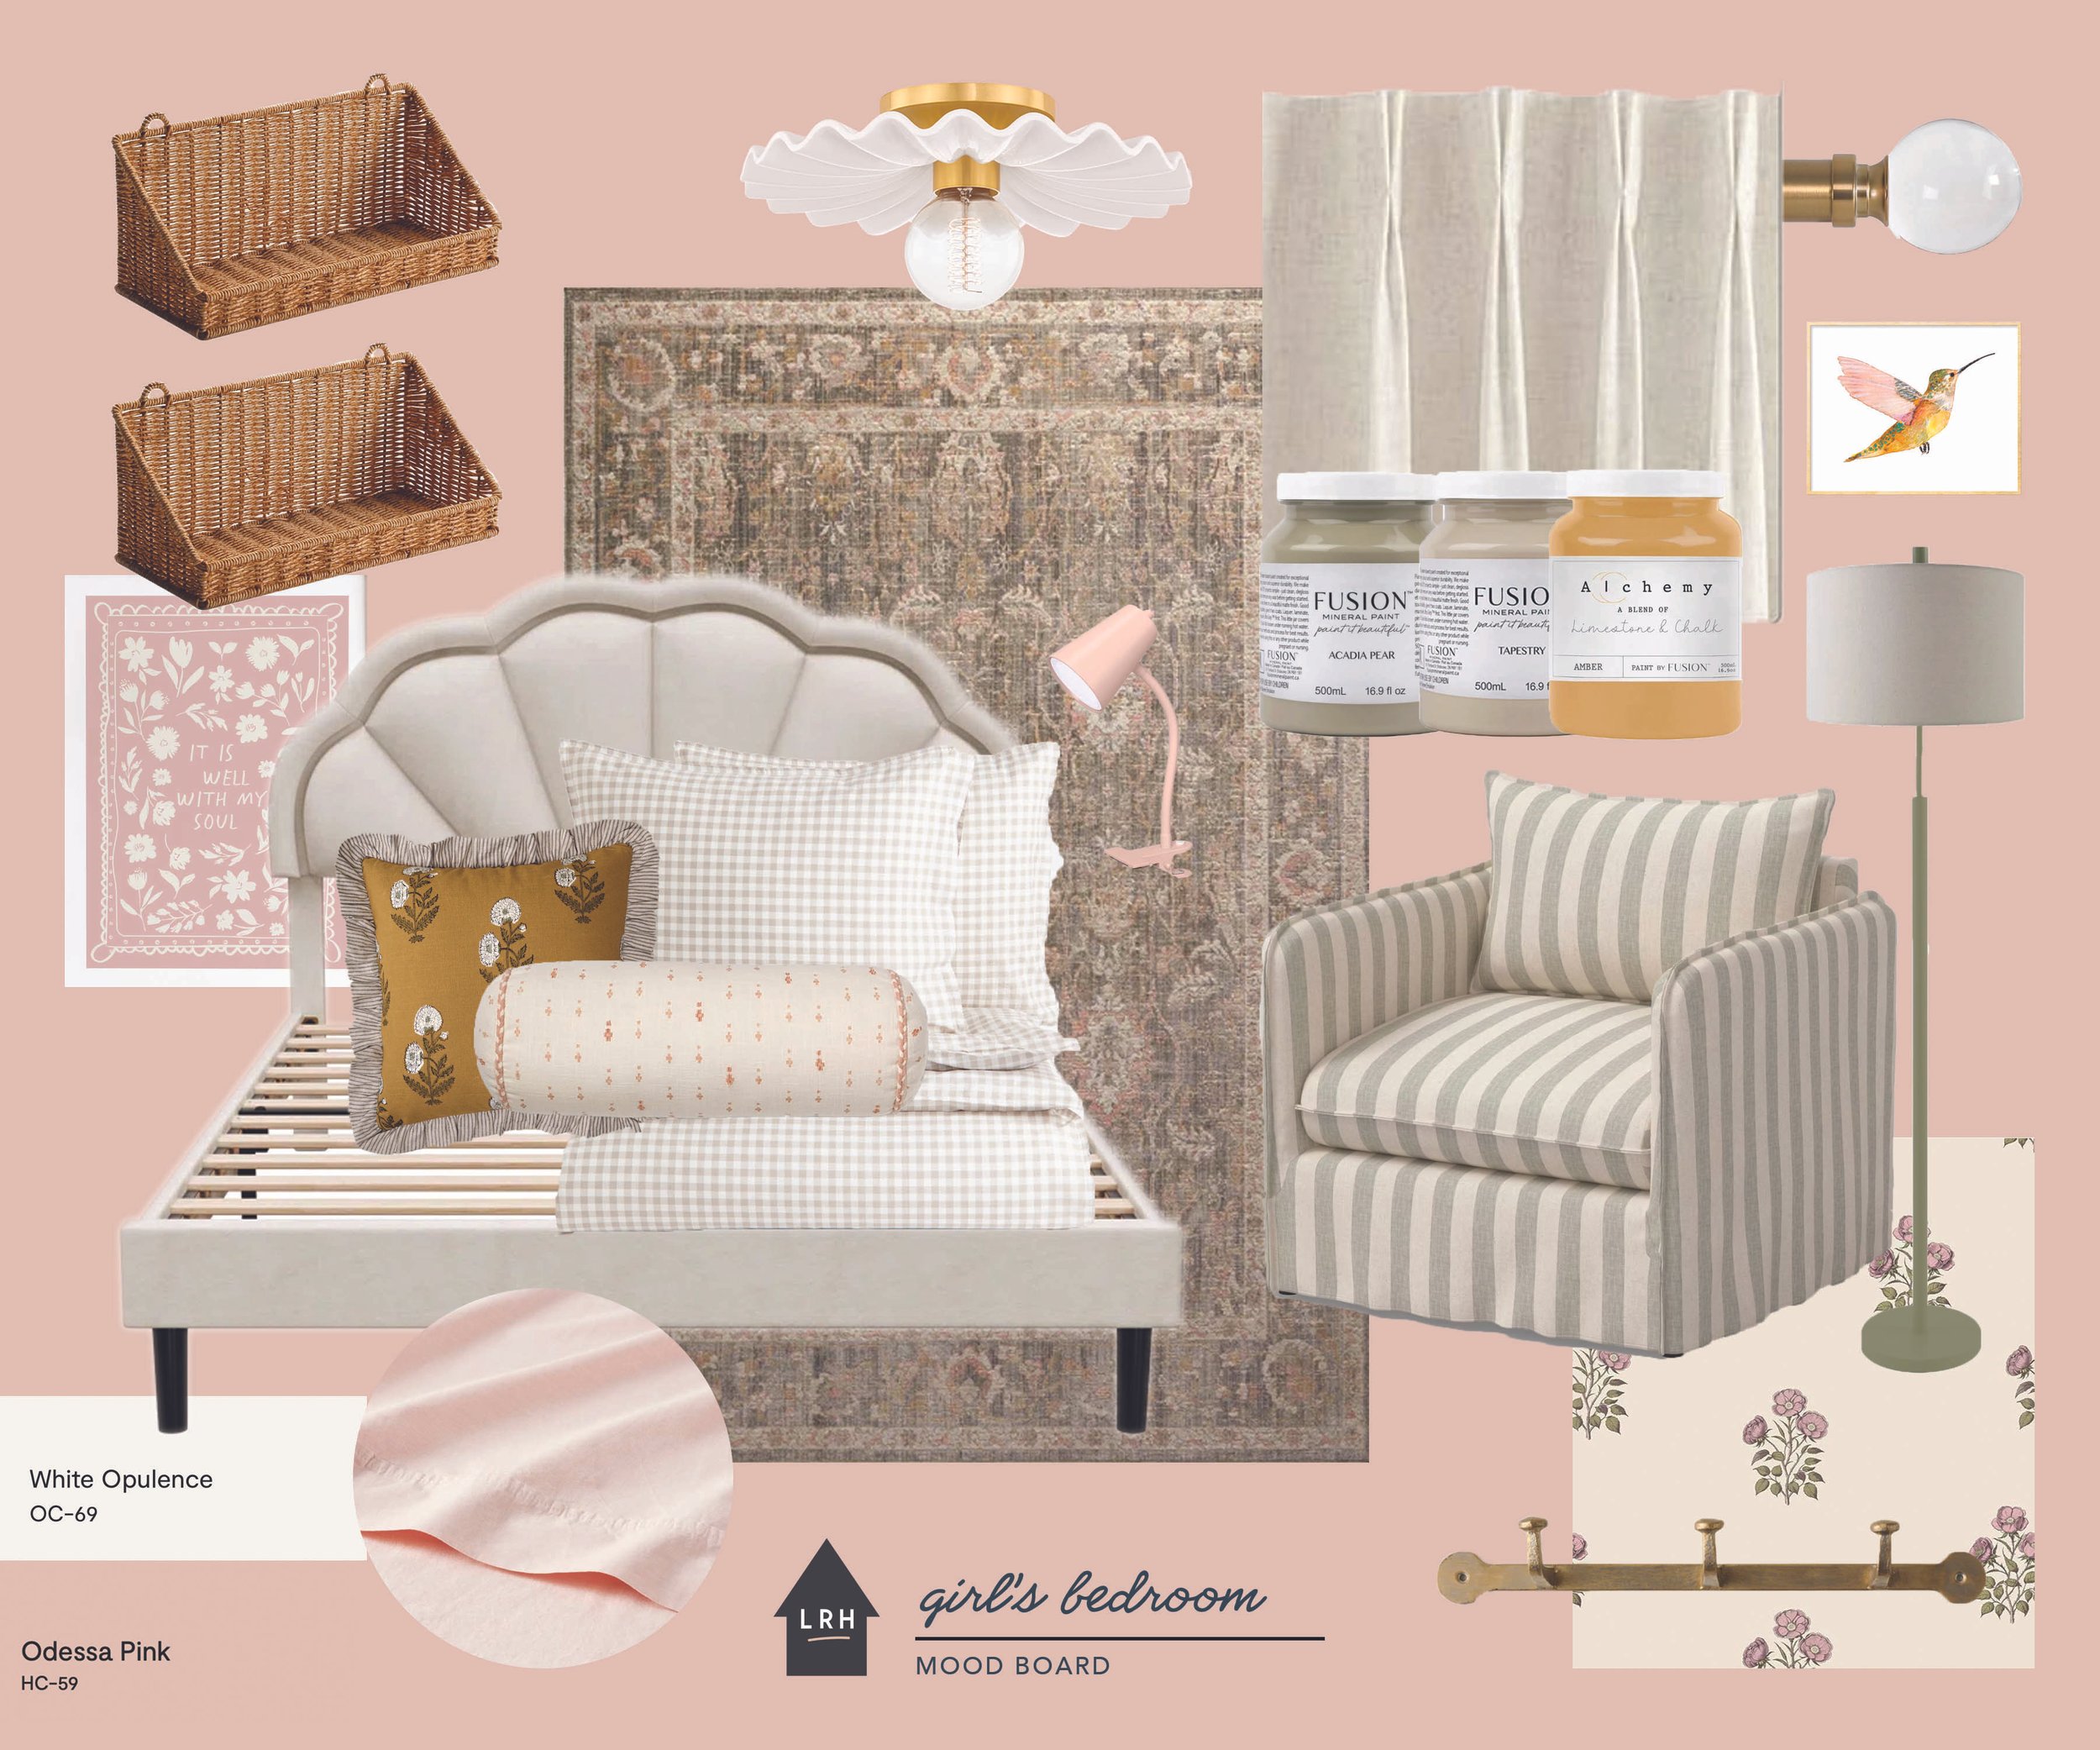
I picked out three different Fusion Mineral Paint colors that I thought would look beautiful with some of the other furnishings in their room. Their room is painted in Odessa Pink by Benjamin Moore with White Opulence trim. They have a lot of cream and beige tones in many of the finishes, but also a few soft olive green touches brought in through the rug. (As an aside, this rug used to be in our previous dining room, but has found a few life in our girls’ room in this house). I narrowed in on Tapestry and Acadia Pear from the traditional Fusion Minerals line and also came across the color Amber from the Fusion Minerals Alchemy chalk paint line. My daughter immediately selected the bright sunshiney yellow and I can’t say I was mad about it.
Gathering Supplies and Getting Started
I won’t go into detail about every single step I took on this desk because I have shared that process in multiple posts on this blog already. If you want to learn more, check out our recent sunroom dresser project and our old bedside tables. But to give a general idea, as I already mentioned, I started by cleaning the entire desk and removing the hardware. I then got to work filling holes, scratches, and damaged areas using Bondo Filler, which is a heavy duty product that can withstand a lot of wear. Next I used 180 grit sandpaper to scuff sand the entire desk surface from top to bottom, including the drawer fronts. Some of the previous finish easily sanded off, so I sanded until I was able to remove any of the finish that was easy to remove, but didn’t sand so much that I tore through the veneer. The preparation process took quite a while, but establishing a strong foundation is such an important part of the entire process.
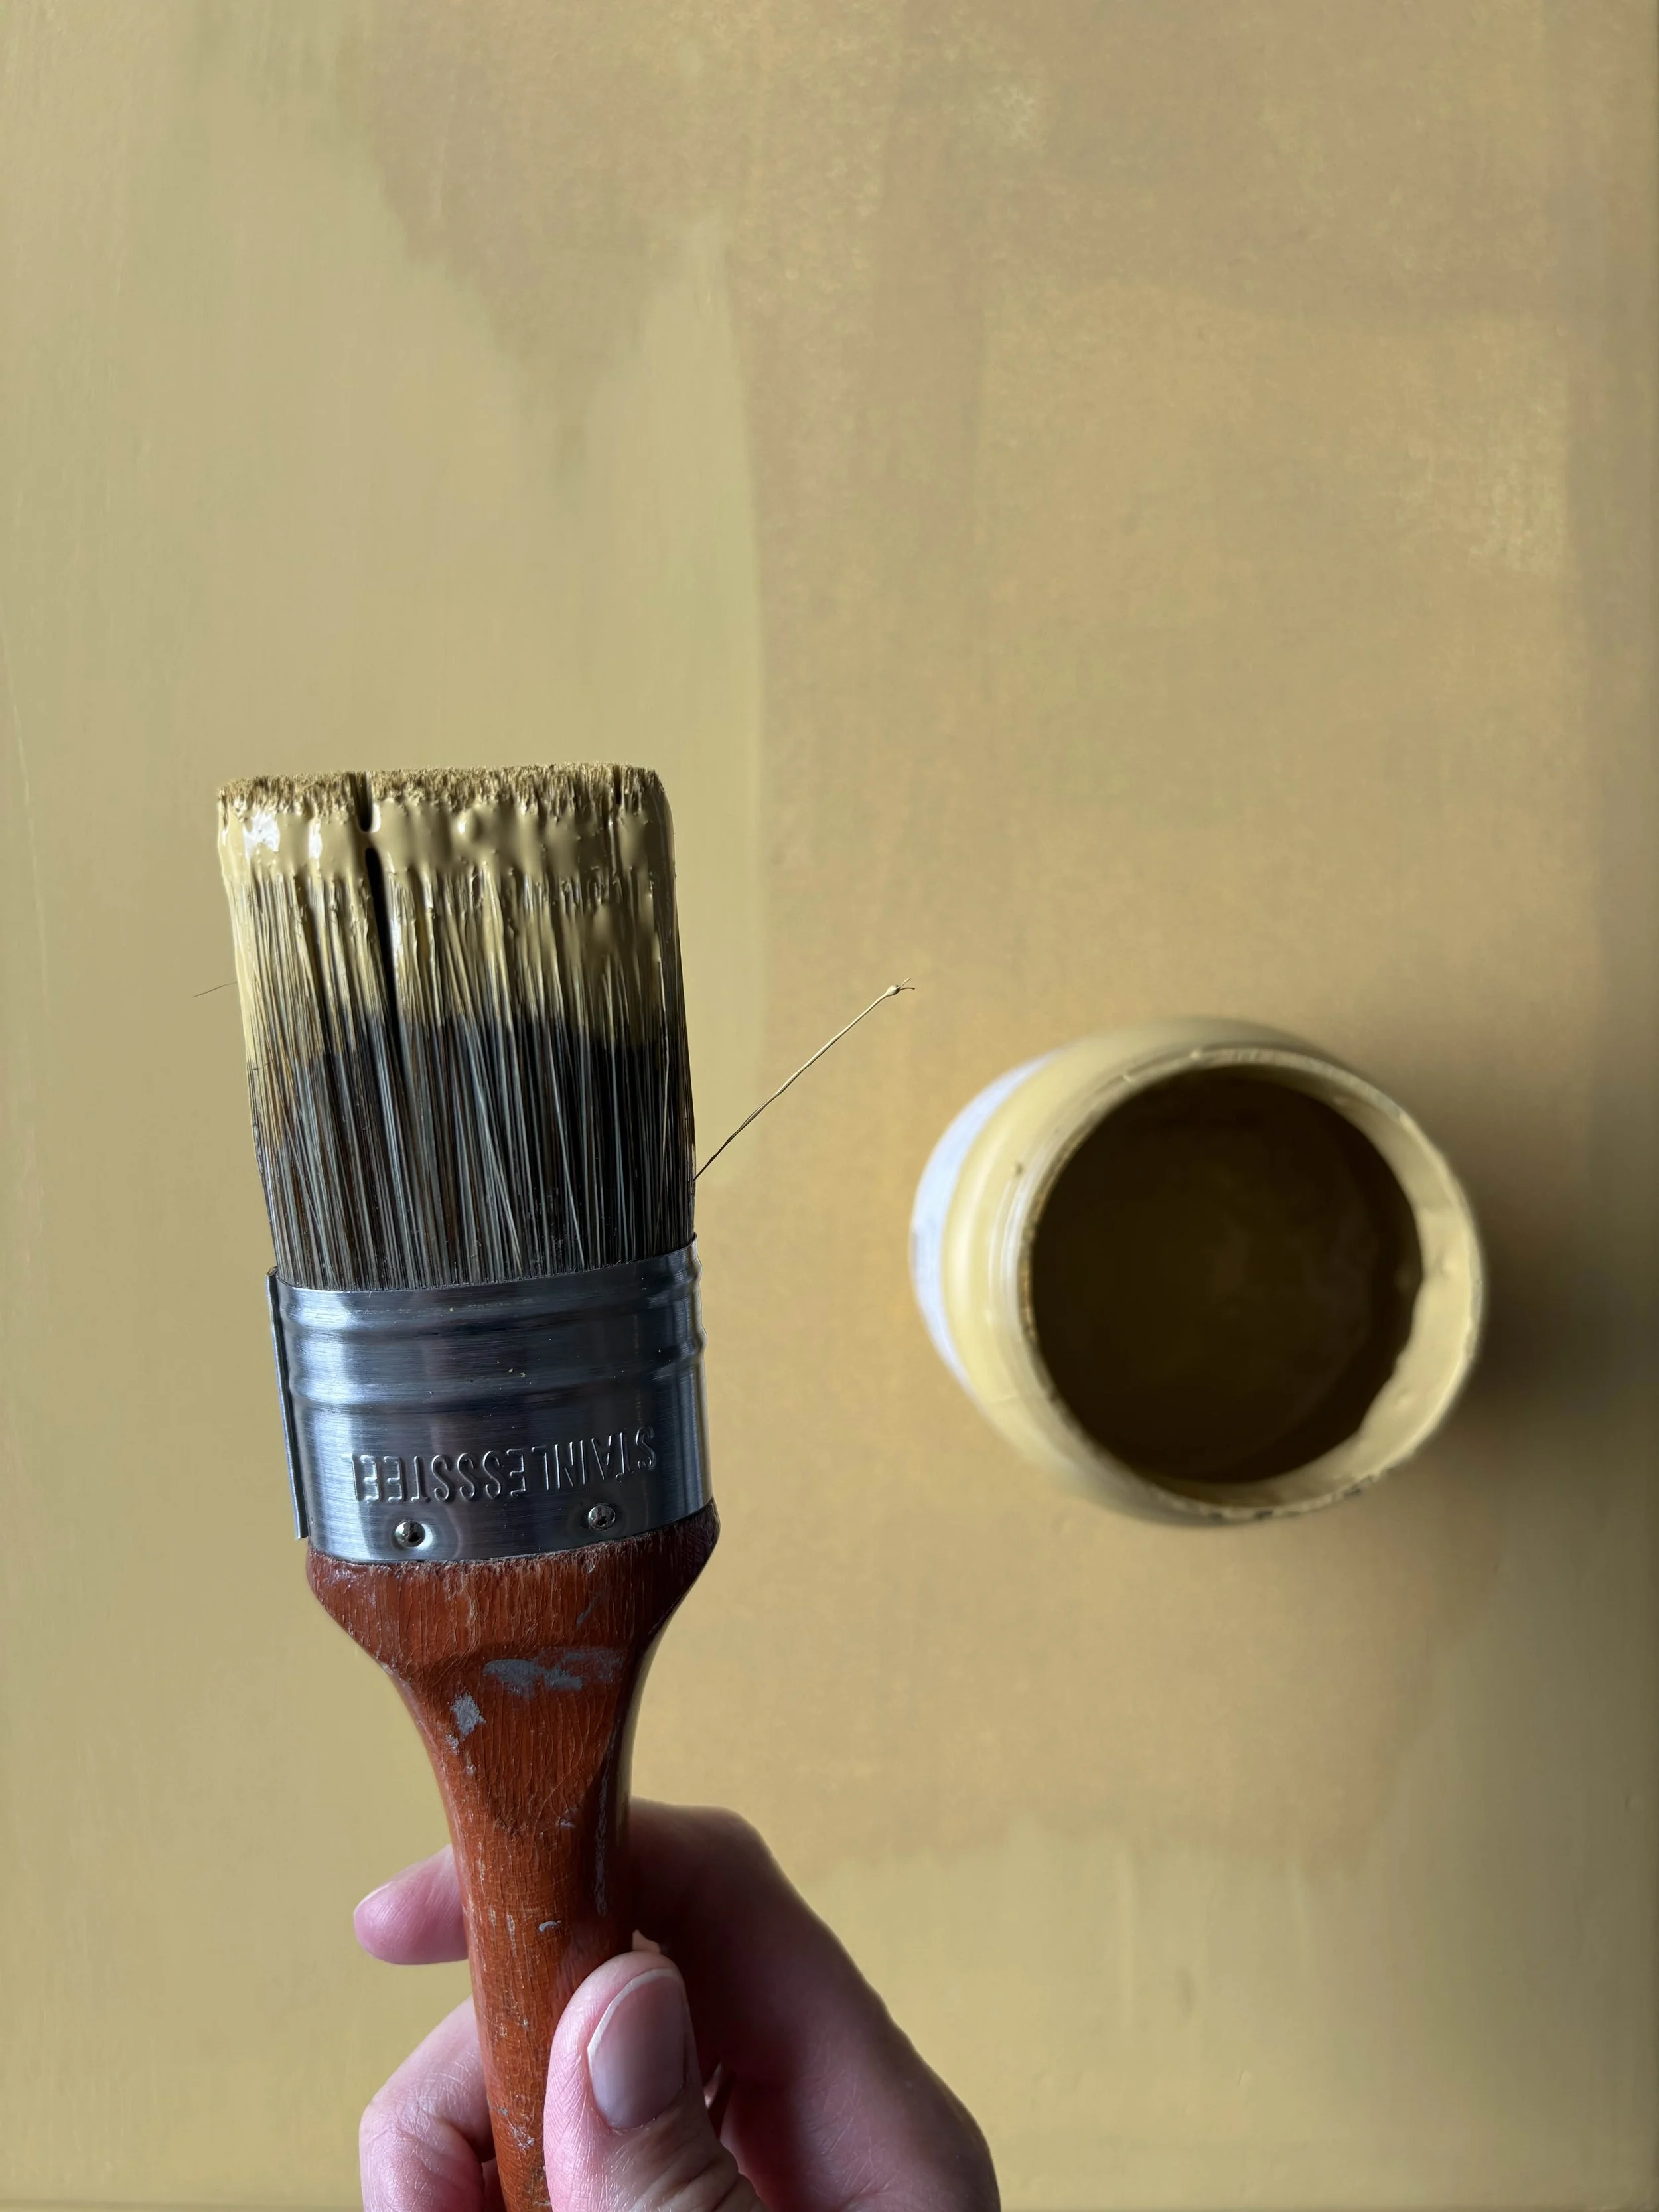
After the filling and sanding was complete, I wiped the entire desk down with a clean cloth to remove the sanding dust and applied a coat of primer using my favorite priming product. This stuff is a mess to clean up, but I’ve used it enough times to know that it’s best to use a foam roller you are willing to throw away when finished, to line your paint tray with tinfoil, and to work in a well ventilated area. The primer almost provides a candy-coating to the entire piece and the shellac locks in any of the wood tannins, discoloring, stains, and varied surfaces (like wood vs. filler). It creates such a strong foundation for a painted finish.
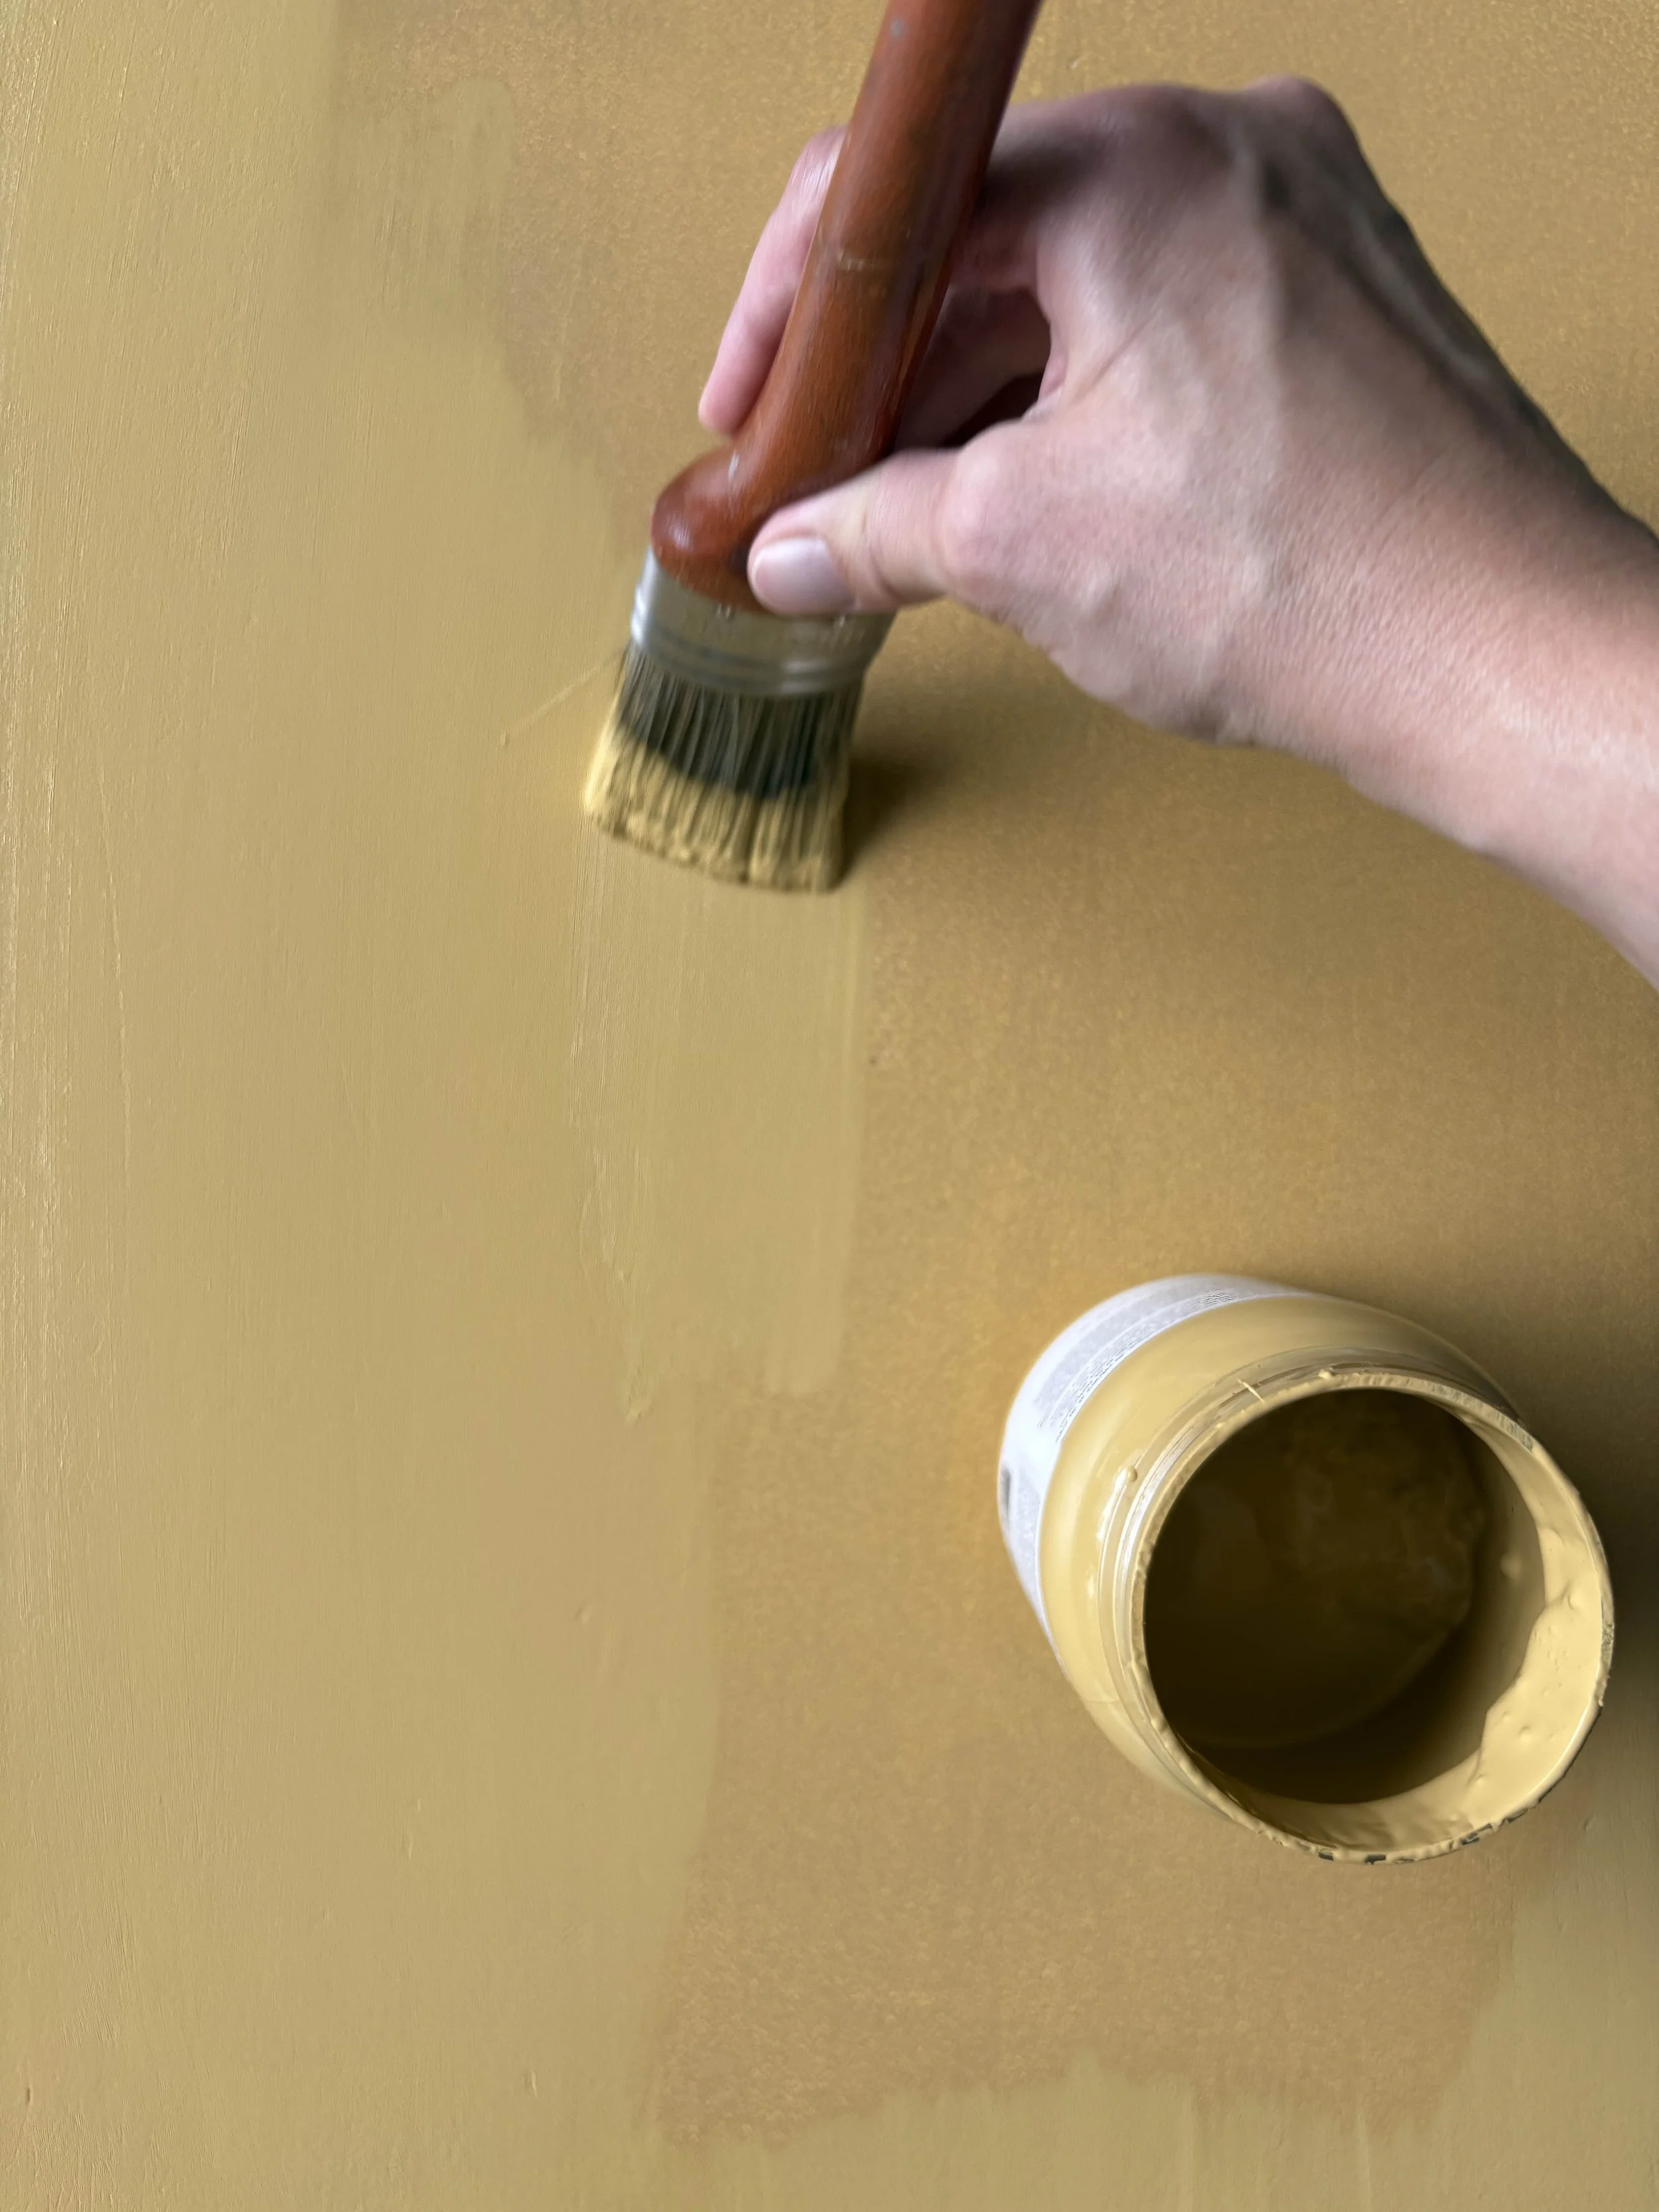
Next I applied 2-3 coats of Fusion Minerals Alchemy chalk paint in Amber. This was so fun to work with! It’s such a cheerful, fun color that I would probably never be bold enough to use on a piece of furniture in the main part of my house. But after using it on this sweet little desk, I feel inspired to look for ways I can more intentionally add a pop of color in our main furnishings. It brings such a dose of sunshine! This small jar provided more than enough paint to do 2-3 coats on the entire desk and drawer fronts and the finish ended up being so smooth and pigmented.
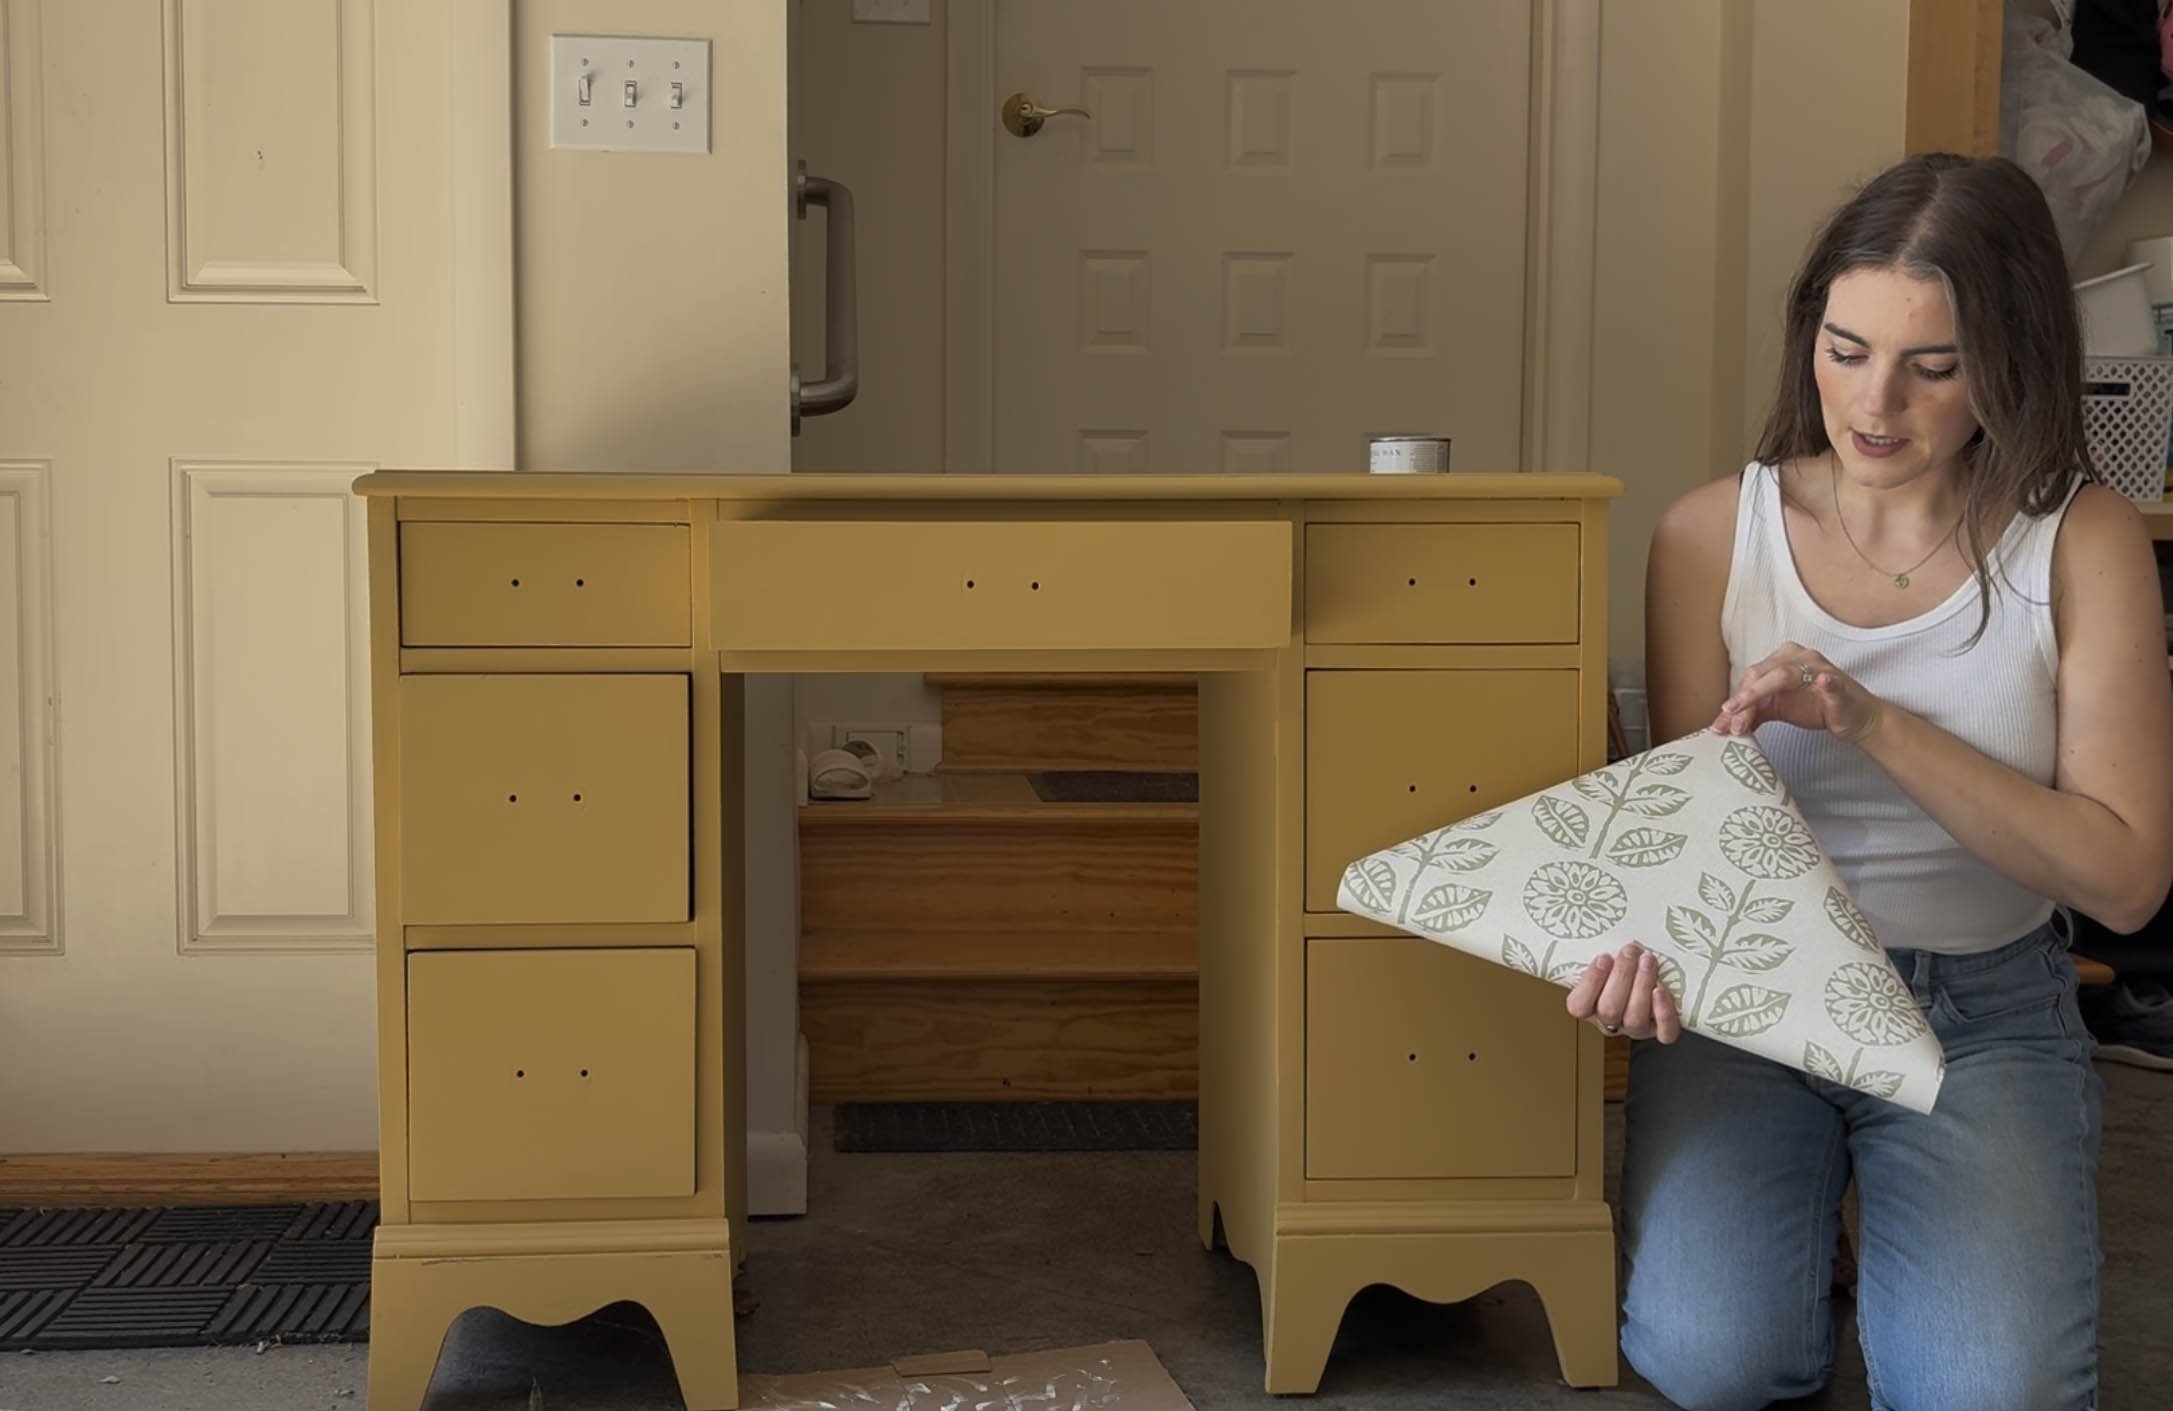
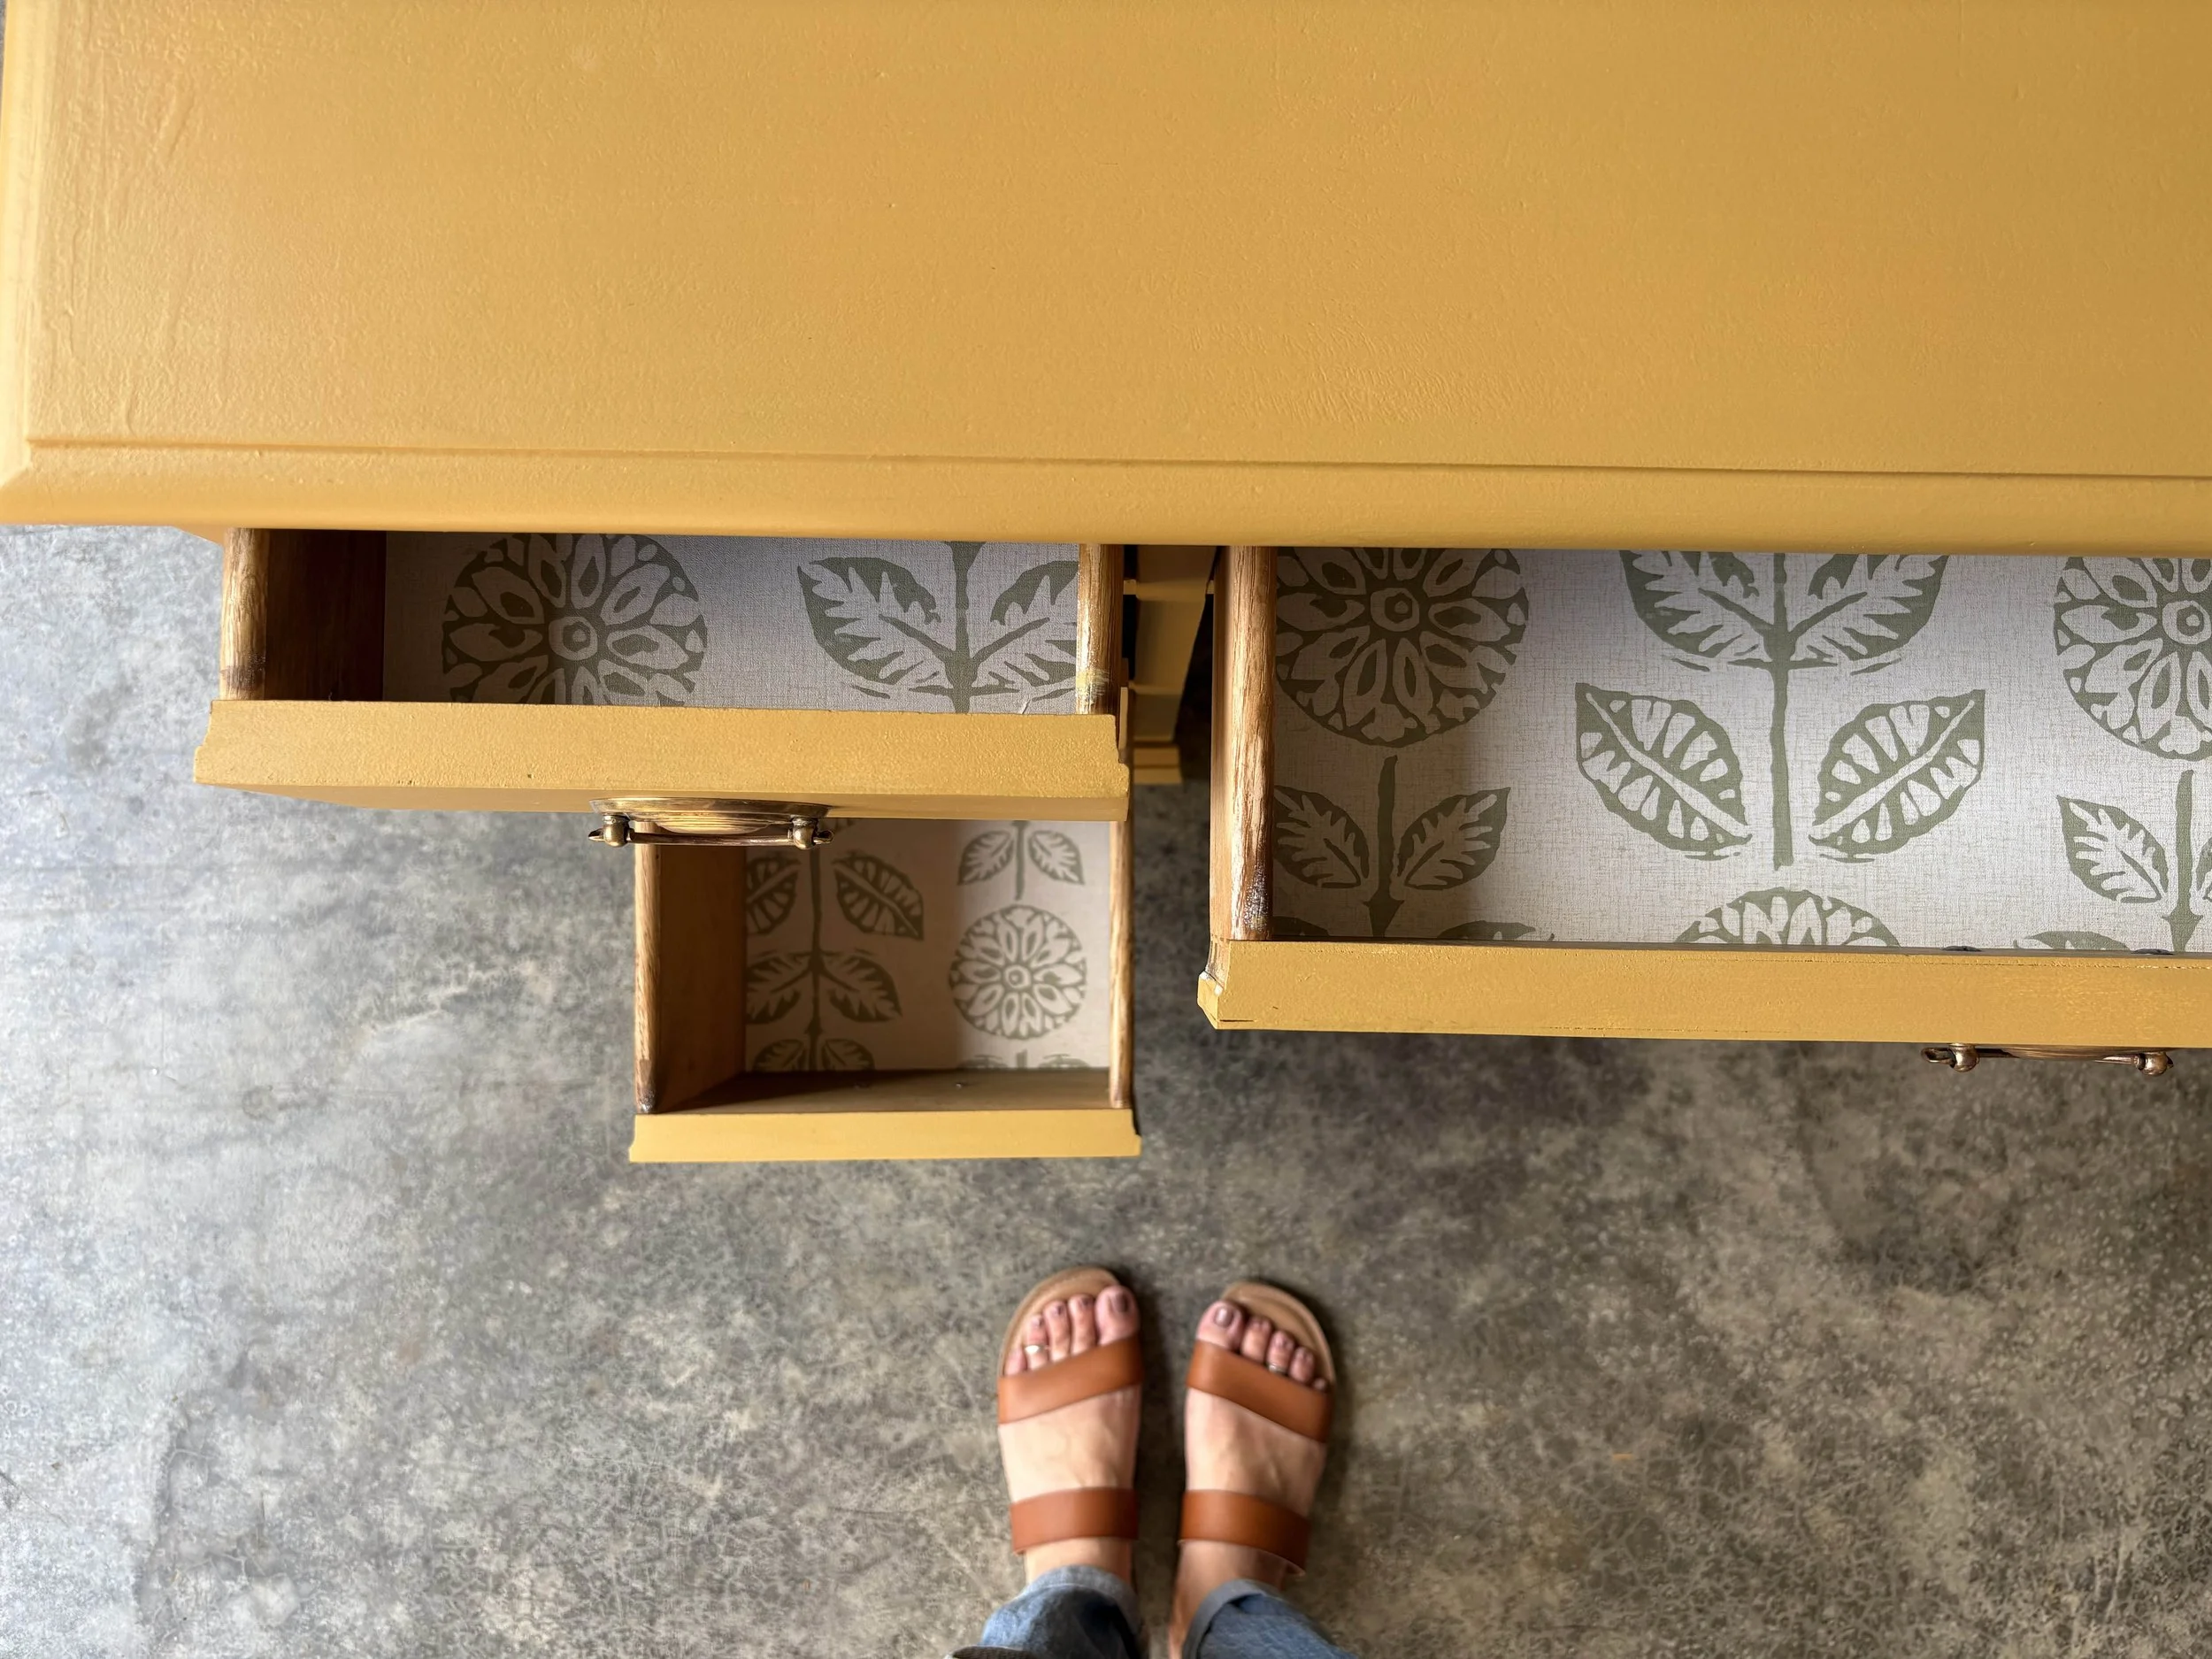
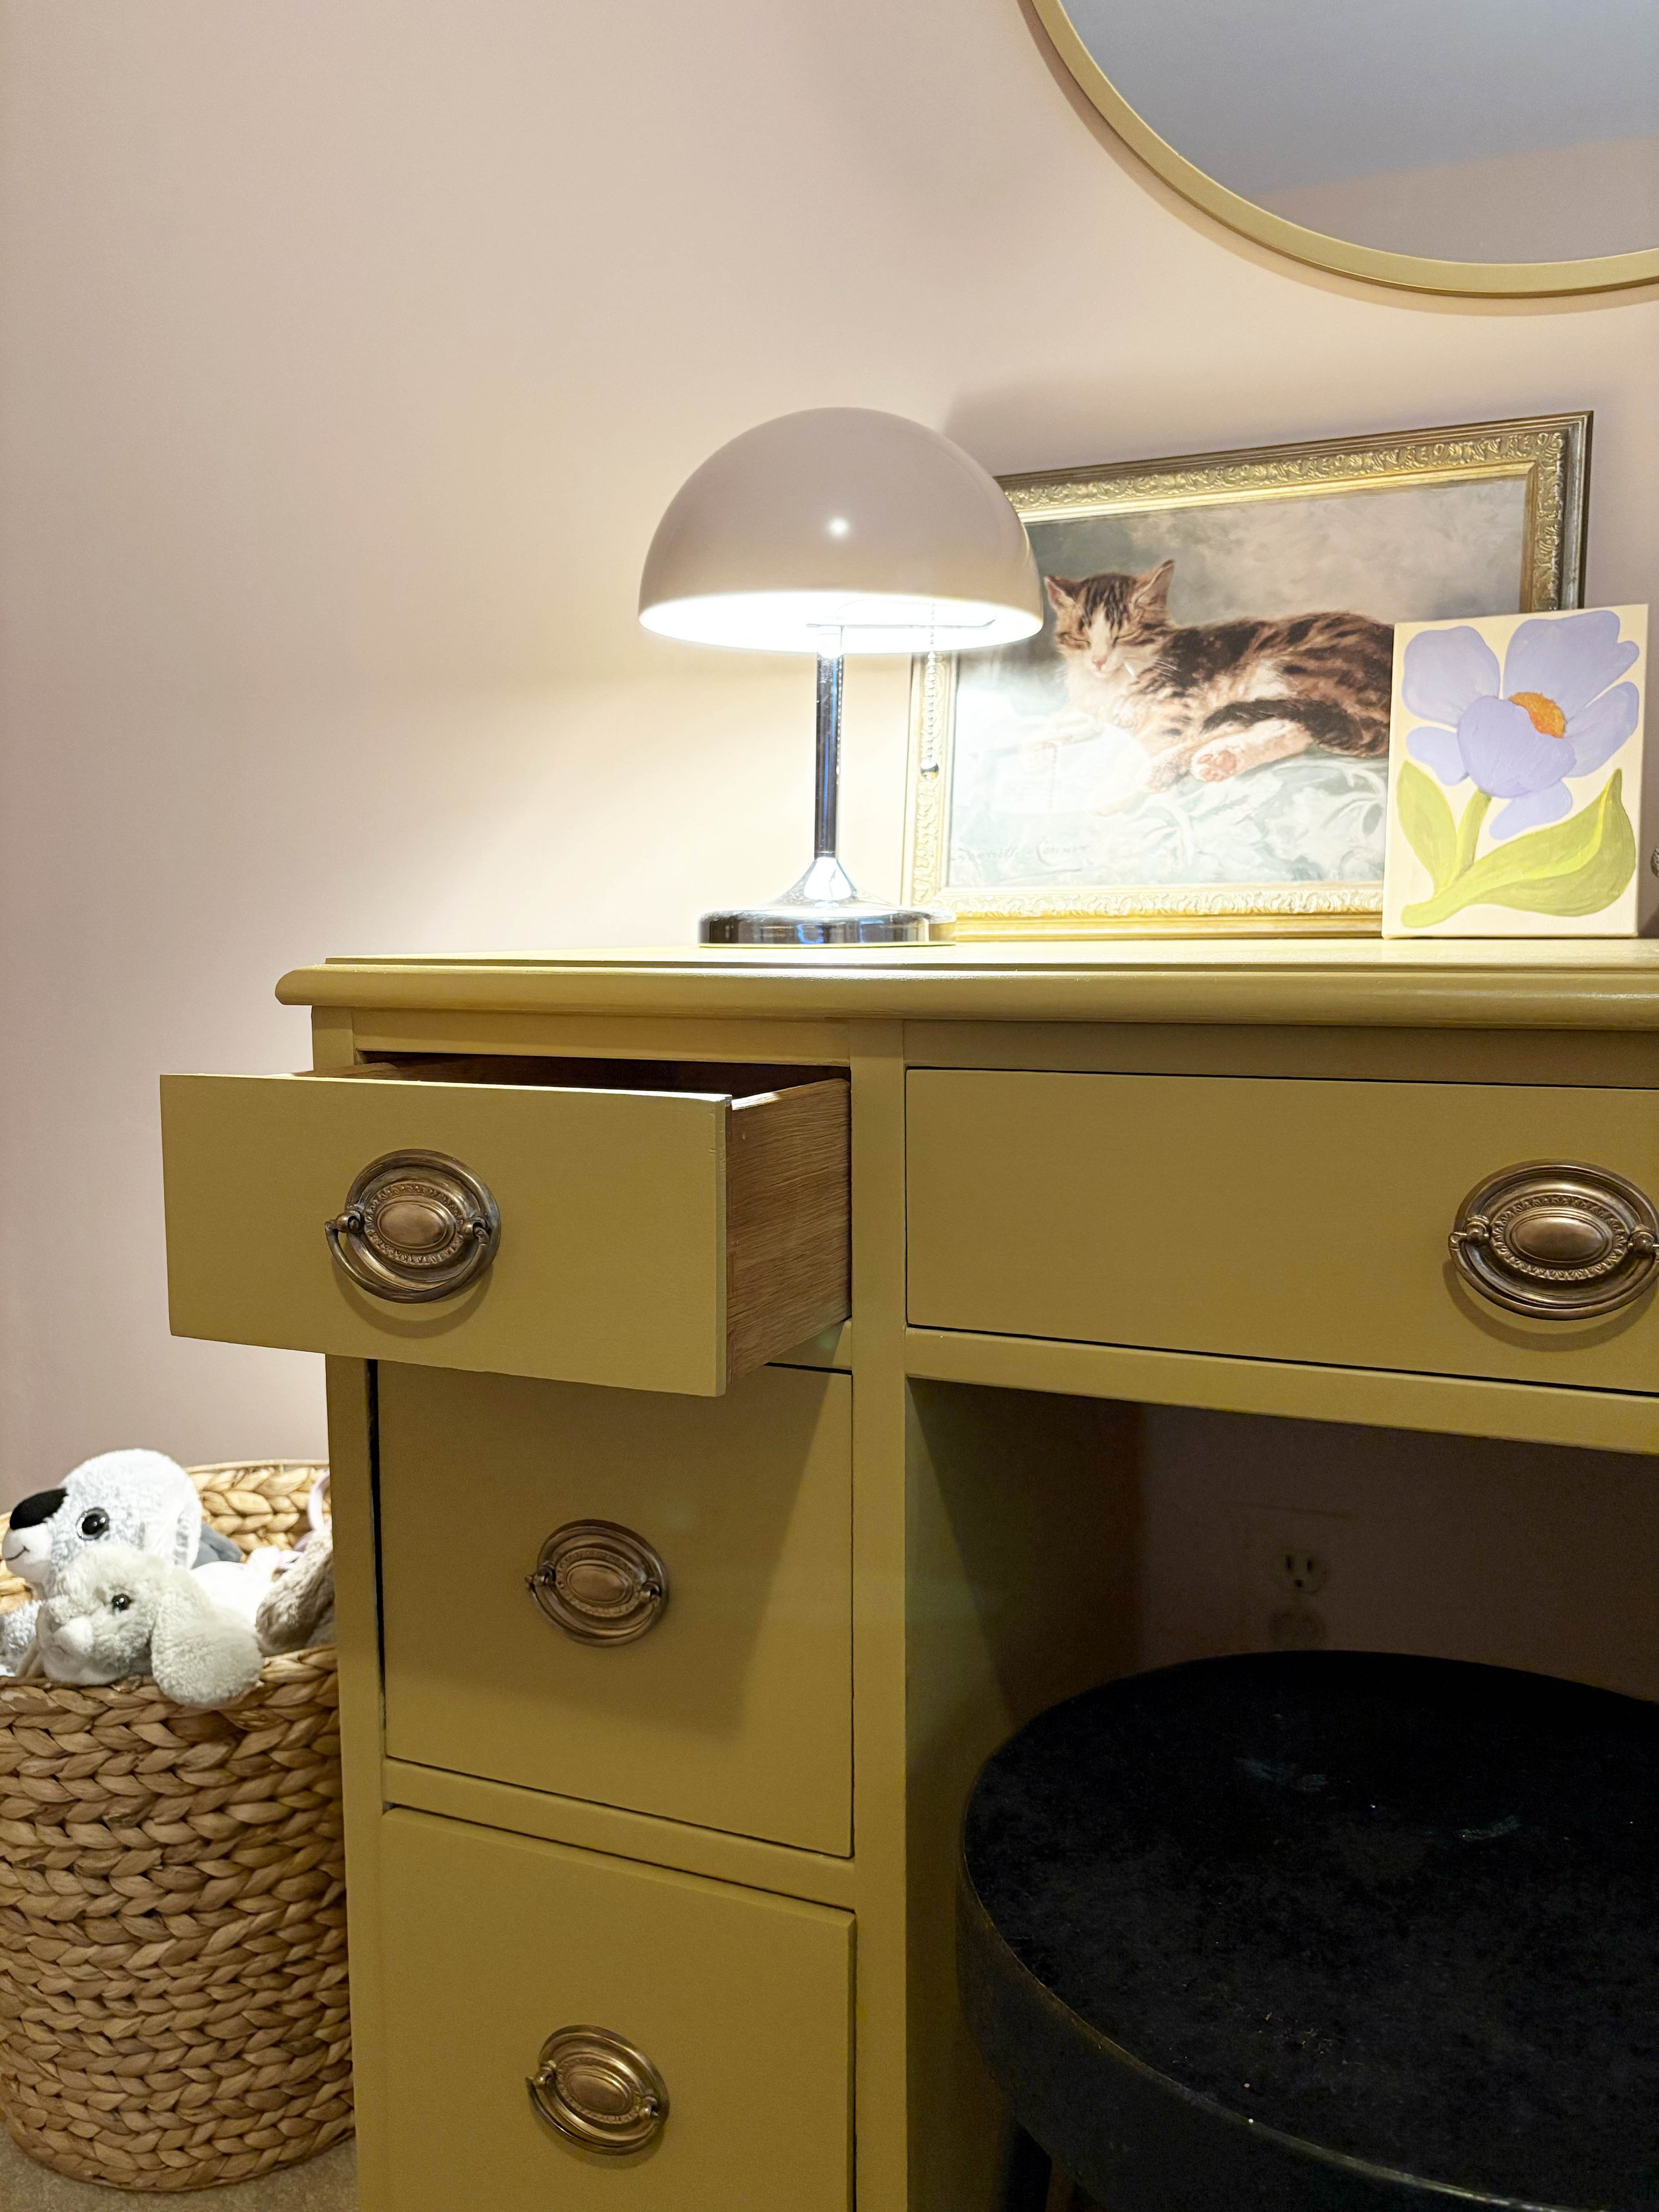
With the desk painted, the only thing left to do was add the finishing touches. I used a finishing wax to protect the finish. I brushed it on with a wax brush using circular motions, then wiped it back to buff it out. I have used a finishing wax on a few furniture projects now and I really love the soft matte finish it provides. I also picked up a roll of very inexpensive vinyl removable wallpaper and used it to line the inside of the drawers. This will add a layer of protection over time, but also adds a fun detail and additional pop of color. It’s such an endearing detail.
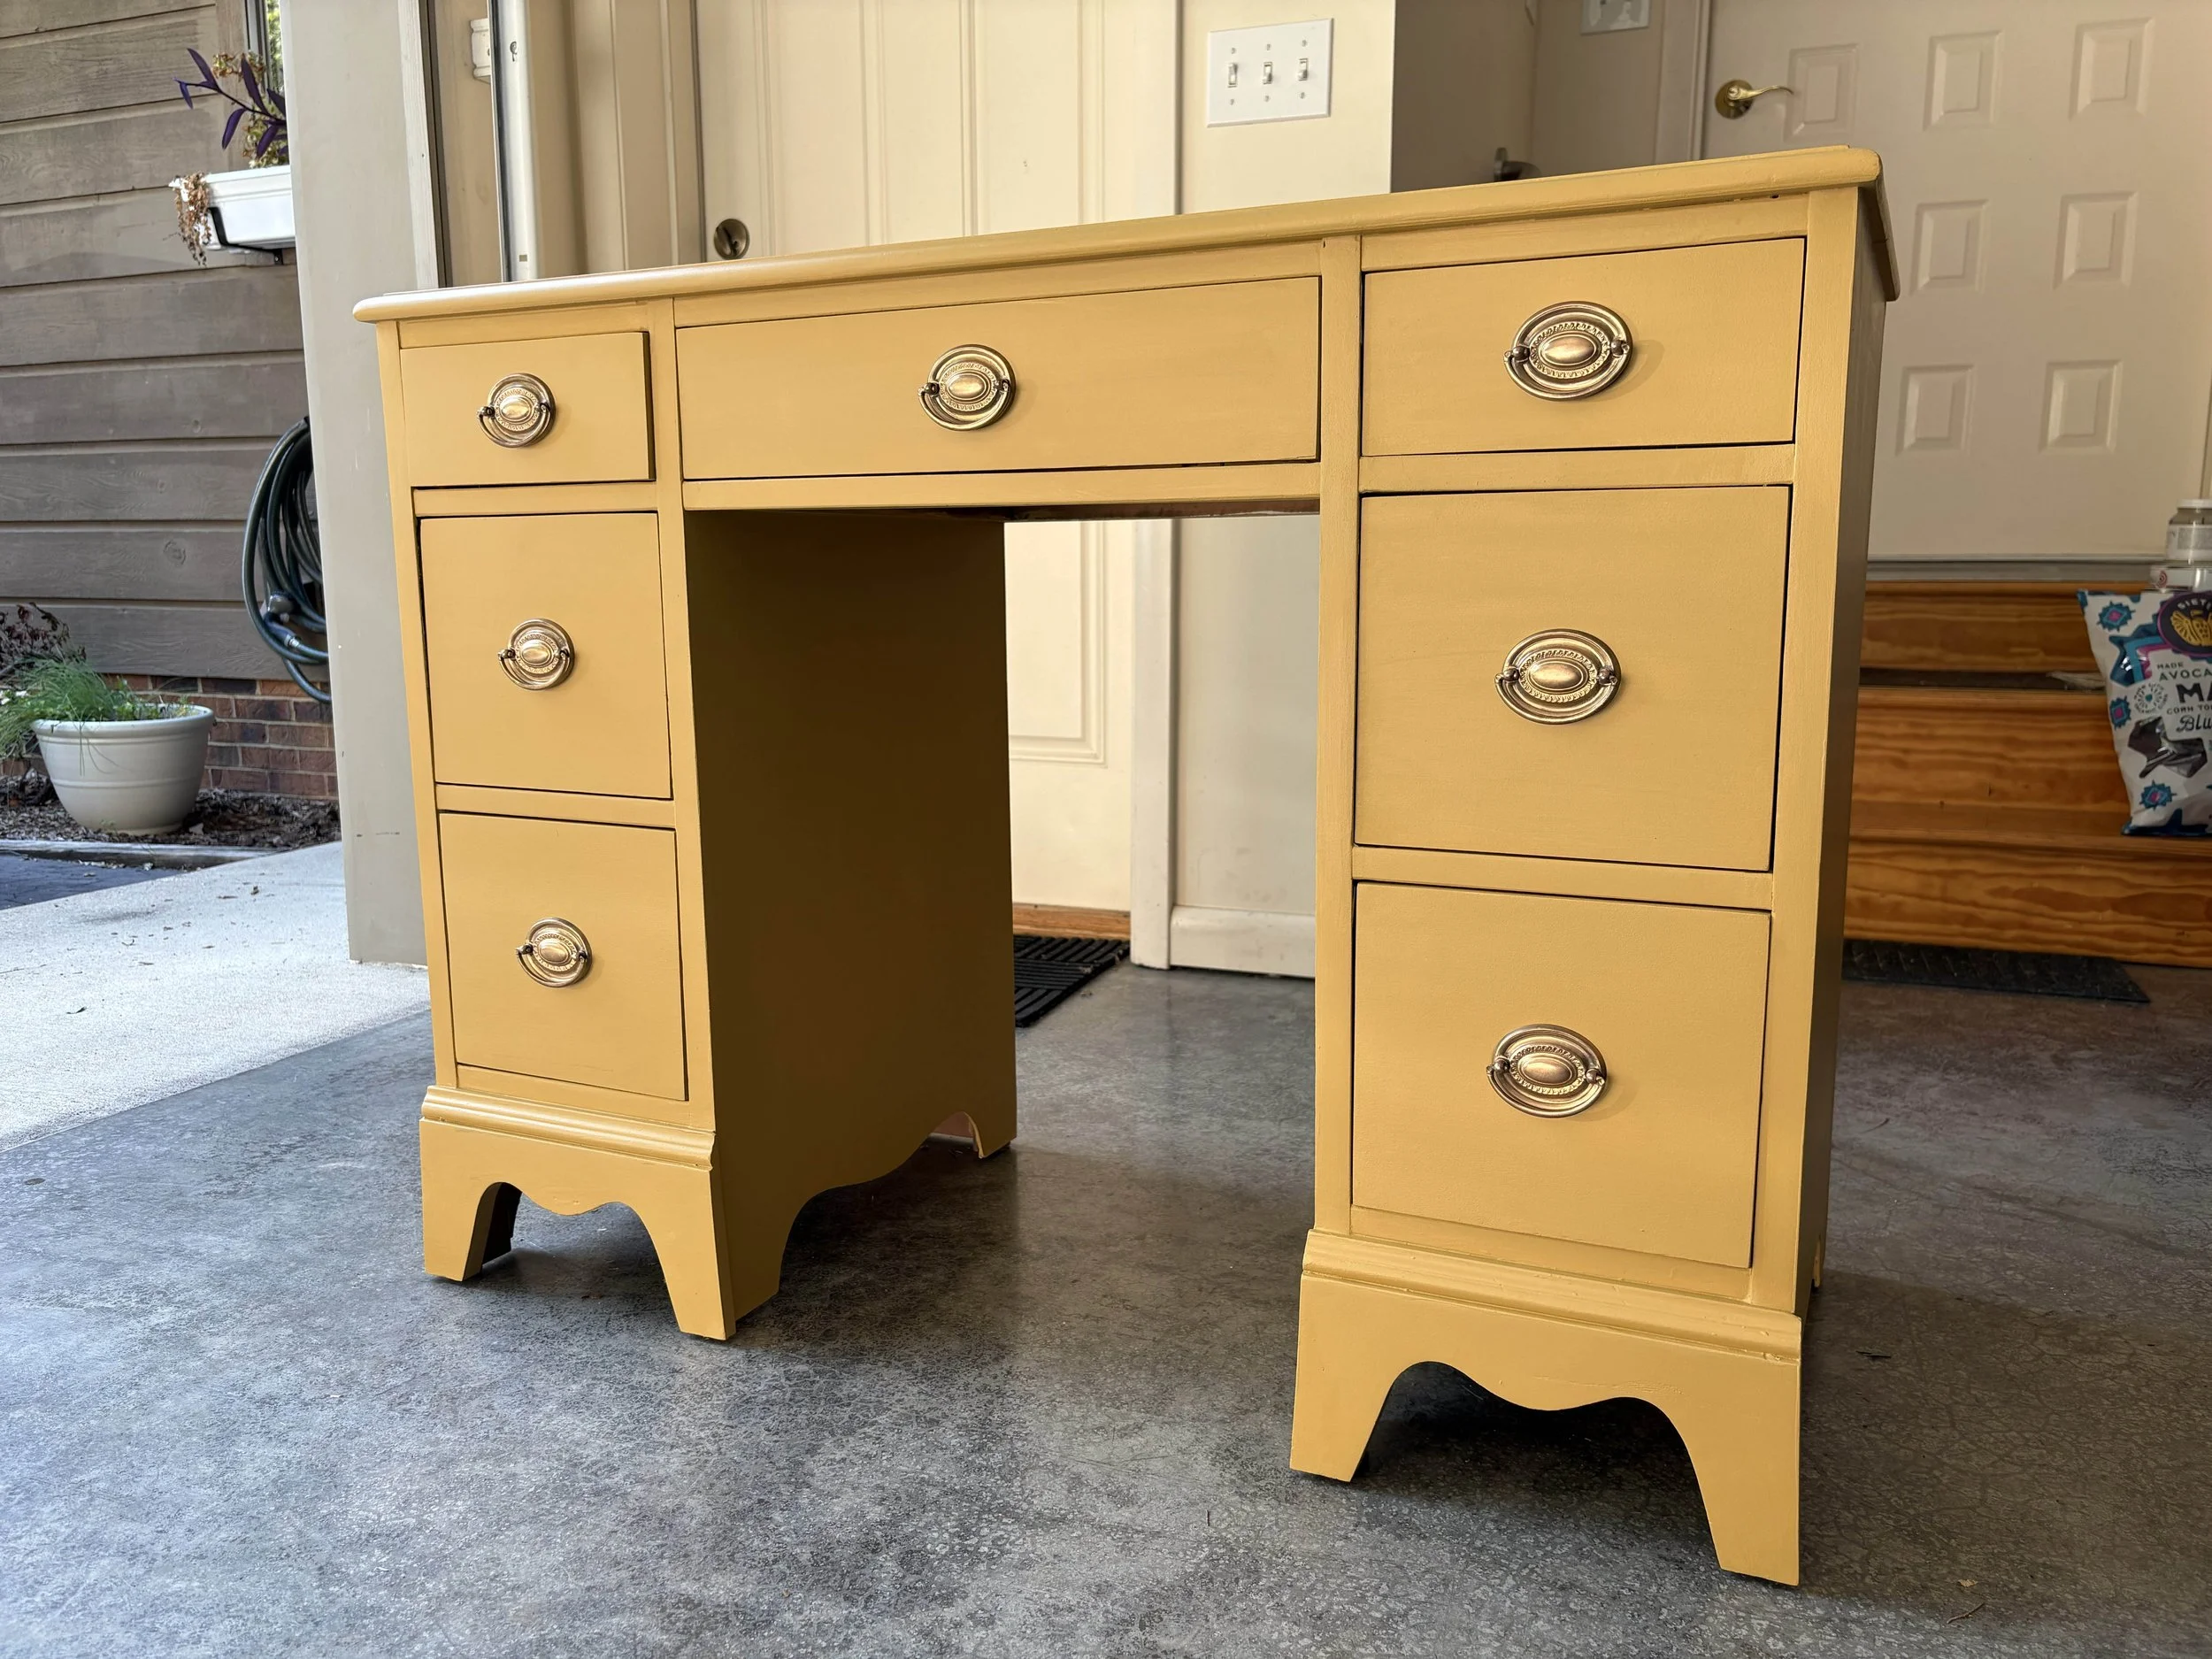
The Reveal
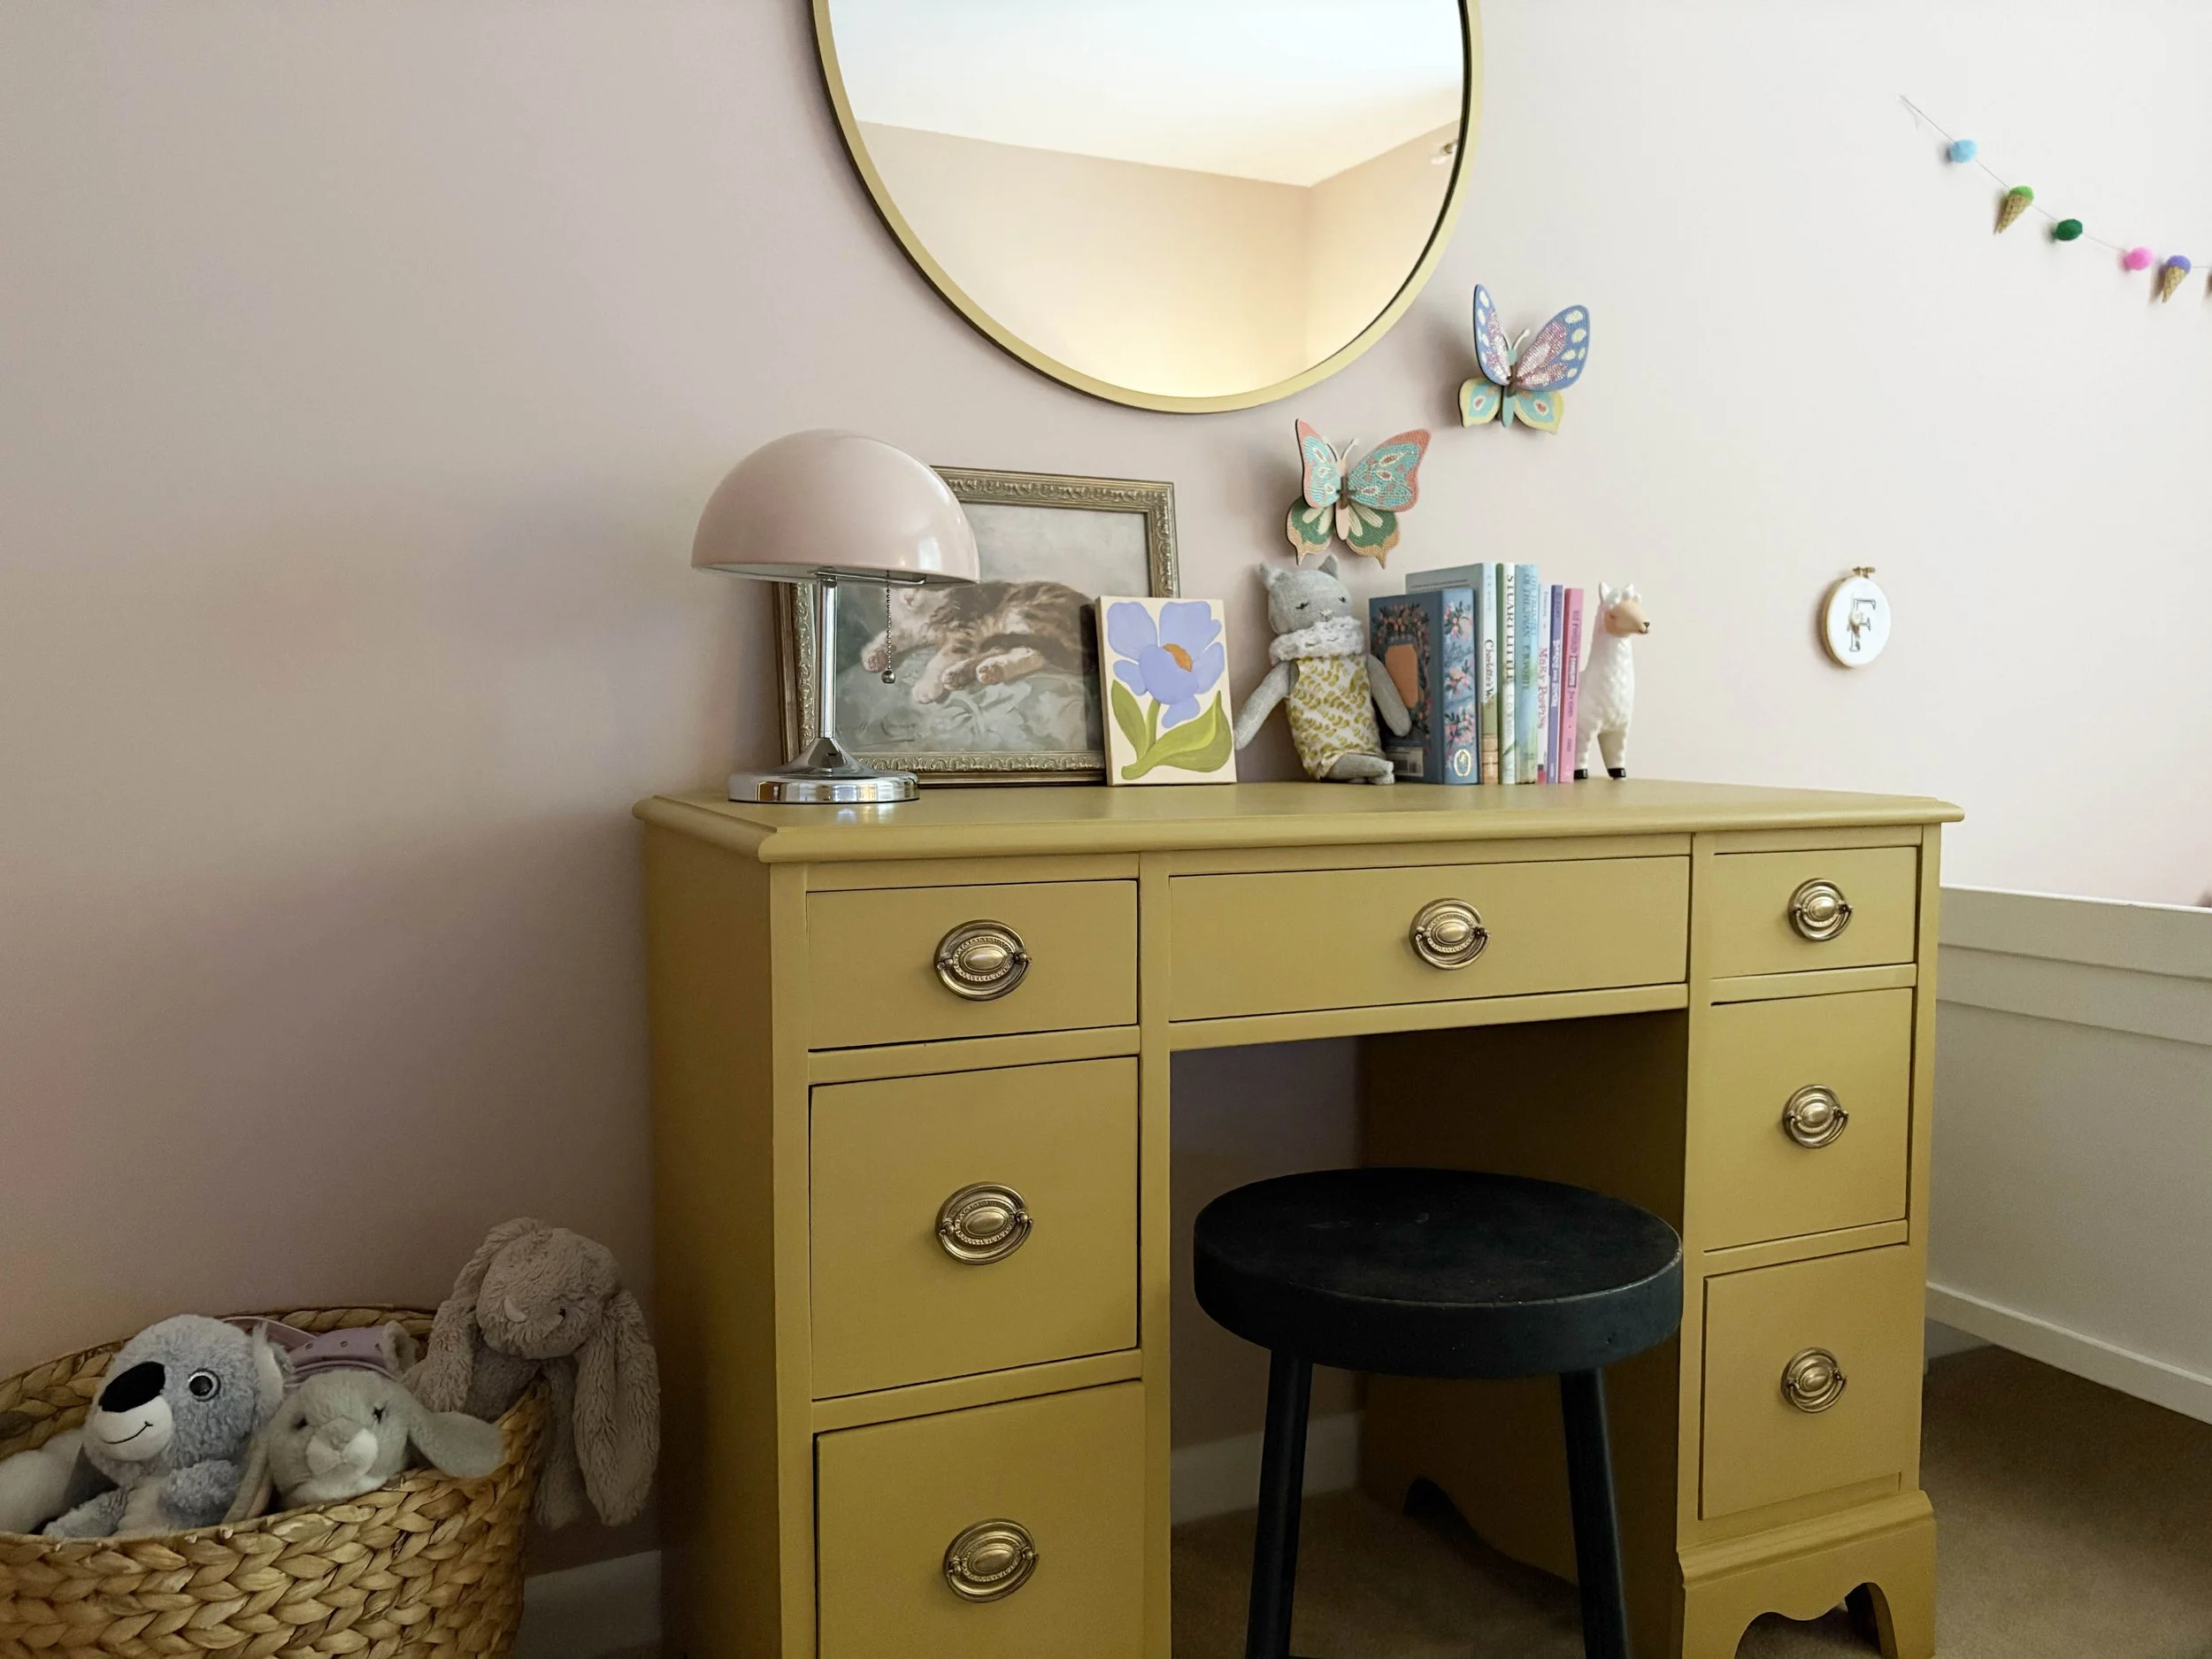
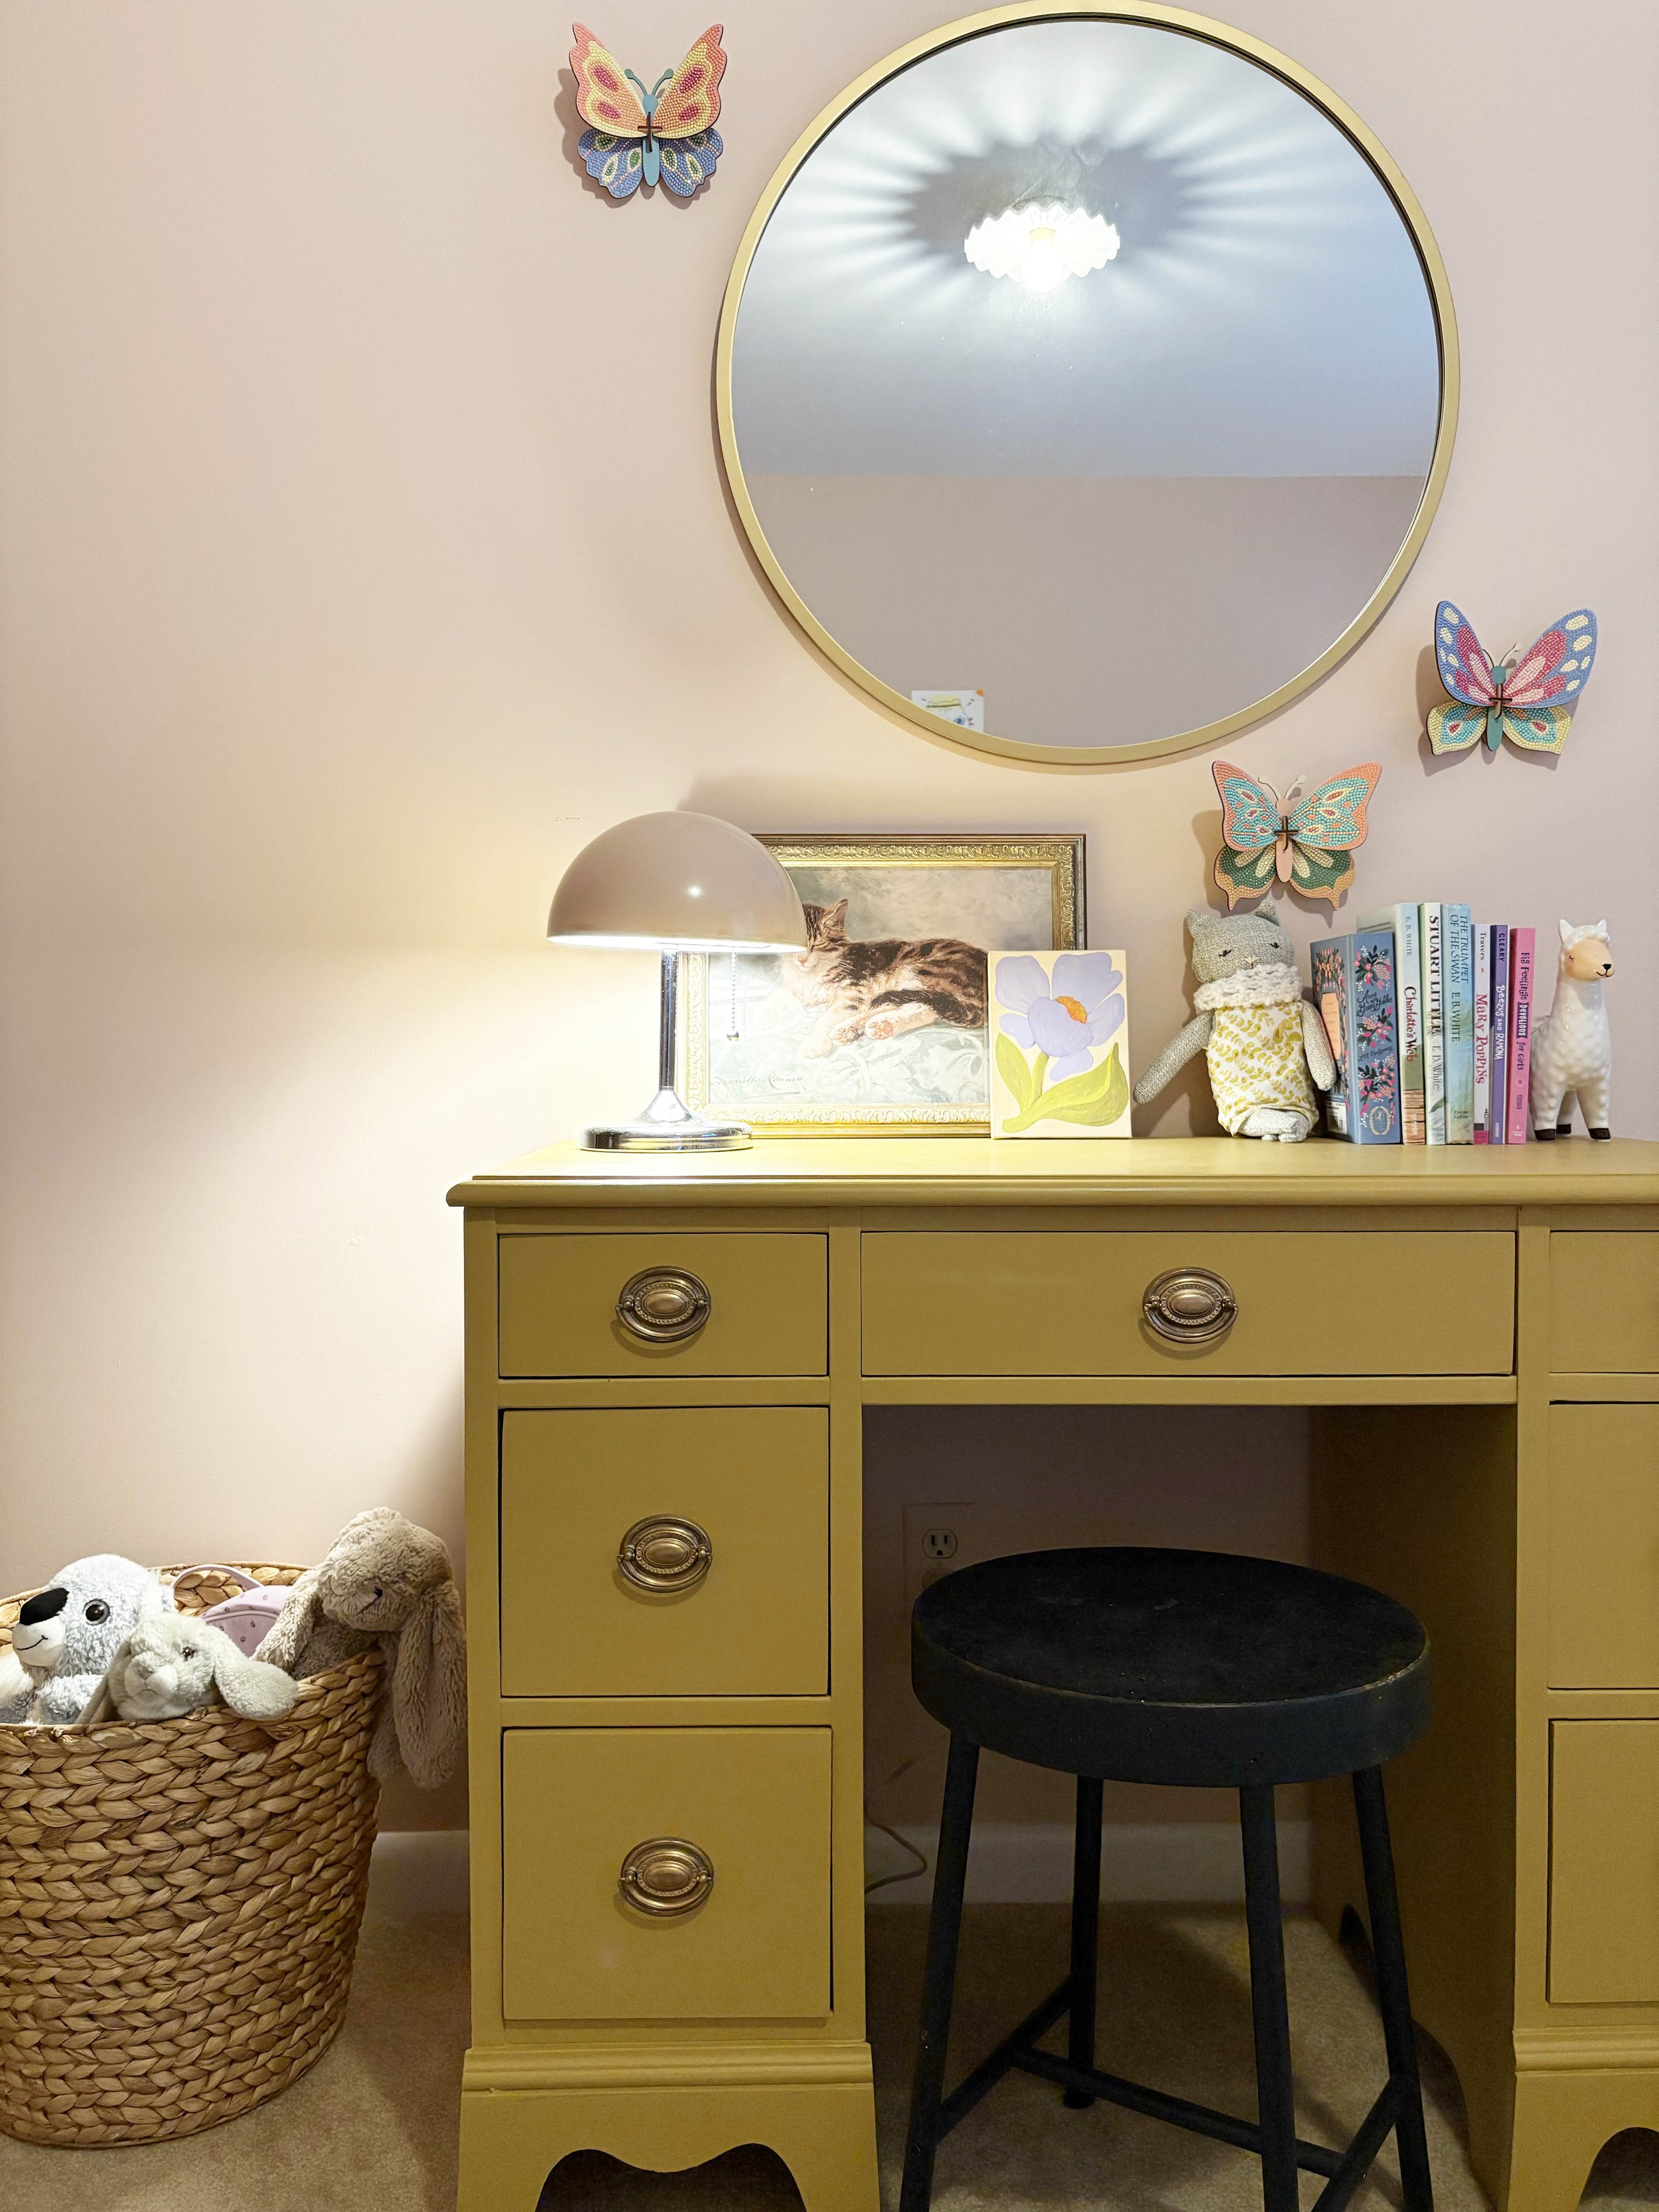
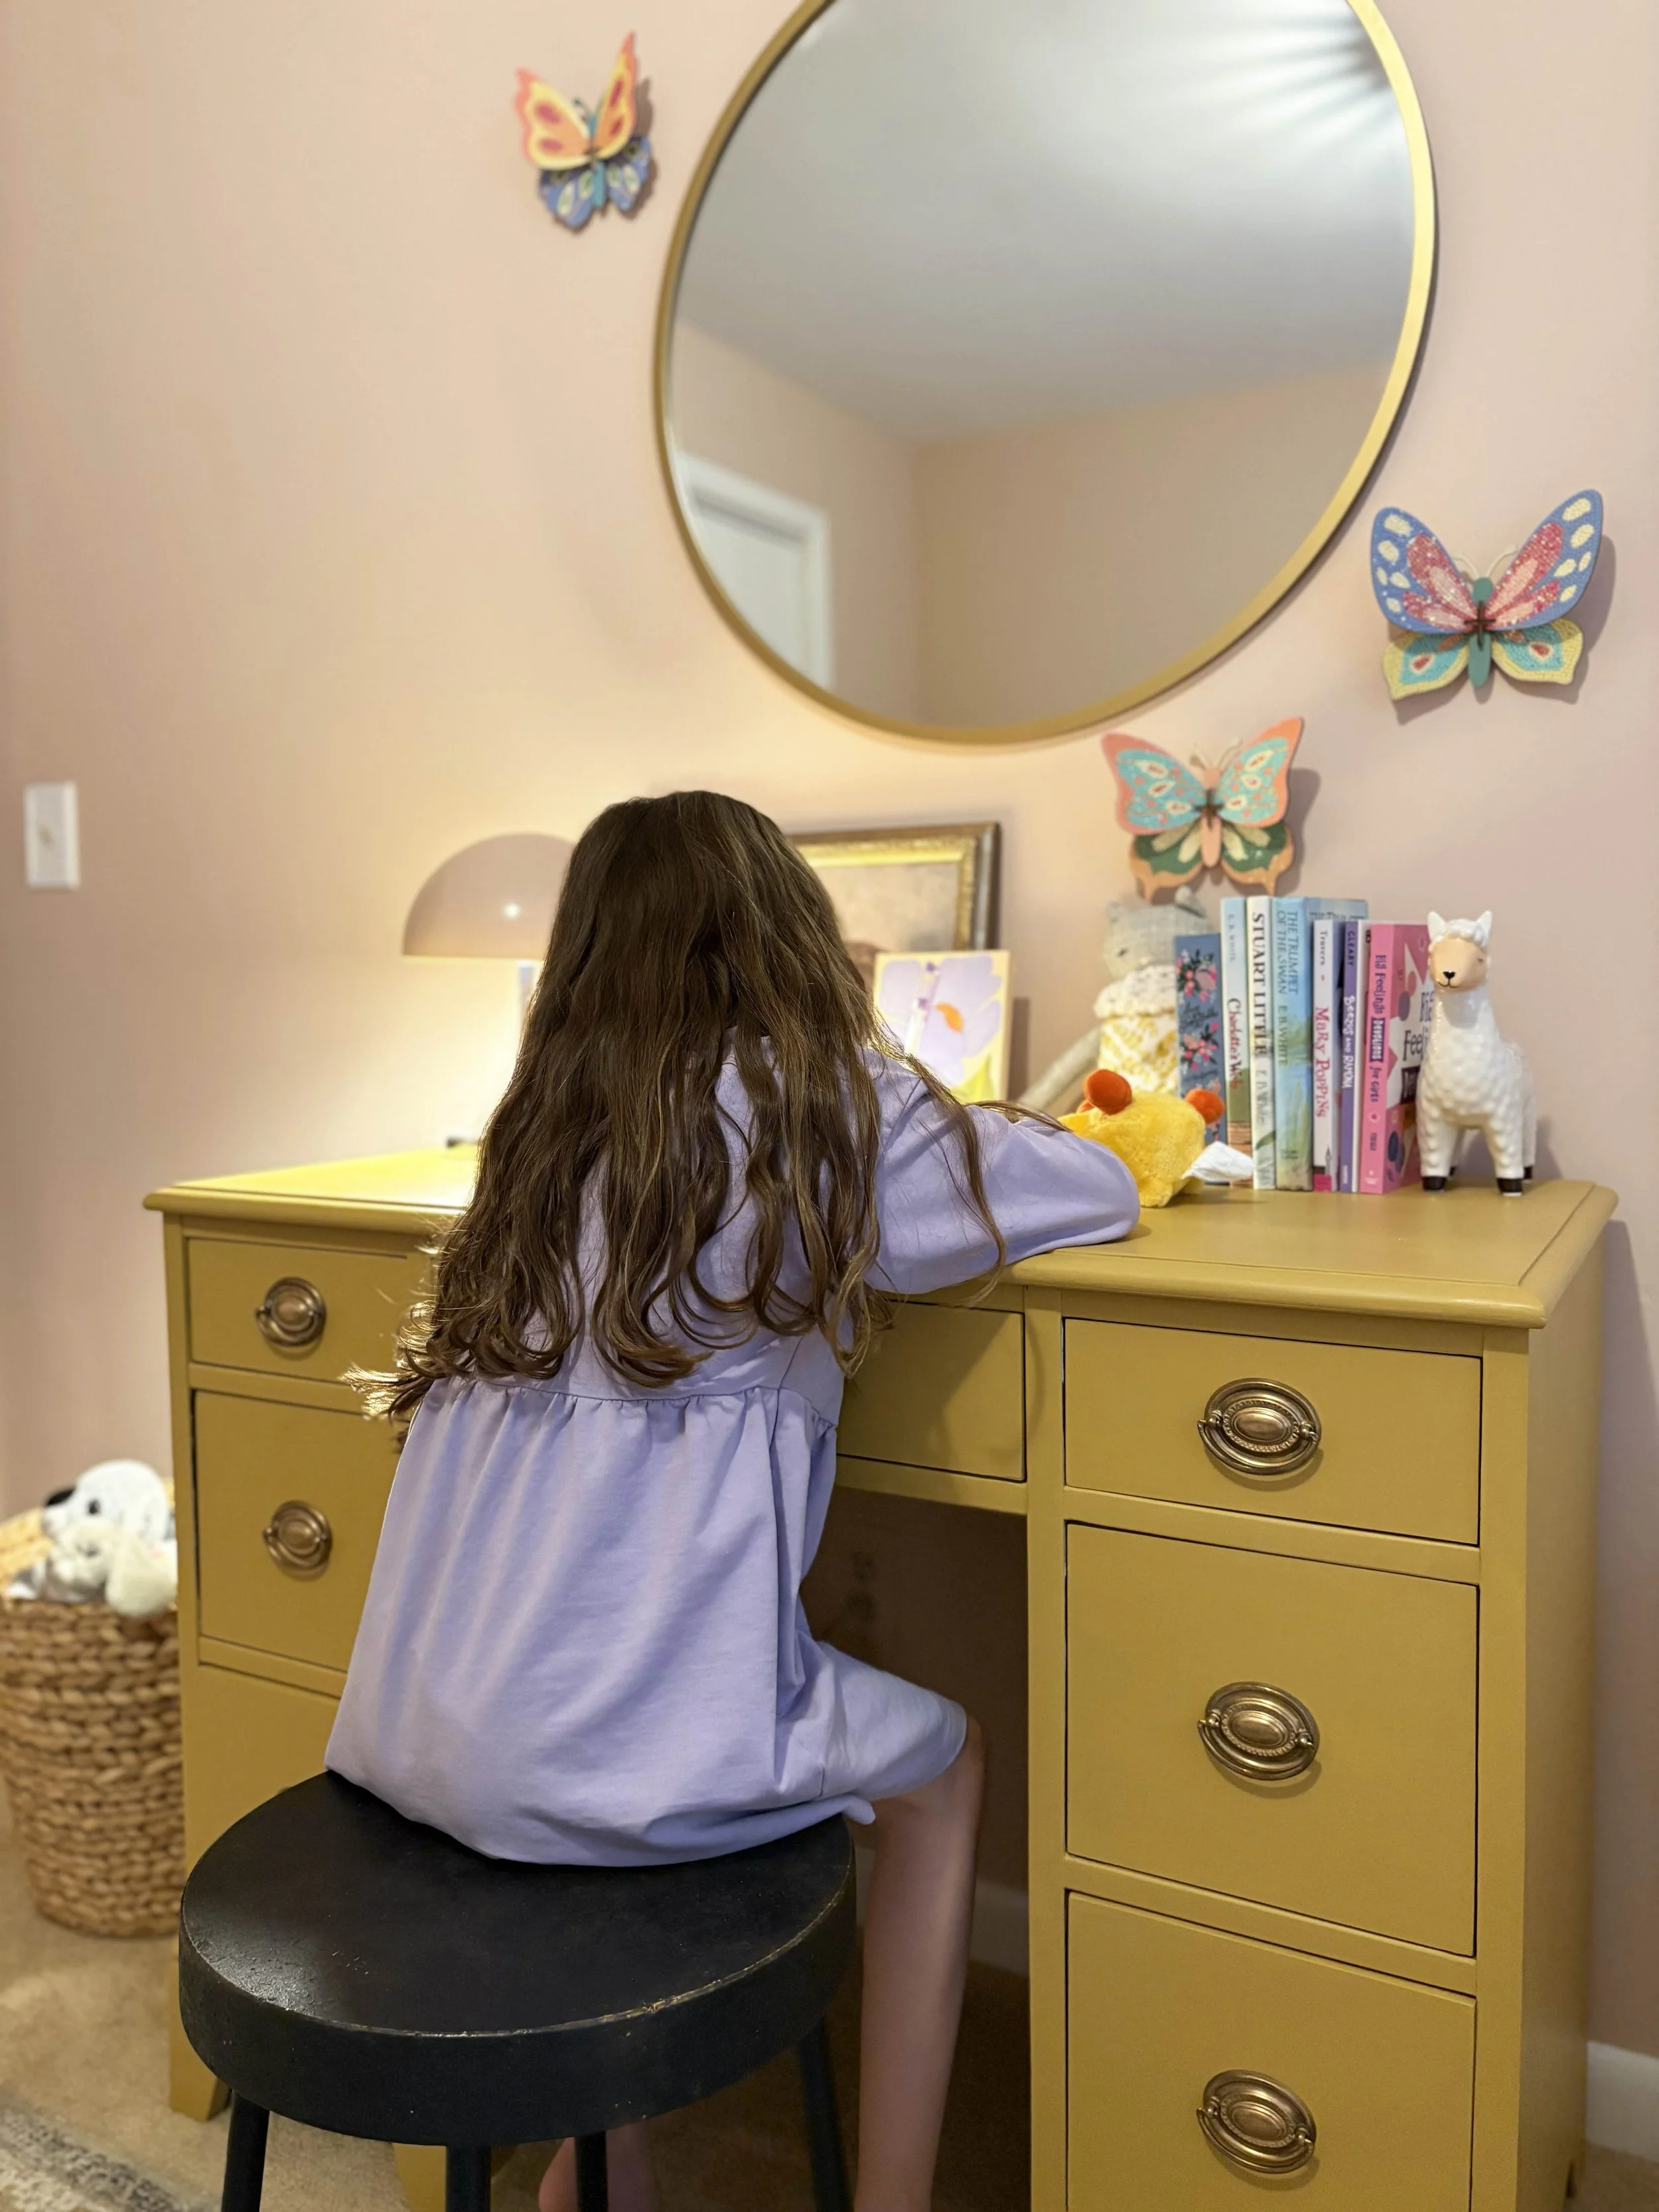
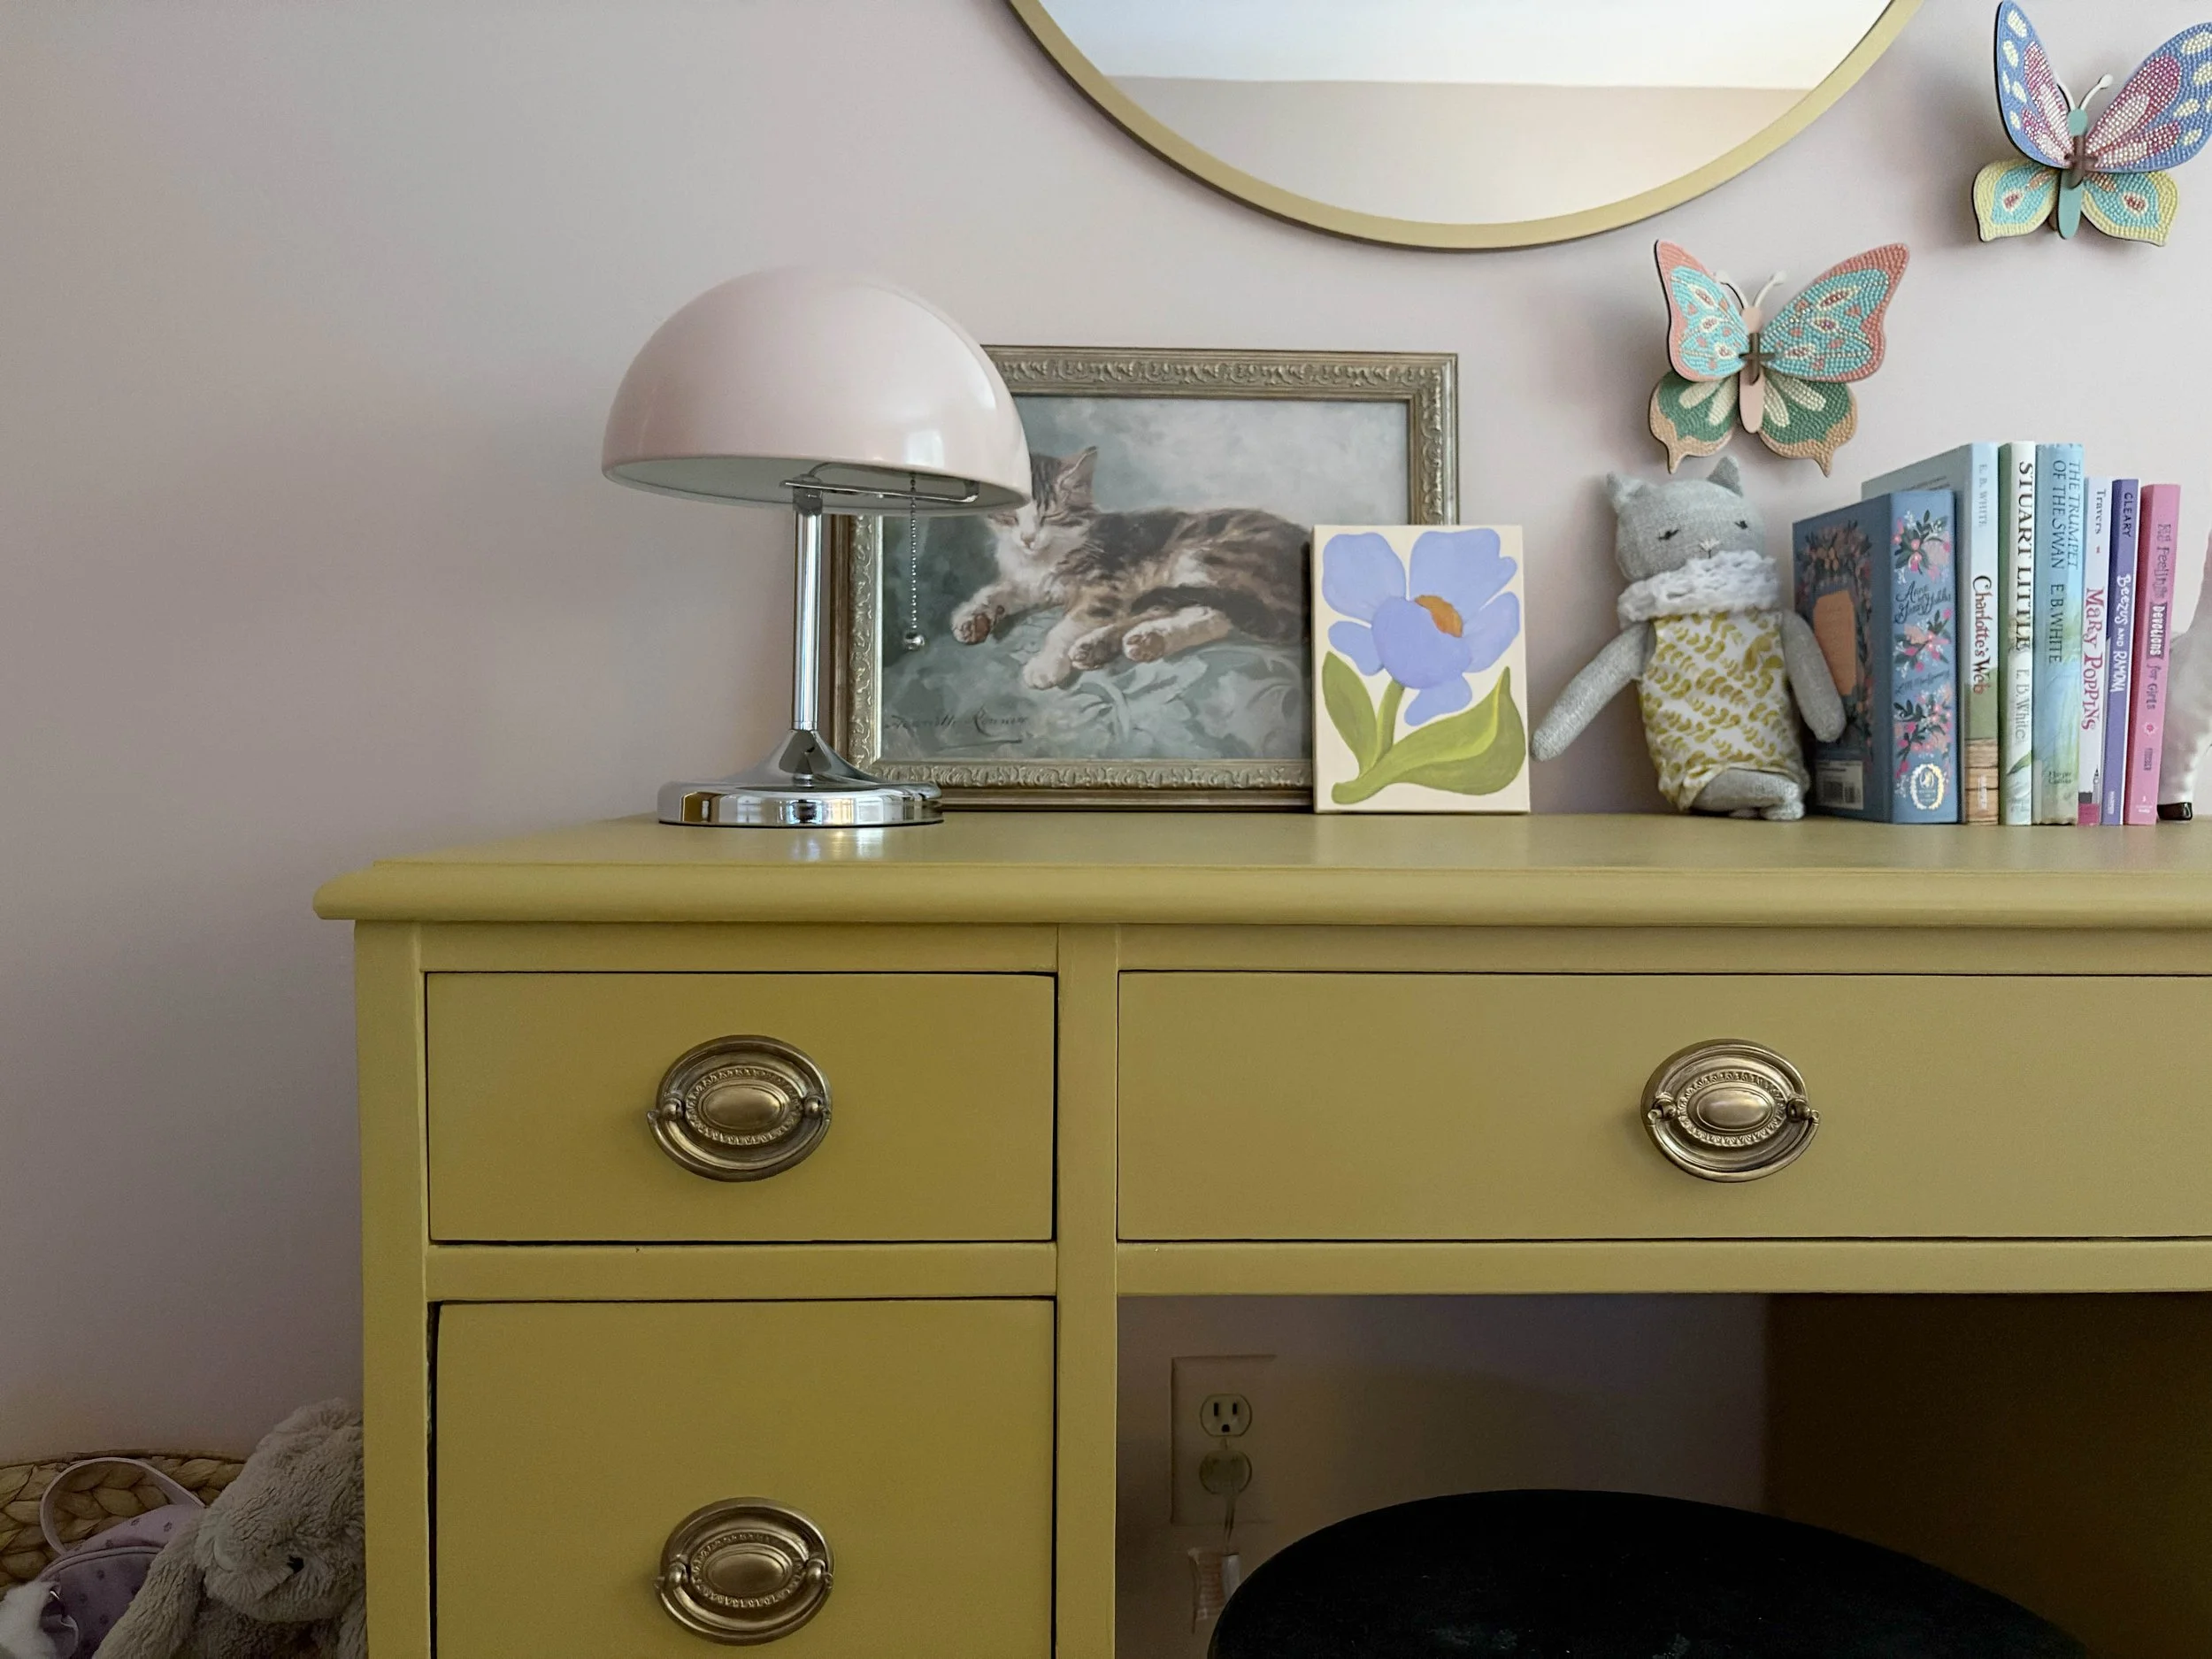
The bright yellow desk adds such a fun pop of color to our girls’ room. It’s just the right size and offers so much closed storage for all their drawing tools, notebooks (little girls love notebooks), and miscellaneous knick-knacks. I reused the existing hardware after soaking it in warm vinegar and water, giving it a good scrub with a sponge, and then applying a thin layer of Rub ‘n Buff to freshen up the antique brass finish. It will also wear over time and maintain a beautiful patina, which I think adds to the charm.
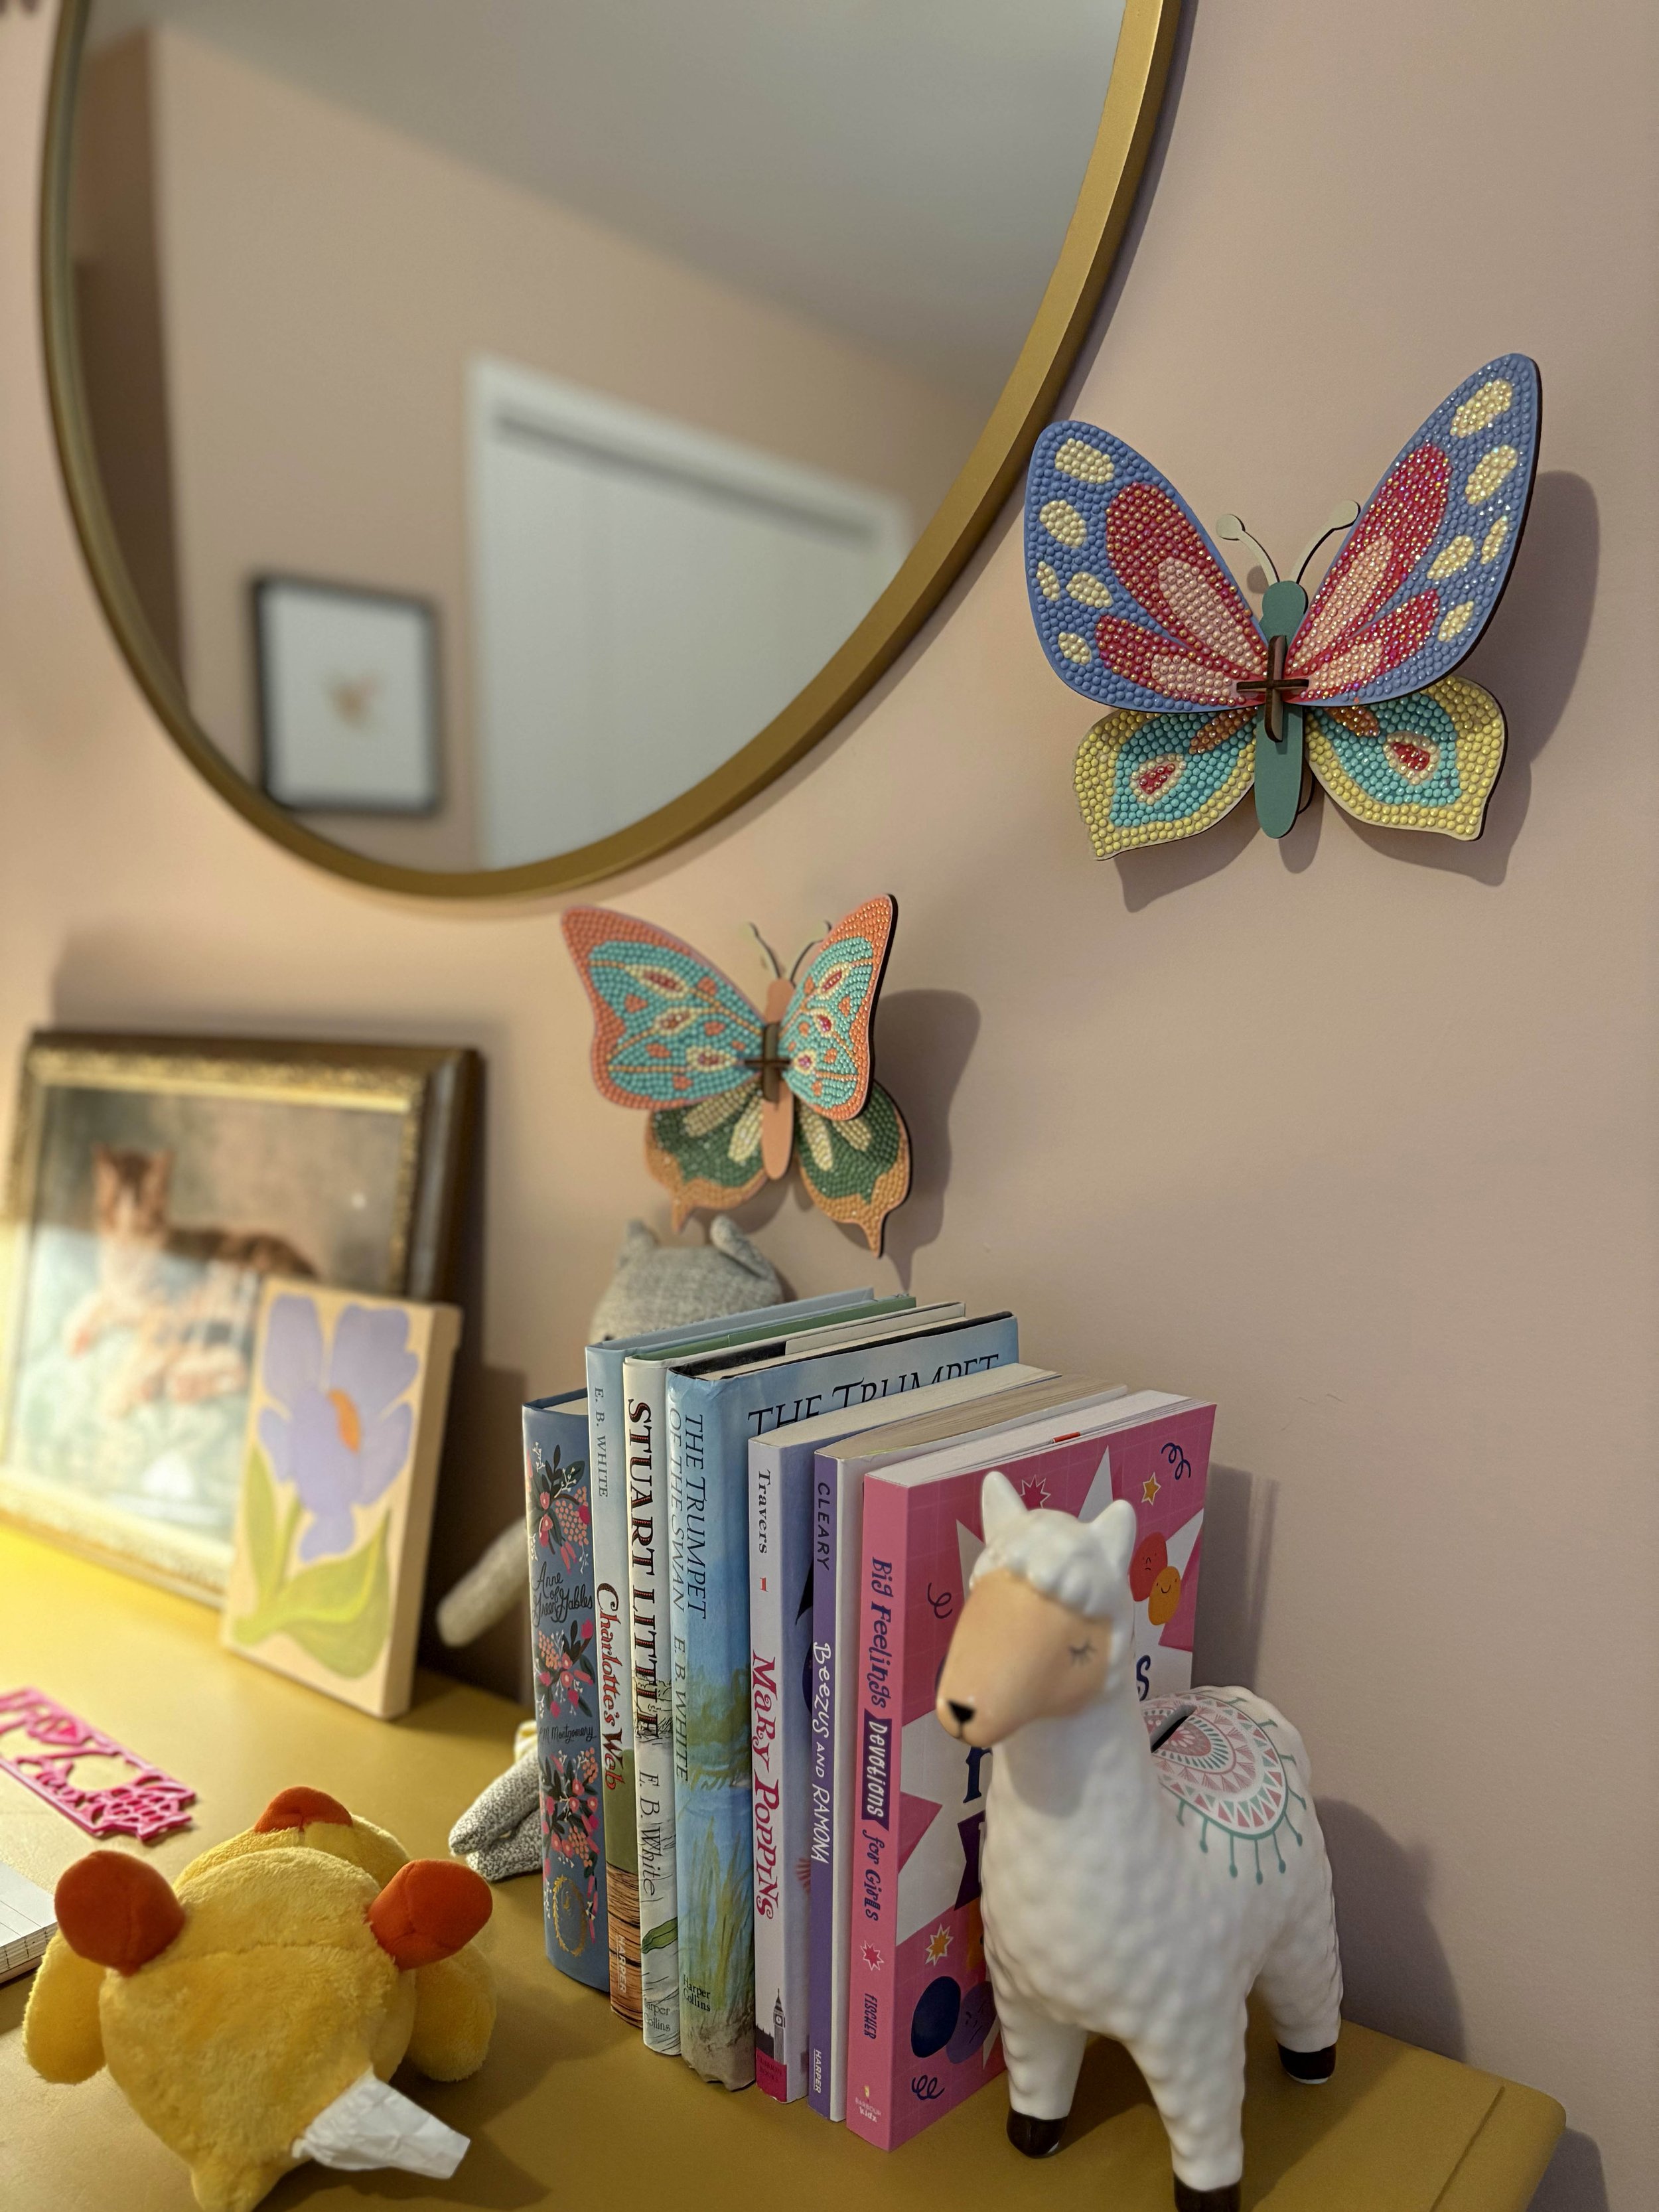
We placed the desk under a simple round mirror and I hung their gem-by-number butterflies up around it for an asymmetrical look. I found a really cute pink mushroom lamp that lights up the desk and then added a few of their books and treasures.
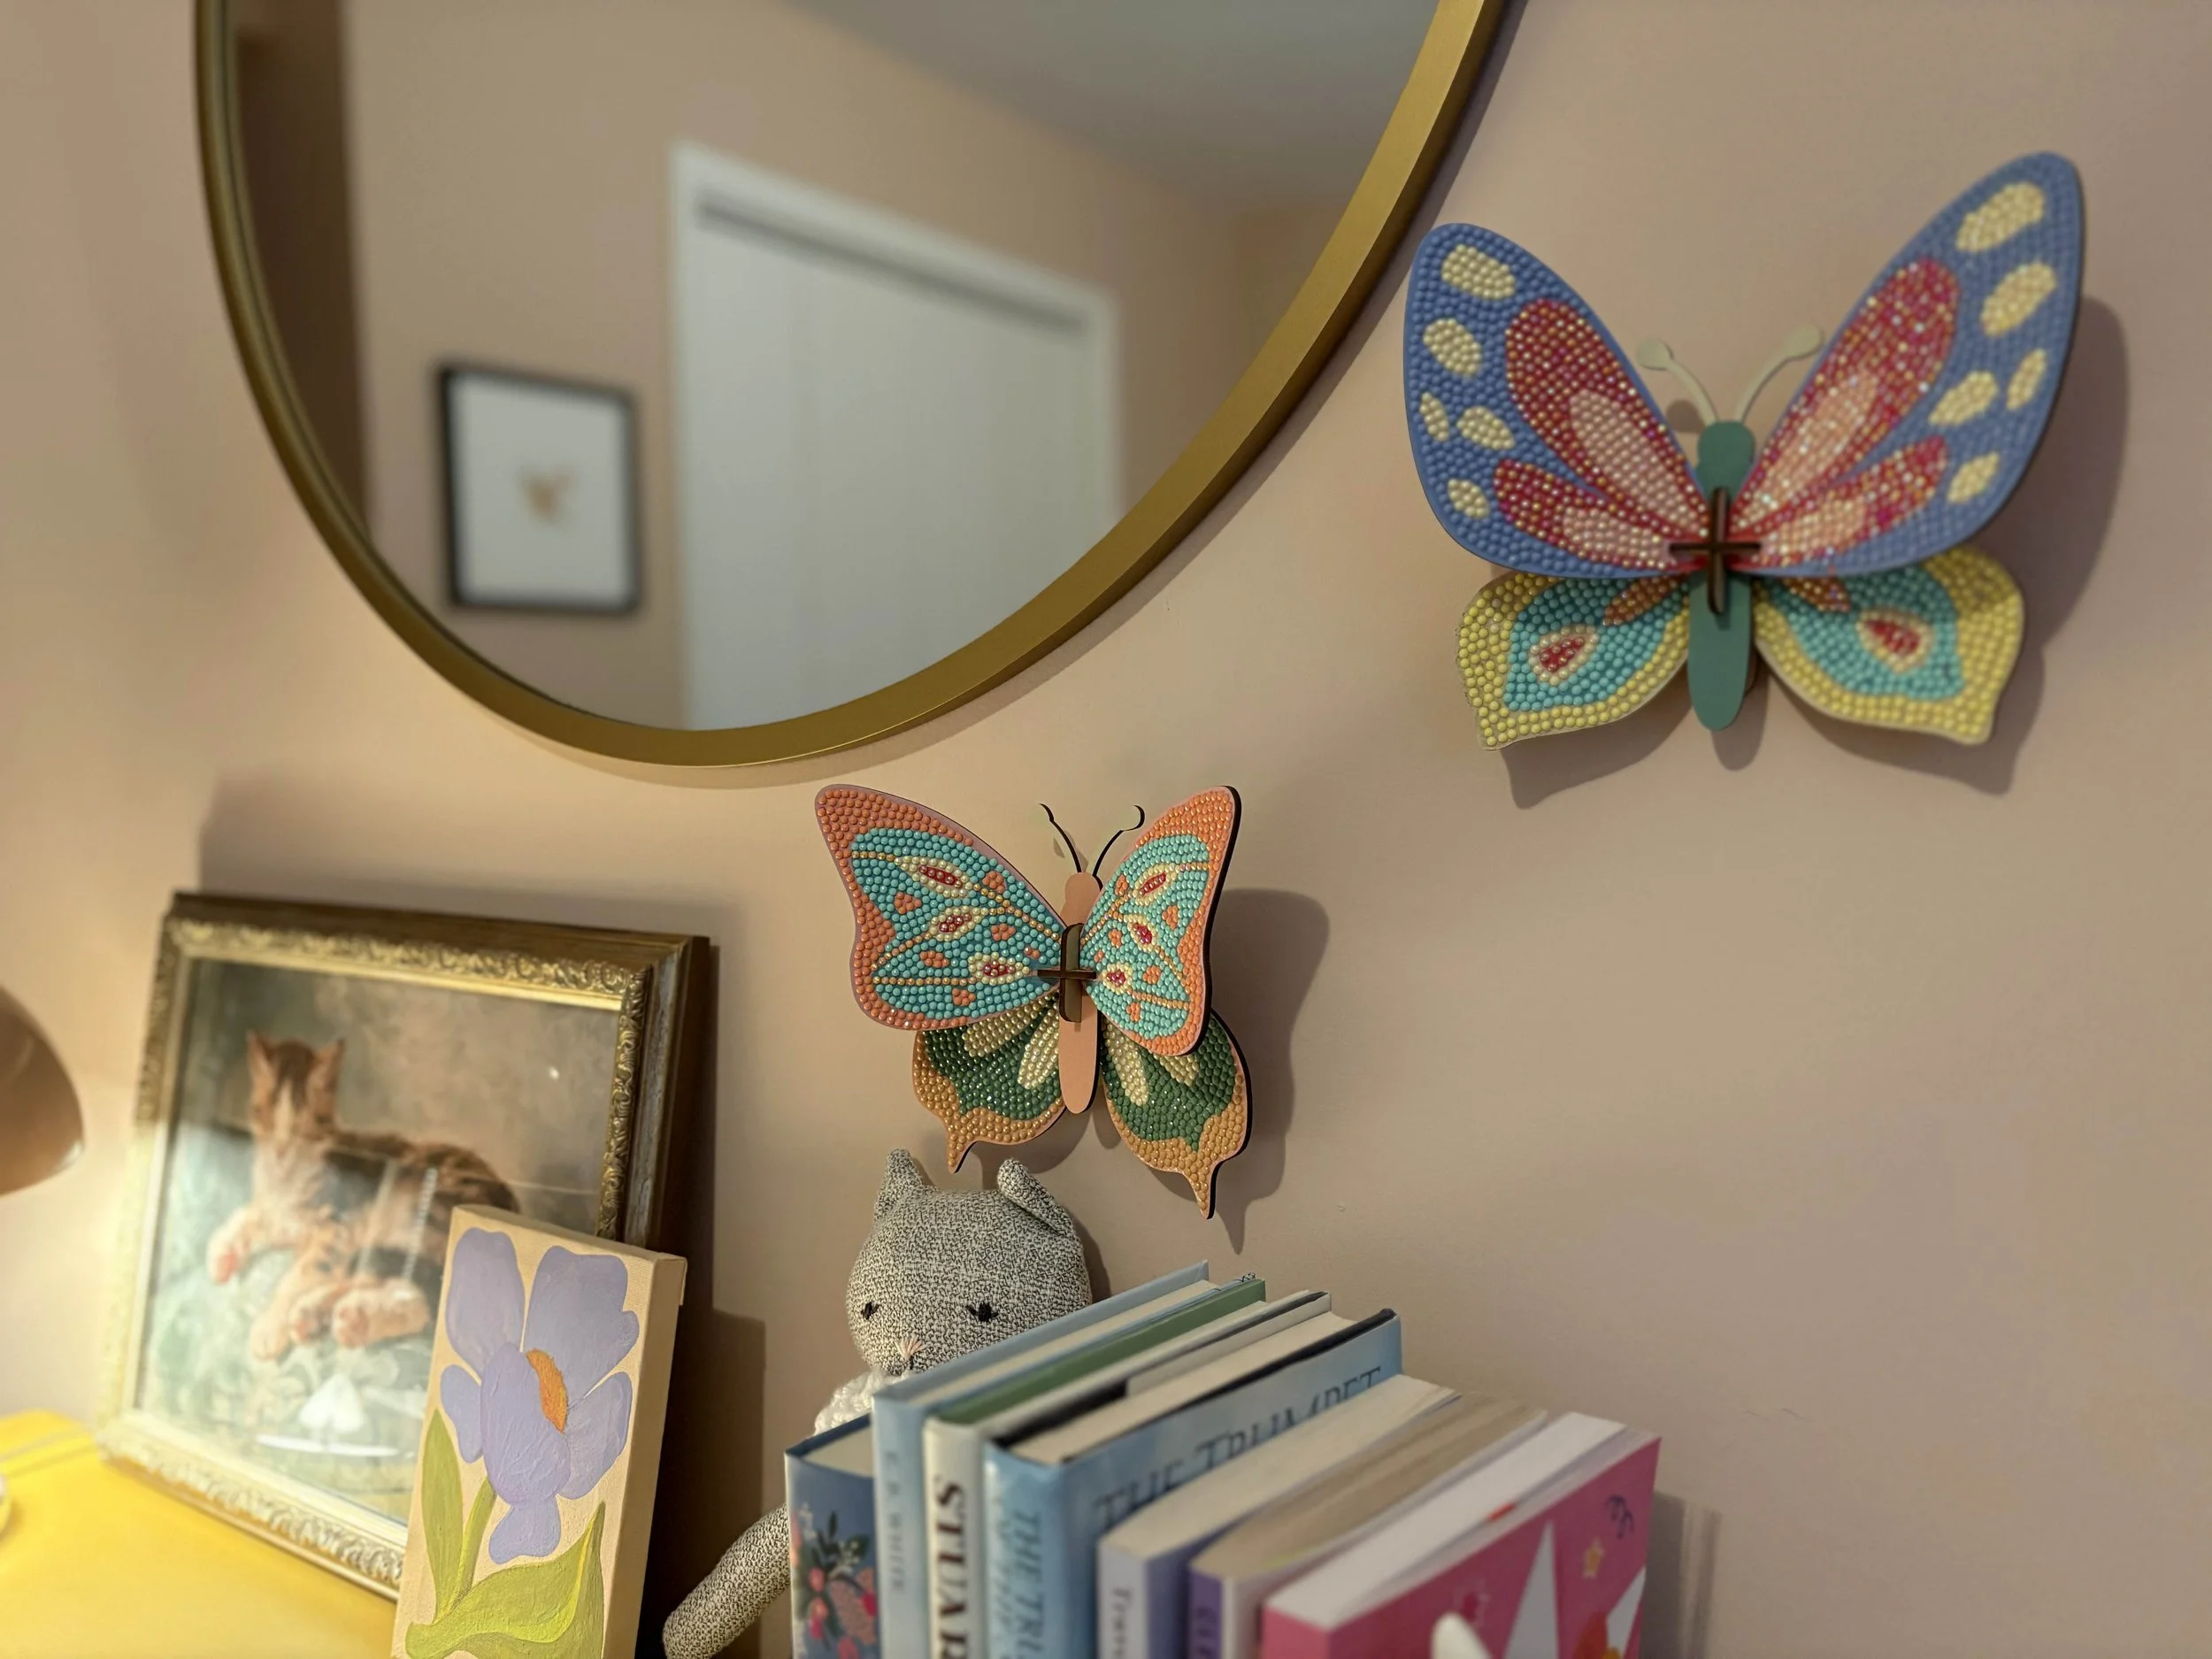
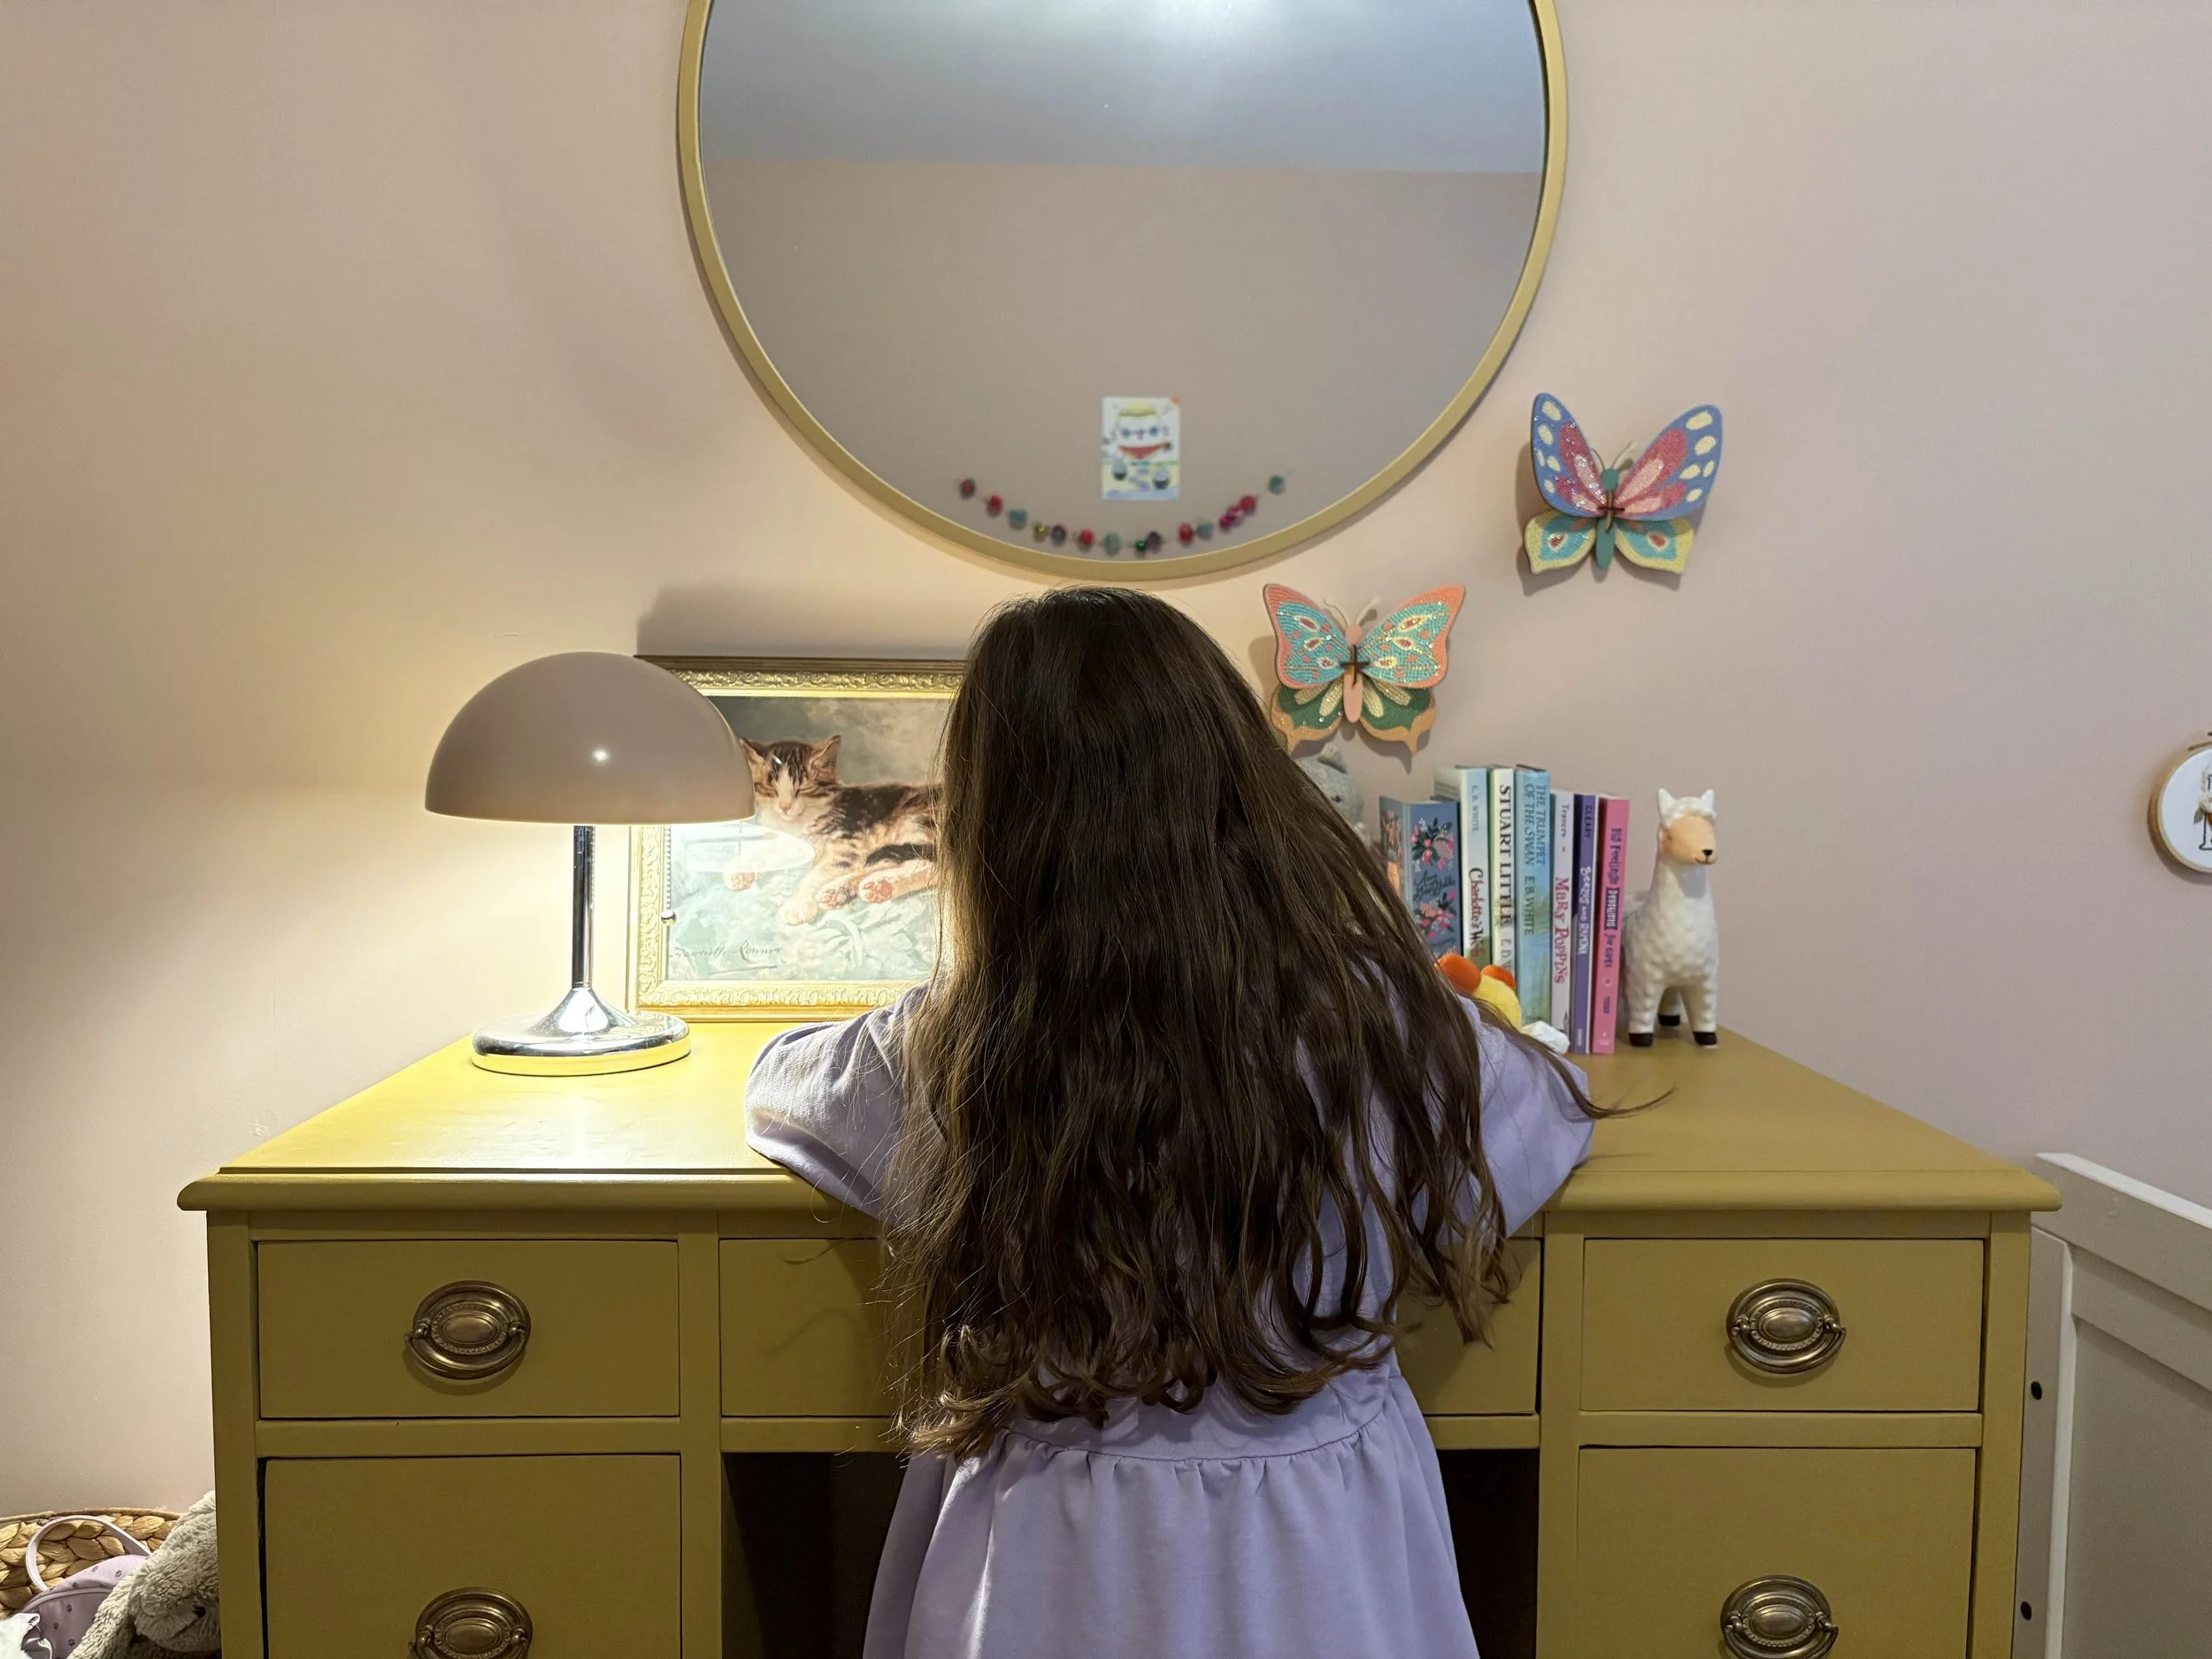
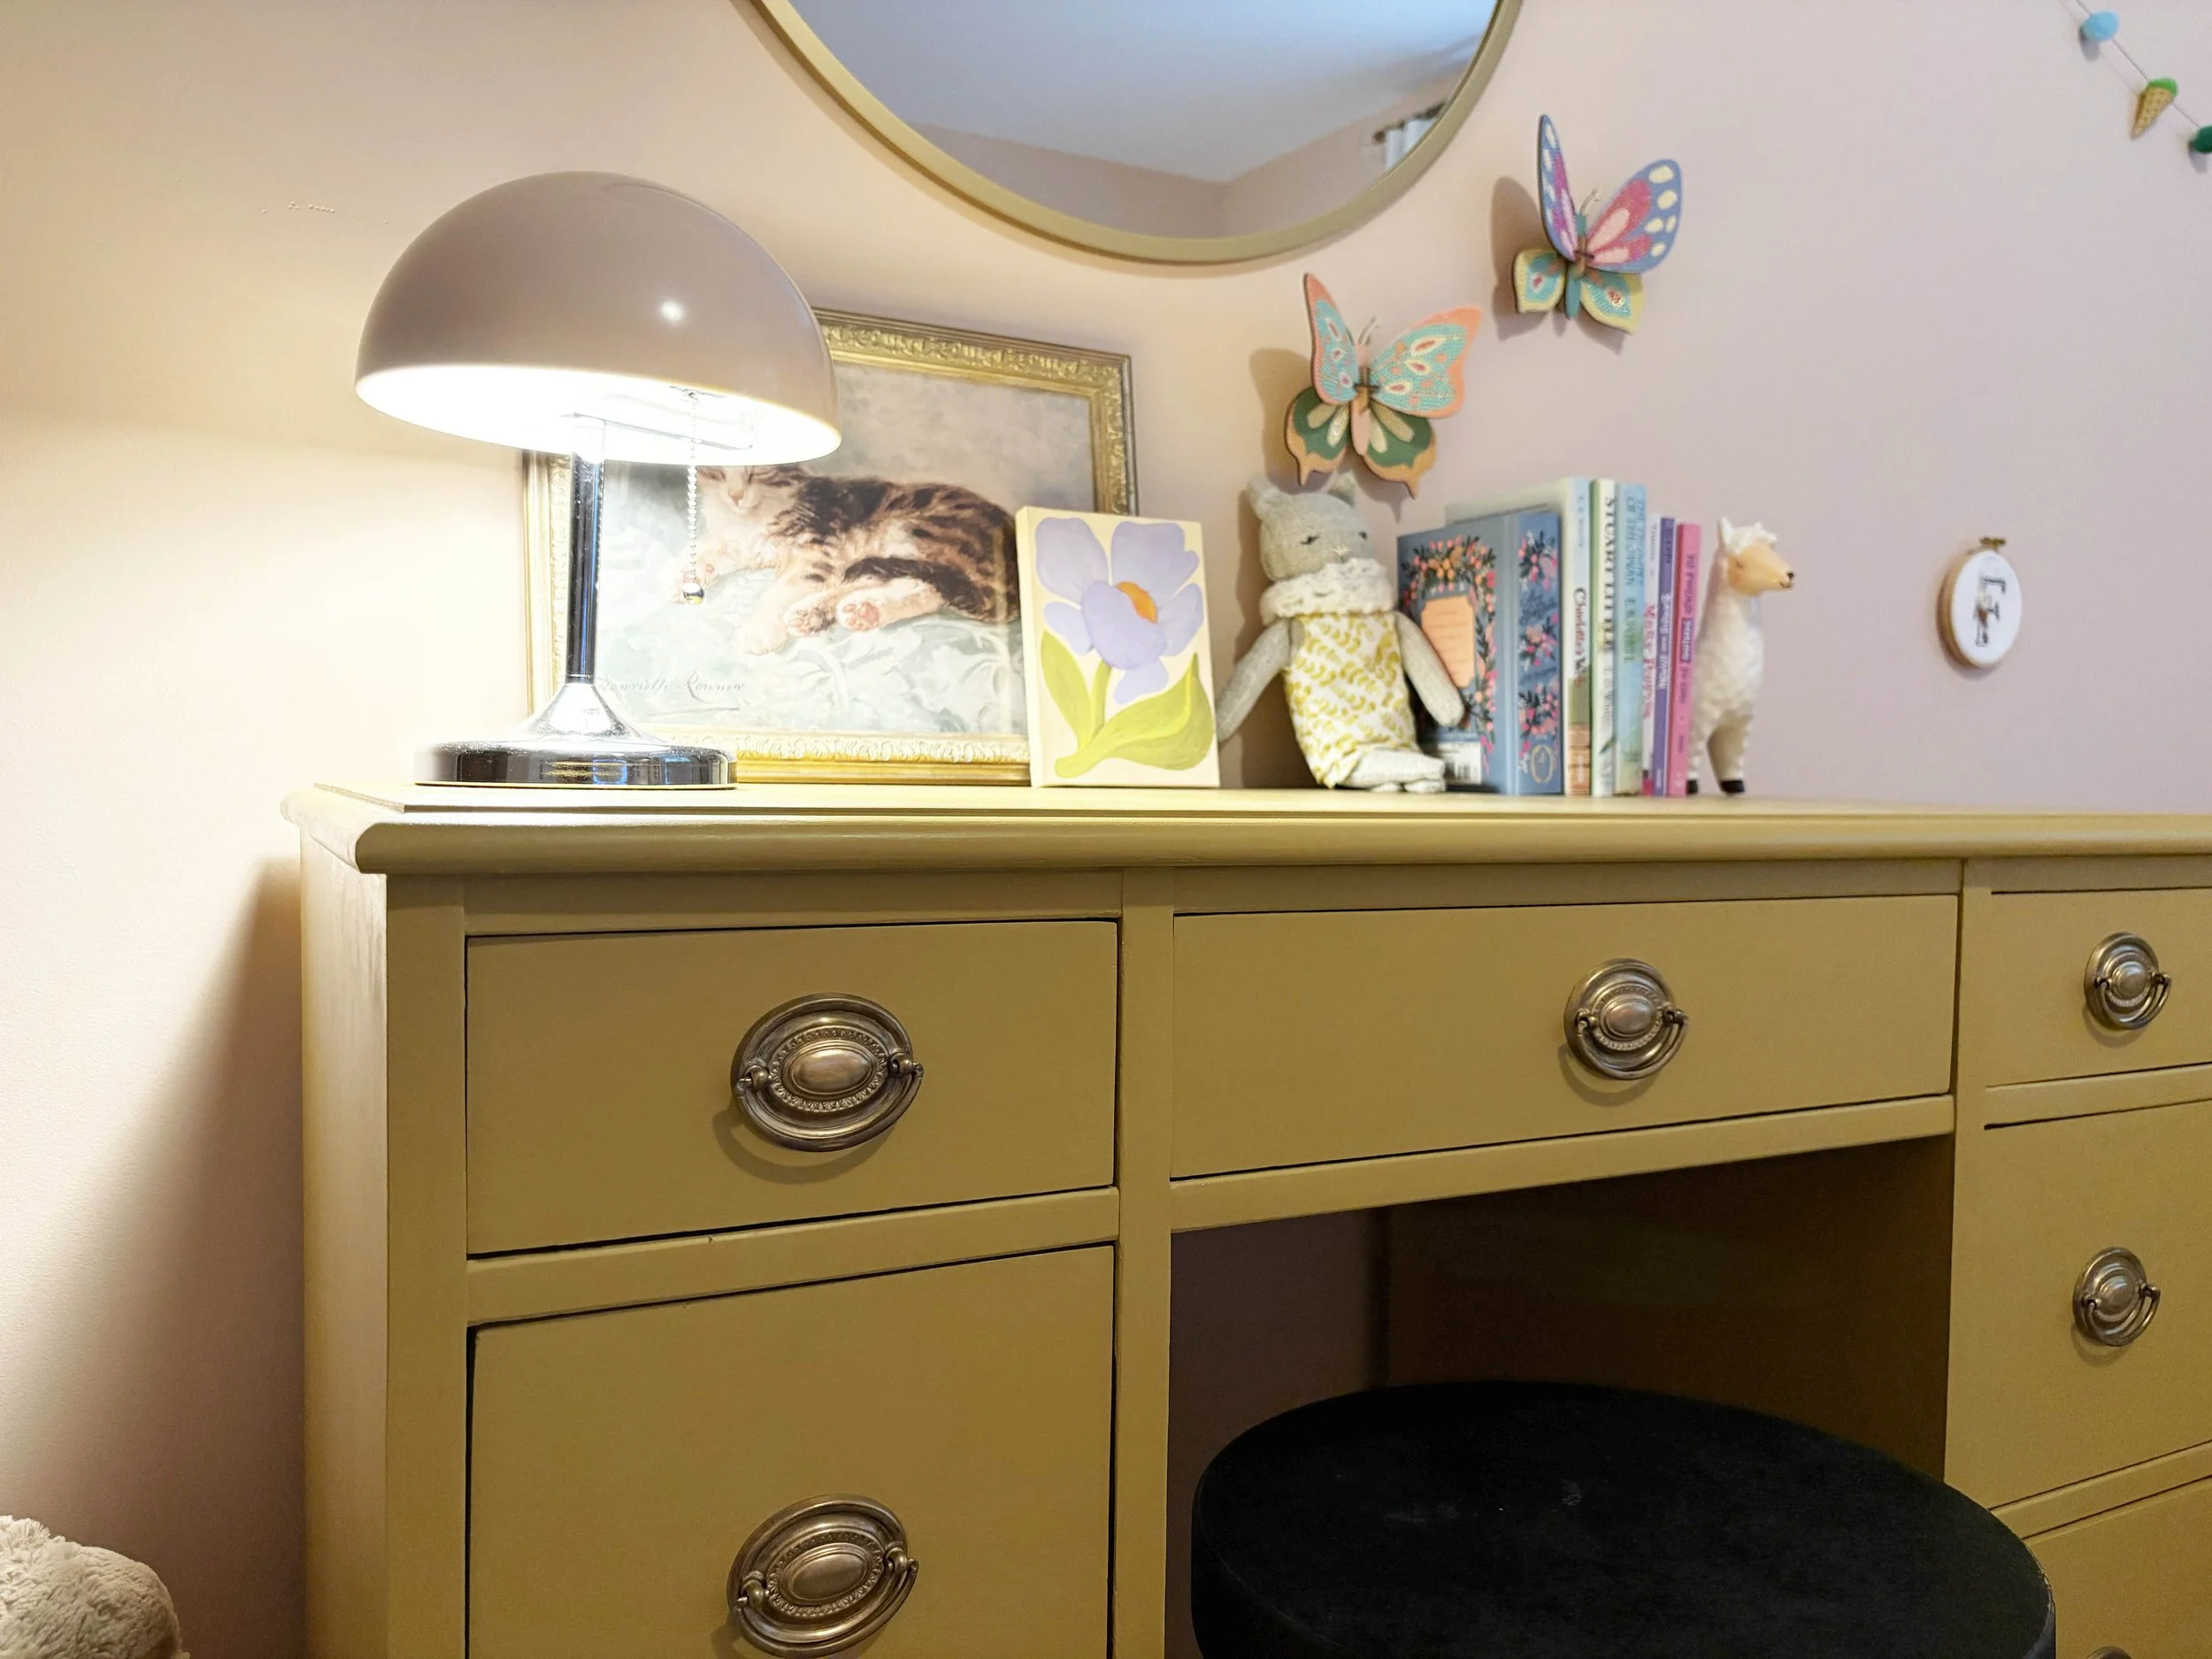
It has fun to see the desk in action already! There’s no greater feeling than working on a project that instantly proves to be useful and well-loved. This has been a special project for me since I also documented the process and turned it into my first YouTube video back in nearly four years. If you’d like to see the transformation in better detail, be sure to watch the video and share it with anyone you think may enjoy it.

Note: This post contains affiliate links. You can learn more about our use of affiliate links here.
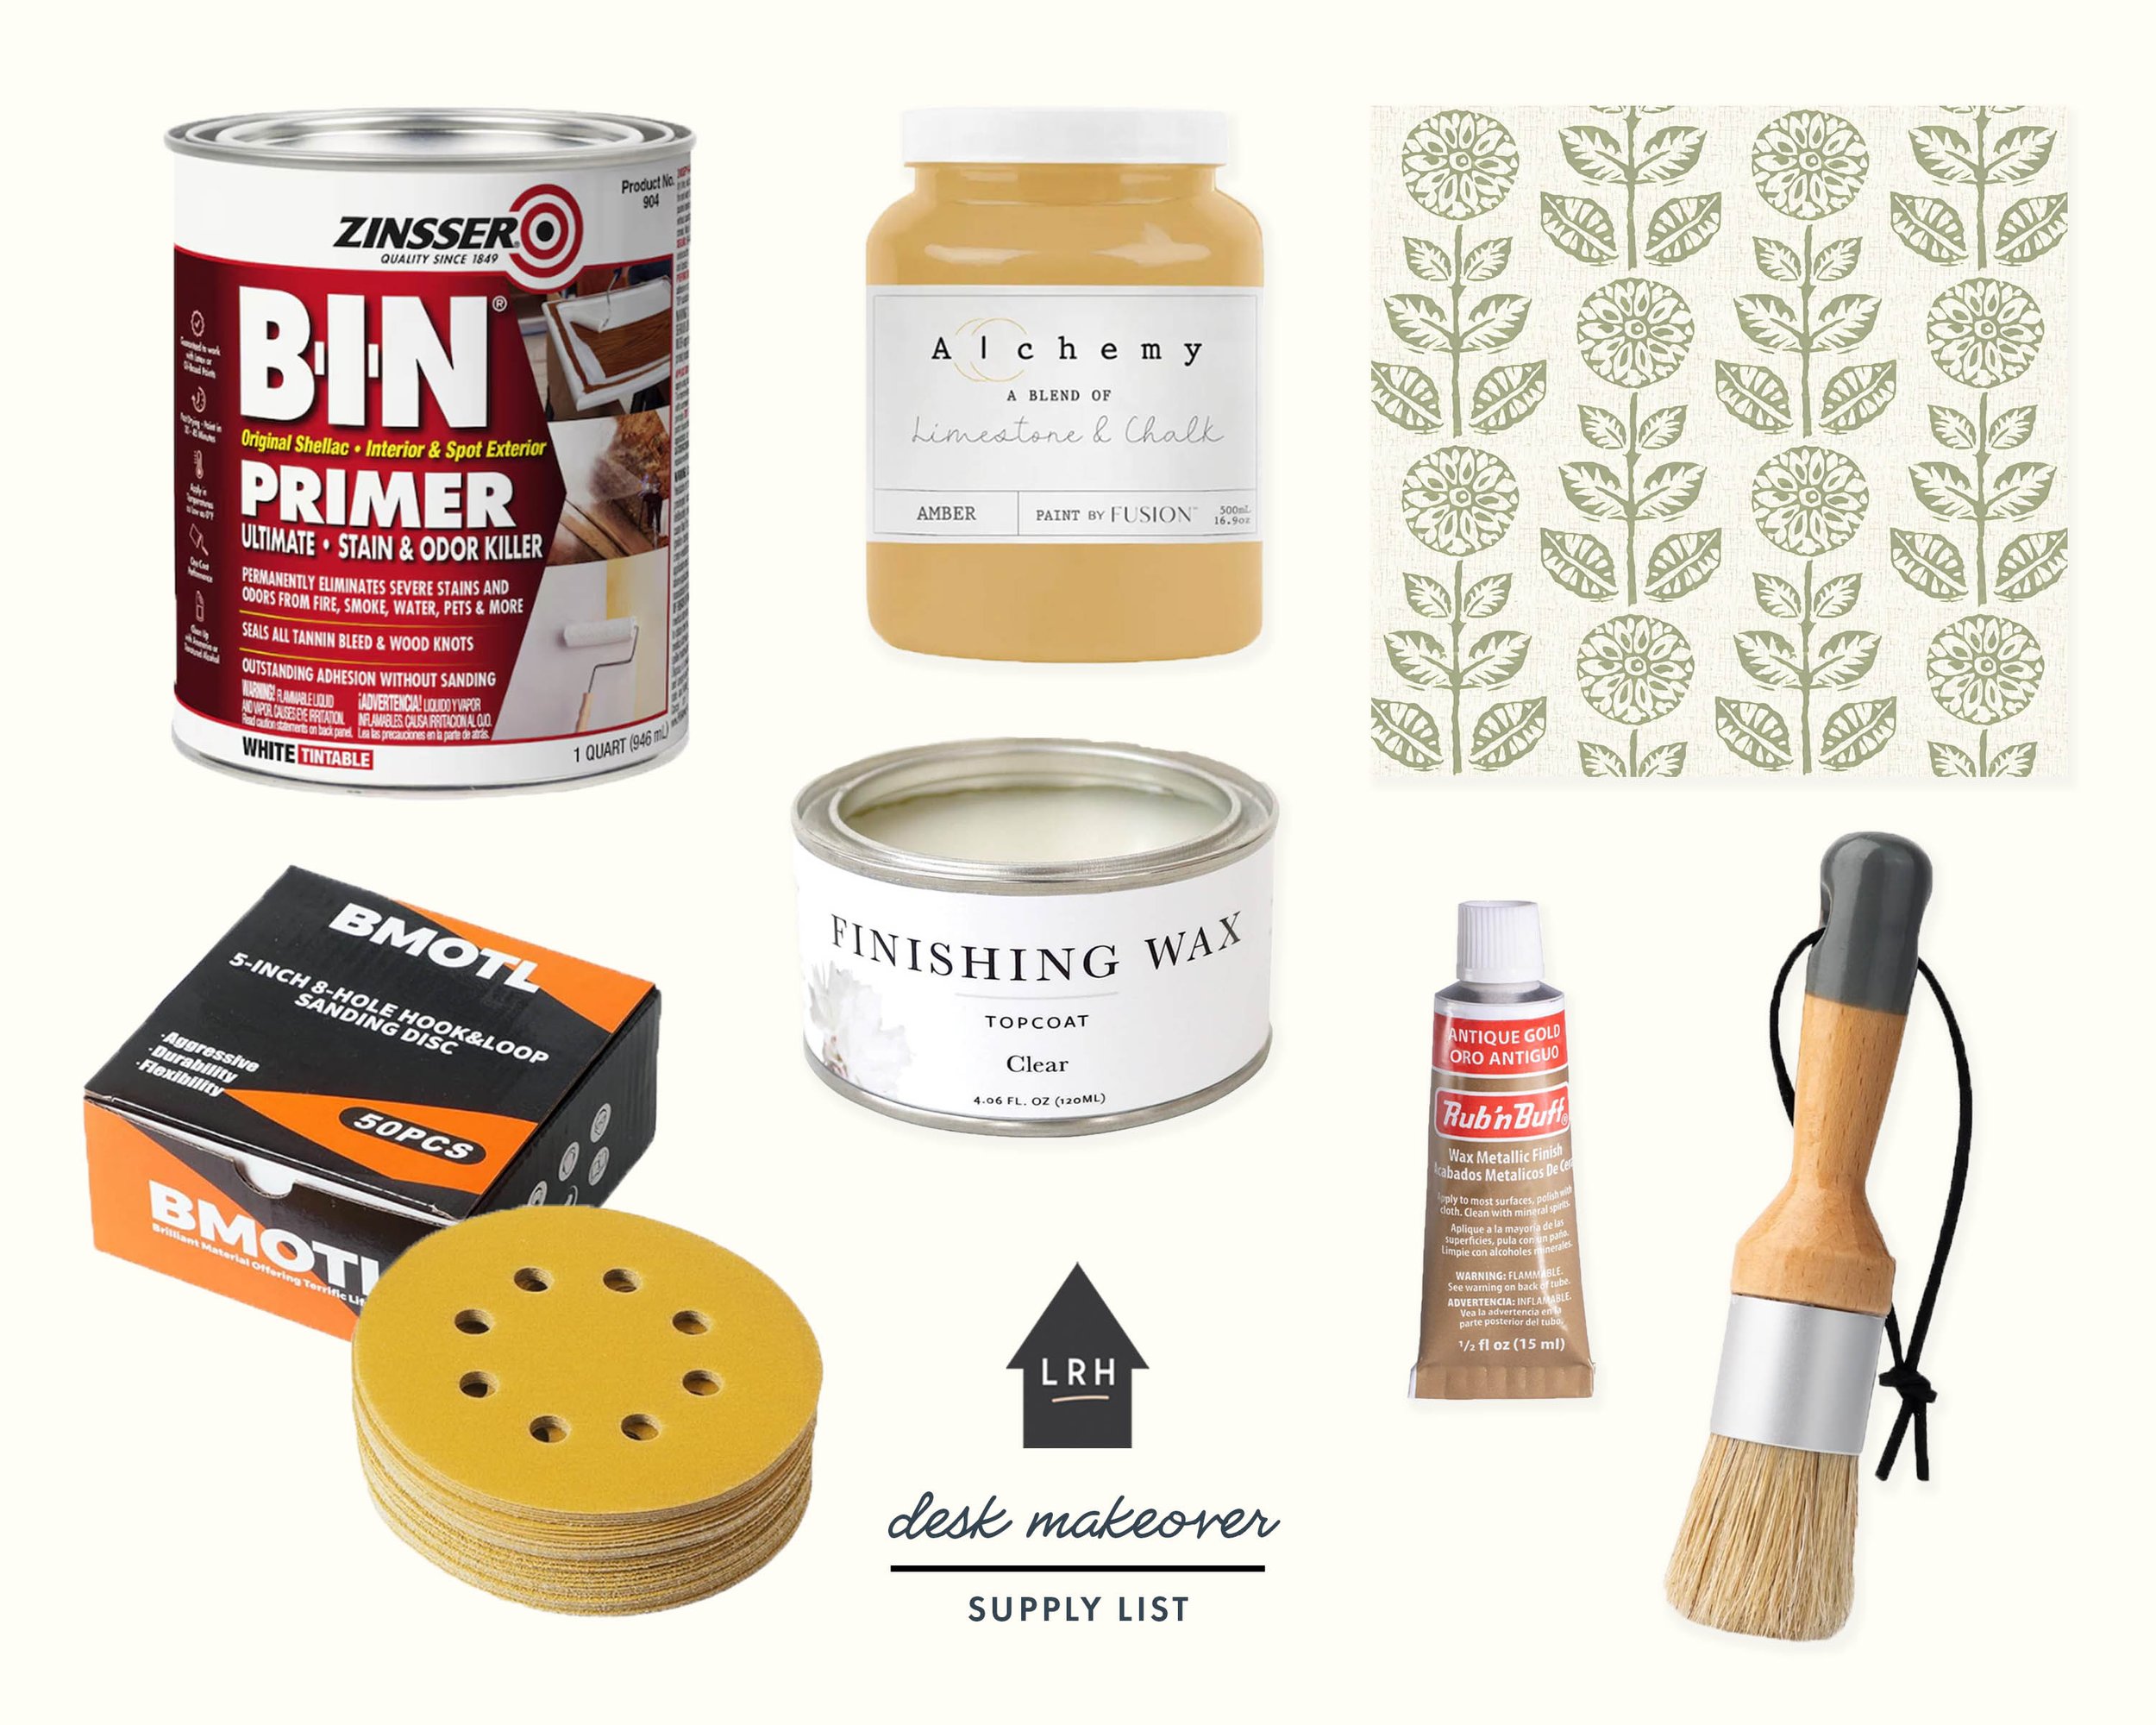
Primer // Fusion Minerals Paint // Vinyl Wallpaper // Sanding Disc Set // Finishing Wax // Rub ‘n Buff // Wax Brush Set