

Creating a Storage Solution for the Sunroom
From the first moment we viewed our house, I could see the potential of our sunroom and knew it would one day be my favorite space in our home. This room acts as the front entry to our quirky asymmetrical home. It’s full of windows with deep ledges, has one wall of exposed brick, and thanks to the hard work of some very skilled trim carpenters, now is covered walls-to-ceiling with warm green vertical shiplap. If joy could be contained within four walls, this room would be that.
The sunroom sits right next to our main living room and outdoor deck, so I decided pretty early on that it wasn’t necessary to have another lounge area with a sofa in it. I thought it may be more useful to anchor the room with a round table surrounded with comfortable seating. I envision using this space to play board games, sprawl out a puzzle, sit up with a computer or a good book, sip an afternoon coffee, leave out a crafty mess, or sit up with our daily homeschool work. But with all these ideas in mind, I knew it would also be necessary to have some form of storage in here to hold games, puzzles, art supplies, and electronic chargers. The only problem is that with all the windows, there is very little wall space to push a piece of furniture against.
Enter the solution.
A Secondhand Find
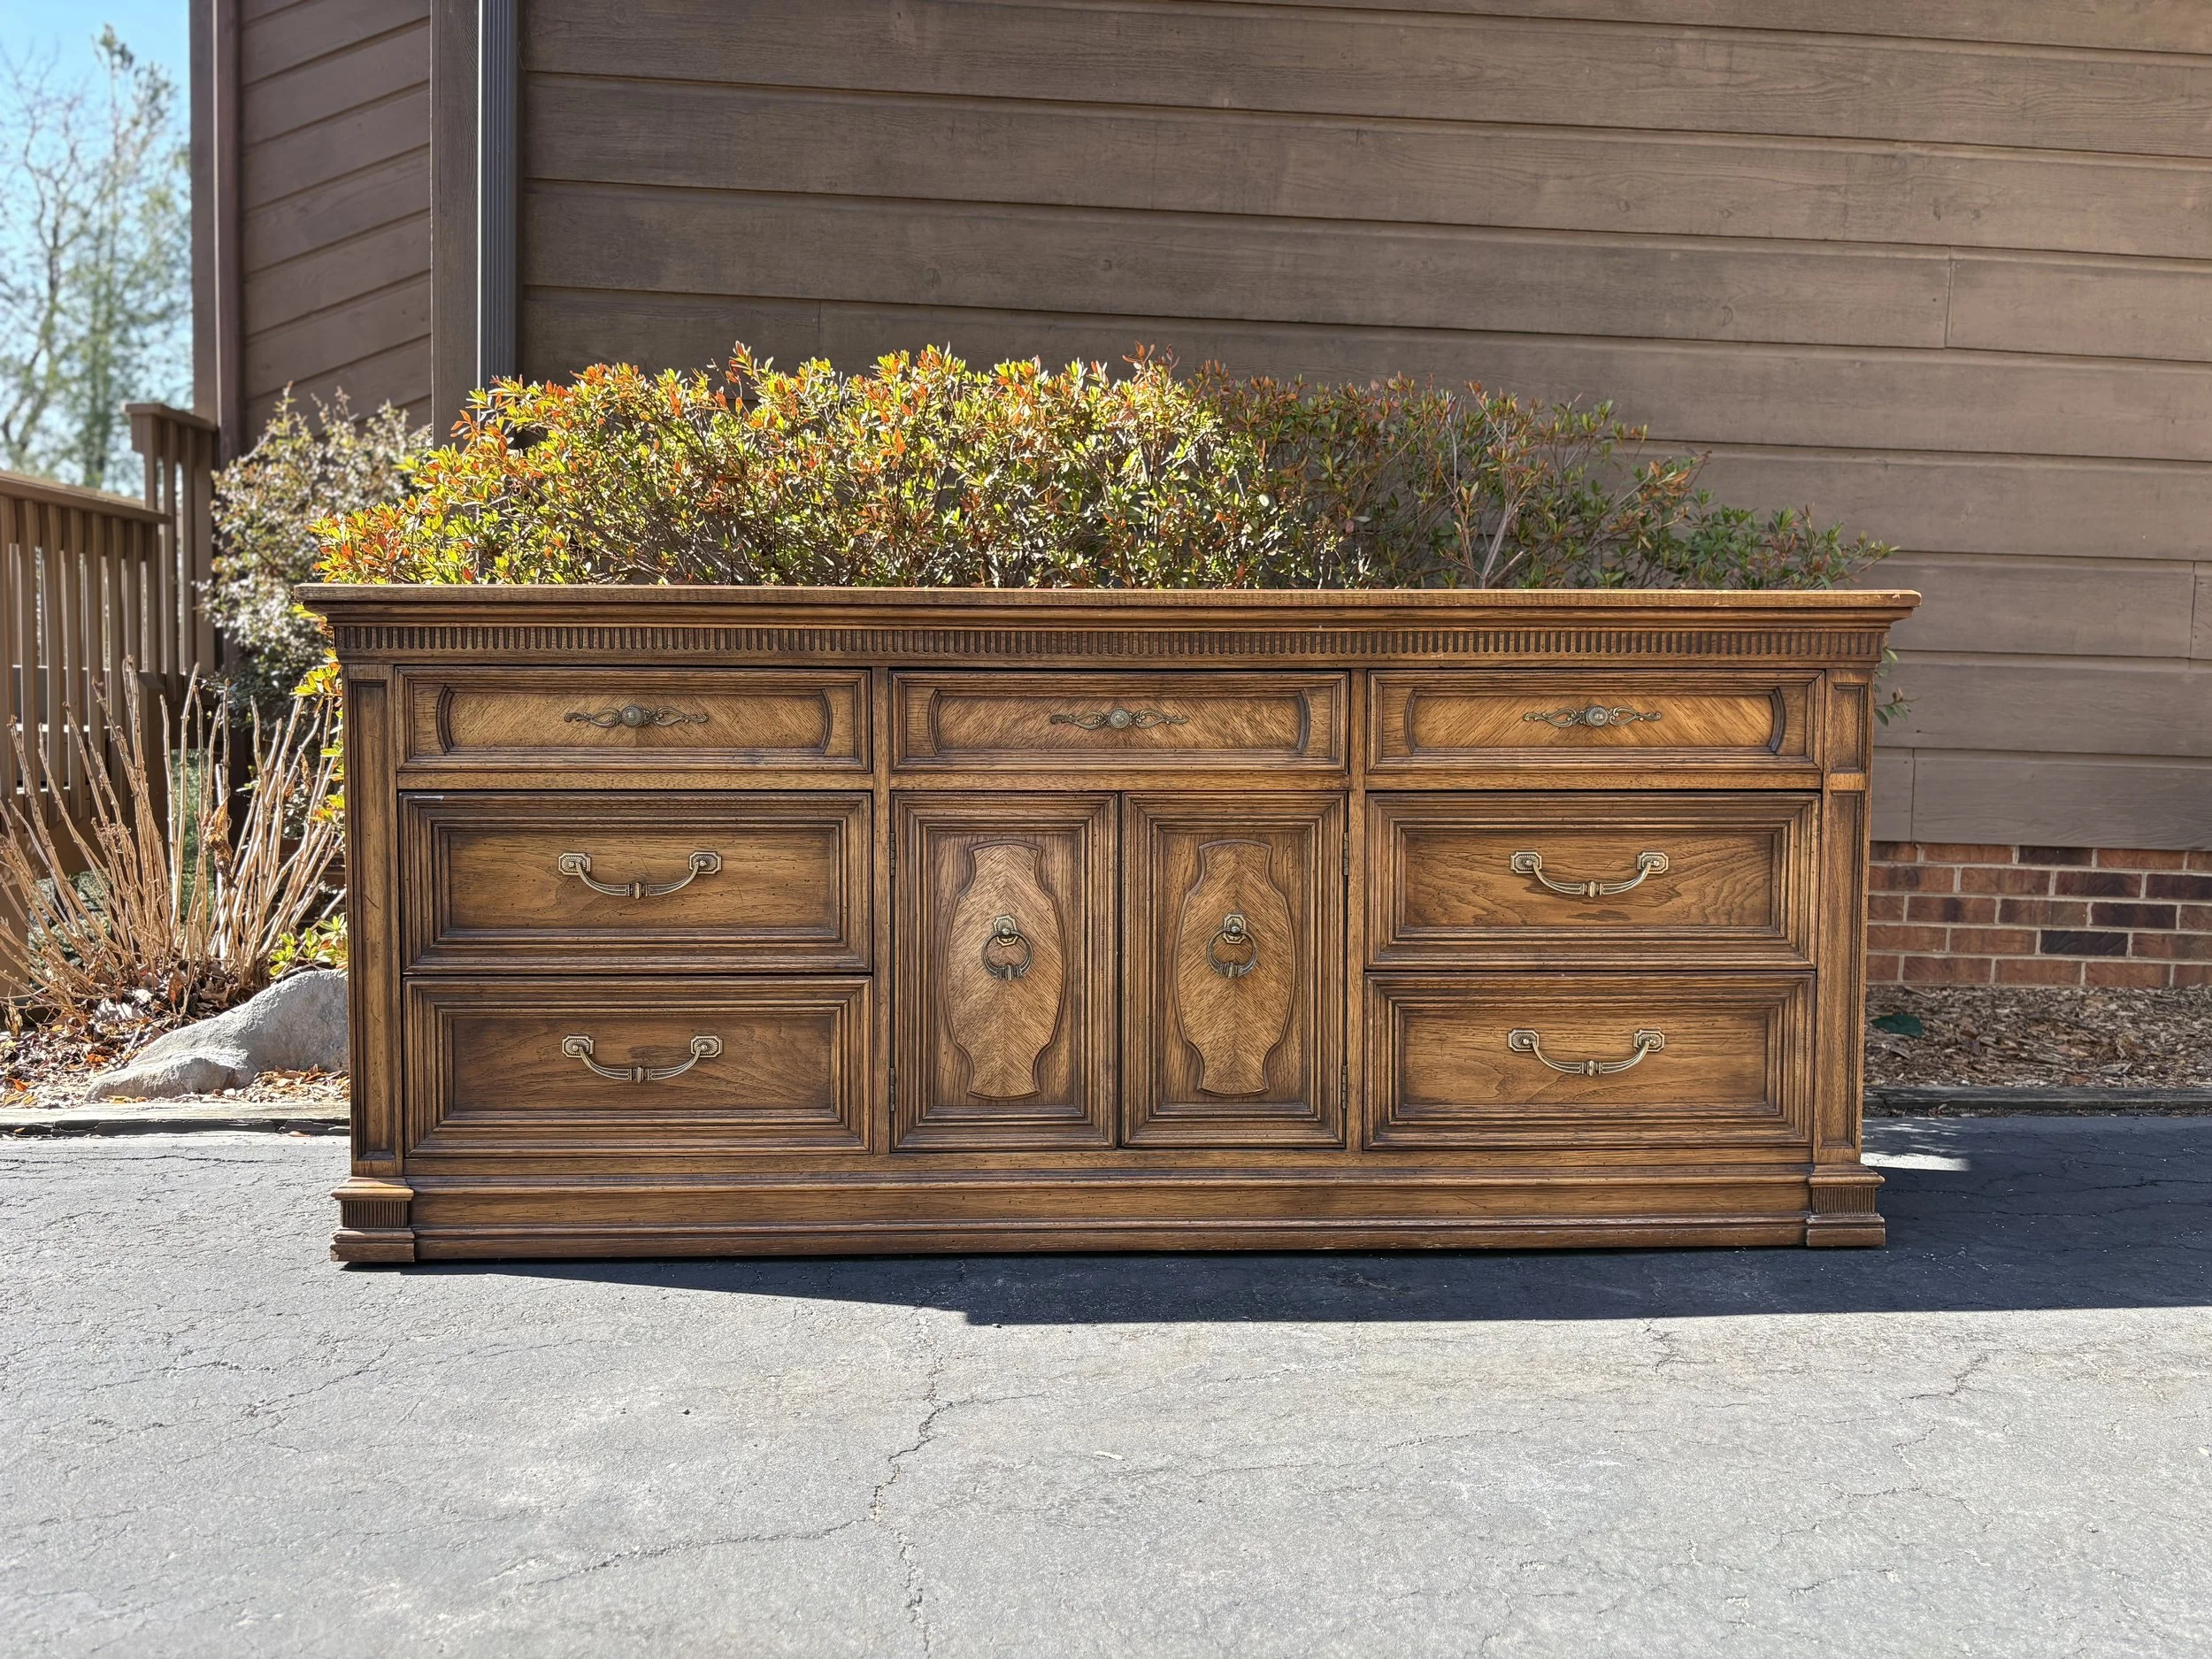
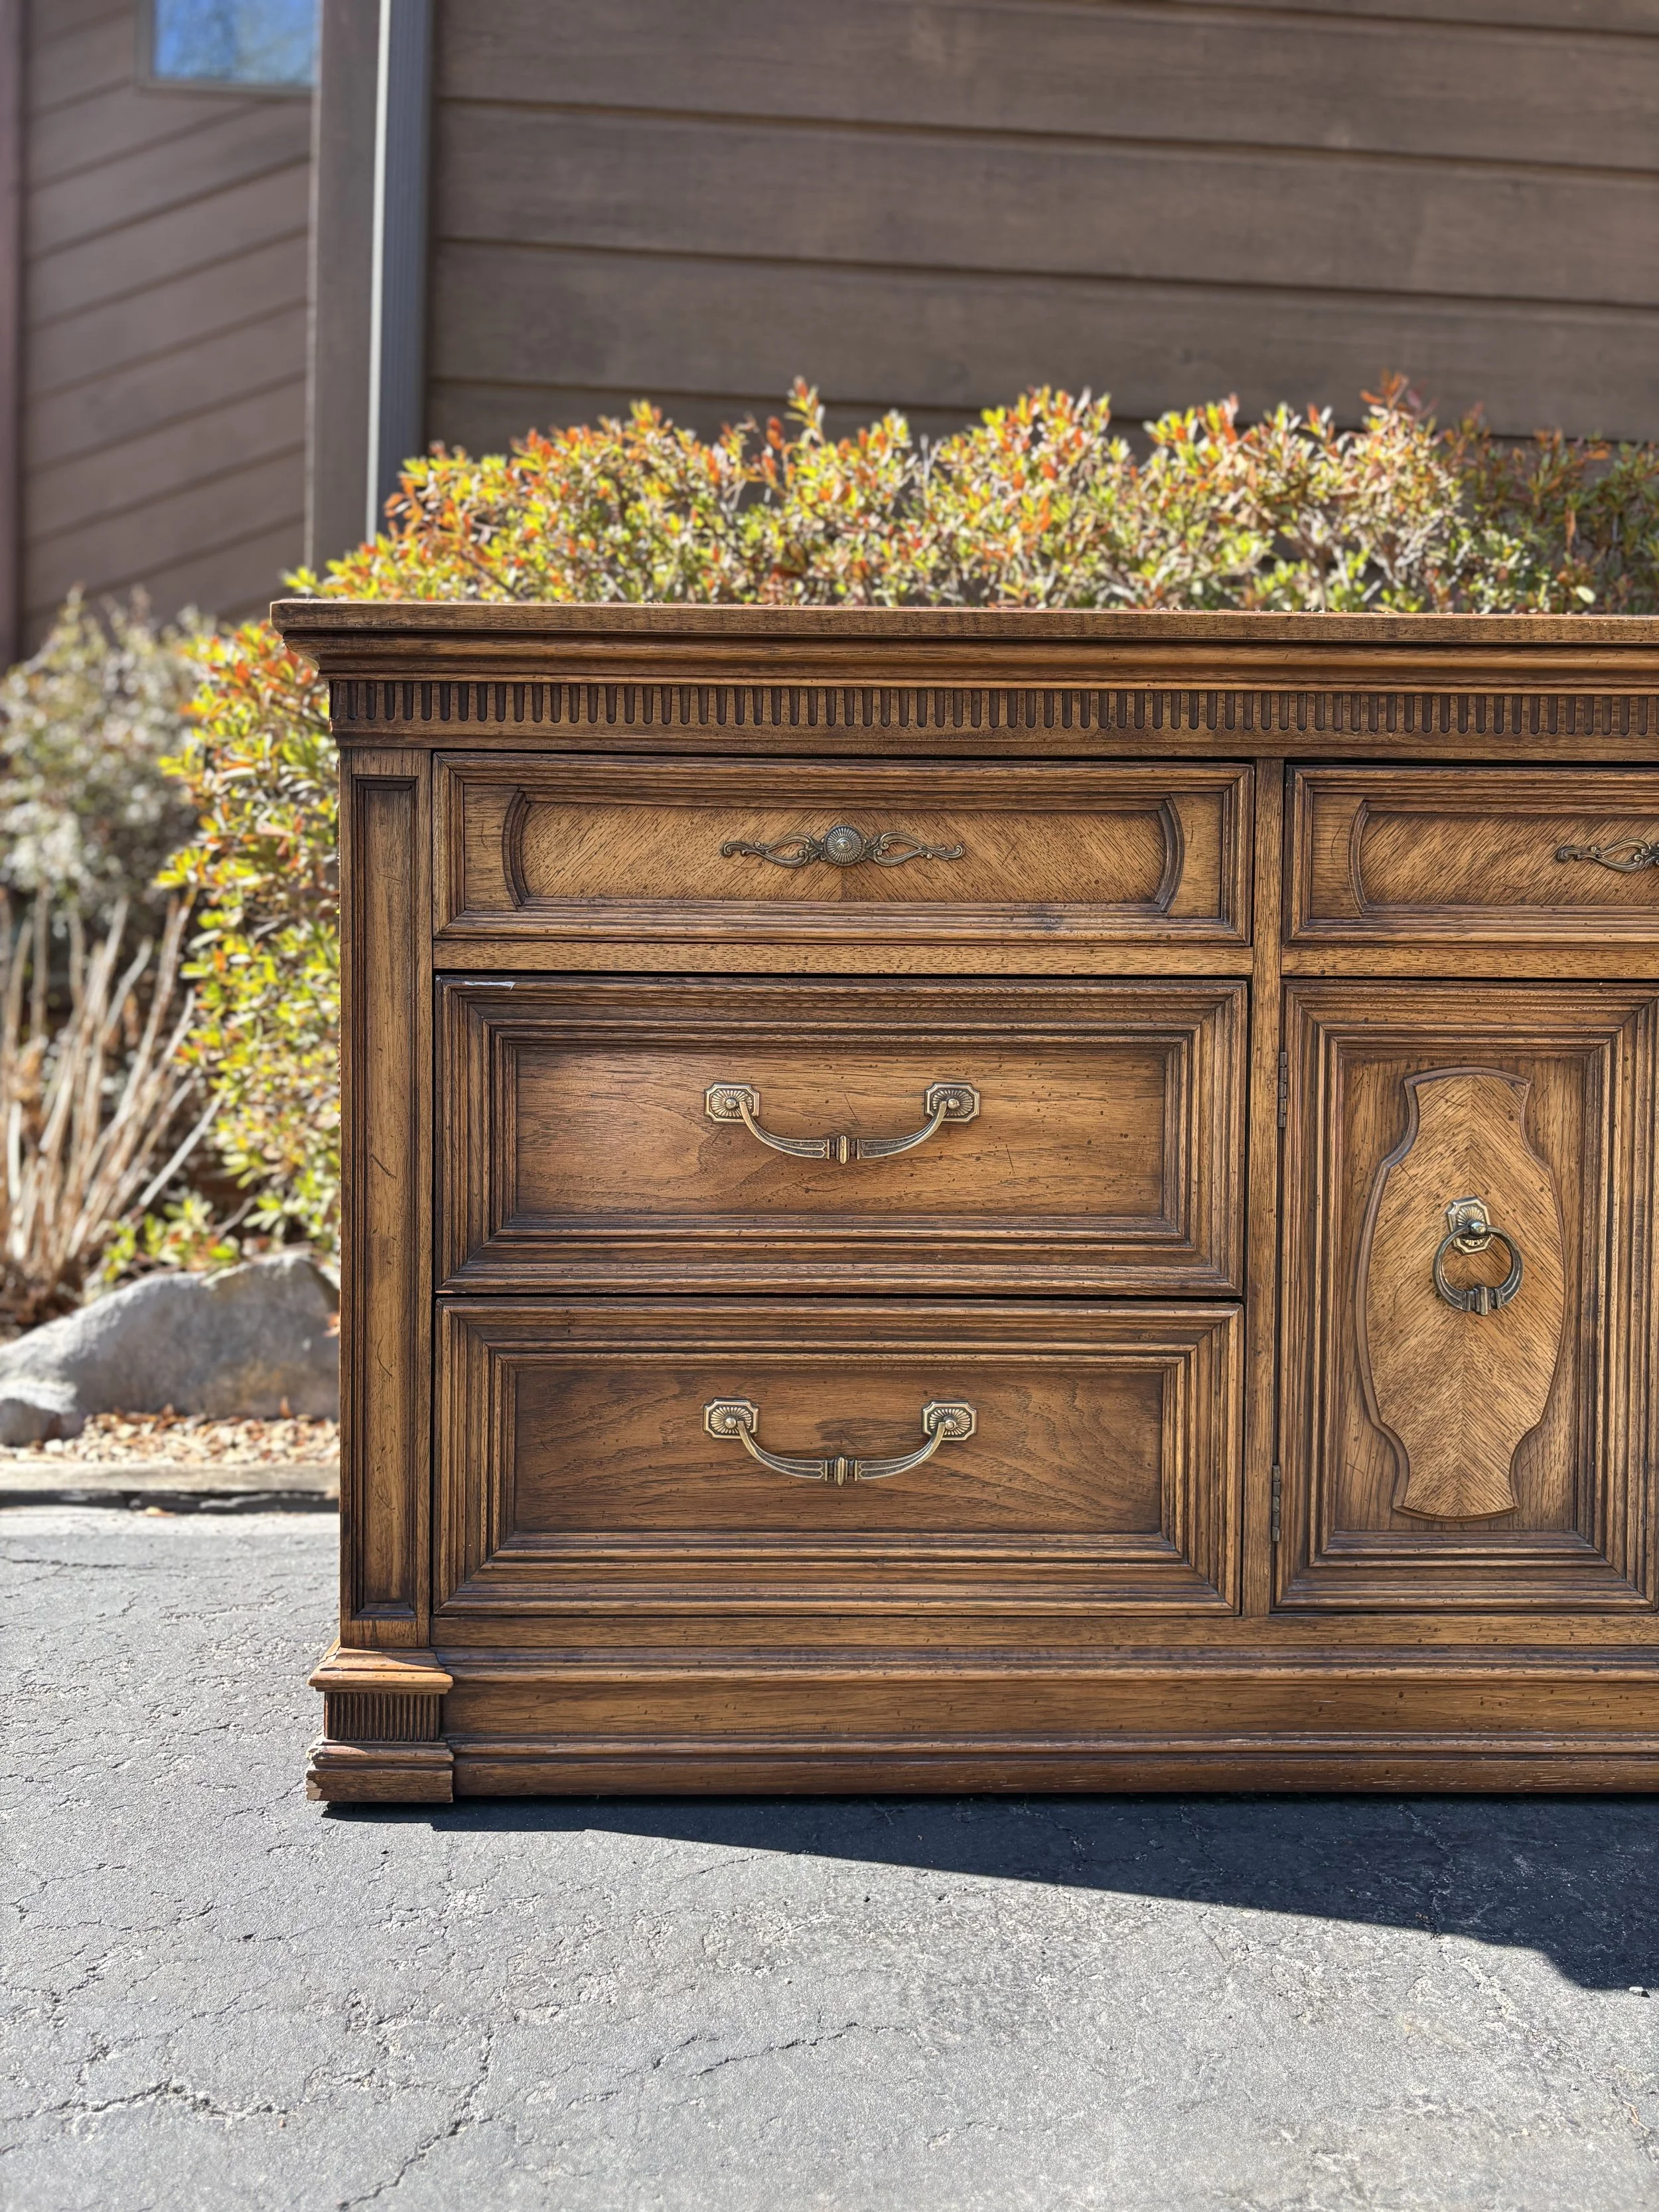
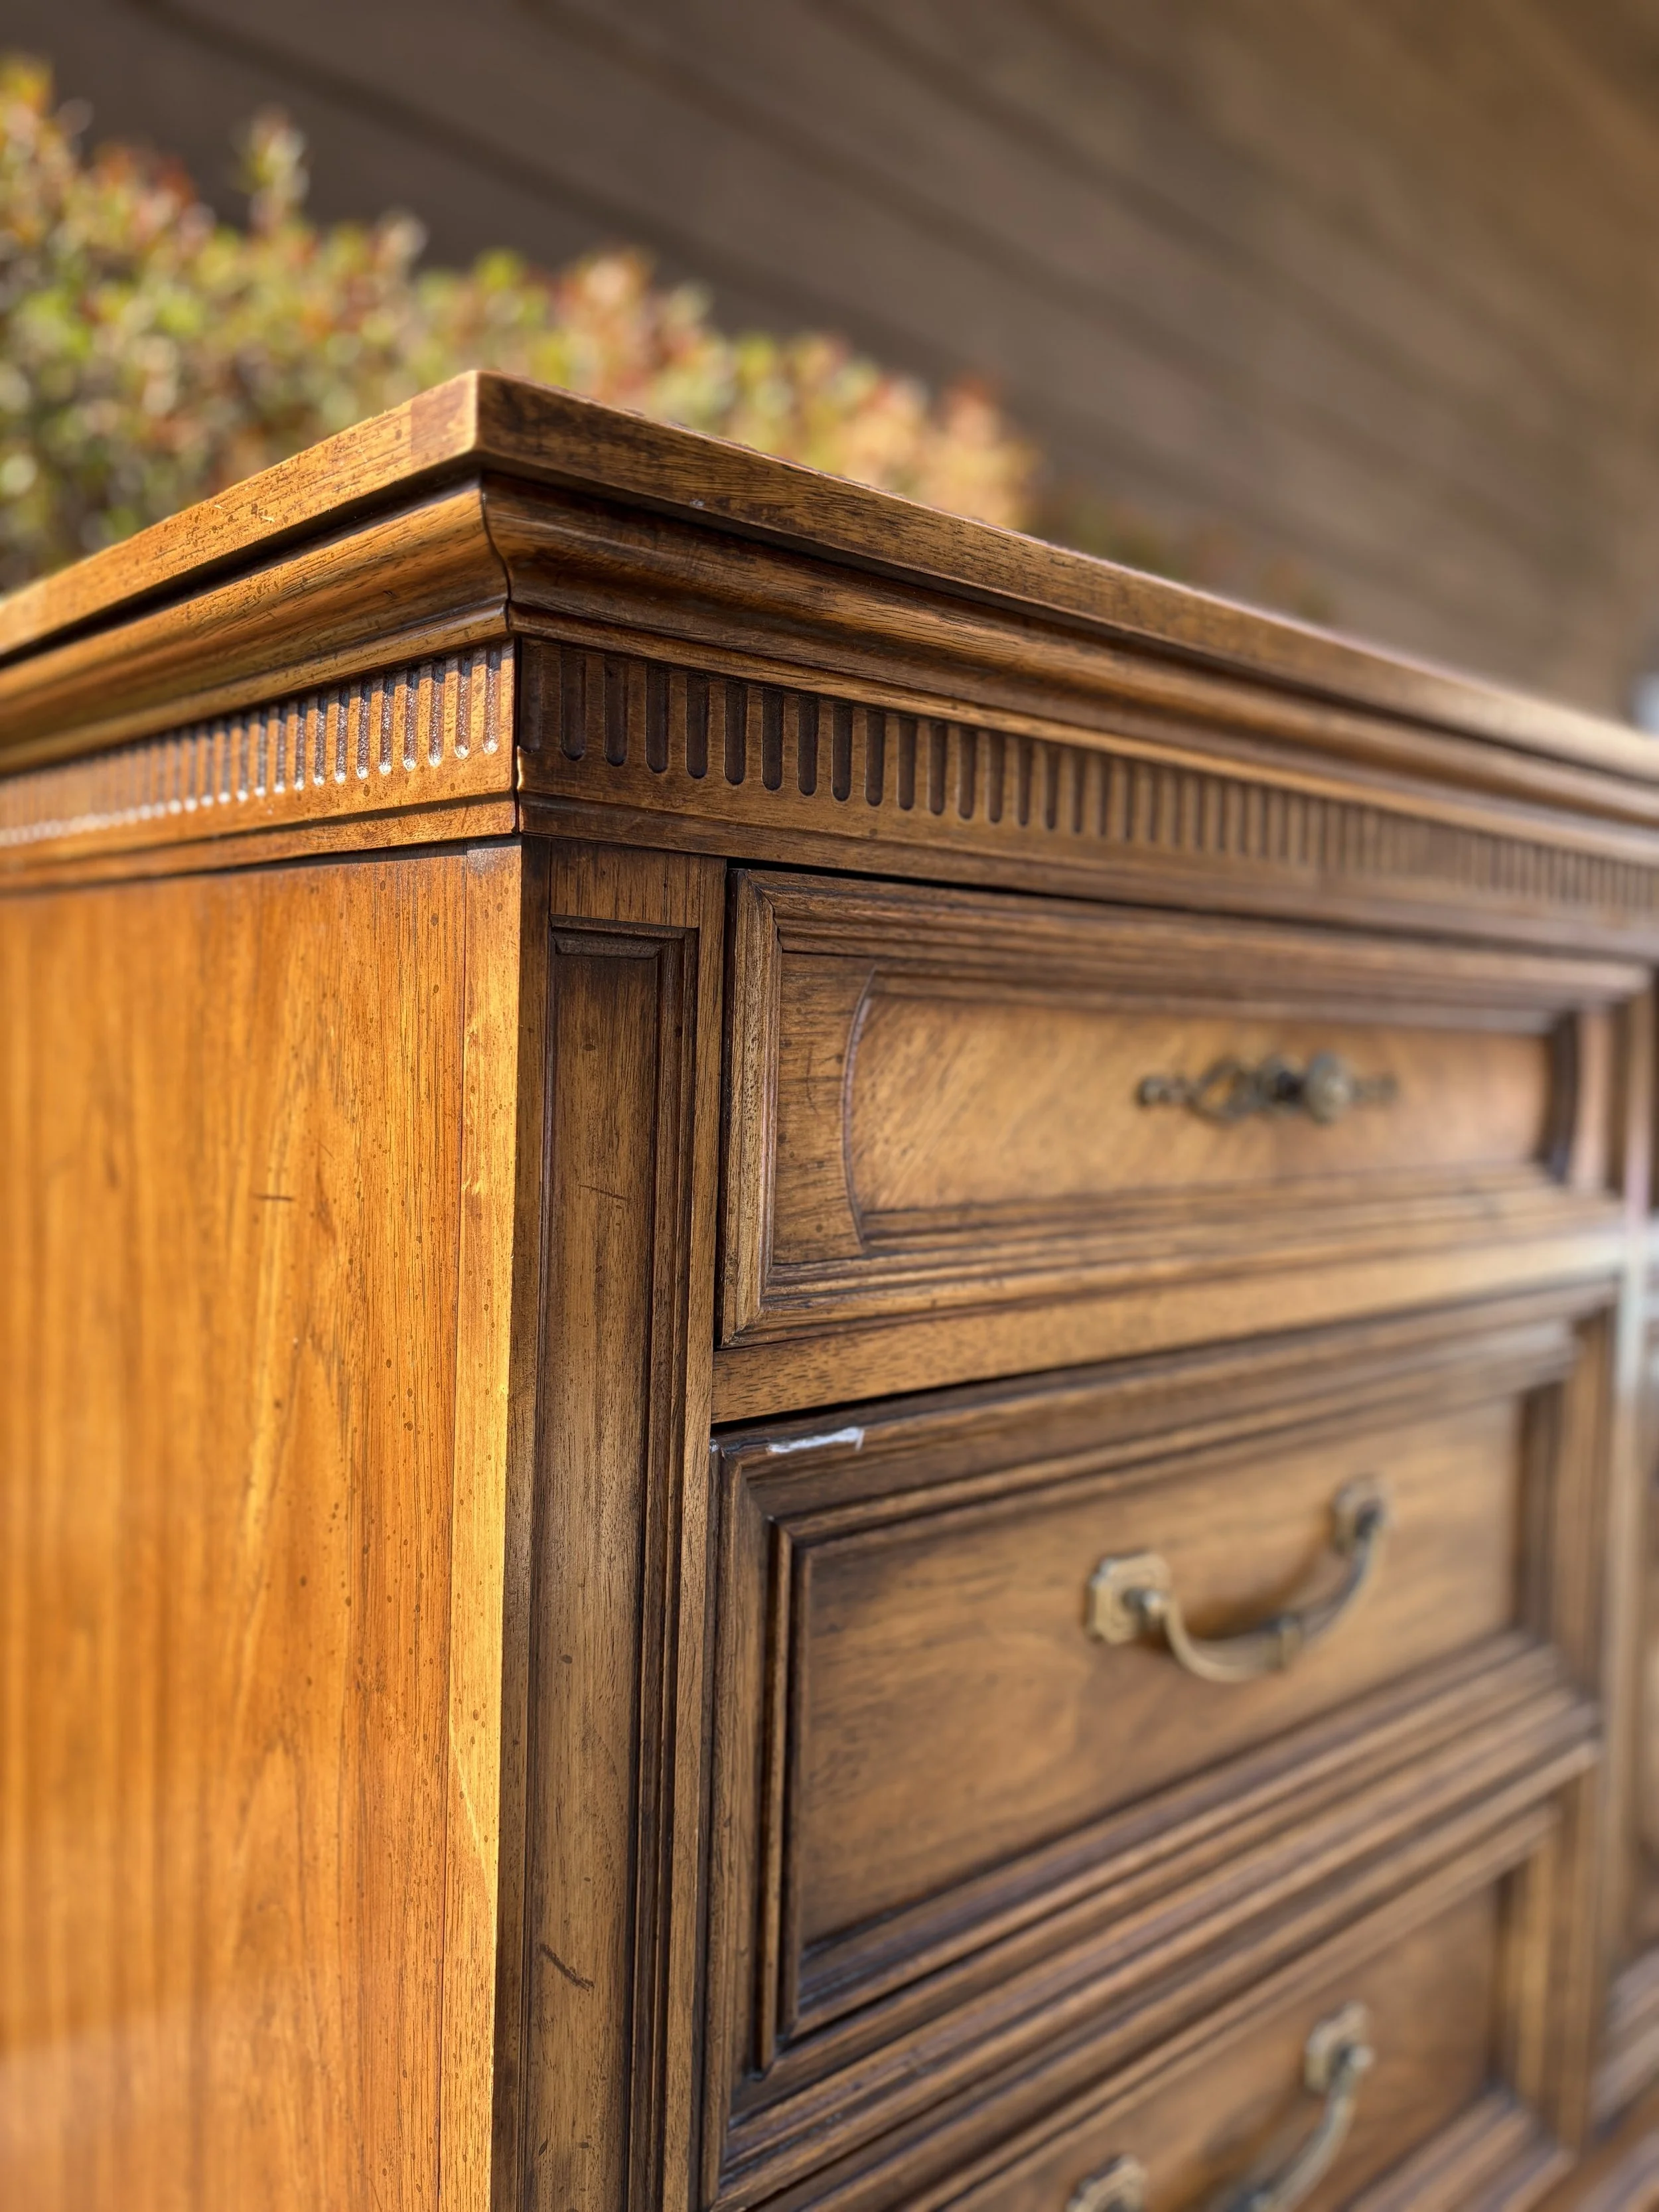
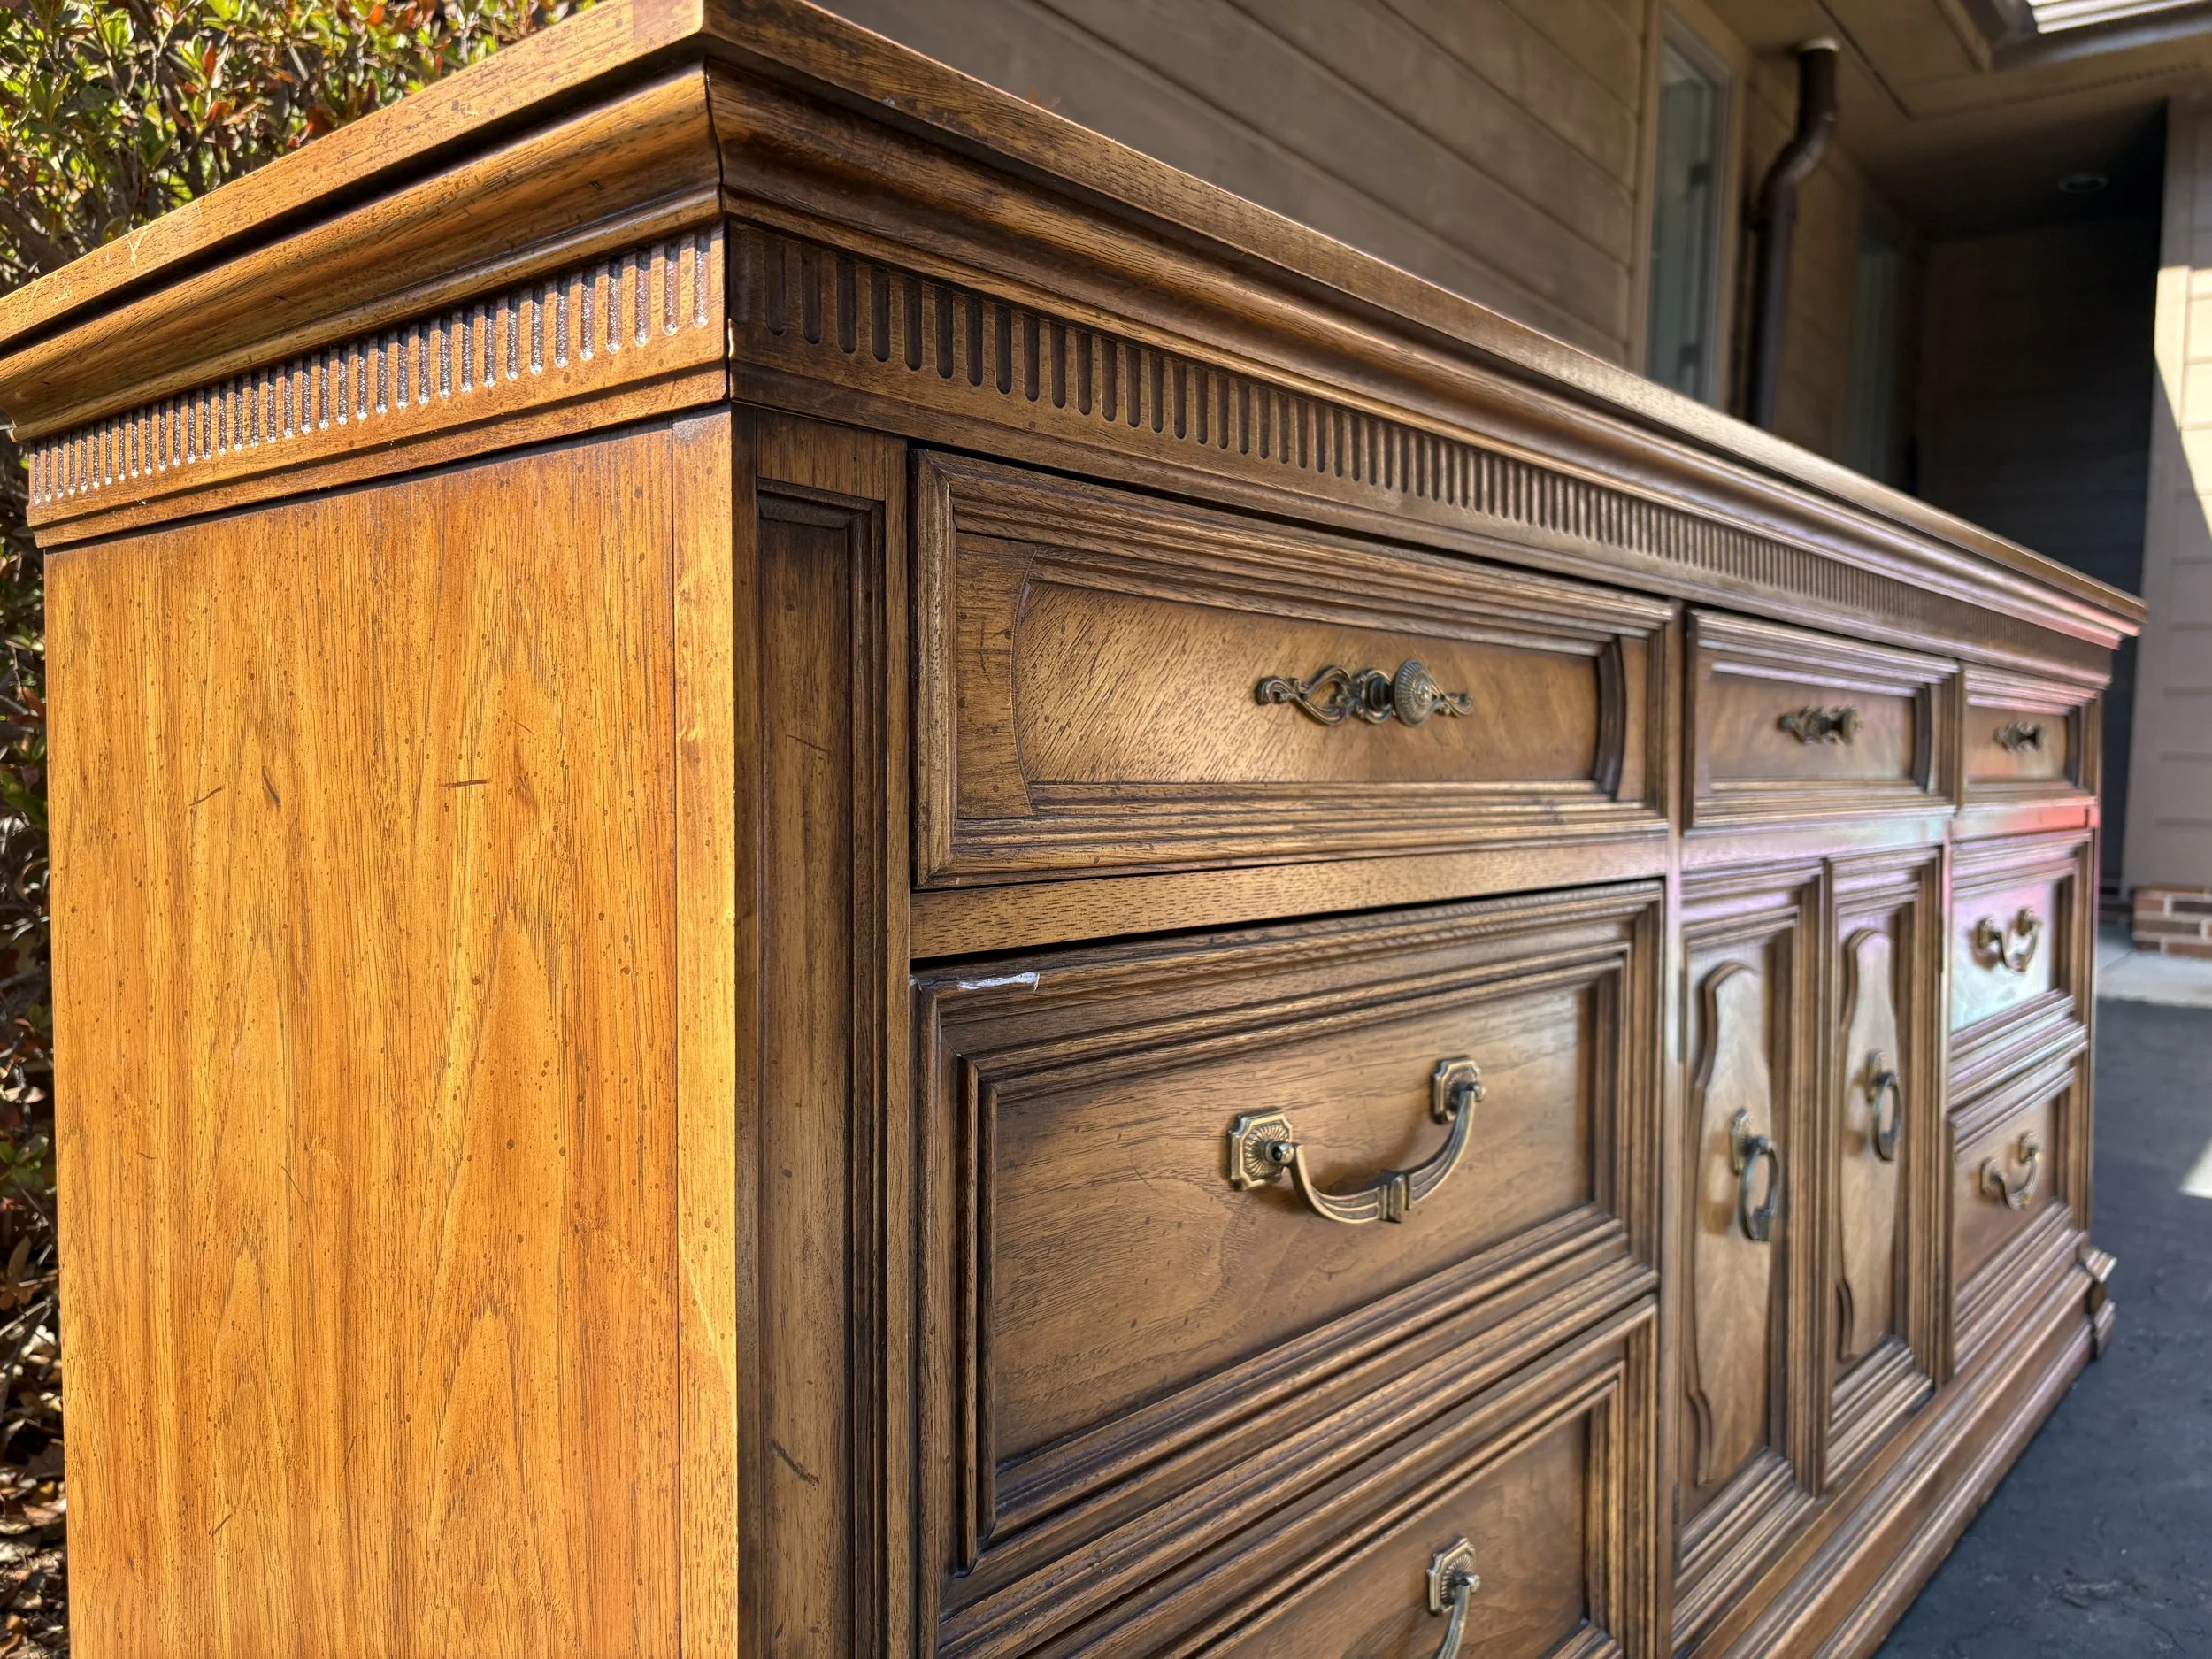
While perusing our local Habitat for Humanity Restore, I came across this large dresser sideboard. After pulling out my tape measure (does anyone else carry one in their purse or is that just me?), I realized this piece could potentially work under one of the banks of windows in the sunroom. It had a low enough height that it wouldn’t block any windows, but was long enough that it could really offer a fair amount of storage. It’s a solid piece of furniture, but was a little dated and damaged in a few areas. Thankfully I’m no stranger to refinishing or painting furniture and decided this piece could be an ideal candidate for our sunroom.
The piece has good bones. There was a lot of extra trim work (which probably added to the extreme weight), but some of the details were really pretty. I liked the strong lines and fluted detail around the top. The hardware had a lot of variation, but I knew there was an opportunity to simplify the piece as I worked on it.
The Process
While I’ll always love a beautiful wood-finish on a piece of furniture, this piece was not the candidate for stripping and refinishing. There are so many little nooks and crannies and additional trim pieces added on that it would be very difficult to strip and sand all the pieces back for a fresh start. Not to mention that only a handful of the elements were actually solid wood, while others were covered in a veneer. I wanted to take the approach of simplifying the piece for our purposes, so I opted to paint it instead. I know not everyone would agree with that, but that’s ok.
I really only managed to photograph the process when I got to priming, but the reality is that so much of the work in painting a piece of furniture happens before you ever put any paint on the piece. The very first step I did was wash down all the surfaces using a good degreasing cleaner. I ended up using Dawn dishsoap with some warm water and then went over it again with just some clean water on a damp rag. Once it dried, I removed the cabinet doors and pried off the decorative panels from the fronts. My goal was to simplify the lines and taking off those extra pieces helped to simplify the doors to more specifically match them with the drawers. It took some effort, but I was able to pop them off and remove the tack nails before sanding down the old finish to smooth them out.
I took the opportunity to fill any holes and cracks (including the old hardware holes) and then gave the entire piece a solid sanding. I didn’t need to remove the old finish, but instead needed to give every surface a good scuff-sand to provide a grip for the primer to hold onto and remove any flaking finish. There were also a handful of scratches on the top that I was able to sand out. I wiped down all the freshly sanded surfaces with a cloth to remove any dust.
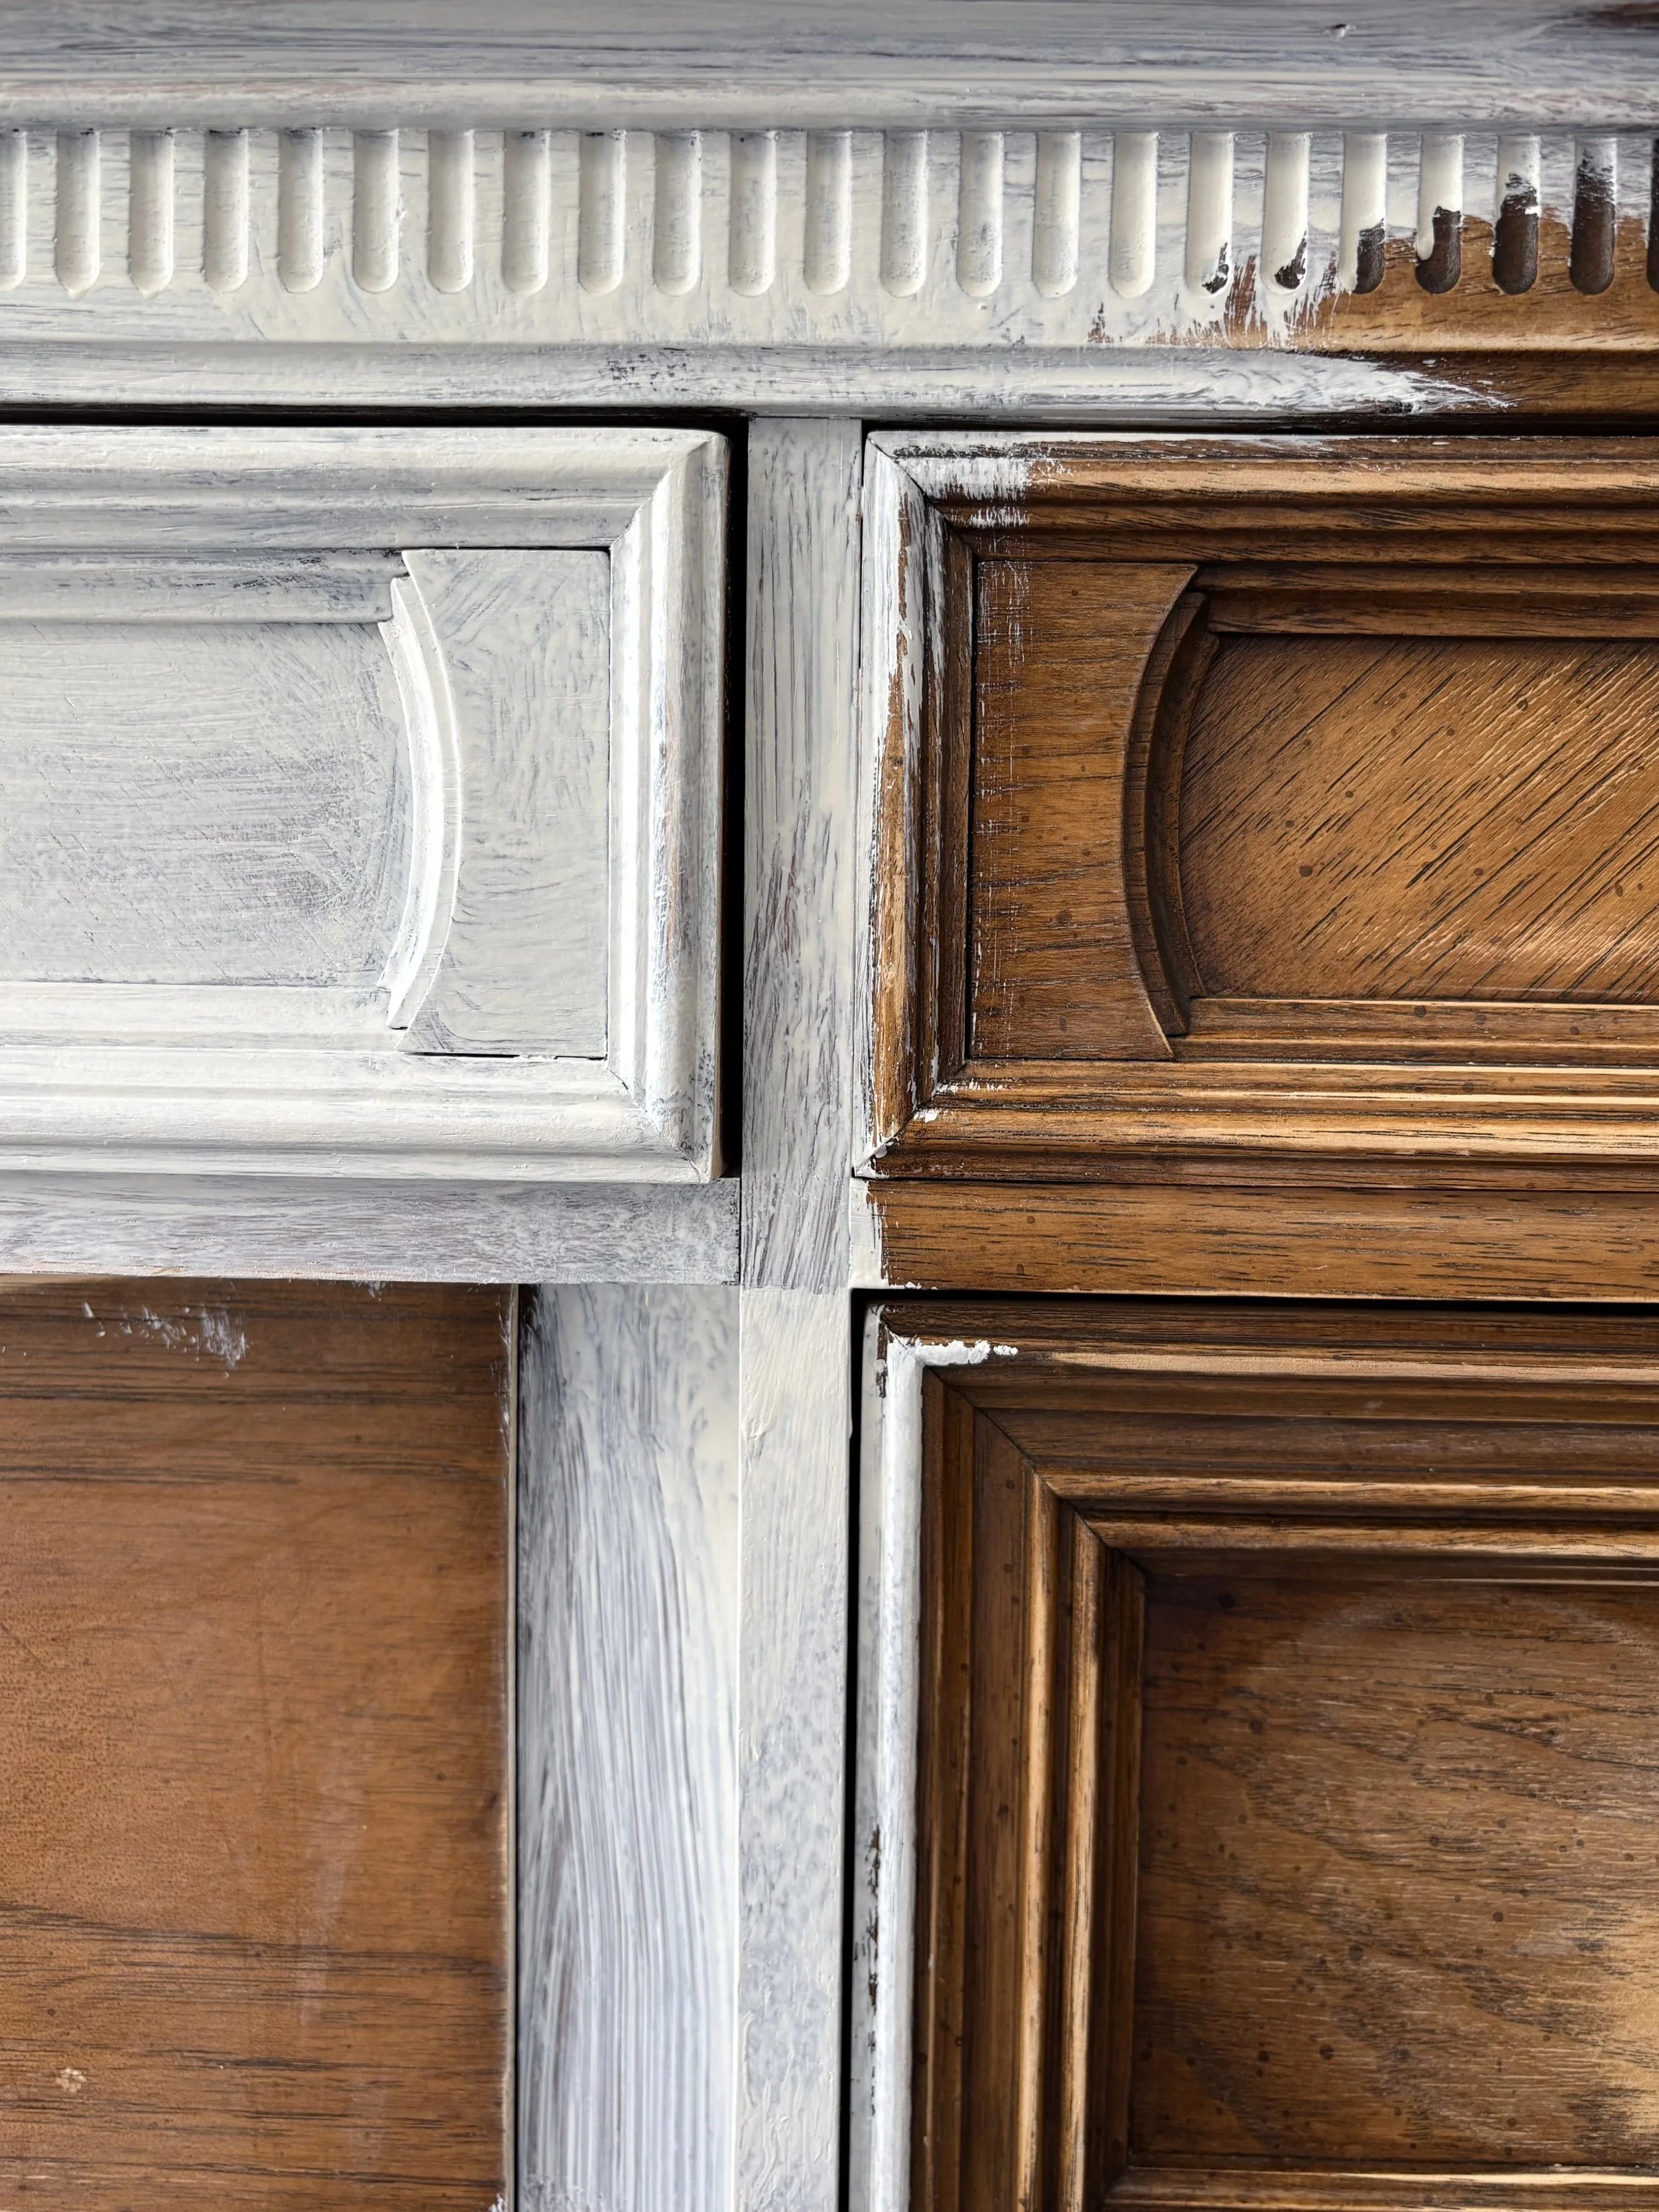
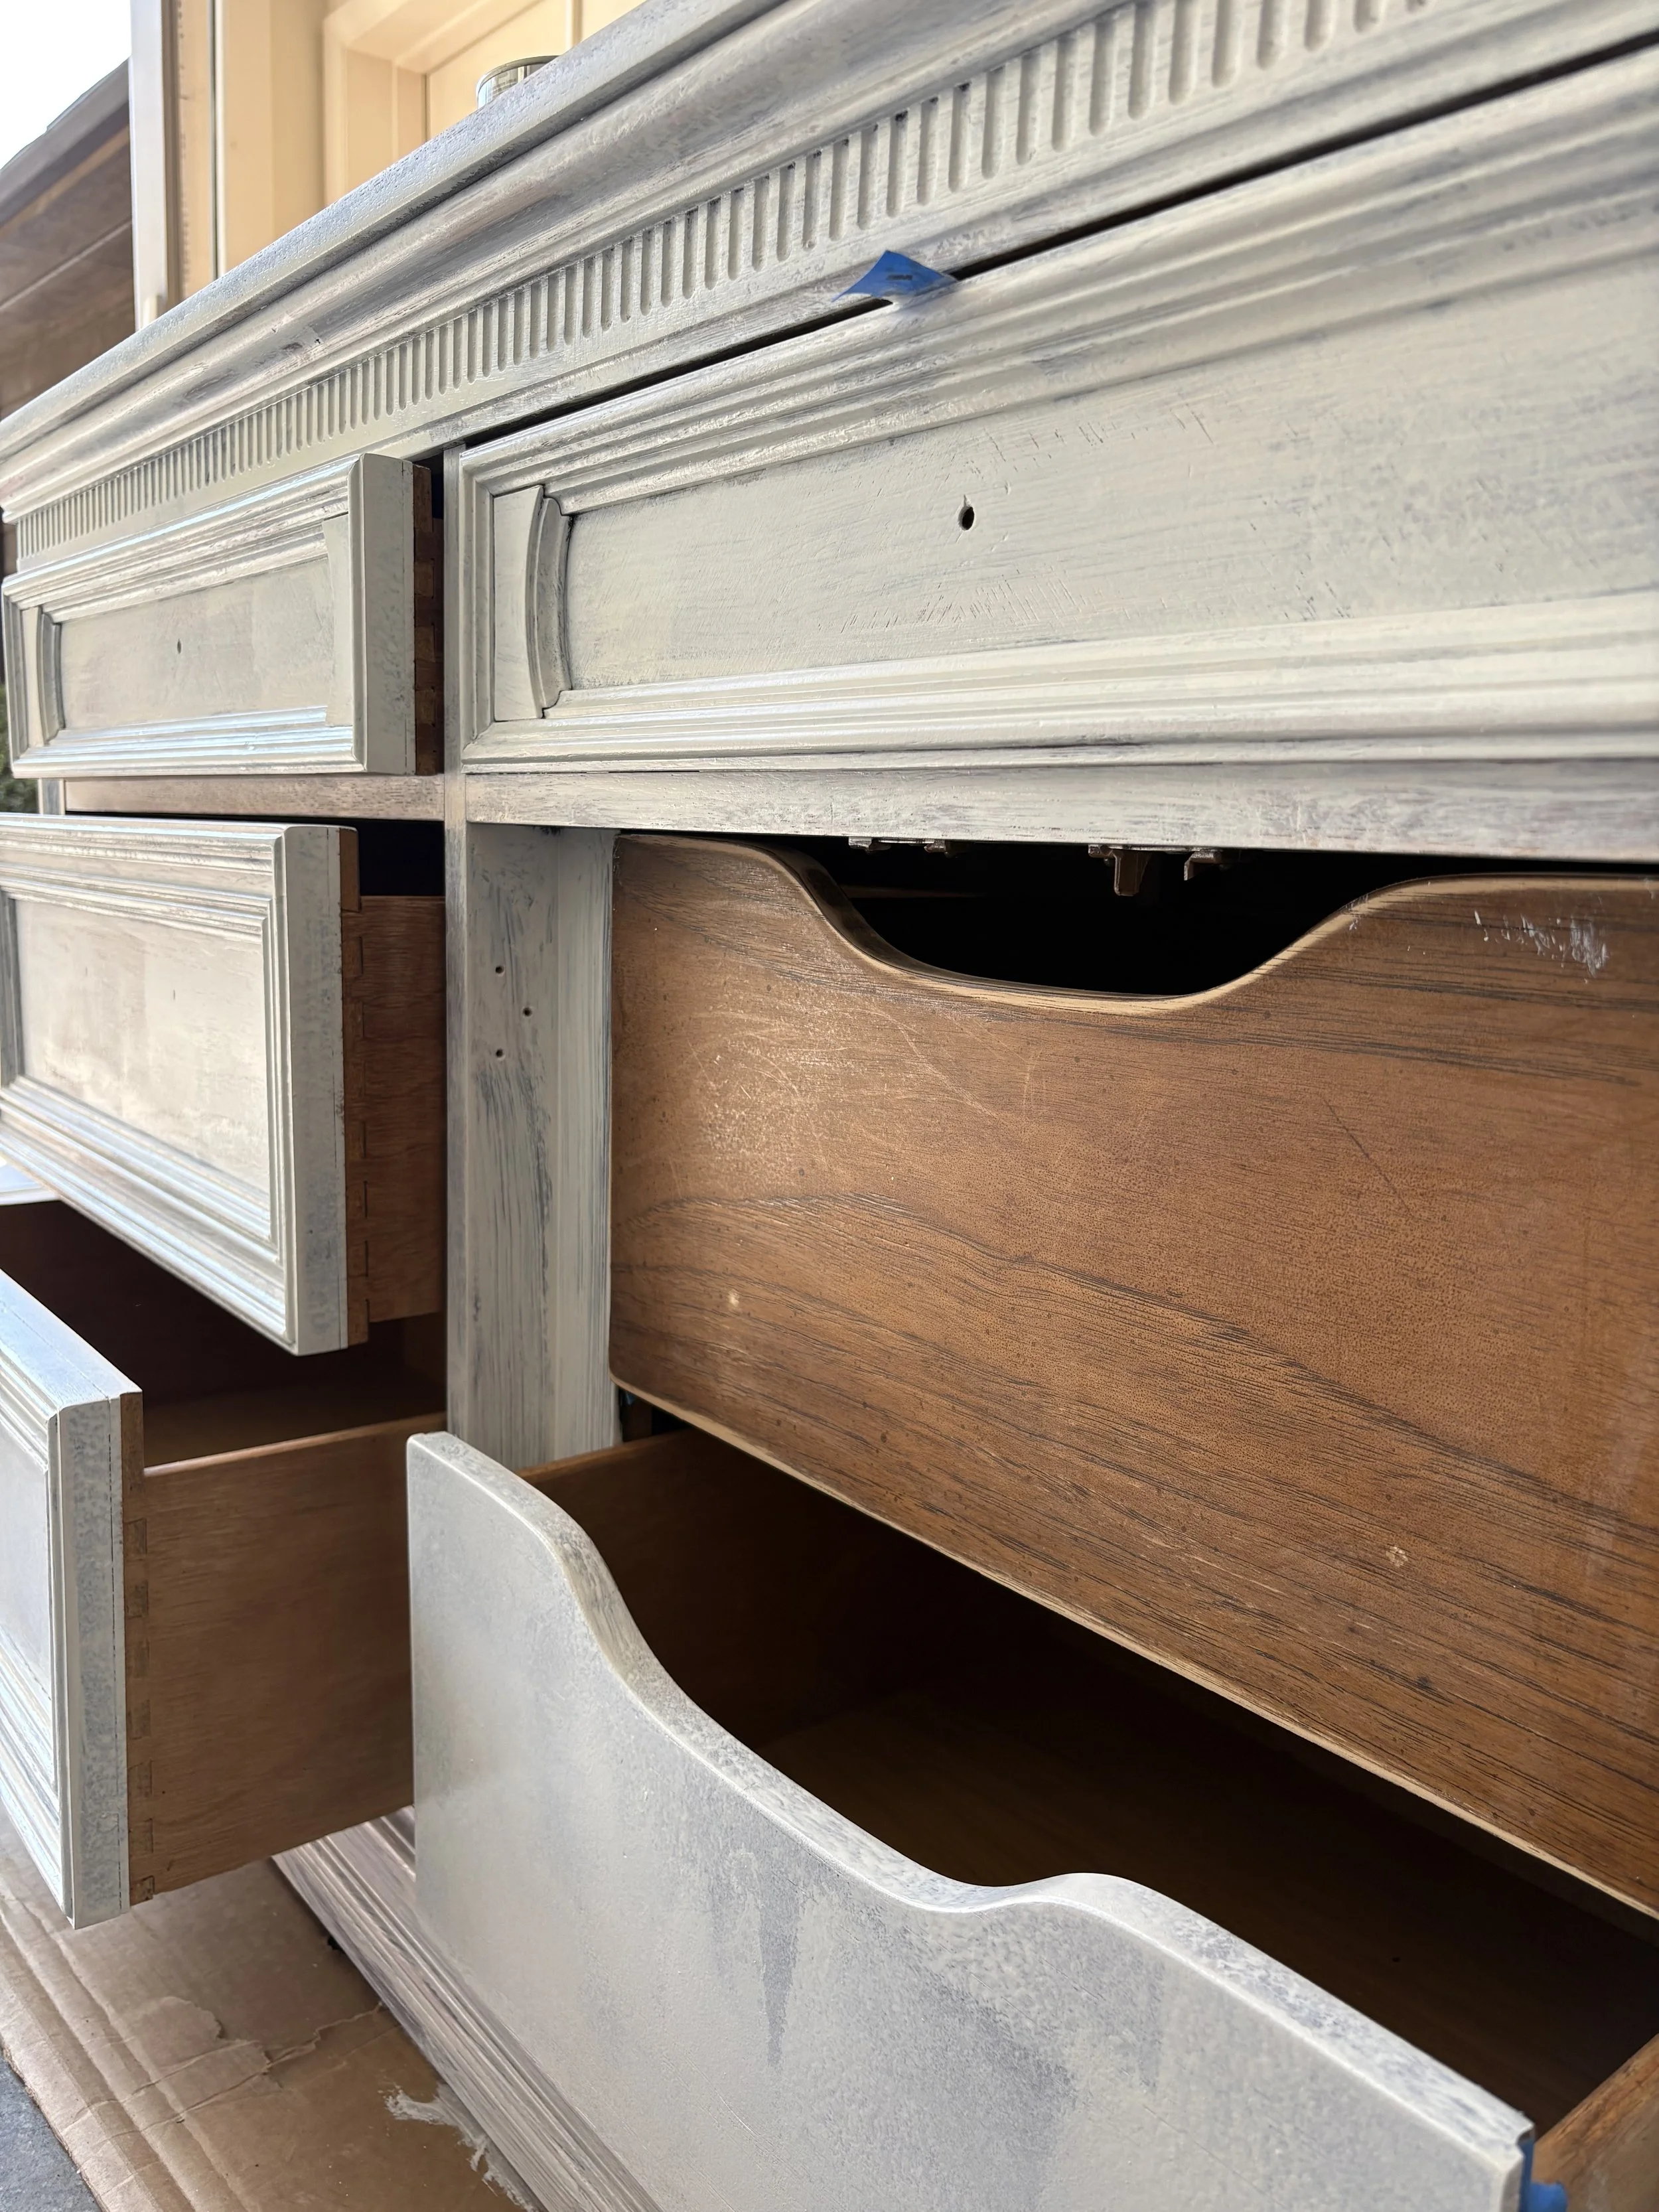
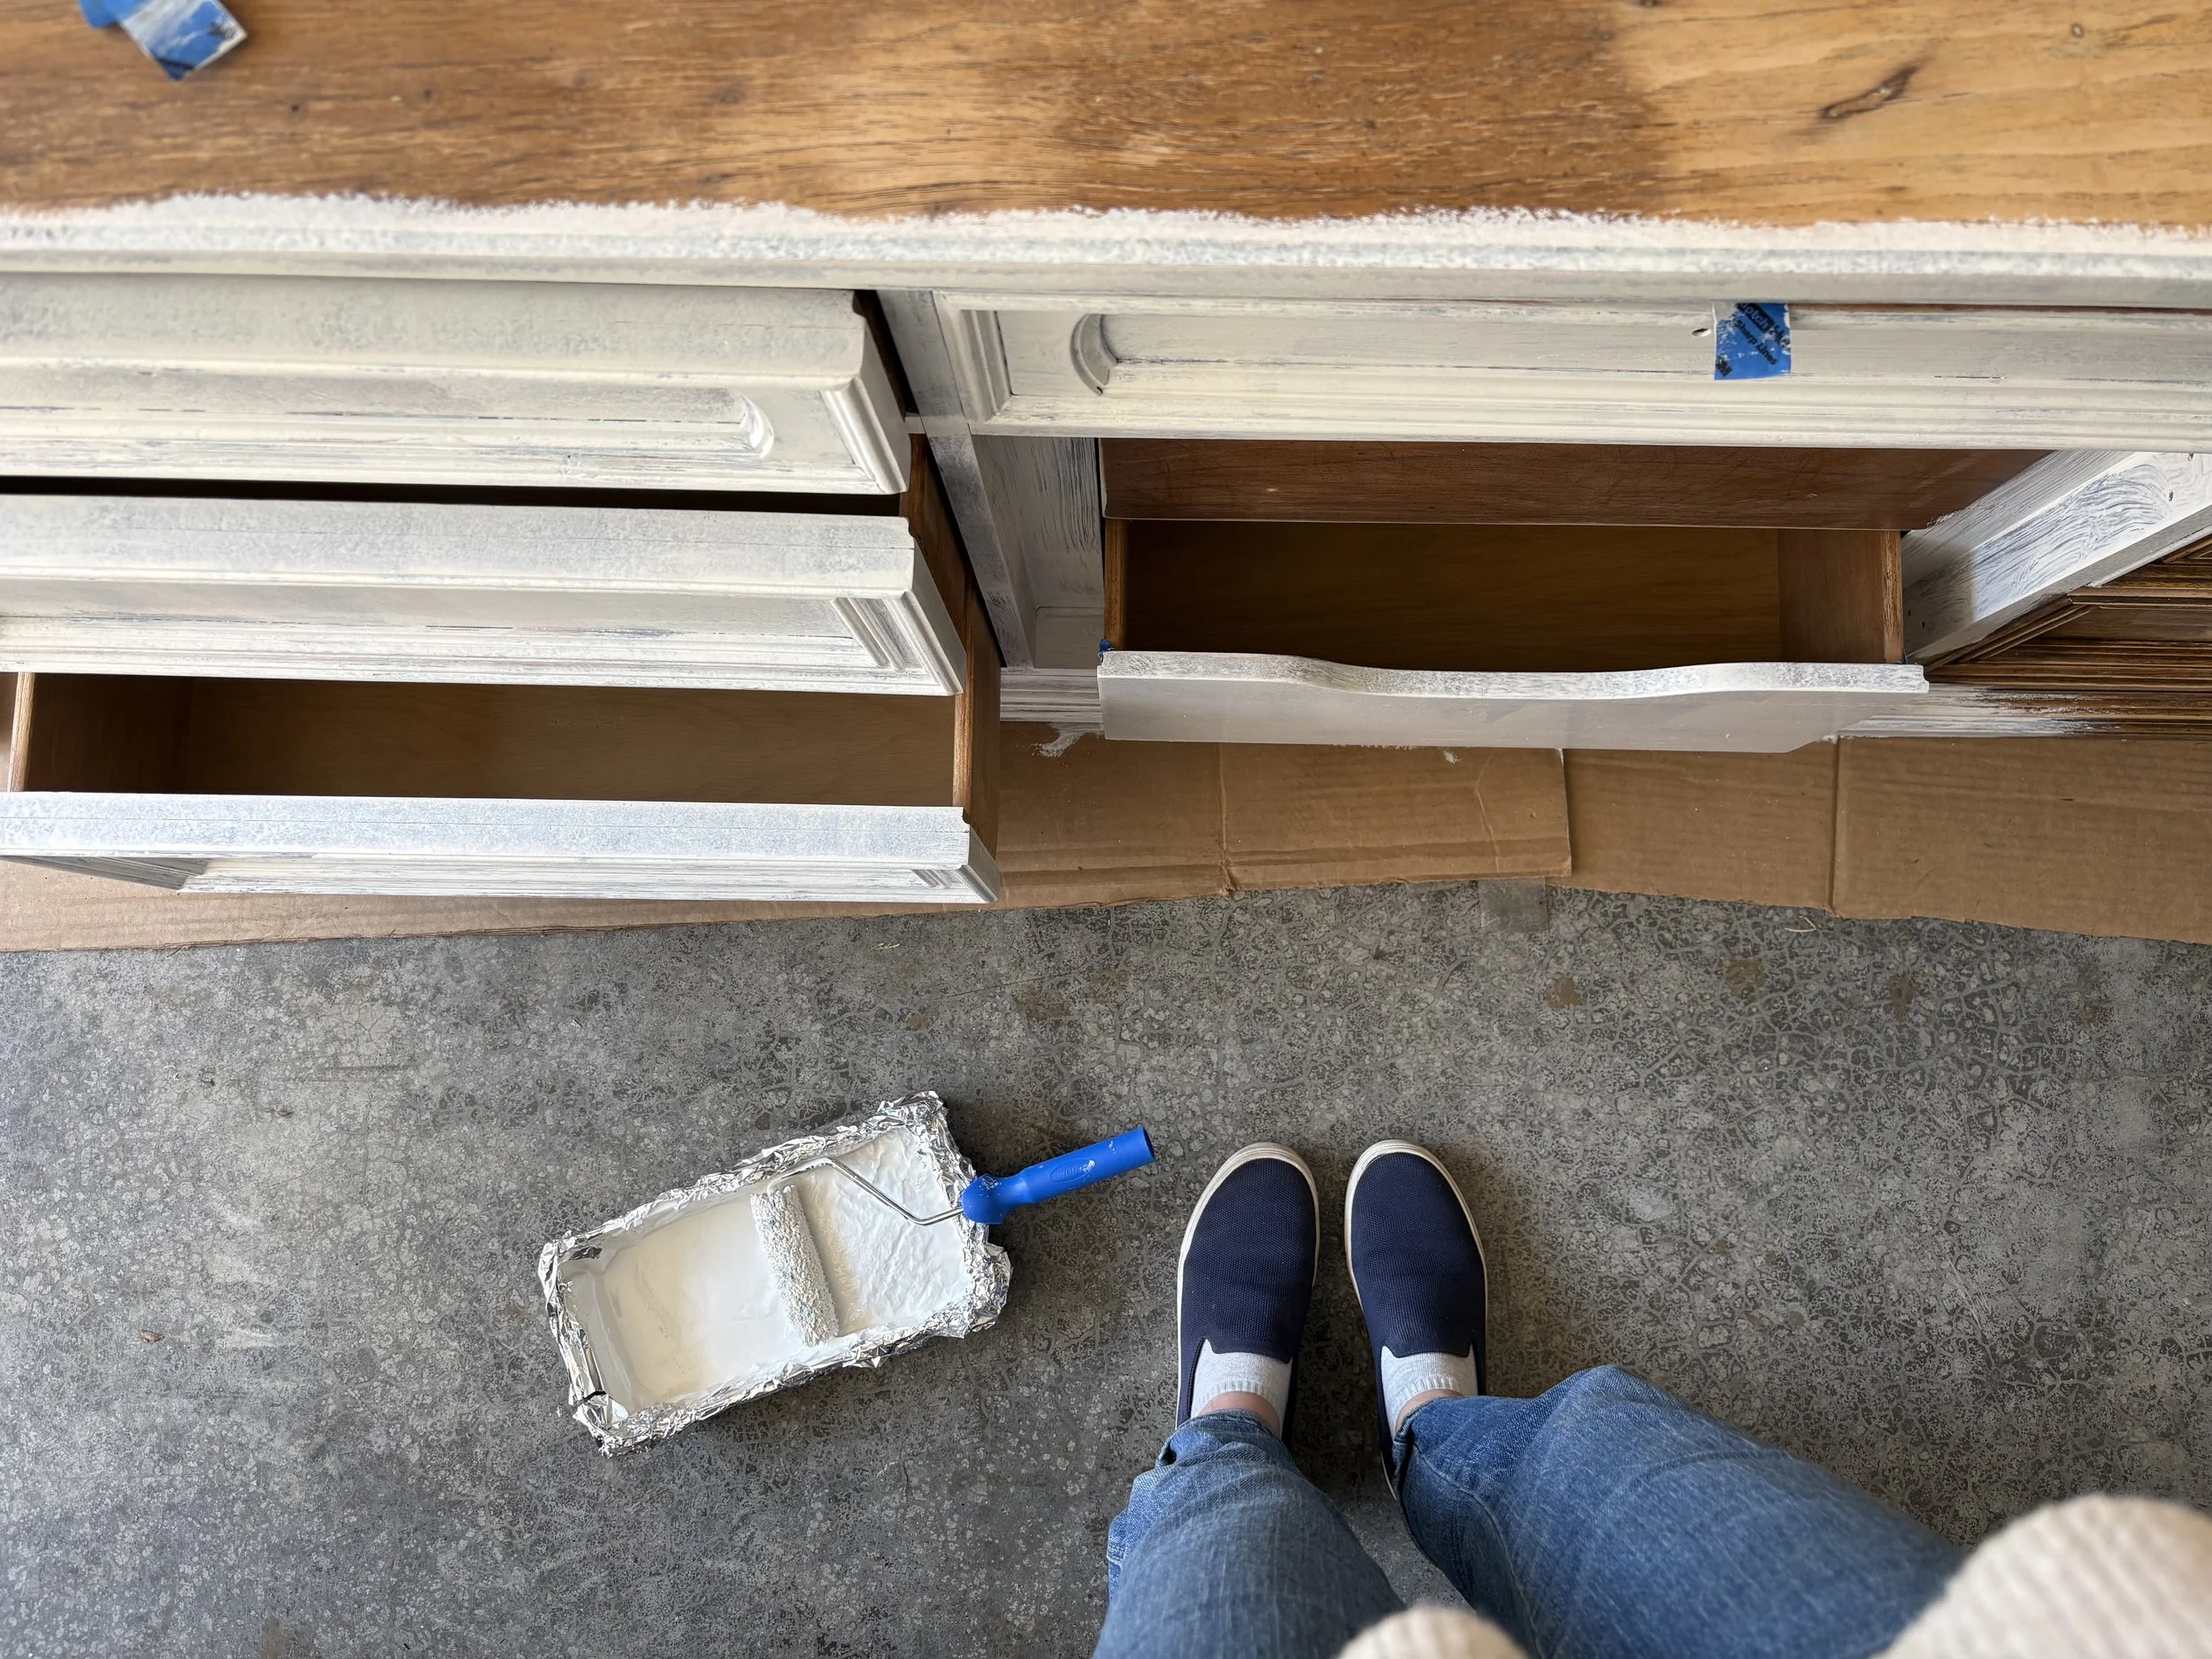
Next came the priming. I always always always use Zinsser BIN Shellac-Based Primer for furniture projects because it has excellent adhesion and blocks any wood tannins from bleeding through the painted finish. Once applied, it almost creates a candy-coating on the piece that really stretches the longevity of your final finish. The only downside is that it has a high VOC and cannot be cleaned with soap and water, so I always prefer to use disposable tools to apply it. I simply line a small paint tray with tinfoil for easy disposal and always toss the roller head once I’ve finished. When using a brush, I opt to use an old brush on its last leg or an inexpensive chip brush so I don’t need to fuss with additional chemicals for cleanup.
I applied one primer coat and then went across the piece and filled any additional holes or scratches with wood filler. I also added paintable caulking to a few cracks between trim pieces to clean up the final look. Sometimes these blemishes aren’t noticeable until the primer is applied, making this a great time in the process to address them. Once everything was dry, I went over the whole piece with one more coat of primer.
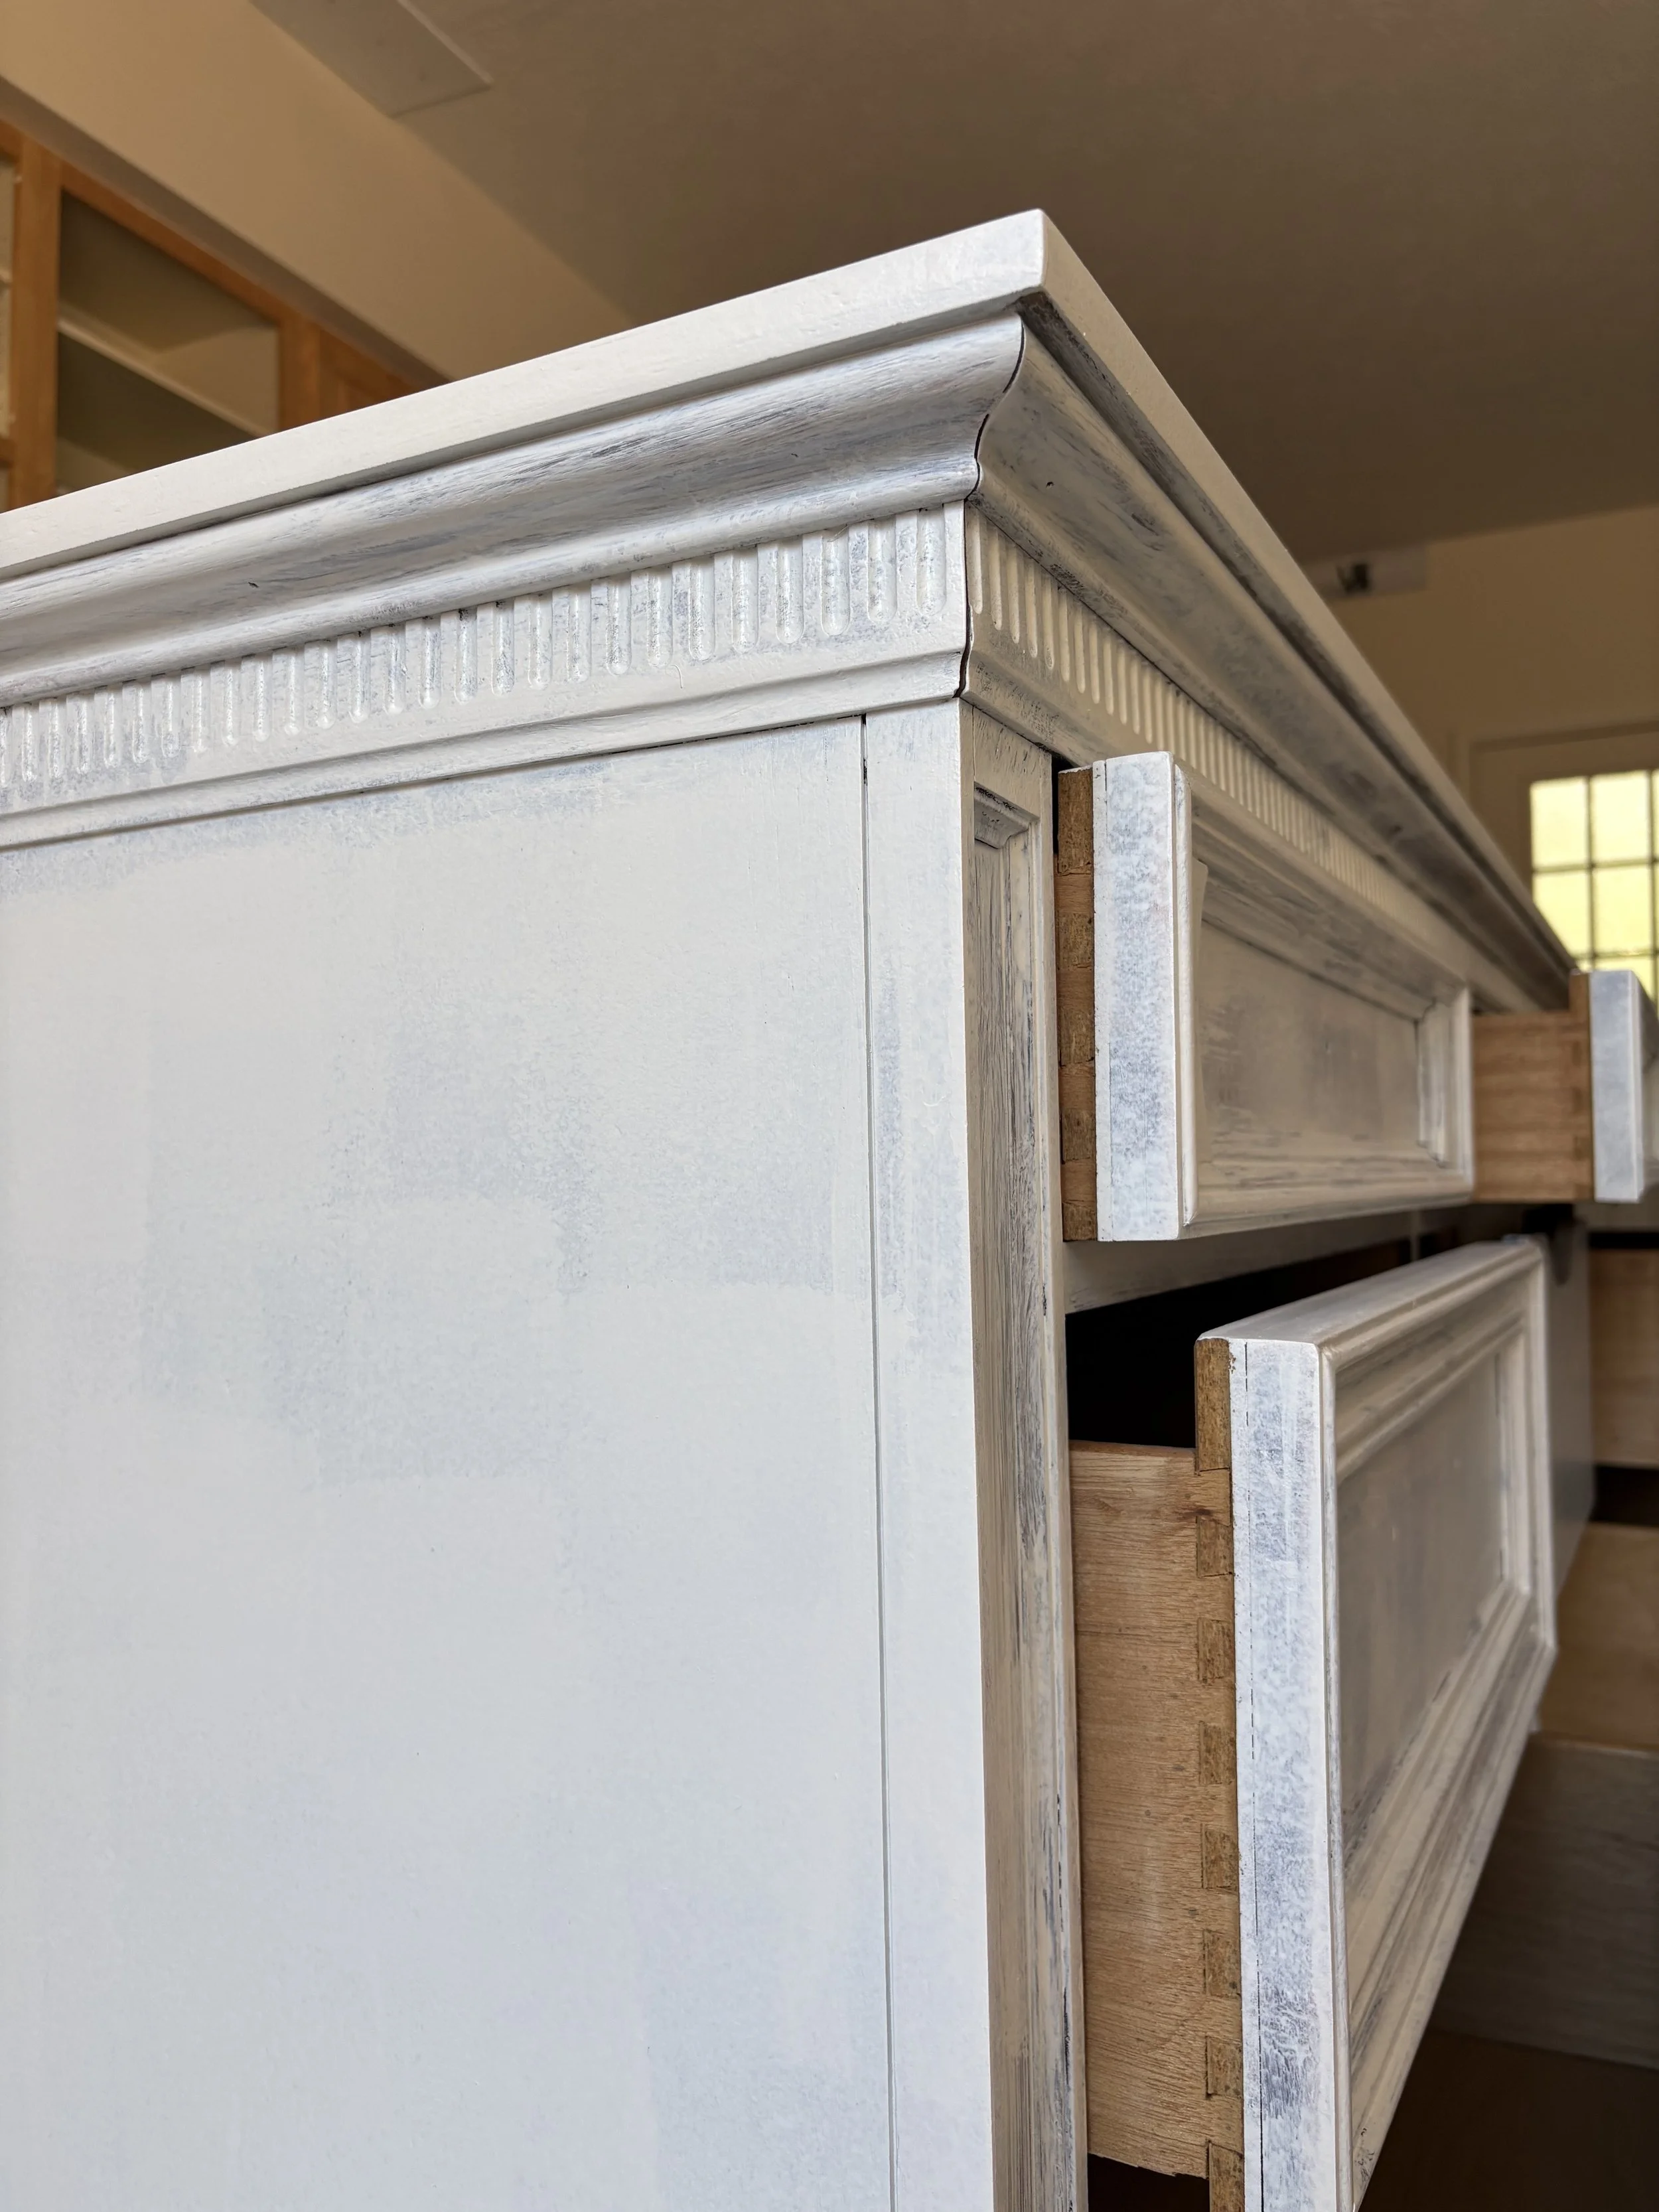
Next came paint. There are so many great products out there, including cabinetry paints from some of the biggest names, chalk paints, milk paints, and more. When I was deciding what kind of finish I wanted to use on this piece, I went back to a product I have used and loved time and time again. I ended up settling on the color Tapestry by Fusion Minerals Paints. Their paints are some of the smoothest to apply, especially with a brush, and their entire catalogue is full of an array of beautiful colors. While the little jars seem small and expensive, the coverage is great. It really was a no brainer.
I applied the paint in two coats using a standard furniture paint brush. I ended up rolling the last coat on the top of the dresser just to ensure a very smooth finish for that large flat surface. Once the piece had dried for a couple of days, I applied a furniture wax to every painted surface, buffing it as I went. I always love the smooth matte look that a wax finish provides and it ended up working well on this dresser.
The Finished Product
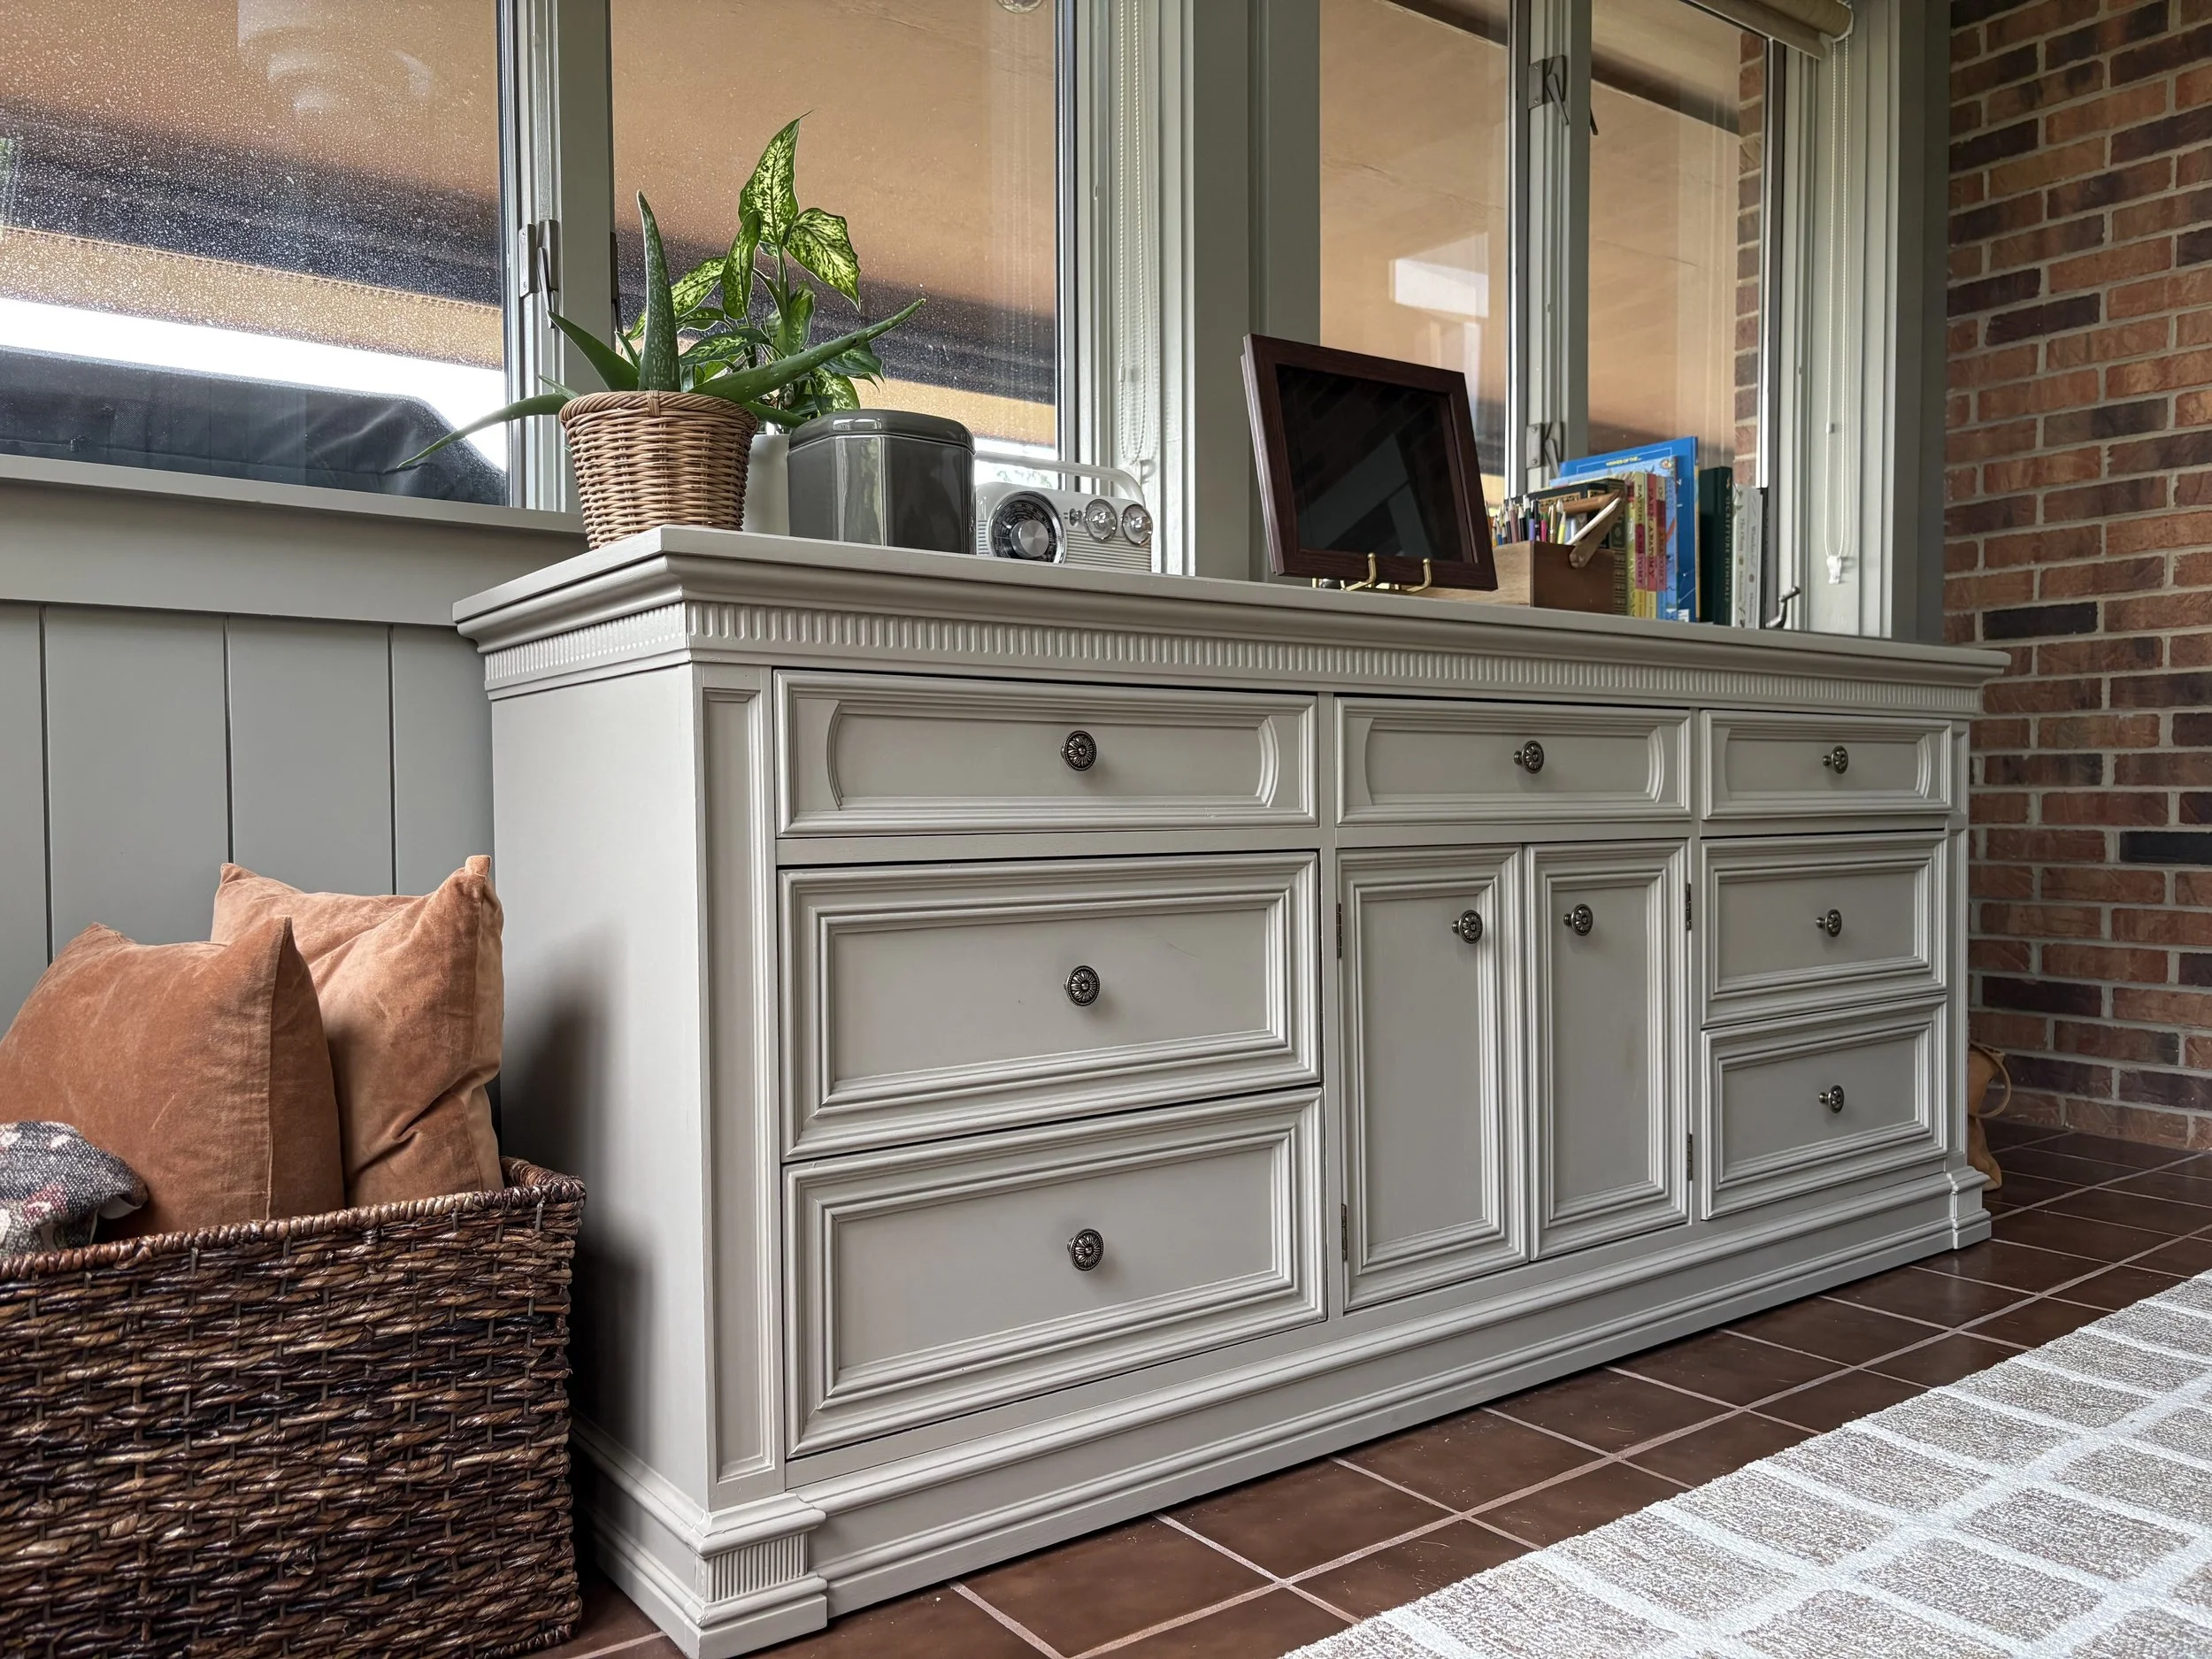
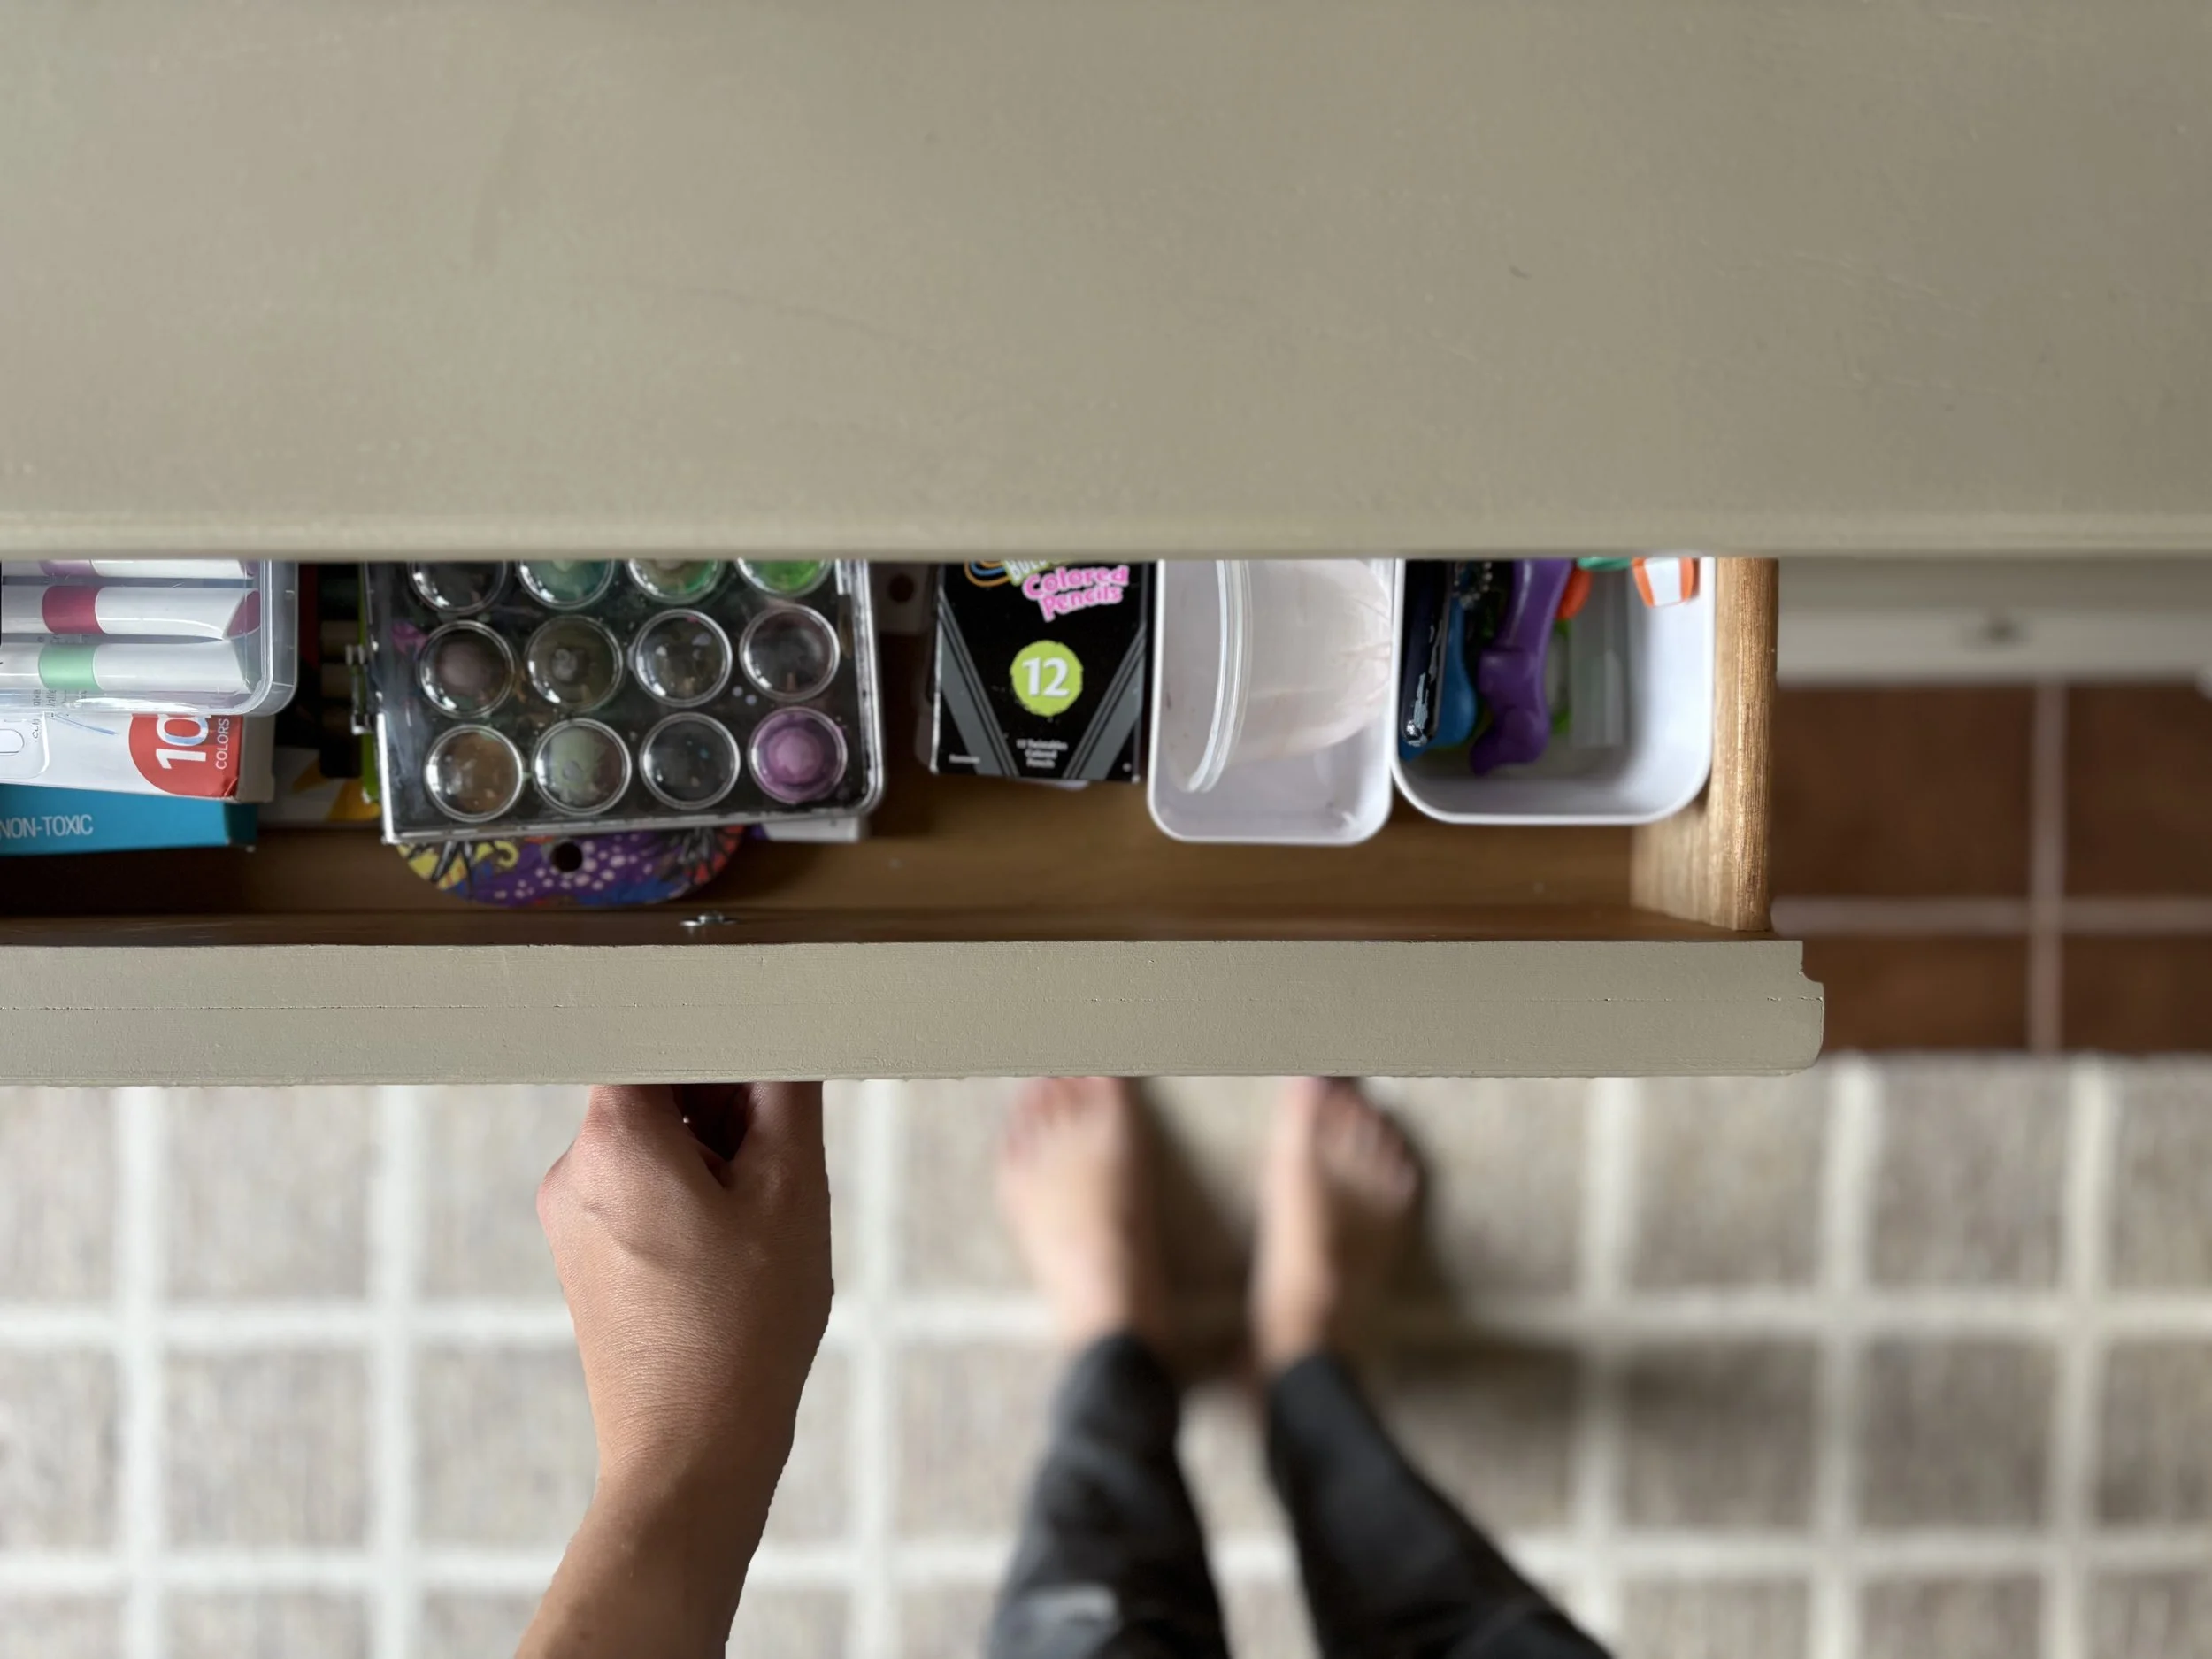
This cabinet has become a workhorse in our sunroom. We currently have it packed full with all of our school resources, activity books, art supplies, and craft projects. The many drawers give us ample space to sort all the things we like to grab and use on a whim, making it a great solution for independent projects and play with our kids. Not a day goes by where I don’t find one of our girls working away on a painting project in our sunroom and I know this piece of furniture has been the perfect addition to keep all their items easily accessible to encourage such moments.
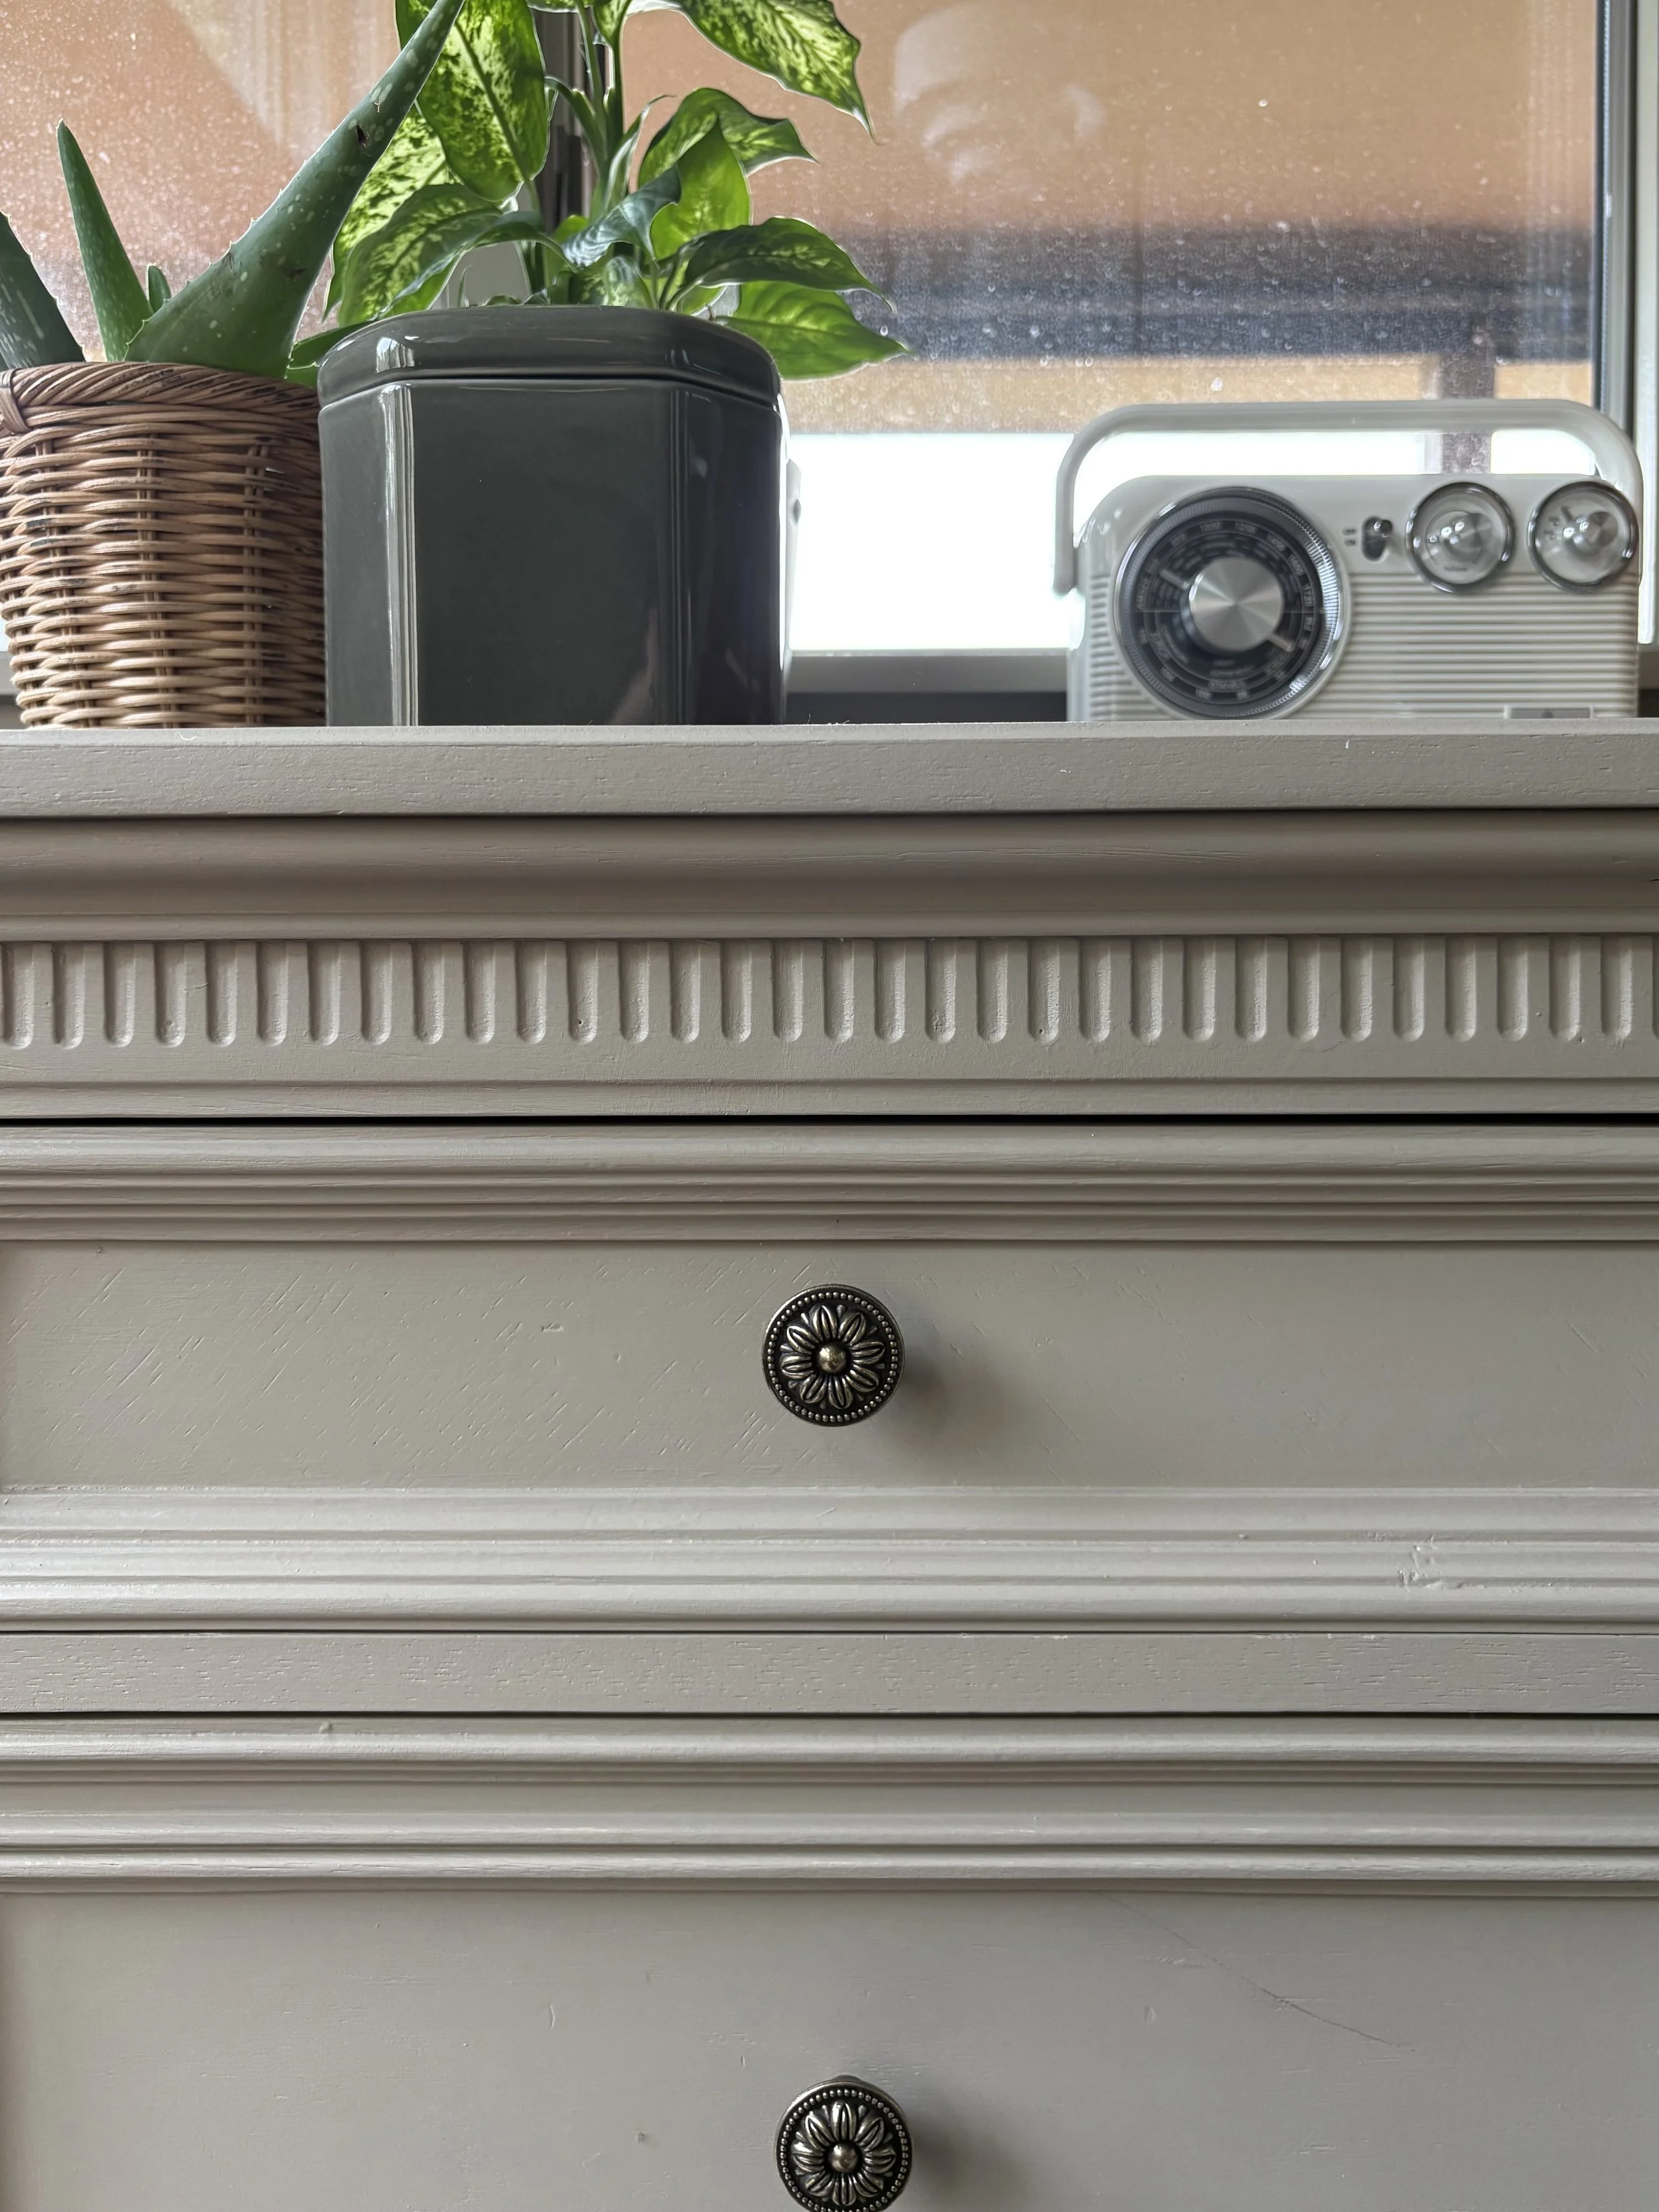
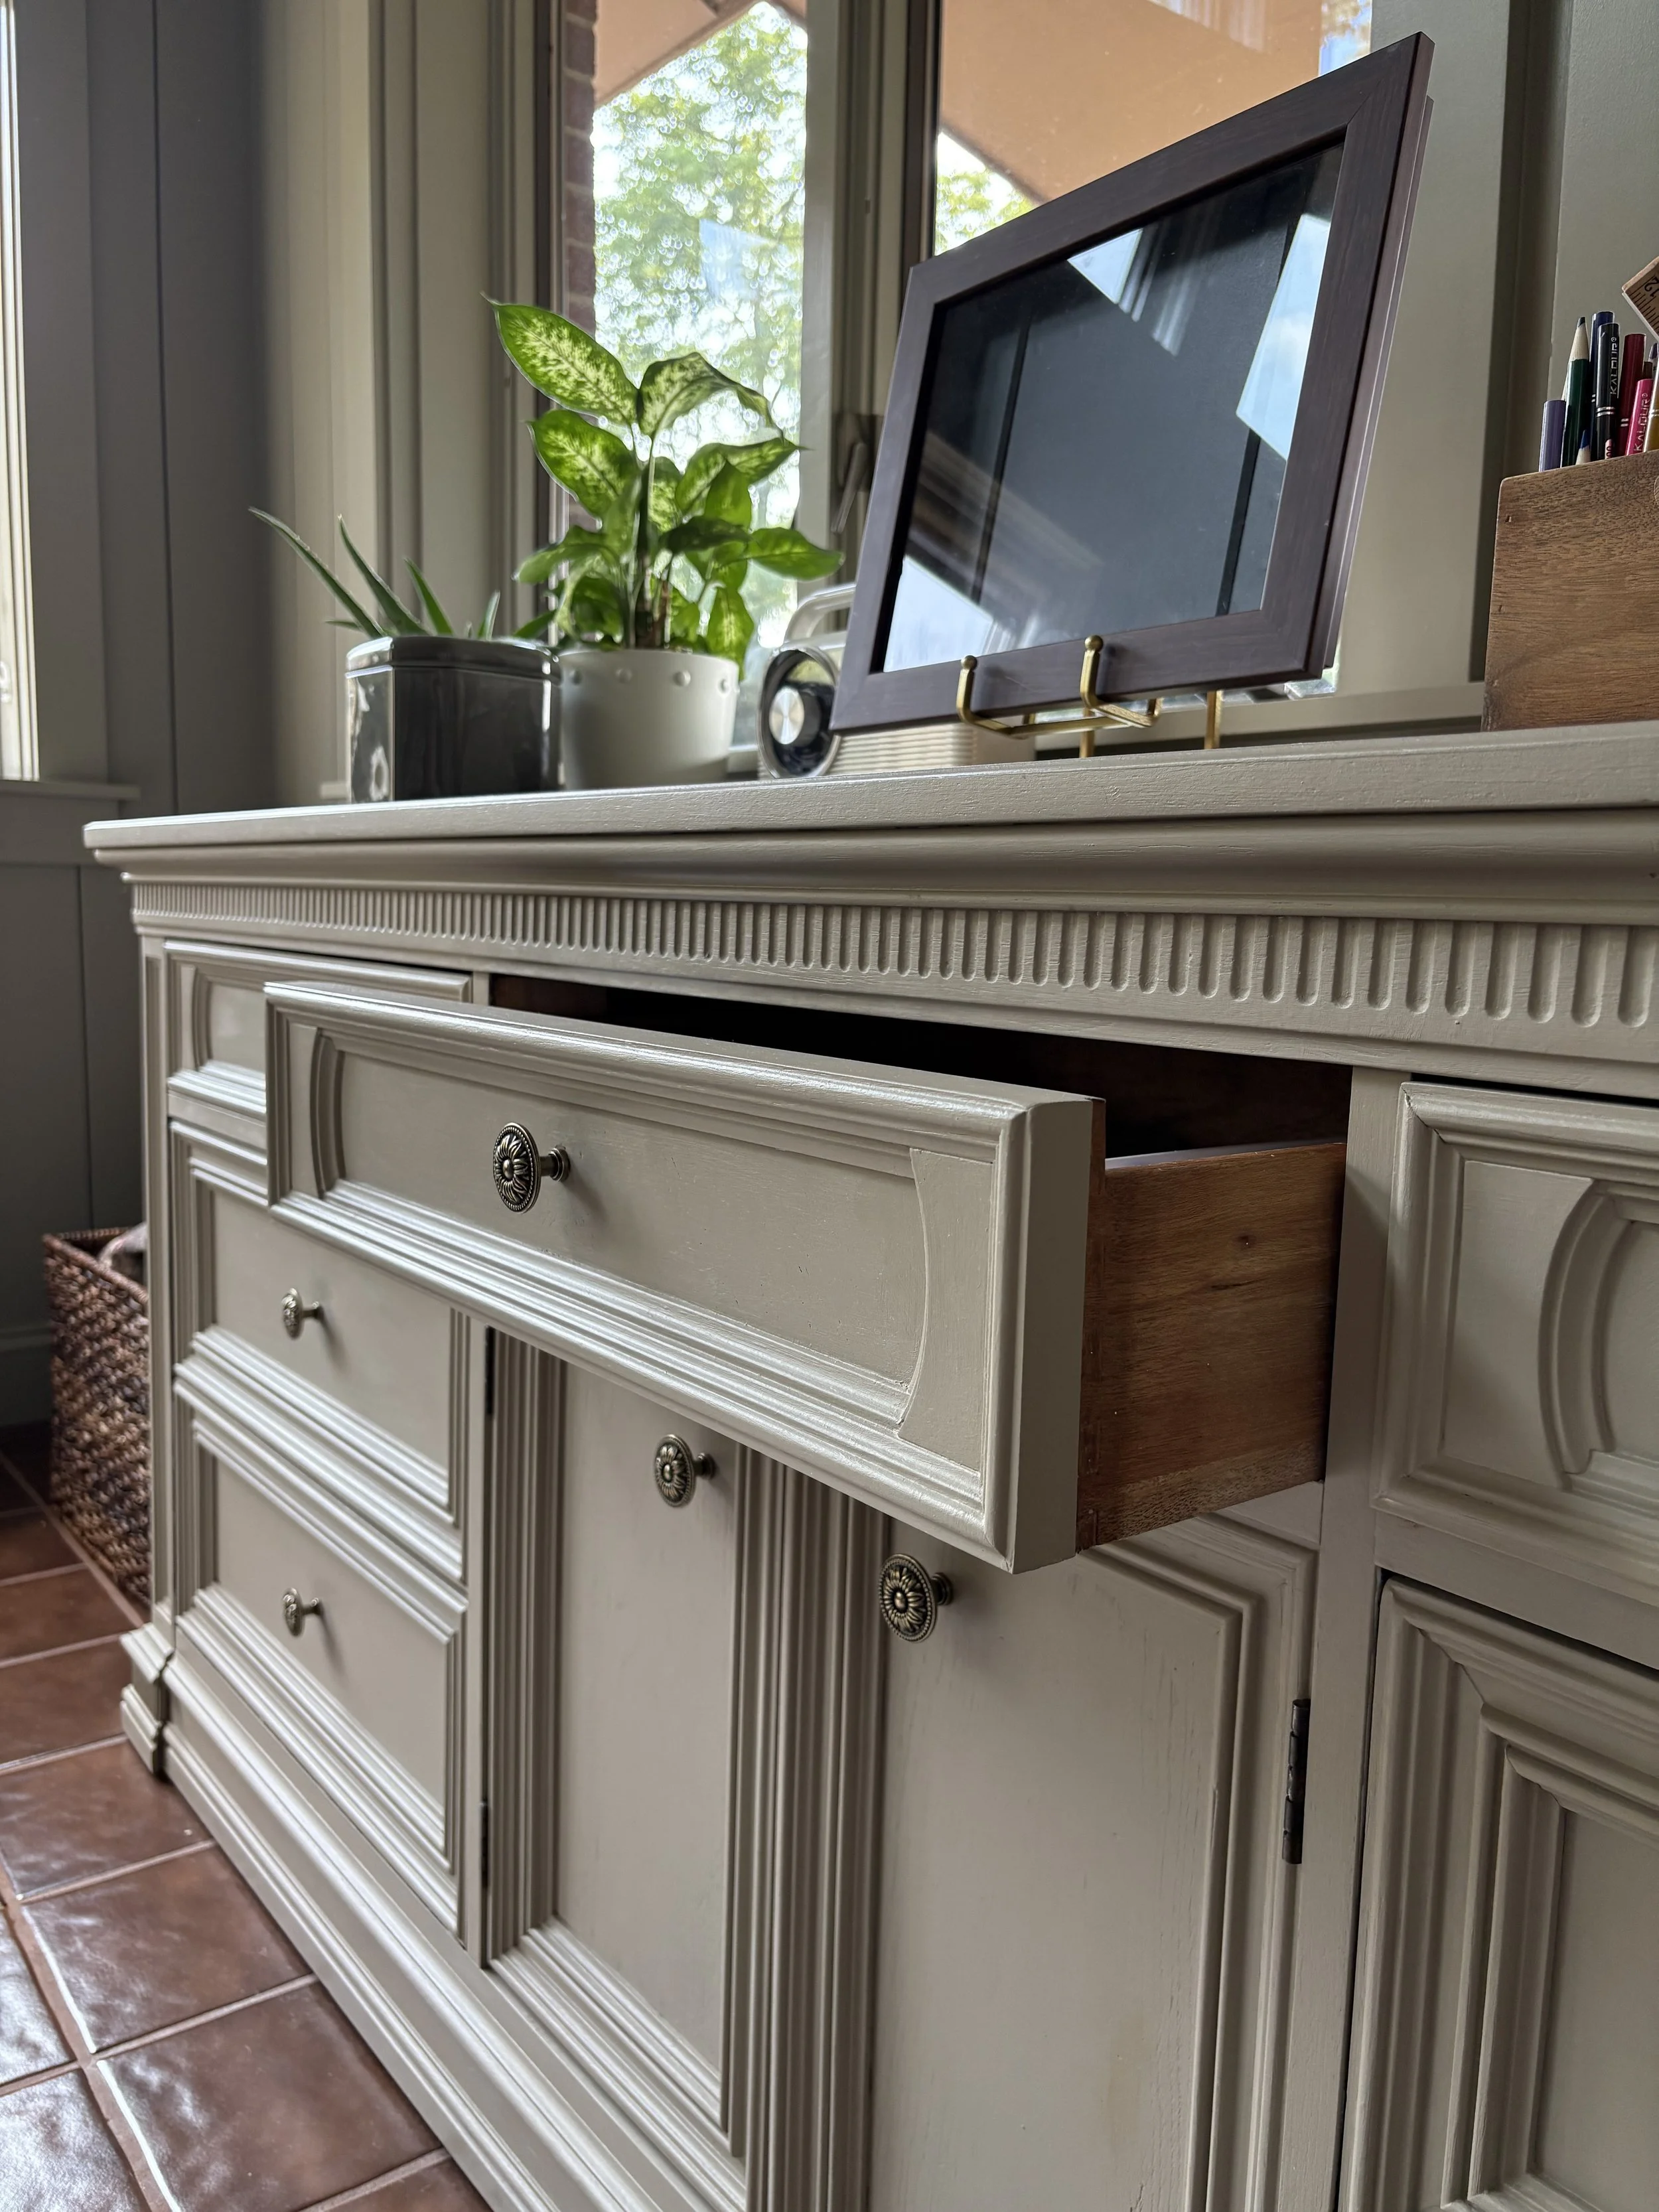
I simplified the hardware on this piece and went with some simple matching knobs across all the drawers and doors. Since this piece sits in our sunroom, I purchased these knobs (similar here) with a pretty sunflower motif on them. I love this subtle detail. They have an aged bronze finish, but I may still go in with some antique gold Rub ‘n Buff to add a little more shine to them. They were a very affordable solution and I like the daintiness of the design against the hard lines of the dresser.
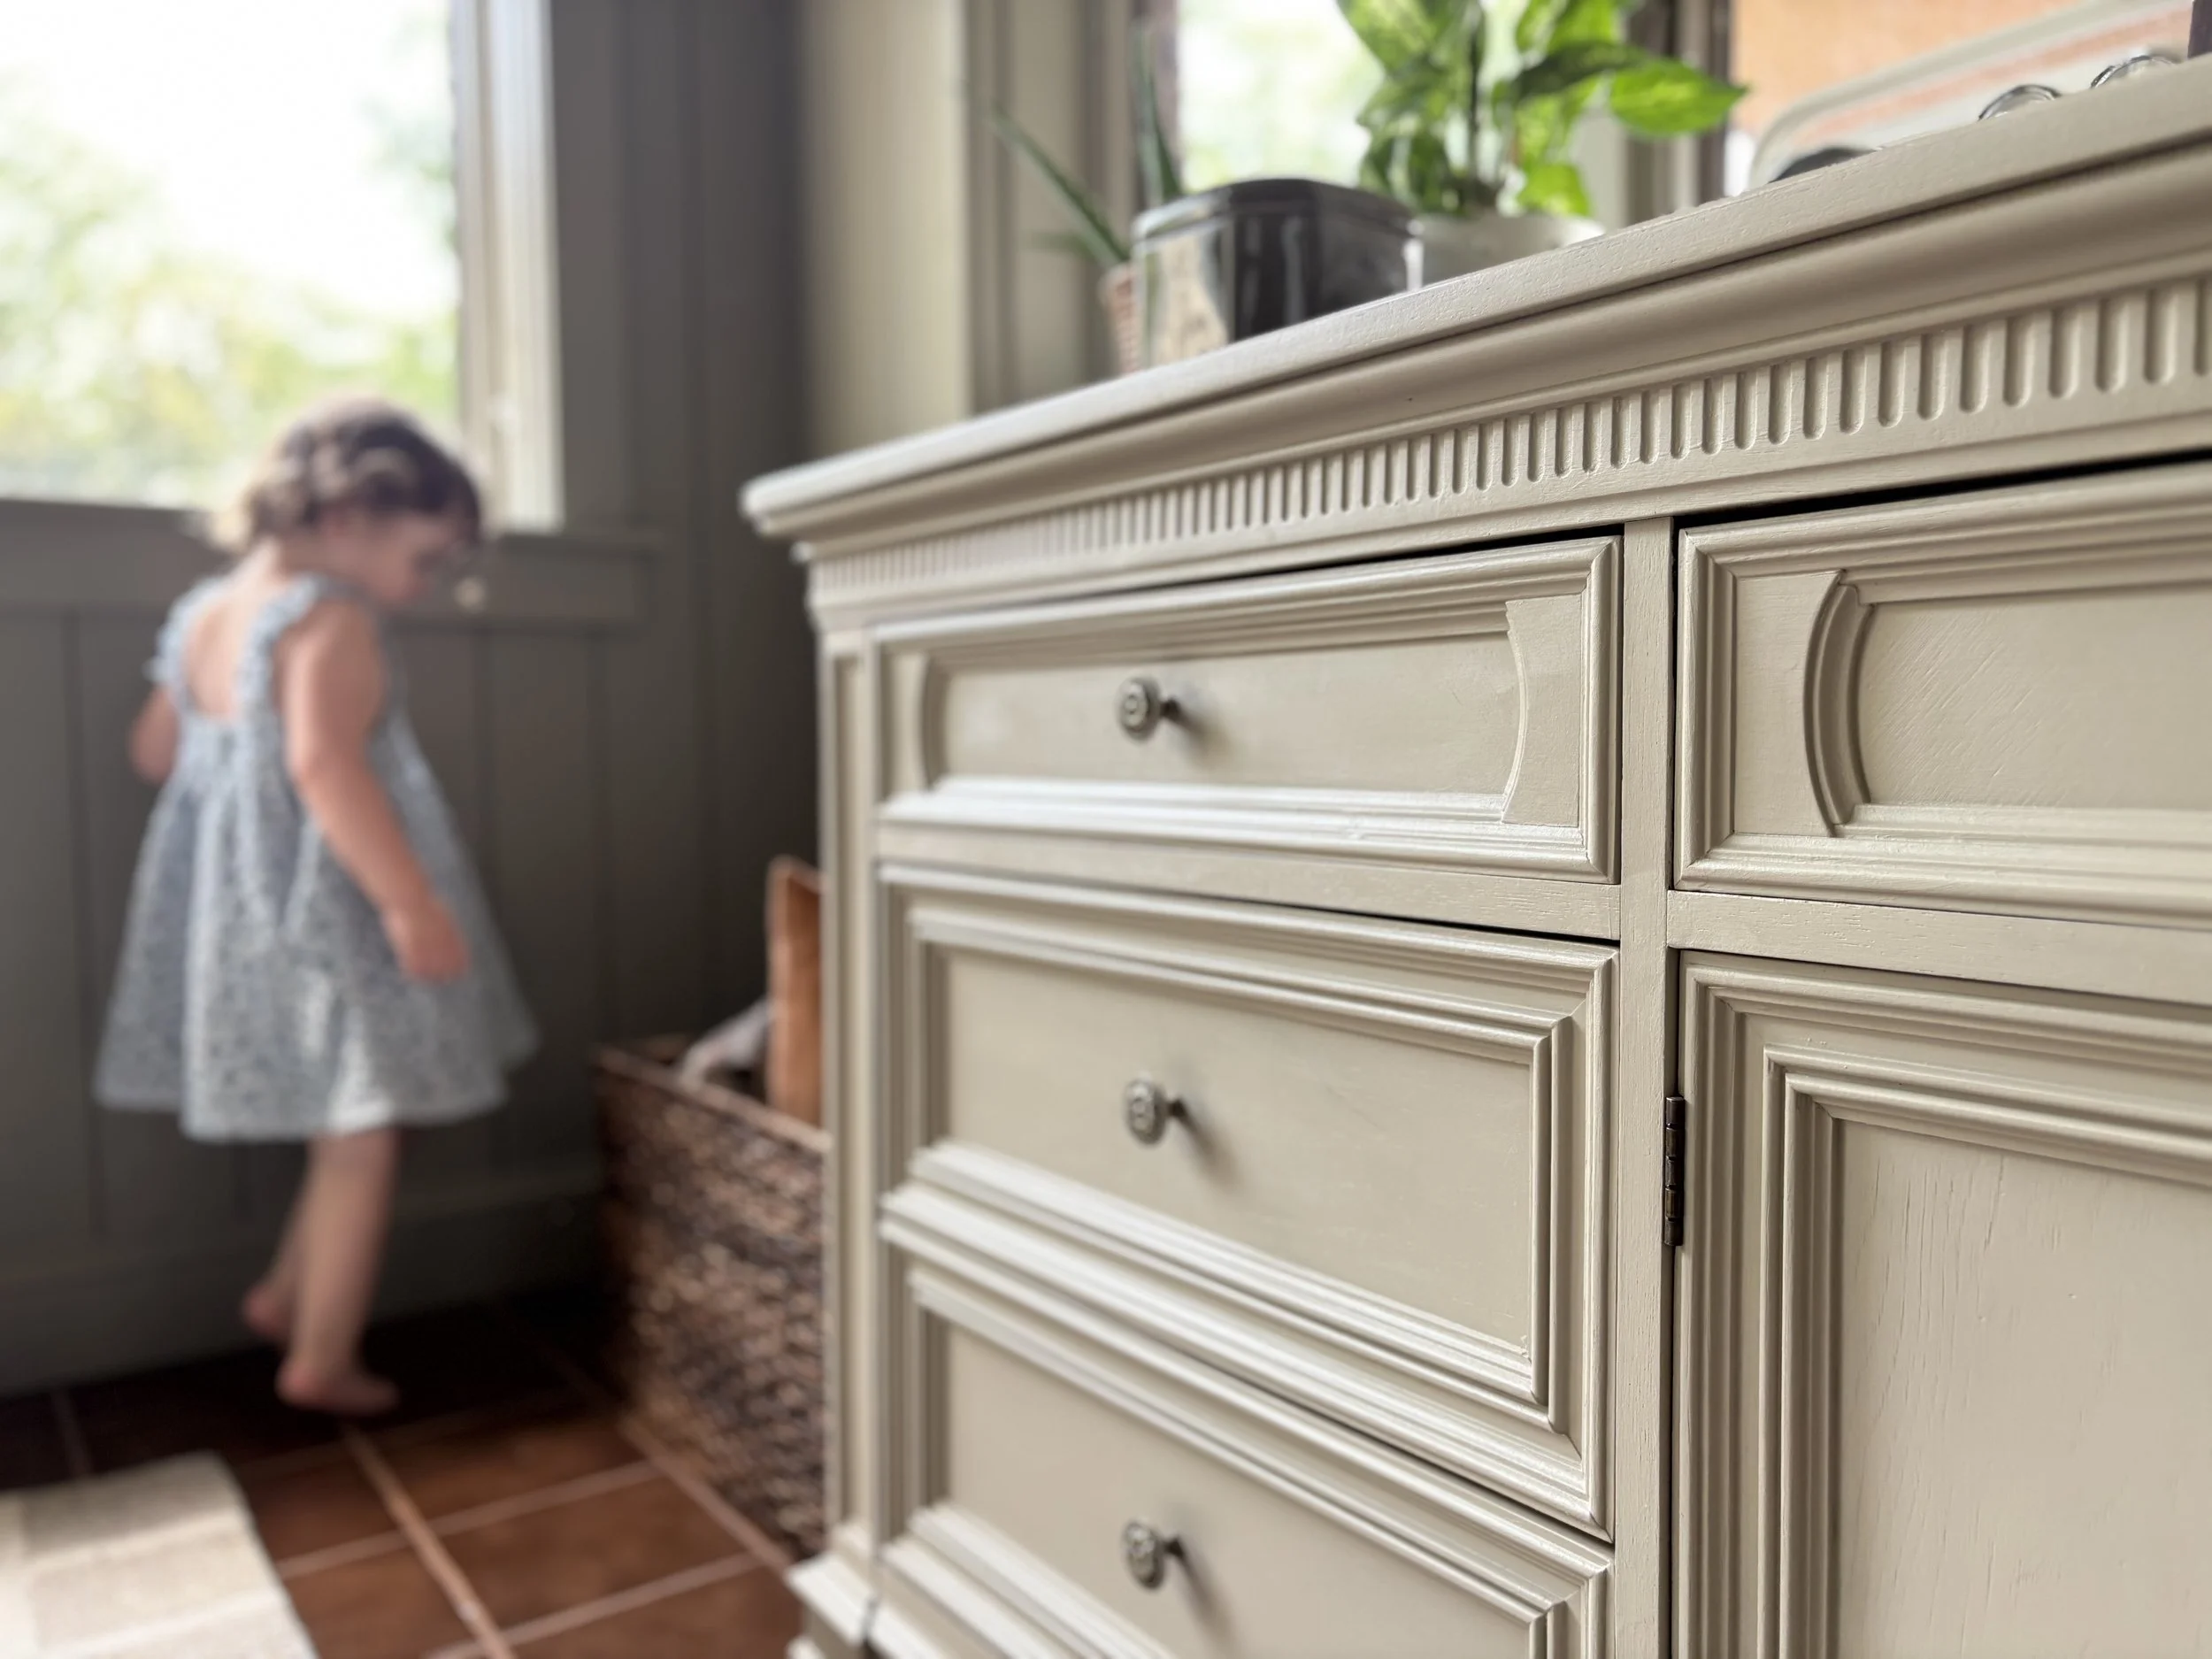
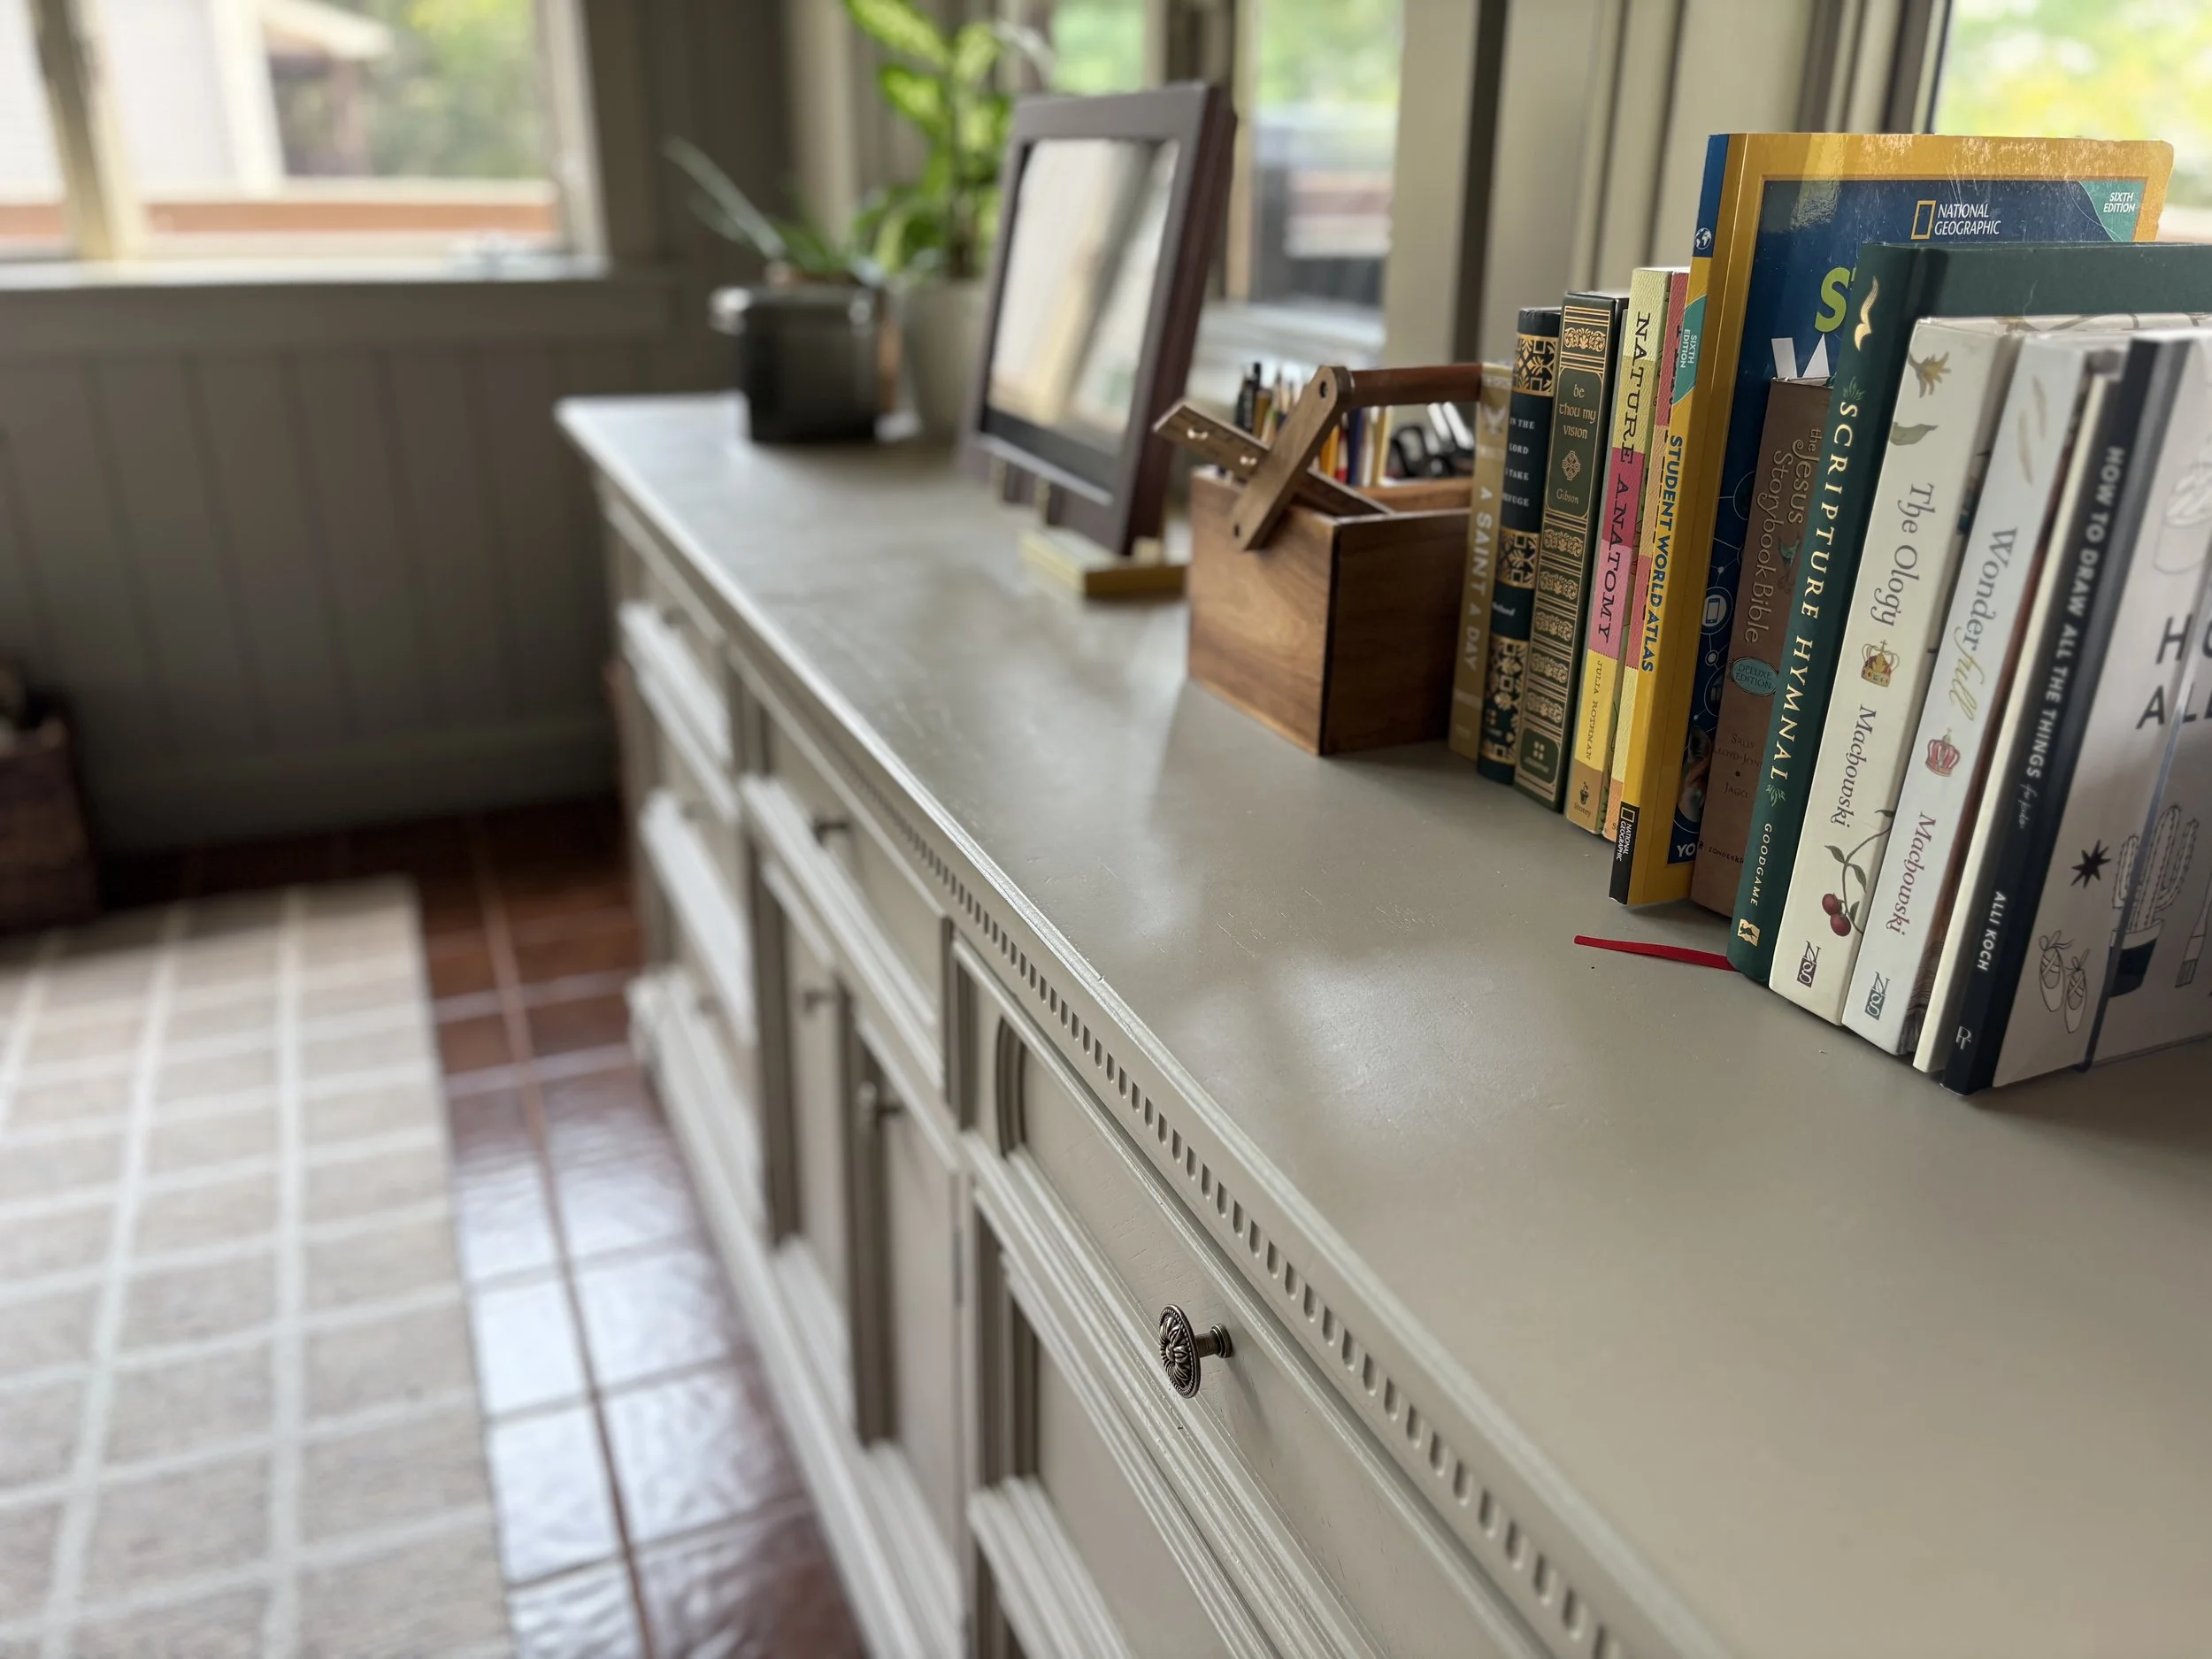
I’m really pleased with how this cabinet turned out. I love to customize secondhand furniture for our home because it gives me the opportunity to find a solution that really functions well without breaking the bank. It always amazes me how much of an impact a little bit of vision combined with a little bit of effort can make when I take on a project like this. It’s such a satisfying feeling. Definitely one of those little thing moments.
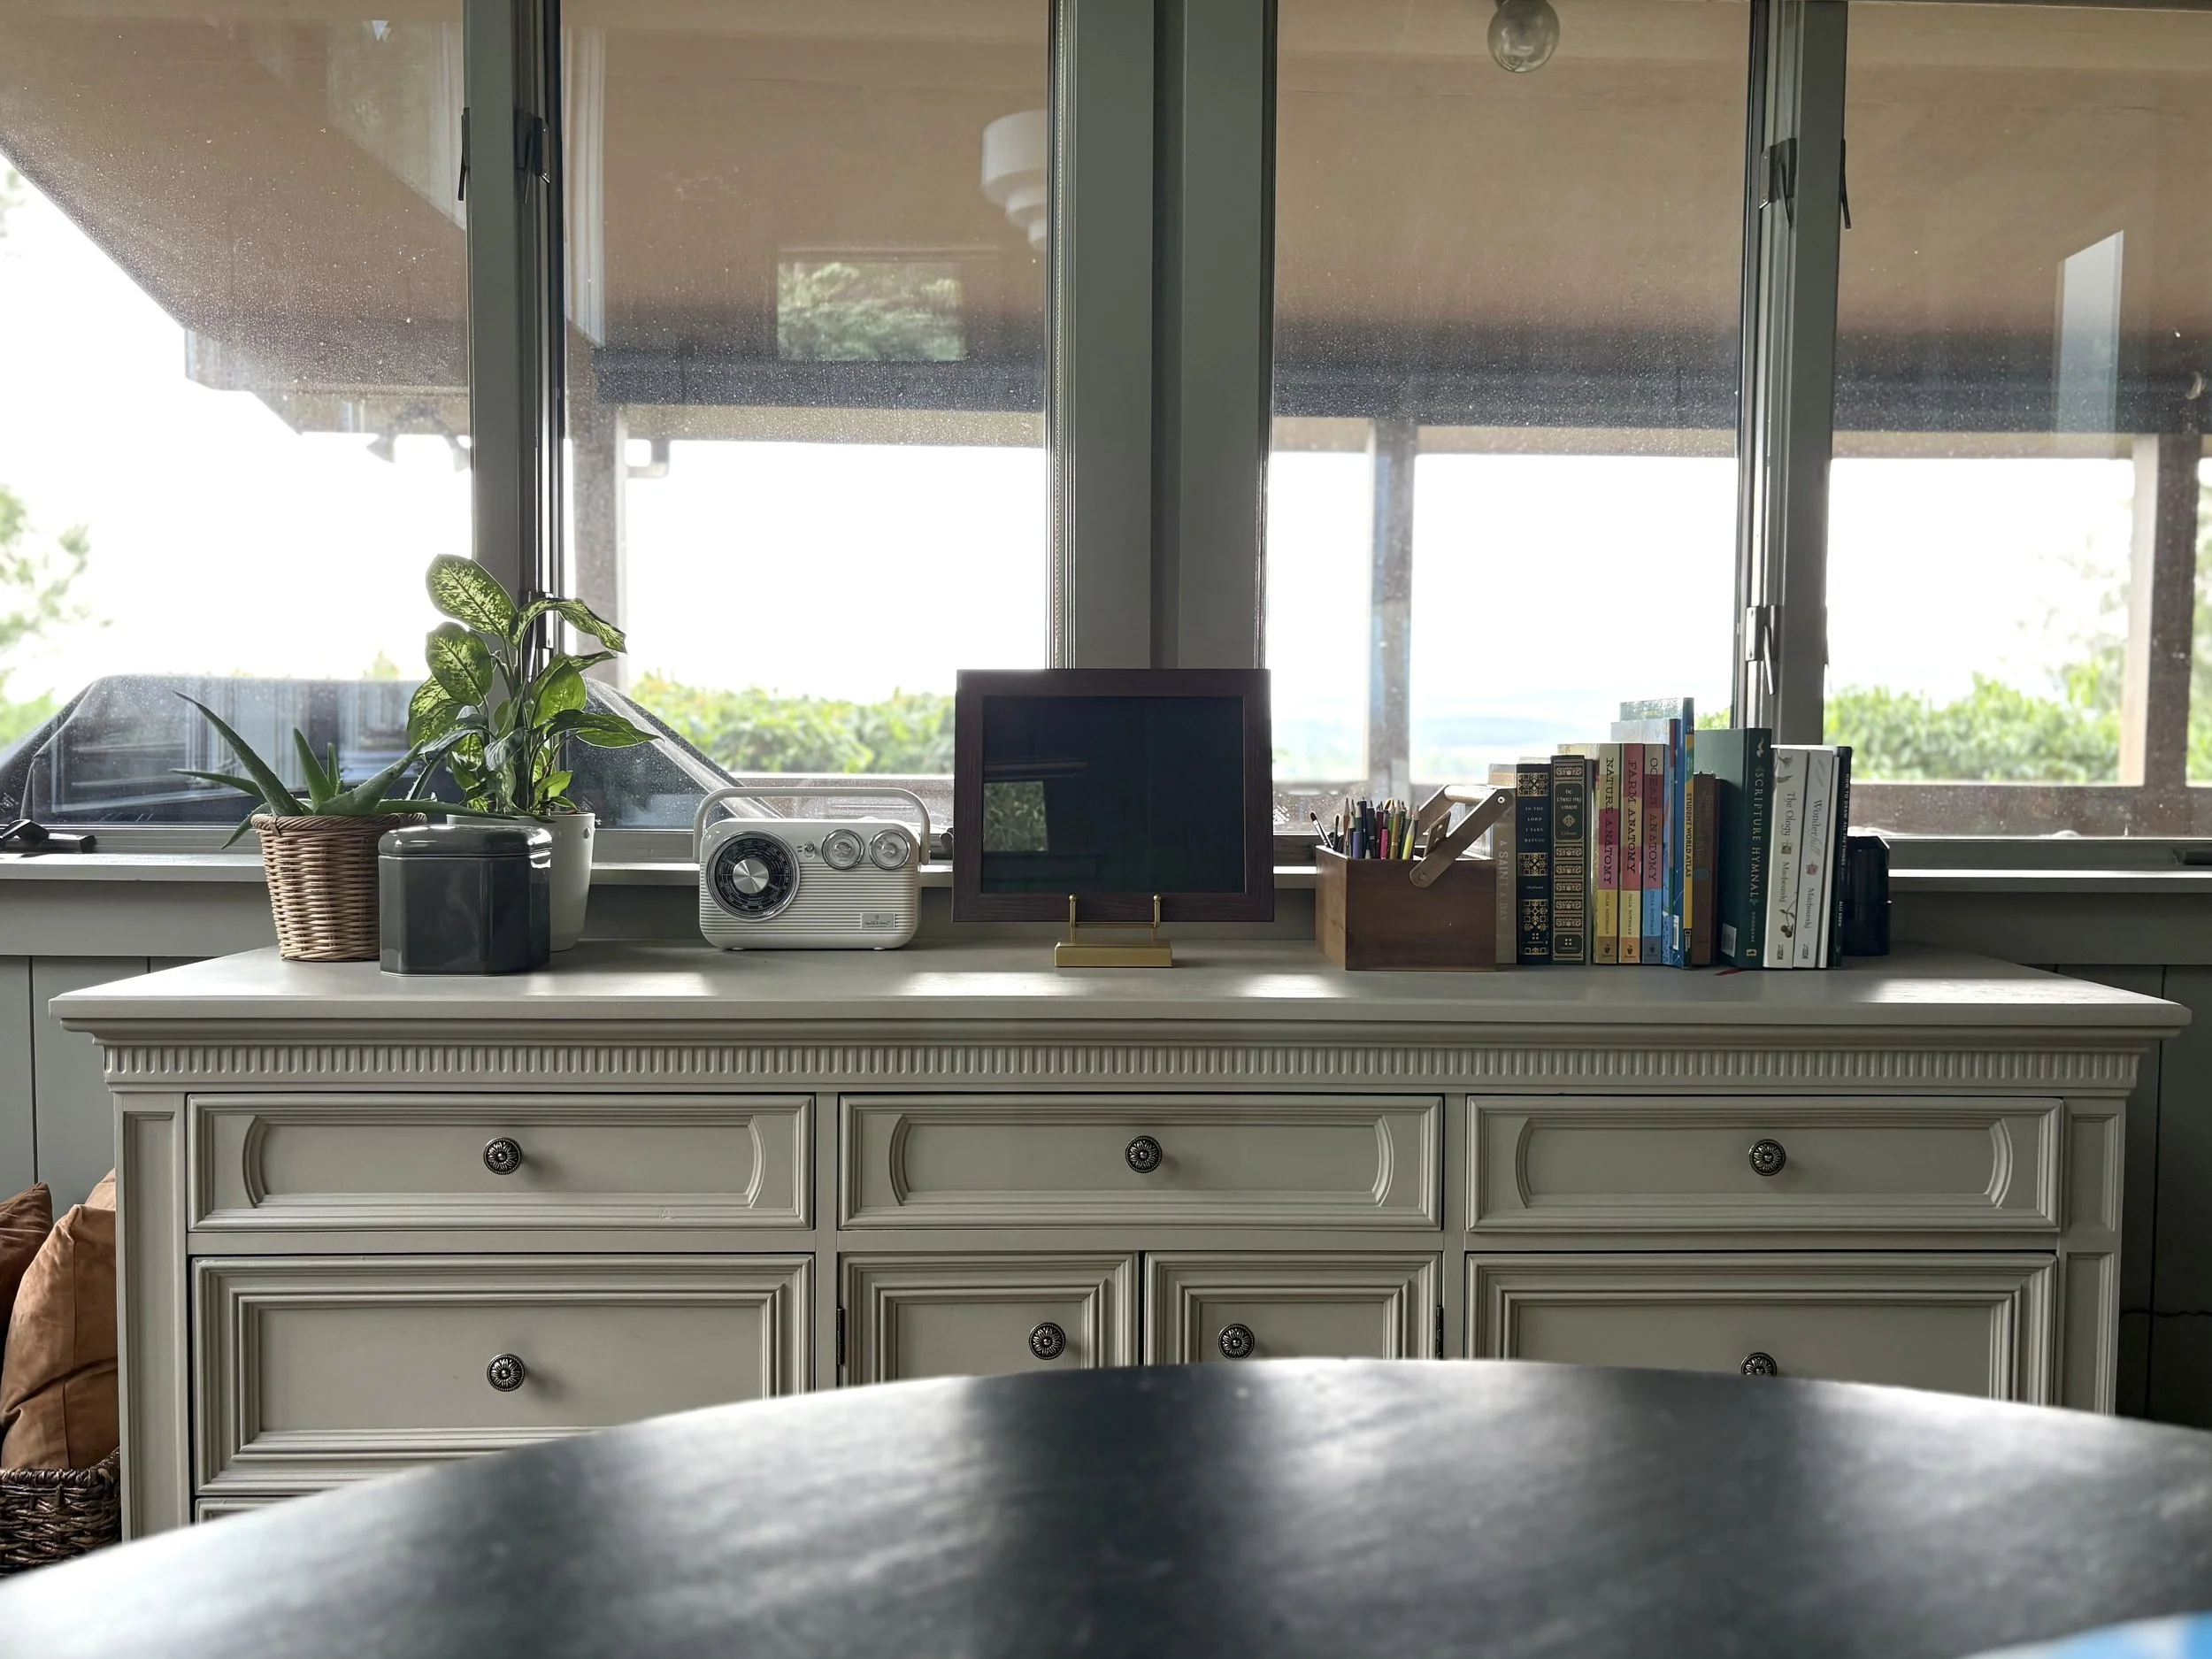
I’m off to plan for our next homeschool year (which happens to be starting up in a few short weeks) and finish up another furniture project I have in the works. I’m hoping to share more about our entire sunroom space soon, so be sure to pop back in the next few weeks for the full reveal of this room.