Main Floor Renovation: The Progress (10 Weeks In)

Another month has slipped by since my last renovation progress update. Since making our move 10 weeks ago, we’ve had a wonderful time finding our new routine and exploring the local area, but on the home front, our main living space is still very much so under construction. While I certainly would prefer to be closer to having a functioning kitchen and laundry room again (not to mention a living room to play and relax in), I am grateful to look back over the past four weeks and see some progress being made. I know we will be enjoying these changes soon enough and it’s an adventure to watch it all unfold before our eyes.
With that said, I thought it would be fun to bring you along as I share some of the progress we have seen over the past four weeks. I’ll walk you through step by step, and give un update at the end of what we expect to see happen next.
Sunroom Panelling
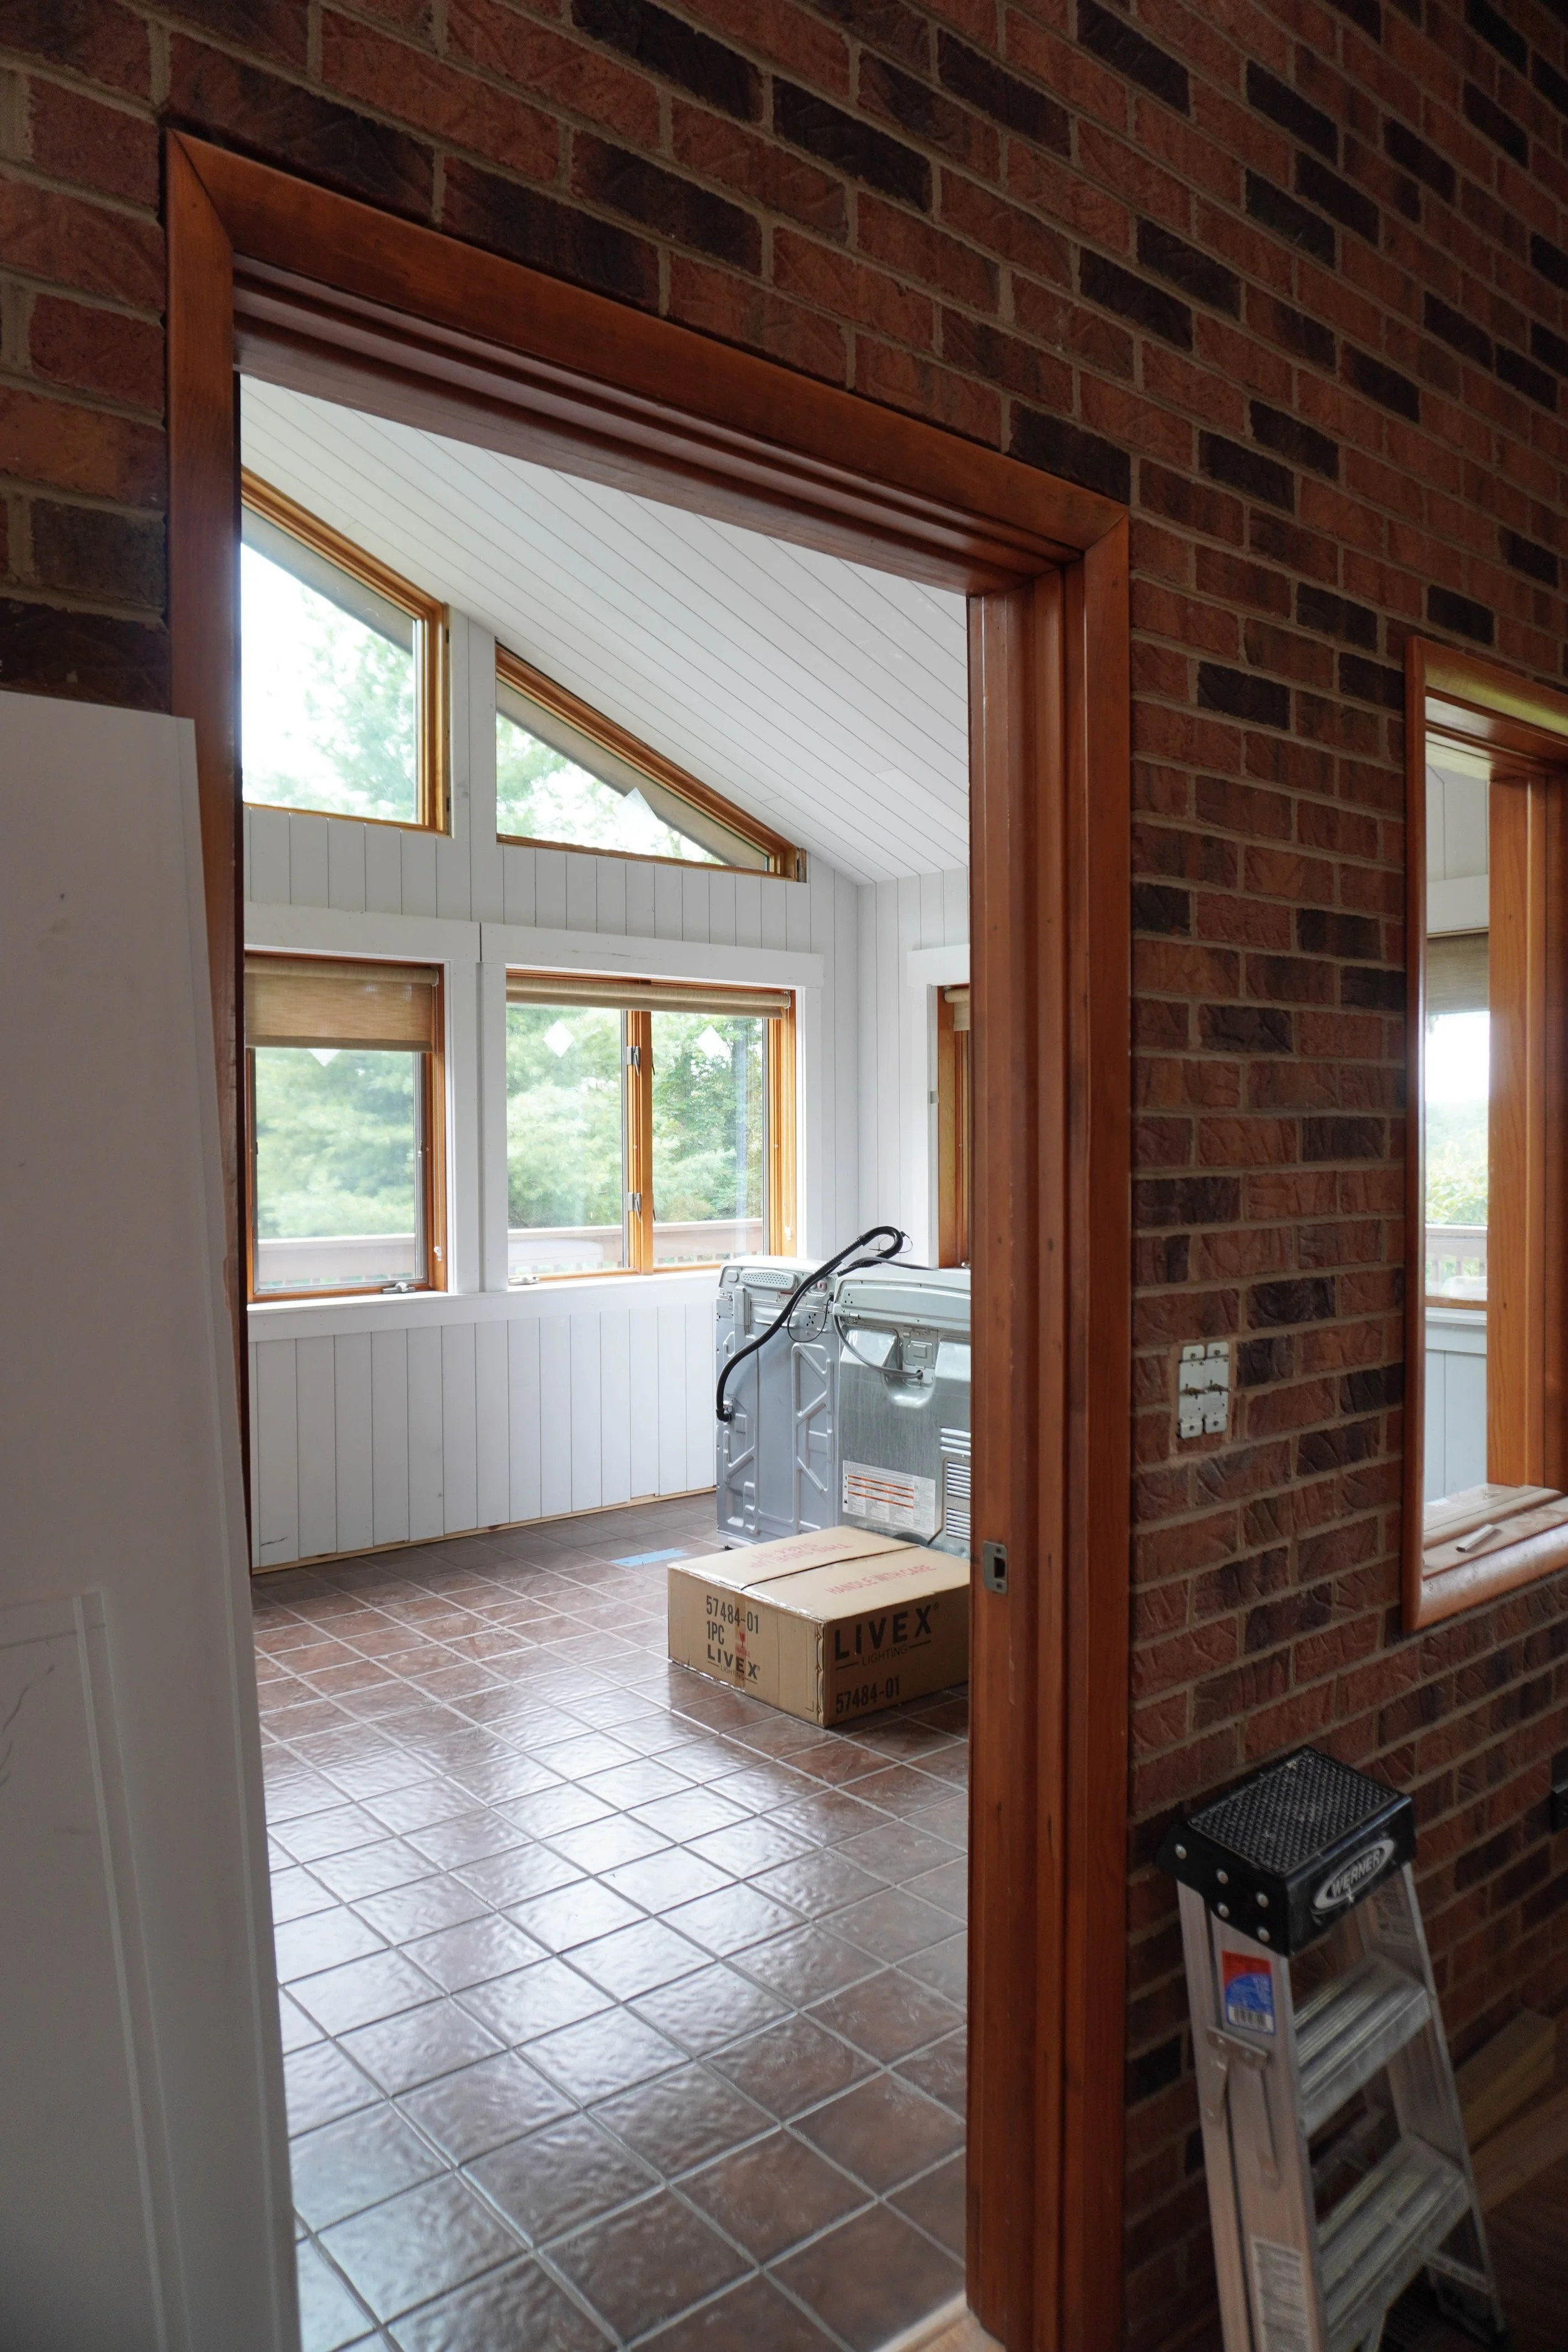
Looking into the sunroom from the living room

Sunroom panelling and trim in progress

Sunroom panelling in progress
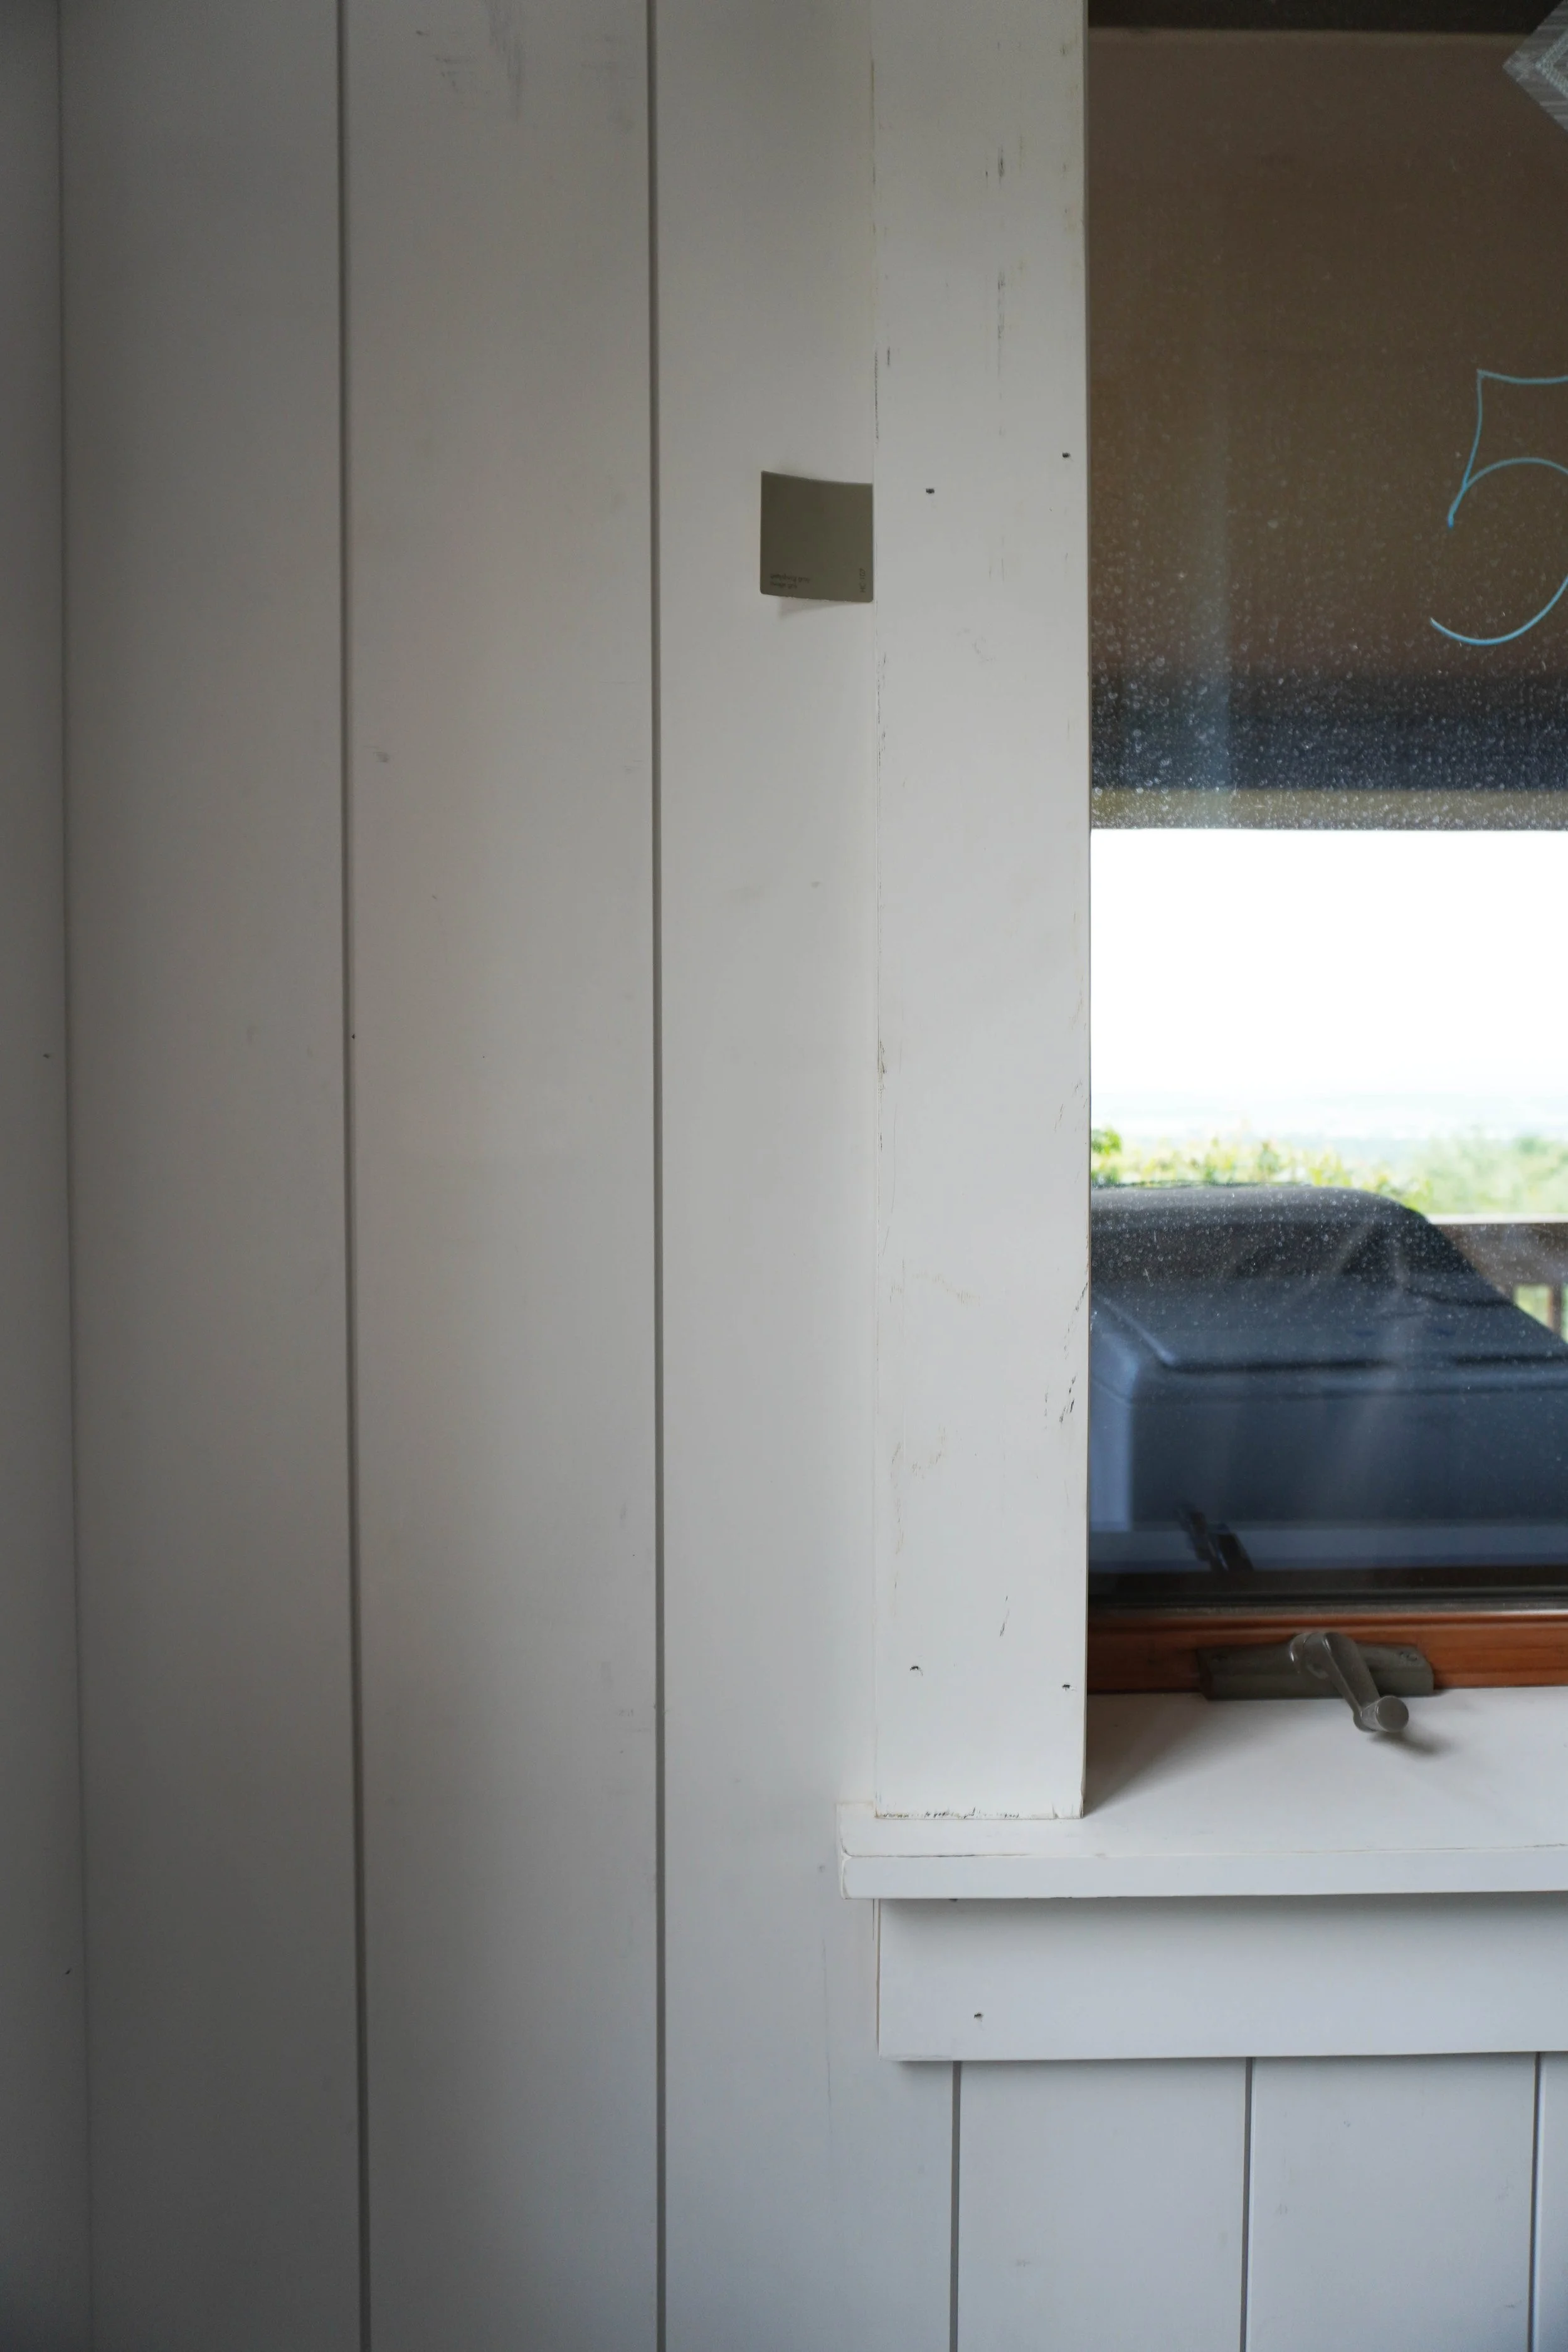
Details of the trim work
One part of this renovation that I have anxiously been awaiting is the panelling in the sunroom. I think this change is going to make such a dramatic impact that amplifies the brightness and joy of this room, while also helping it feel cozy and warm. I’ve had such a vision for this space since the day we bought our home. In my last progress update, the vertical panelling on the walls had only just been started. But since then, this room has been completed, including the vertical wall planks, ceiling planks, and trim on all the doors and windows. Sometimes when I’m feeling discouraged about the state of our home, I just stand in this room and look out the picture windows and it helps me feel re-inspired and excited for what’s this home can be.

Completed panelling and trim work in the sun room

Completed panelling and trim work in the sunroom

Completed panelling and trim work in the sunroom
The craftsmanship of the install on this panelling is next level. I know it was no small feat to accurately match up all the lines, work with all the strange angles and cuts, and install it all with precision on a tall sloped ceiling. But the trim carpenter who worked on this did a wonderful job. I was amazed at how quickly he worked too with all things considered. My detail-oriented brain is grateful that he was so meticulous in his work.
Next will come the prep and paint for this room and then it can essentially be called done. But that certainly is easier said than done. All of the existing wood window trim will need to be carefully prepped, sanded, and primed to match with the new color. All the nail holes will need to be filled. And all the cracks around the (numerous) windows and doors will need to be caulked. I certainly don’t envy the painter. But all the effort will be worth it because I’m planning to have this room color drenched in Gettysburg Gray by Benjamin Moore. I love the subtle warmth of this green-grey and think this entire space will feel like a big hug as soon as you walk into it.

Front door before adding gel stain

Front door after adding gel stain

Updated front door finish next to the new paint swatches
Since there have been numerous down days in these past four weeks, I took the opportunity to add a couple layers of a gel stain in walnut to our existing fibreglass front door. My original vision was to just paint the inside of the door in Bittersweet Chocolate by Benjamin Moore. However, I learned that you can apply gel stain to fibreglass and decided it would be worth the effort to at least try doing a dark wood finish first. With a couple of coats, I think it’s pretty close to my vision and I’m happy with it. Maybe this will change once all is said in done, but for now, I think it’s going to work well with the painted finish.
The Ceilings

The panelled ceilings were completed
In the last progress update, I shared that the ceiling panelling in the living room and dining room was started, but the kitchen ceiling was still full of holes from the electrical rewiring. In these past four weeks, the panelling in the kitchen was also completed and it gave us a much better visual about the layout and electrical work once it was completed. The trim on the majority of the doors and windows in this space were also updated to match the sunroom trim work, which also made a big difference. Much like the sunroom, I took the opportunity to swatch some of my color choices to make sure I was confident before painting begins in a couple of weeks.

Panelled ceilings and completed trim

Swatching colors for the walls and trim
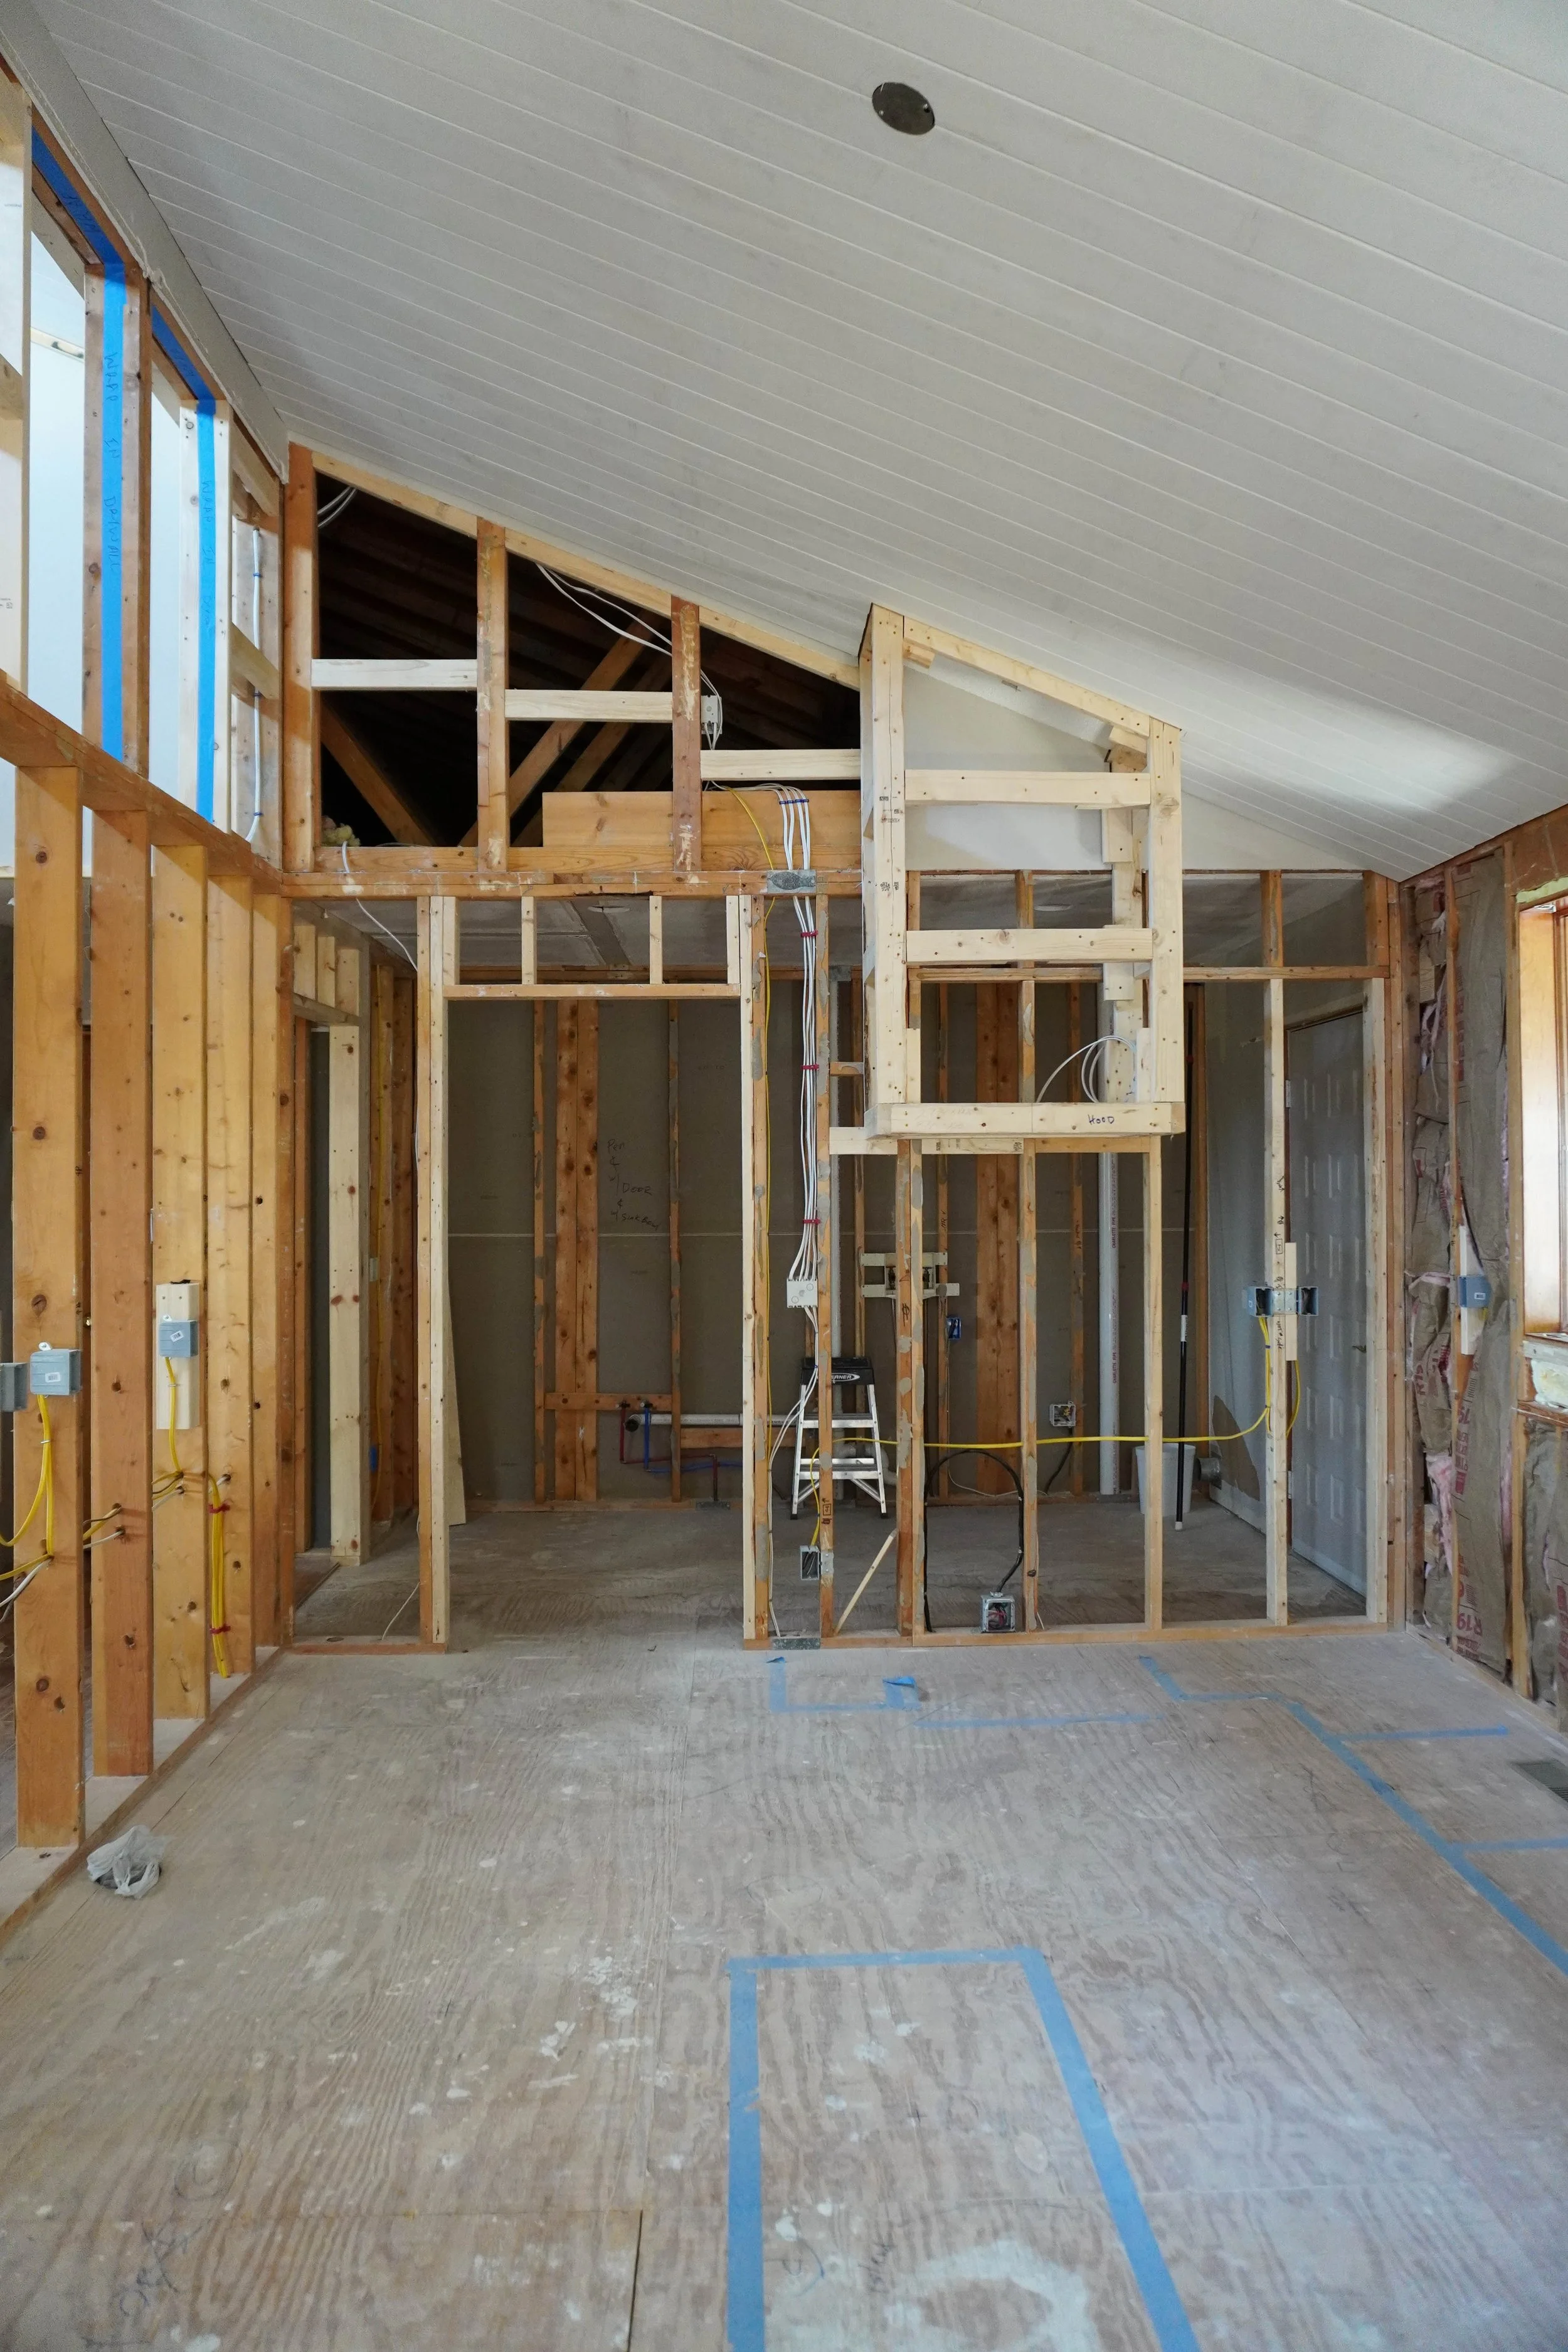
Windows and Extra Framing
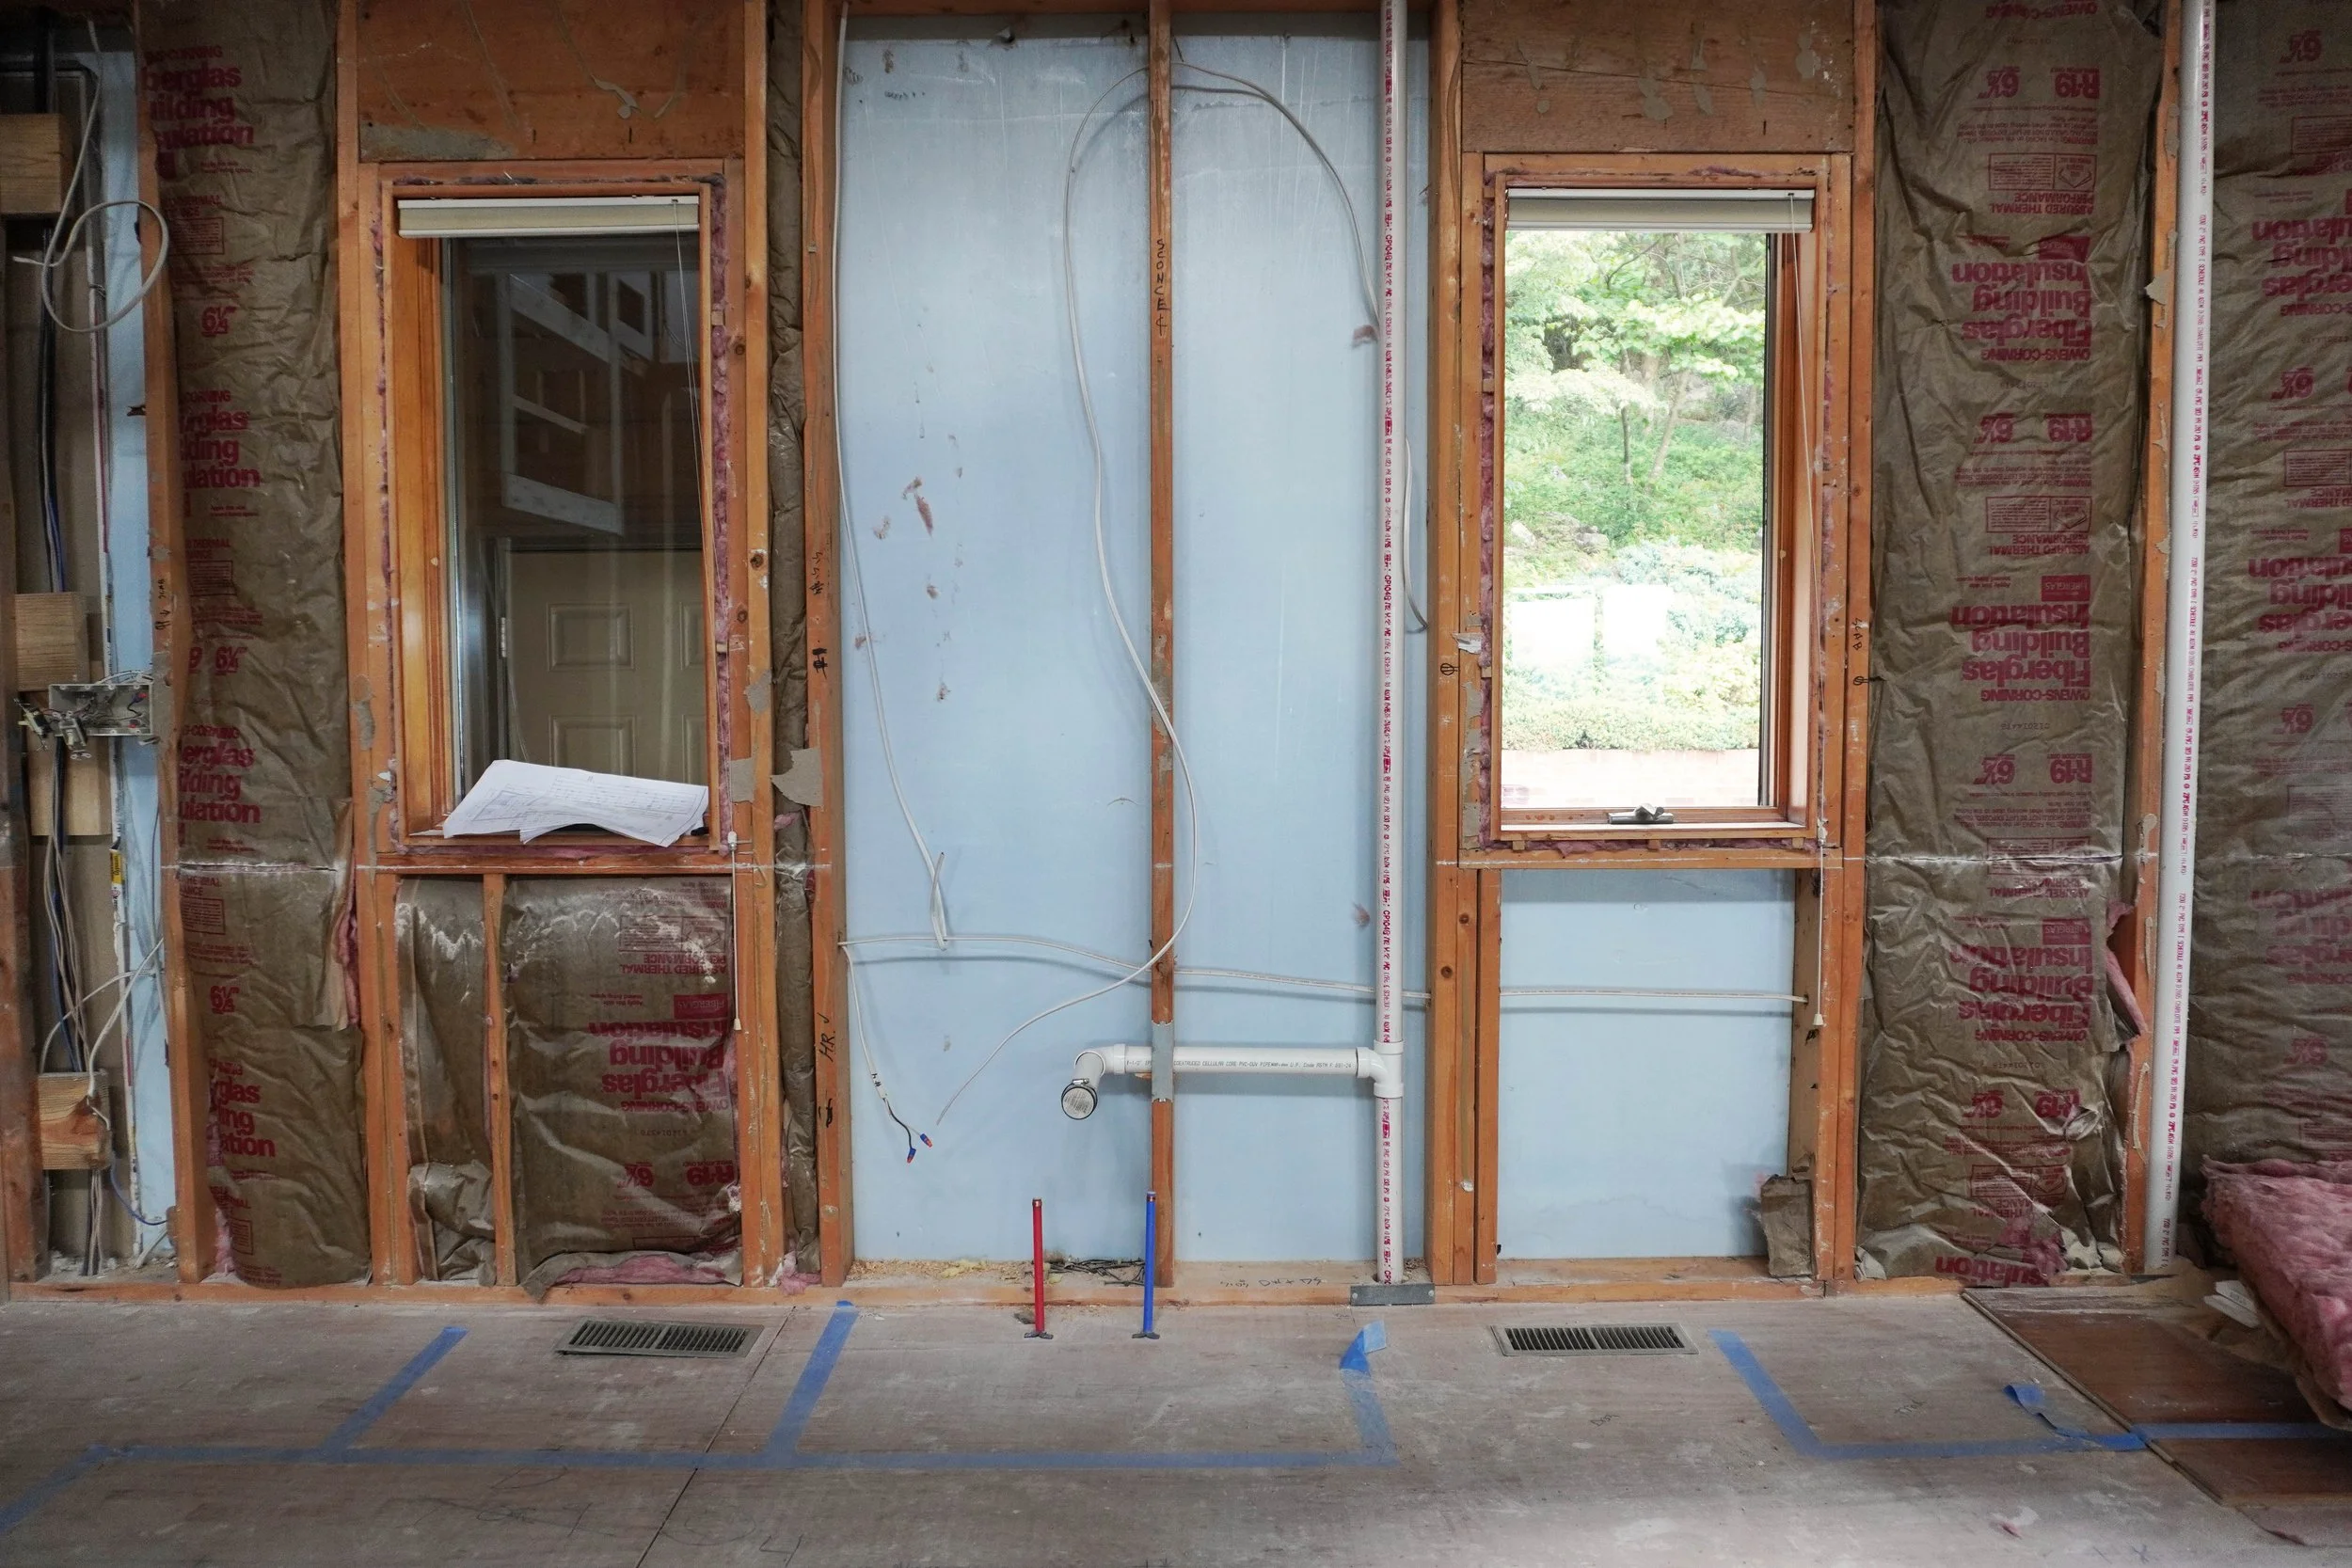
Before the windows were shifted up 6”

After the windows were shifted up 6” to accommodate the kitchen cabinetry
A significant (yet seemingly small) detail that happened in the kitchen was that the existing windows were moved up 6” to accommodate the new kitchen cabinetry. In the previous layout of the home, this wall did not have any cabinetry on it and unfortunately the windows sat right at the same height as standard lower cabinetry. It was frustrating that this small detail needed to be taken care of, but it was definitely necessary. The new kitchen sink will sit directly between these windows, and while we did toy with the idea of adding a third window or enlarging these ones, I’m glad we stuck with this original plan. This wall will eventually be tiled and I think it’s going to create such a special detail in the final kitchen design.
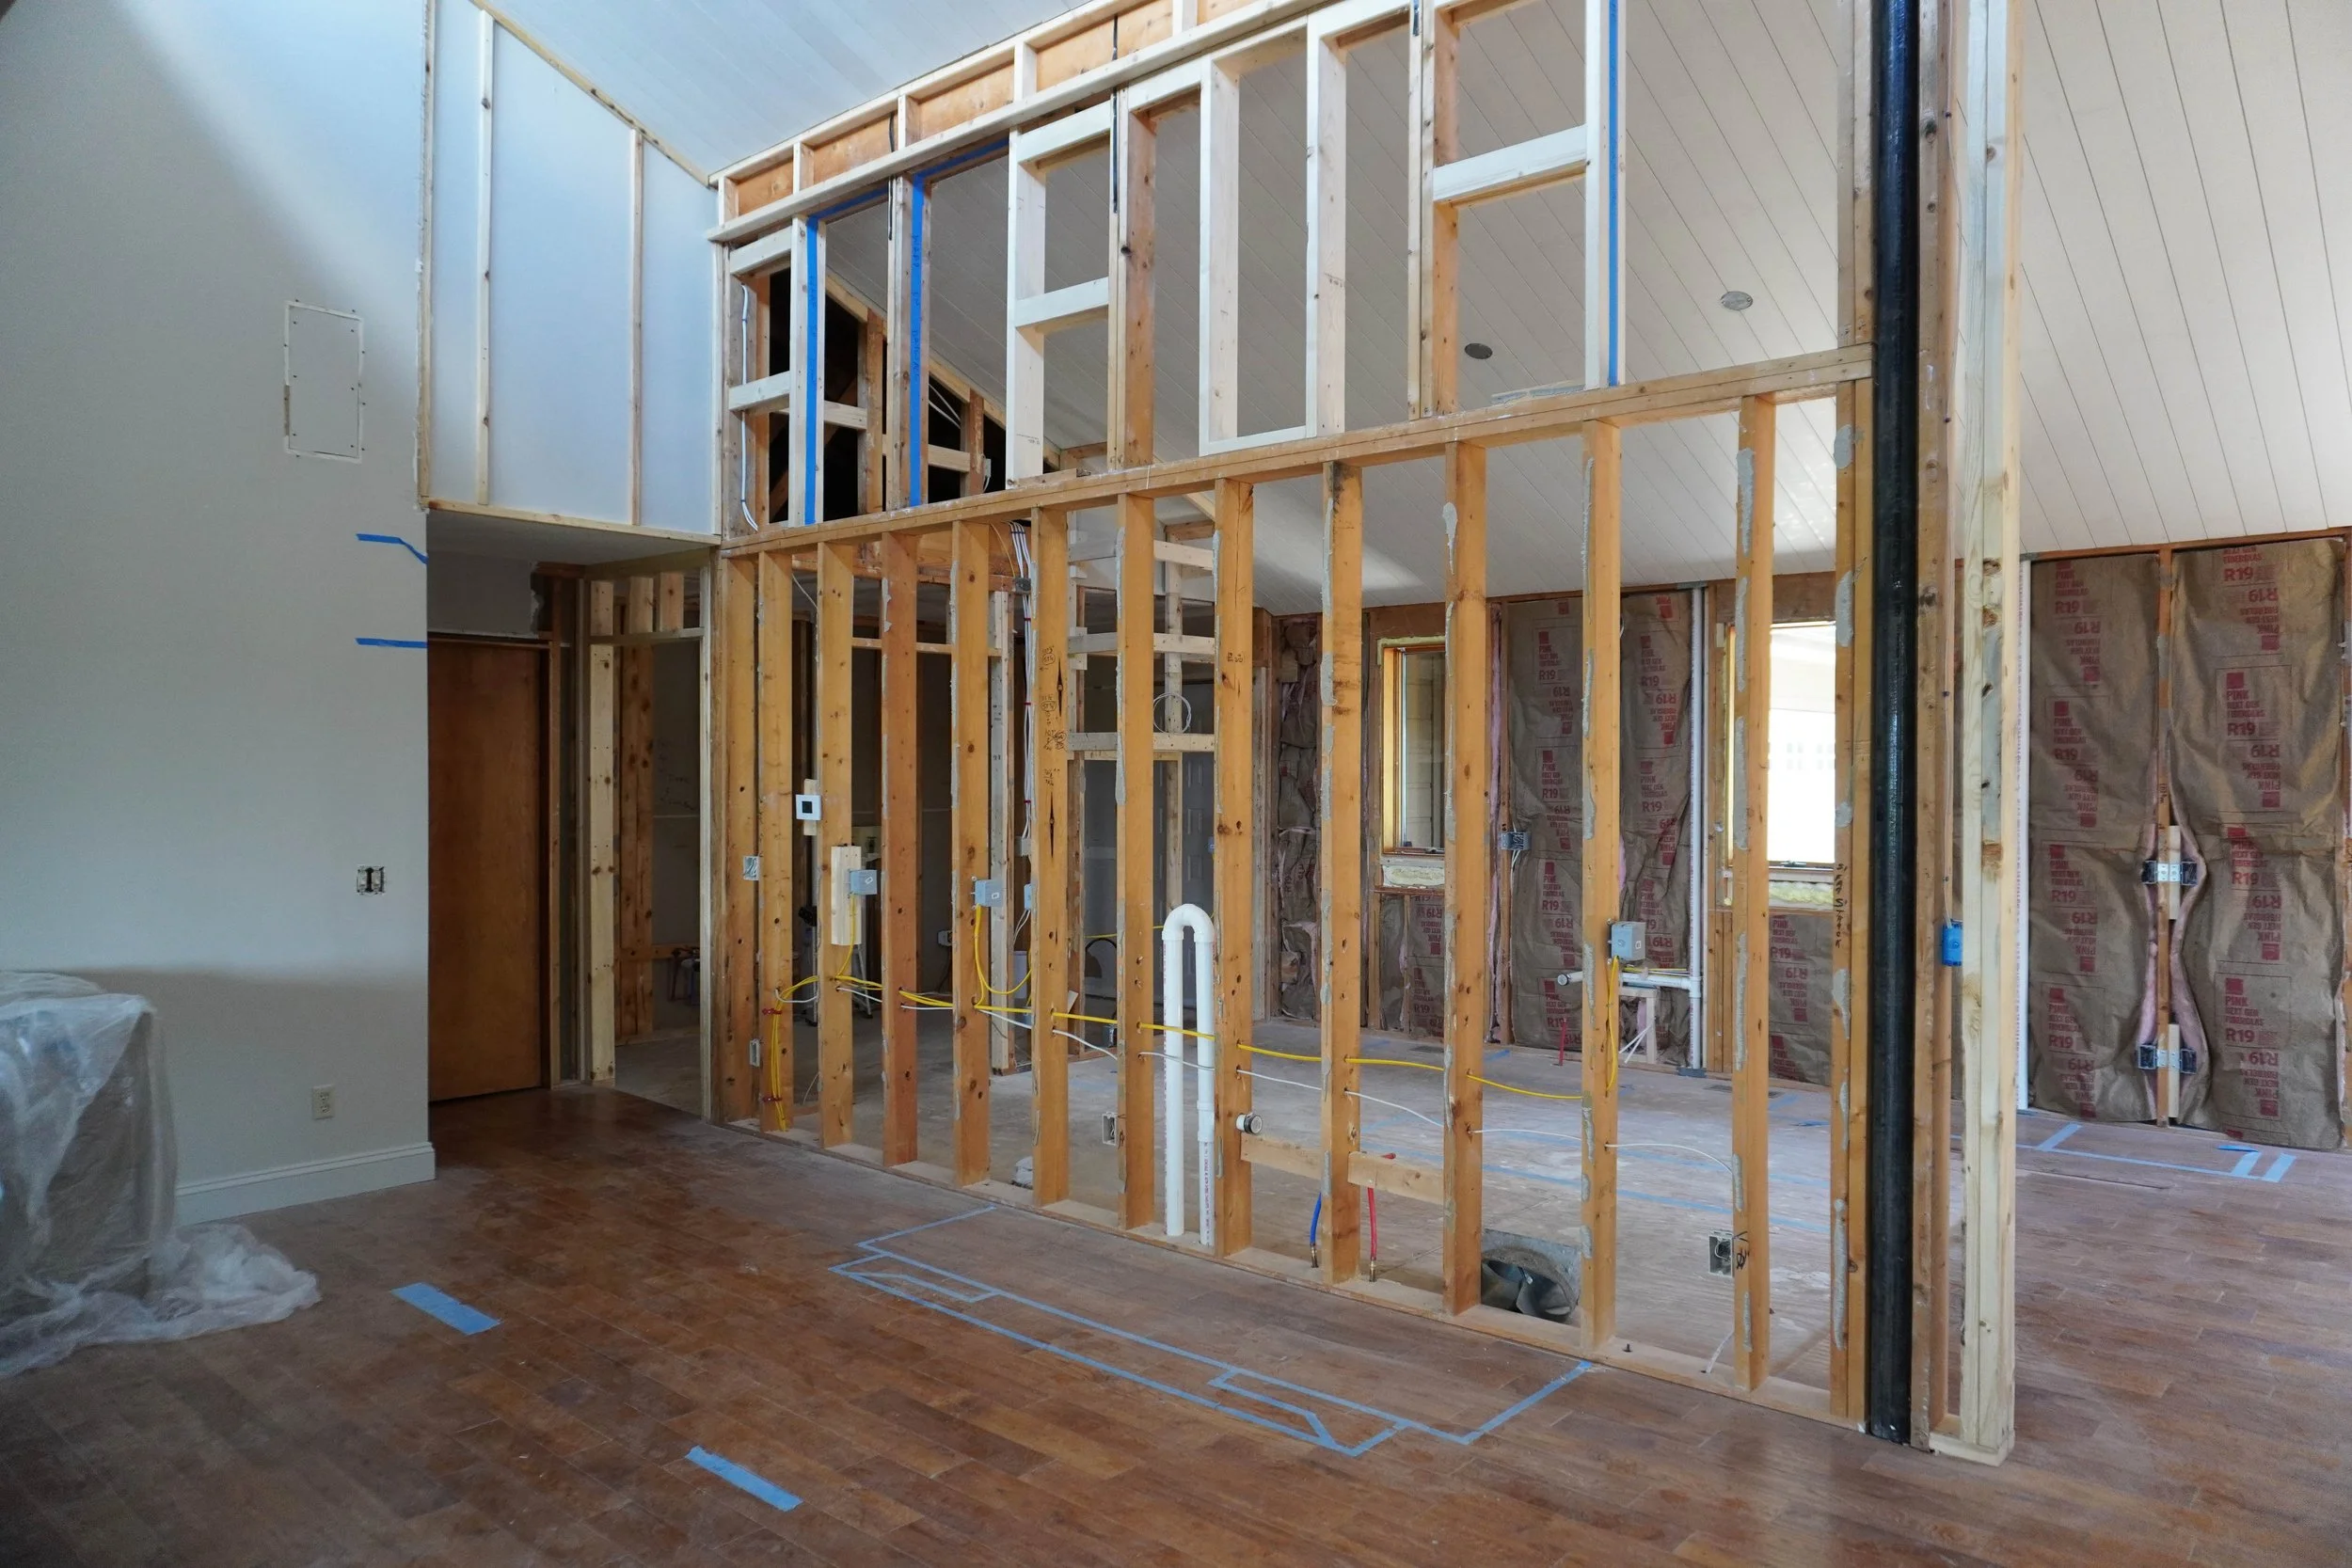
In addition to the windows being moved up, the contractor team also added some additional framing and insulation before drywall was set to go up. There are a few quirky details in this house that required some attention, including framing out a strange little dip in the wall plane to make it flush with the existing wall and restructuring some of the openings at the top of the tall central wall between the kitchen and living room. While these openings seem odd right now, they have been adjusted and reframed to work with a future project we have in mind for this space - a fireplace. We ended up cutting the fireplace install out of the project this time around, but eventually we will add it and it made sense to account for that design in the framing and drywalling now.
Updating the electrical required access to this attic space
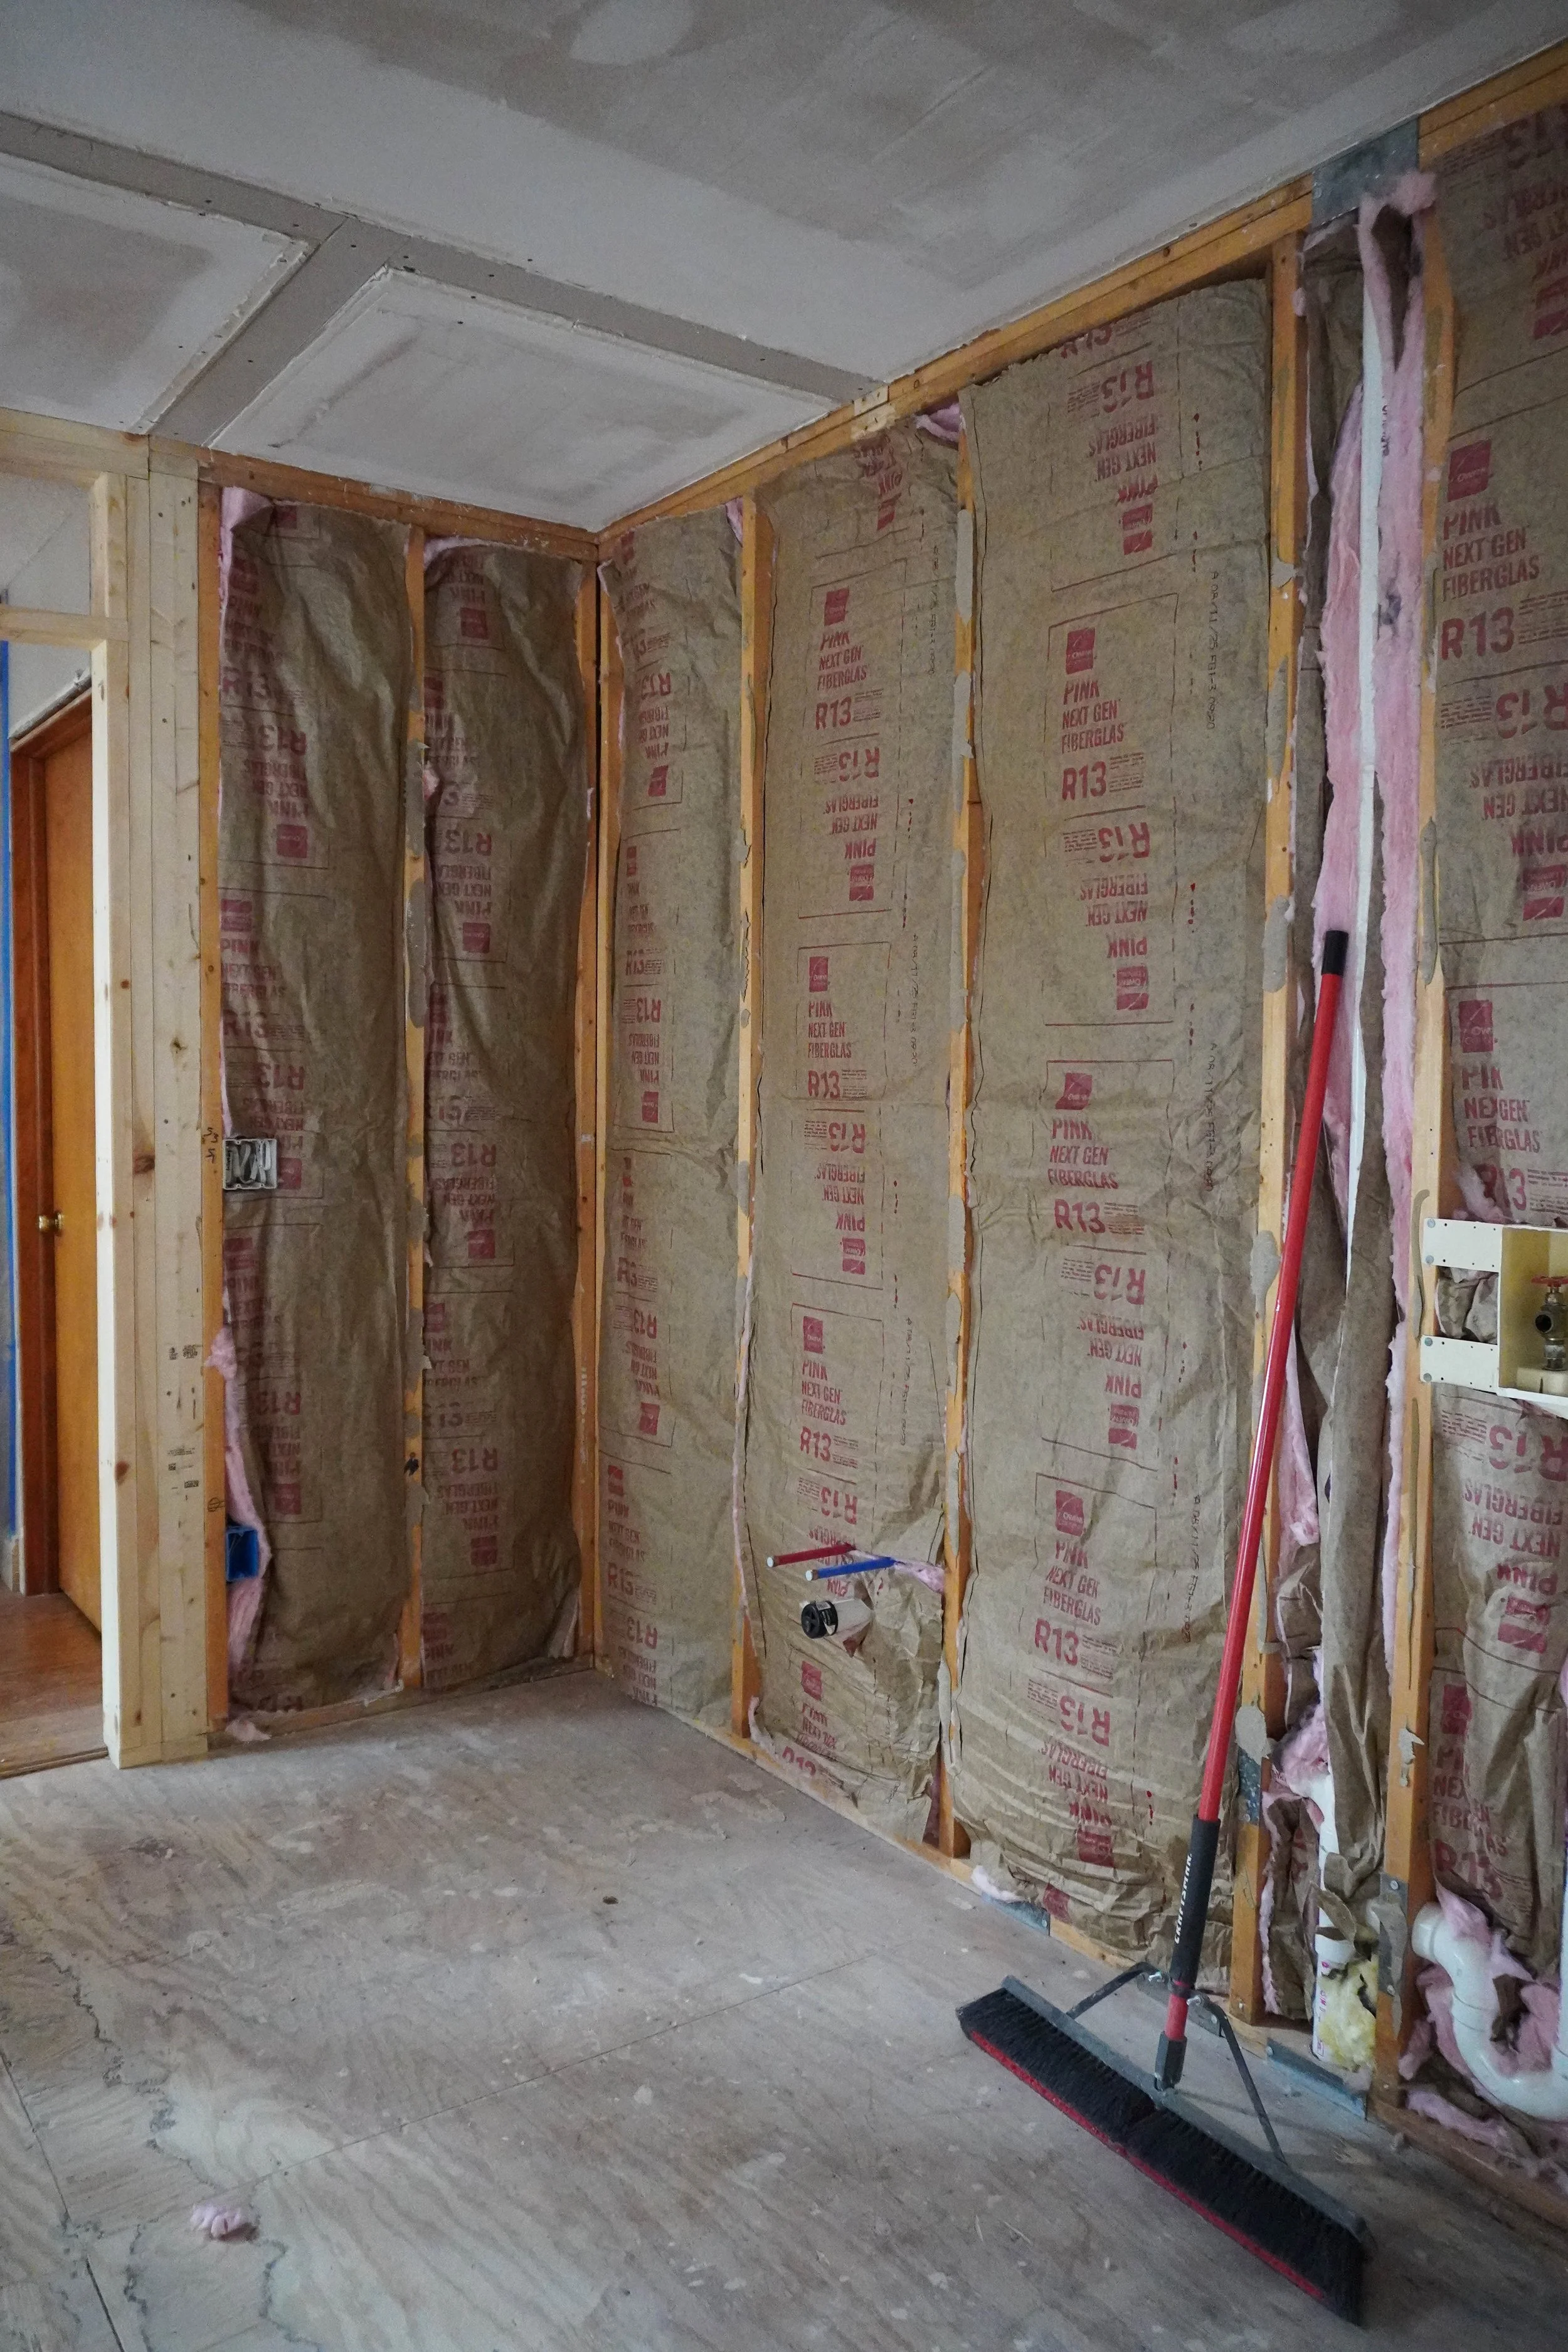
The laundry room is ready for drywall

My dad was a contractor and he was always working on our little home as we were growing up. When he was pouring himself into our cherished family home, he never missed an opportunity to let us leave our family mark - under floorboards and behind drywall, in the backs of closets and on the undersides of built-ins. I’ve been doing the same in the projects I’ve taken on in our own house and so I couldn’t pass the opportunity to let the girls leave our mark before the drywall was installed. Letting my six-year-old take a sharpie to the wall studs was a little sliver of joy in all the discomfort of renovating. I count it a true blessing to be able to make this new home our own!
Drywall Installation

New openings in the central wall

The living room

Through the kitchen towards the dining room
And just like that, in a matter of only one day, up went the drywall. Finally these torn apart spaces started to feel like actual rooms. With the drywall hung, the design is starting to take shape and I’m able to imagine ourselves living in here again. There is still a lot of mess to come, but for once it is starting to feel more like our home.

Kitchen and dining room

New window placement in the kitchen

Looking through the kitchen towards the laundry

The central wall

The access between the kitchen and laundry room

The laundry room

The laundry room
What’s Next?
So what’s to come? In the foreseeable future, the contractors are going to start working on patching in the kitchen floors with new hardwood. While we wish we could have just sourced the existing floors to patch in, they are unfortunately discontinued. We actually had to have custom floorboards milled to match the obscure plank width of the existing floors. The hardwood will be patched and everything will be sanded and refinished for a seamless look. Along with the kitchen floor being patched in, the laundry room floor will be tiled, but I’ll share more about that soon.
Along with the floors being patched, the drywall needs to be finished with tape and mud. I’m dreading this step because of the mess, but hopefully it will be done sooner rather than later. Once that’s completed, paint can go on the walls, ceiling, and trim and our kitchen cabinetry can start to be installed. I’m dying for this step to happen. Our cabinetry has been ready to go for months and patiently waiting in storage for the space to be ready, so I’m hoping it will go in quickly when all is said and done.
Other than the endless to-do list for our contractors, I’m excited for us to get a little more involved in these next few weeks. Other than the tiled floors and painting, we have decided to take the laundry room into our own hands and have some specific projects and ideas in mind for that little space. I’m really excited to get more involved in this part and can’t wait to share more about it soon in an upcoming blog post.

Leaving our mark
That’s where we’re at at the end of week ten. I’ll share another progress update in a few weeks once more details get rolling. I’ve been told that once drywall goes up things tend to roll out pretty quickly, but I’ll let time be the tell of that.
