Painting An Outdated Console Table | Furniture Flip
I am no stranger to rethinking and reworking a piece of secondhand furniture, but sometimes all you need to do is give it a fresh coat of paint.
That was the case with my most recent furniture flip. I found this outdated honey oak console table on my local buy-and-sell a few weeks ago, listed for only $65. I scrolled past the listing and came back to it a few different times. A console table wasn’t on my list of furniture we needed for our home, but I was so drawn to the pretty fluted legs, brass band detail, and open bottom that I couldn’t seem to get it out of my mind! The piece was gleaming in all it’s honey oak glory in the listing photo, but I could see right past that to the potential it could have coated in a pretty paint colour. Could I find a place for it to live in our home?
It came to me almost as quickly as the listing had popped up on my feed. Our living room and dining room are connected in one open space. I still haven’t set up our dining space in the two years we have lived in our home, but I have always considered how the design choices in our living room would affect the dining room and vice versa. I love the open flow of these two rooms, but with openness comes the challenge of establishing spatial zones and spatial flow. I have always wanted the two spaces to feel distinct, but connected. Two, but one. I have an accent chair in our living room backing onto the open dining room (with plans to add a second chair here soon), but realized that a console table behind those chairs would make a world of difference in grounding their presence. I knew this solution could help establish the visual separation between the living and dining spaces while still keeping them open. I pulled out my tape measurer, and sure enough, the listed console table was a perfect fit.

Before
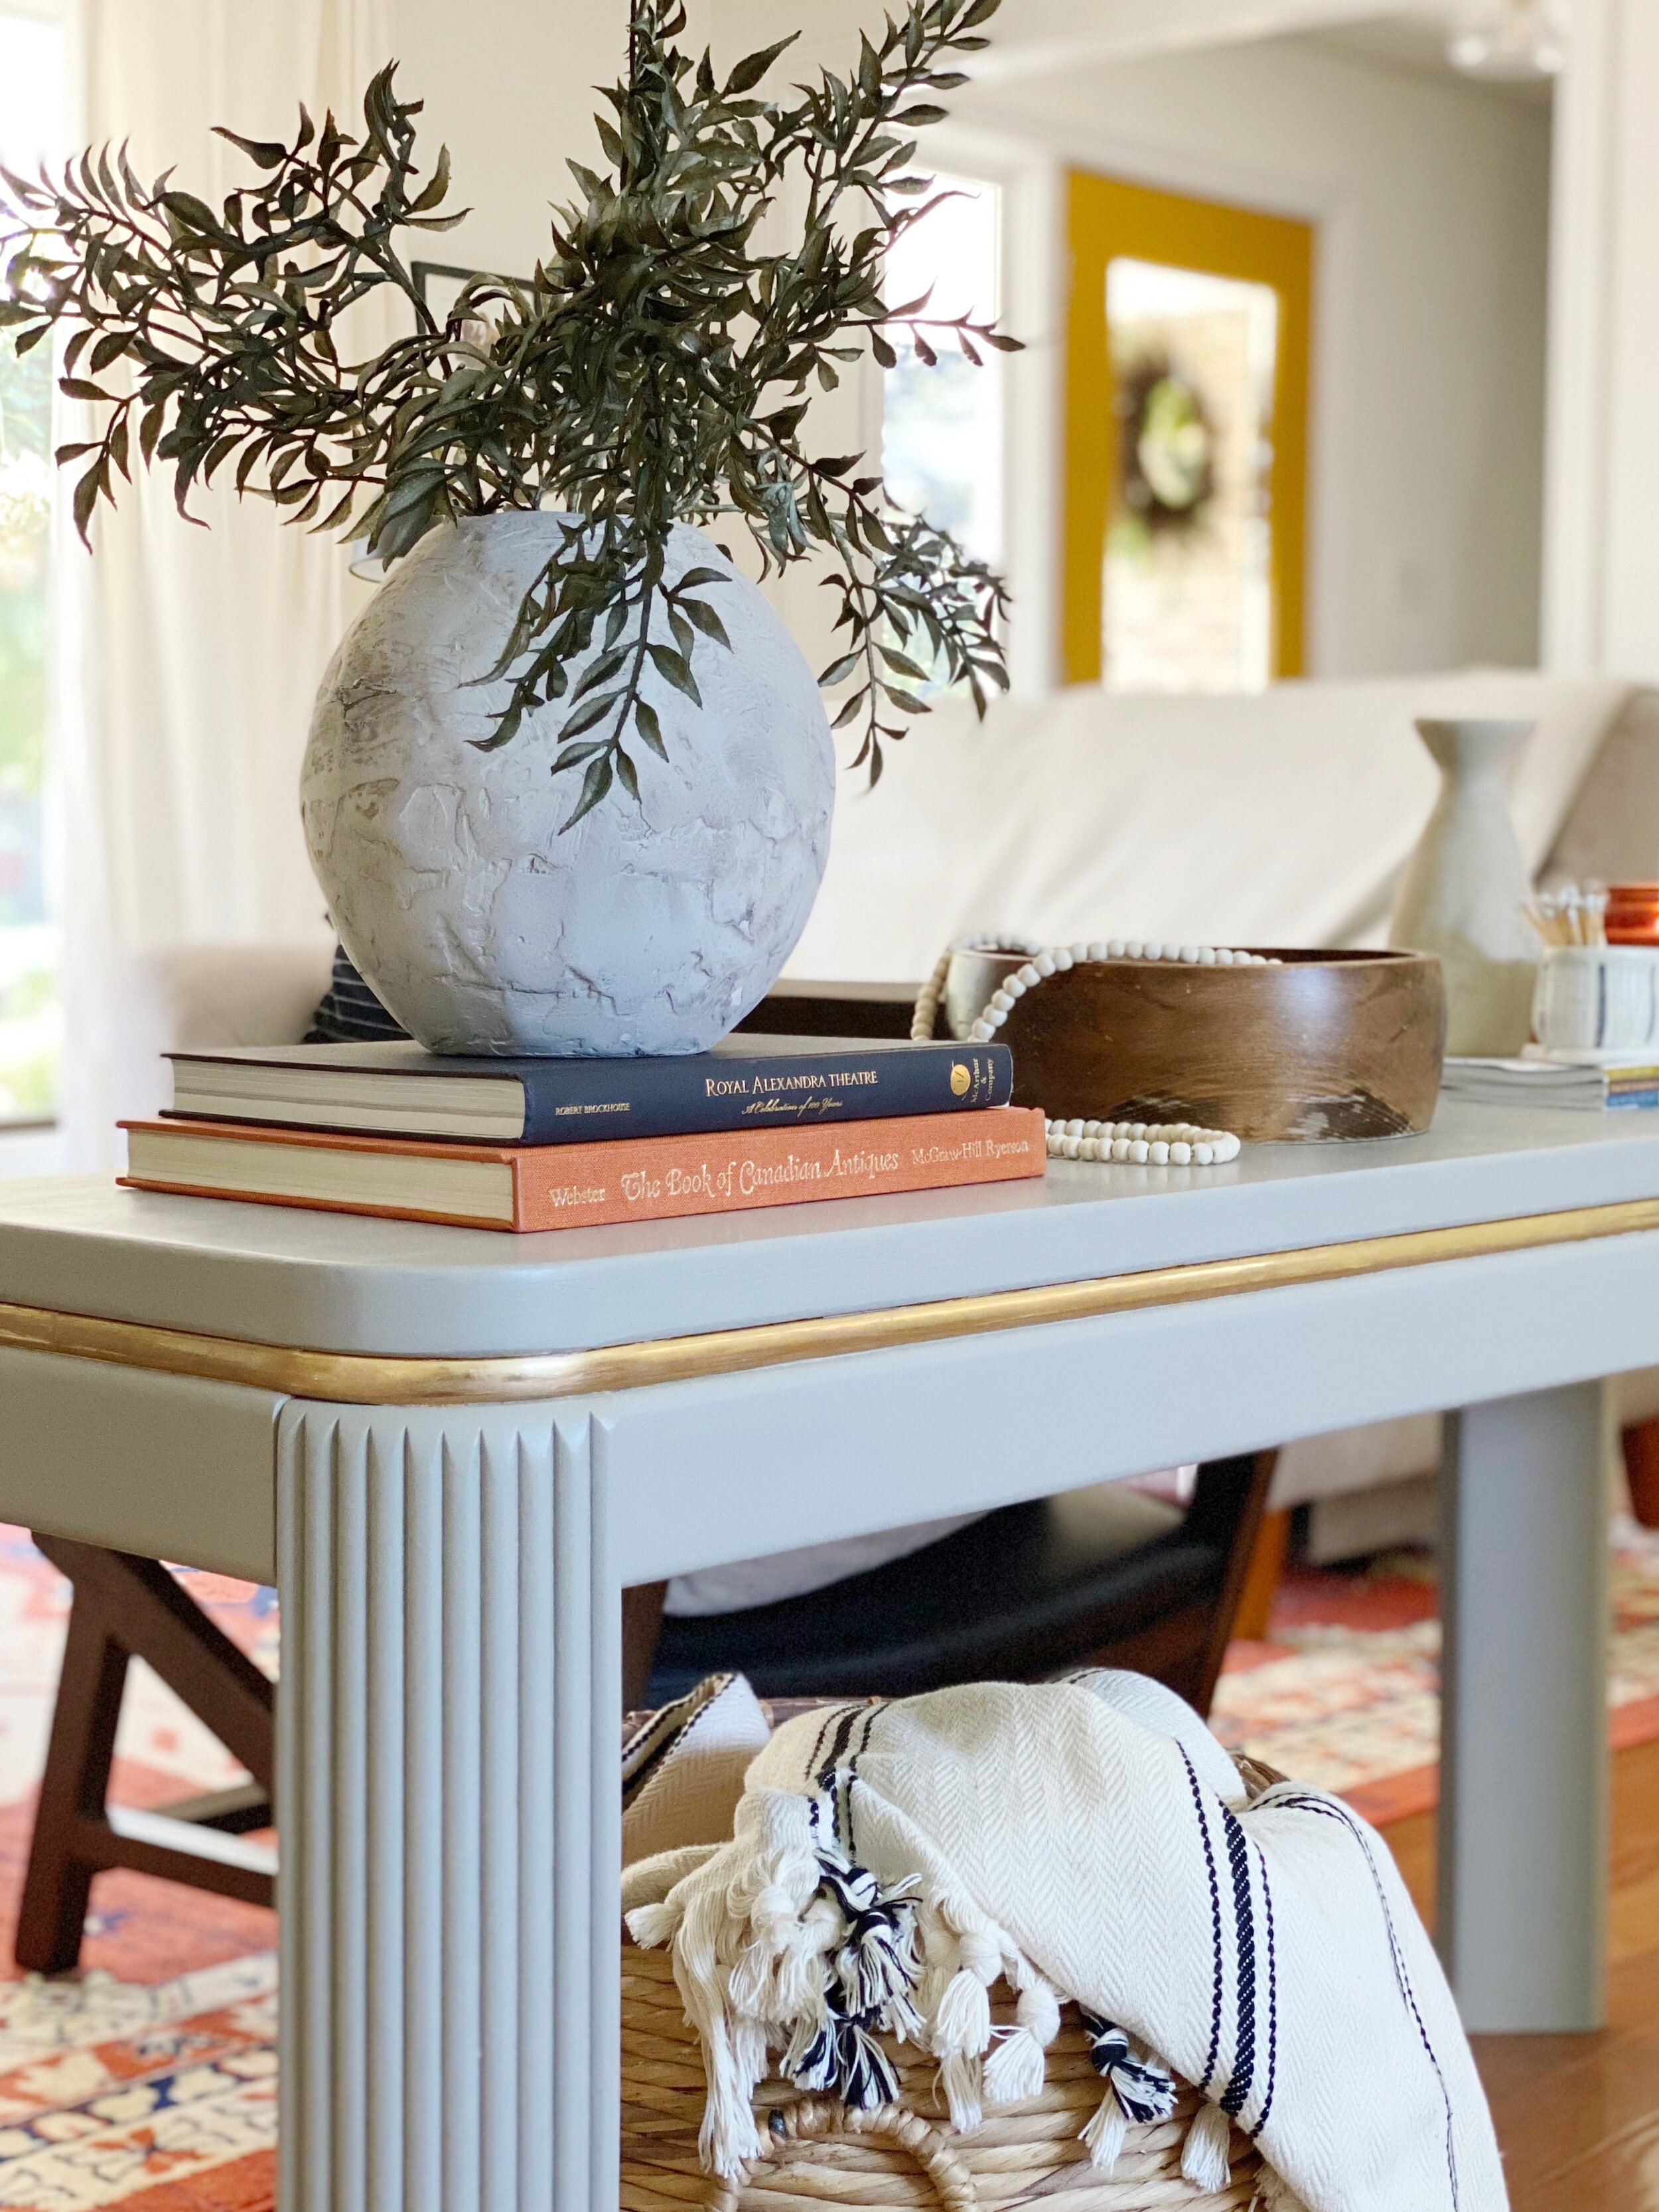
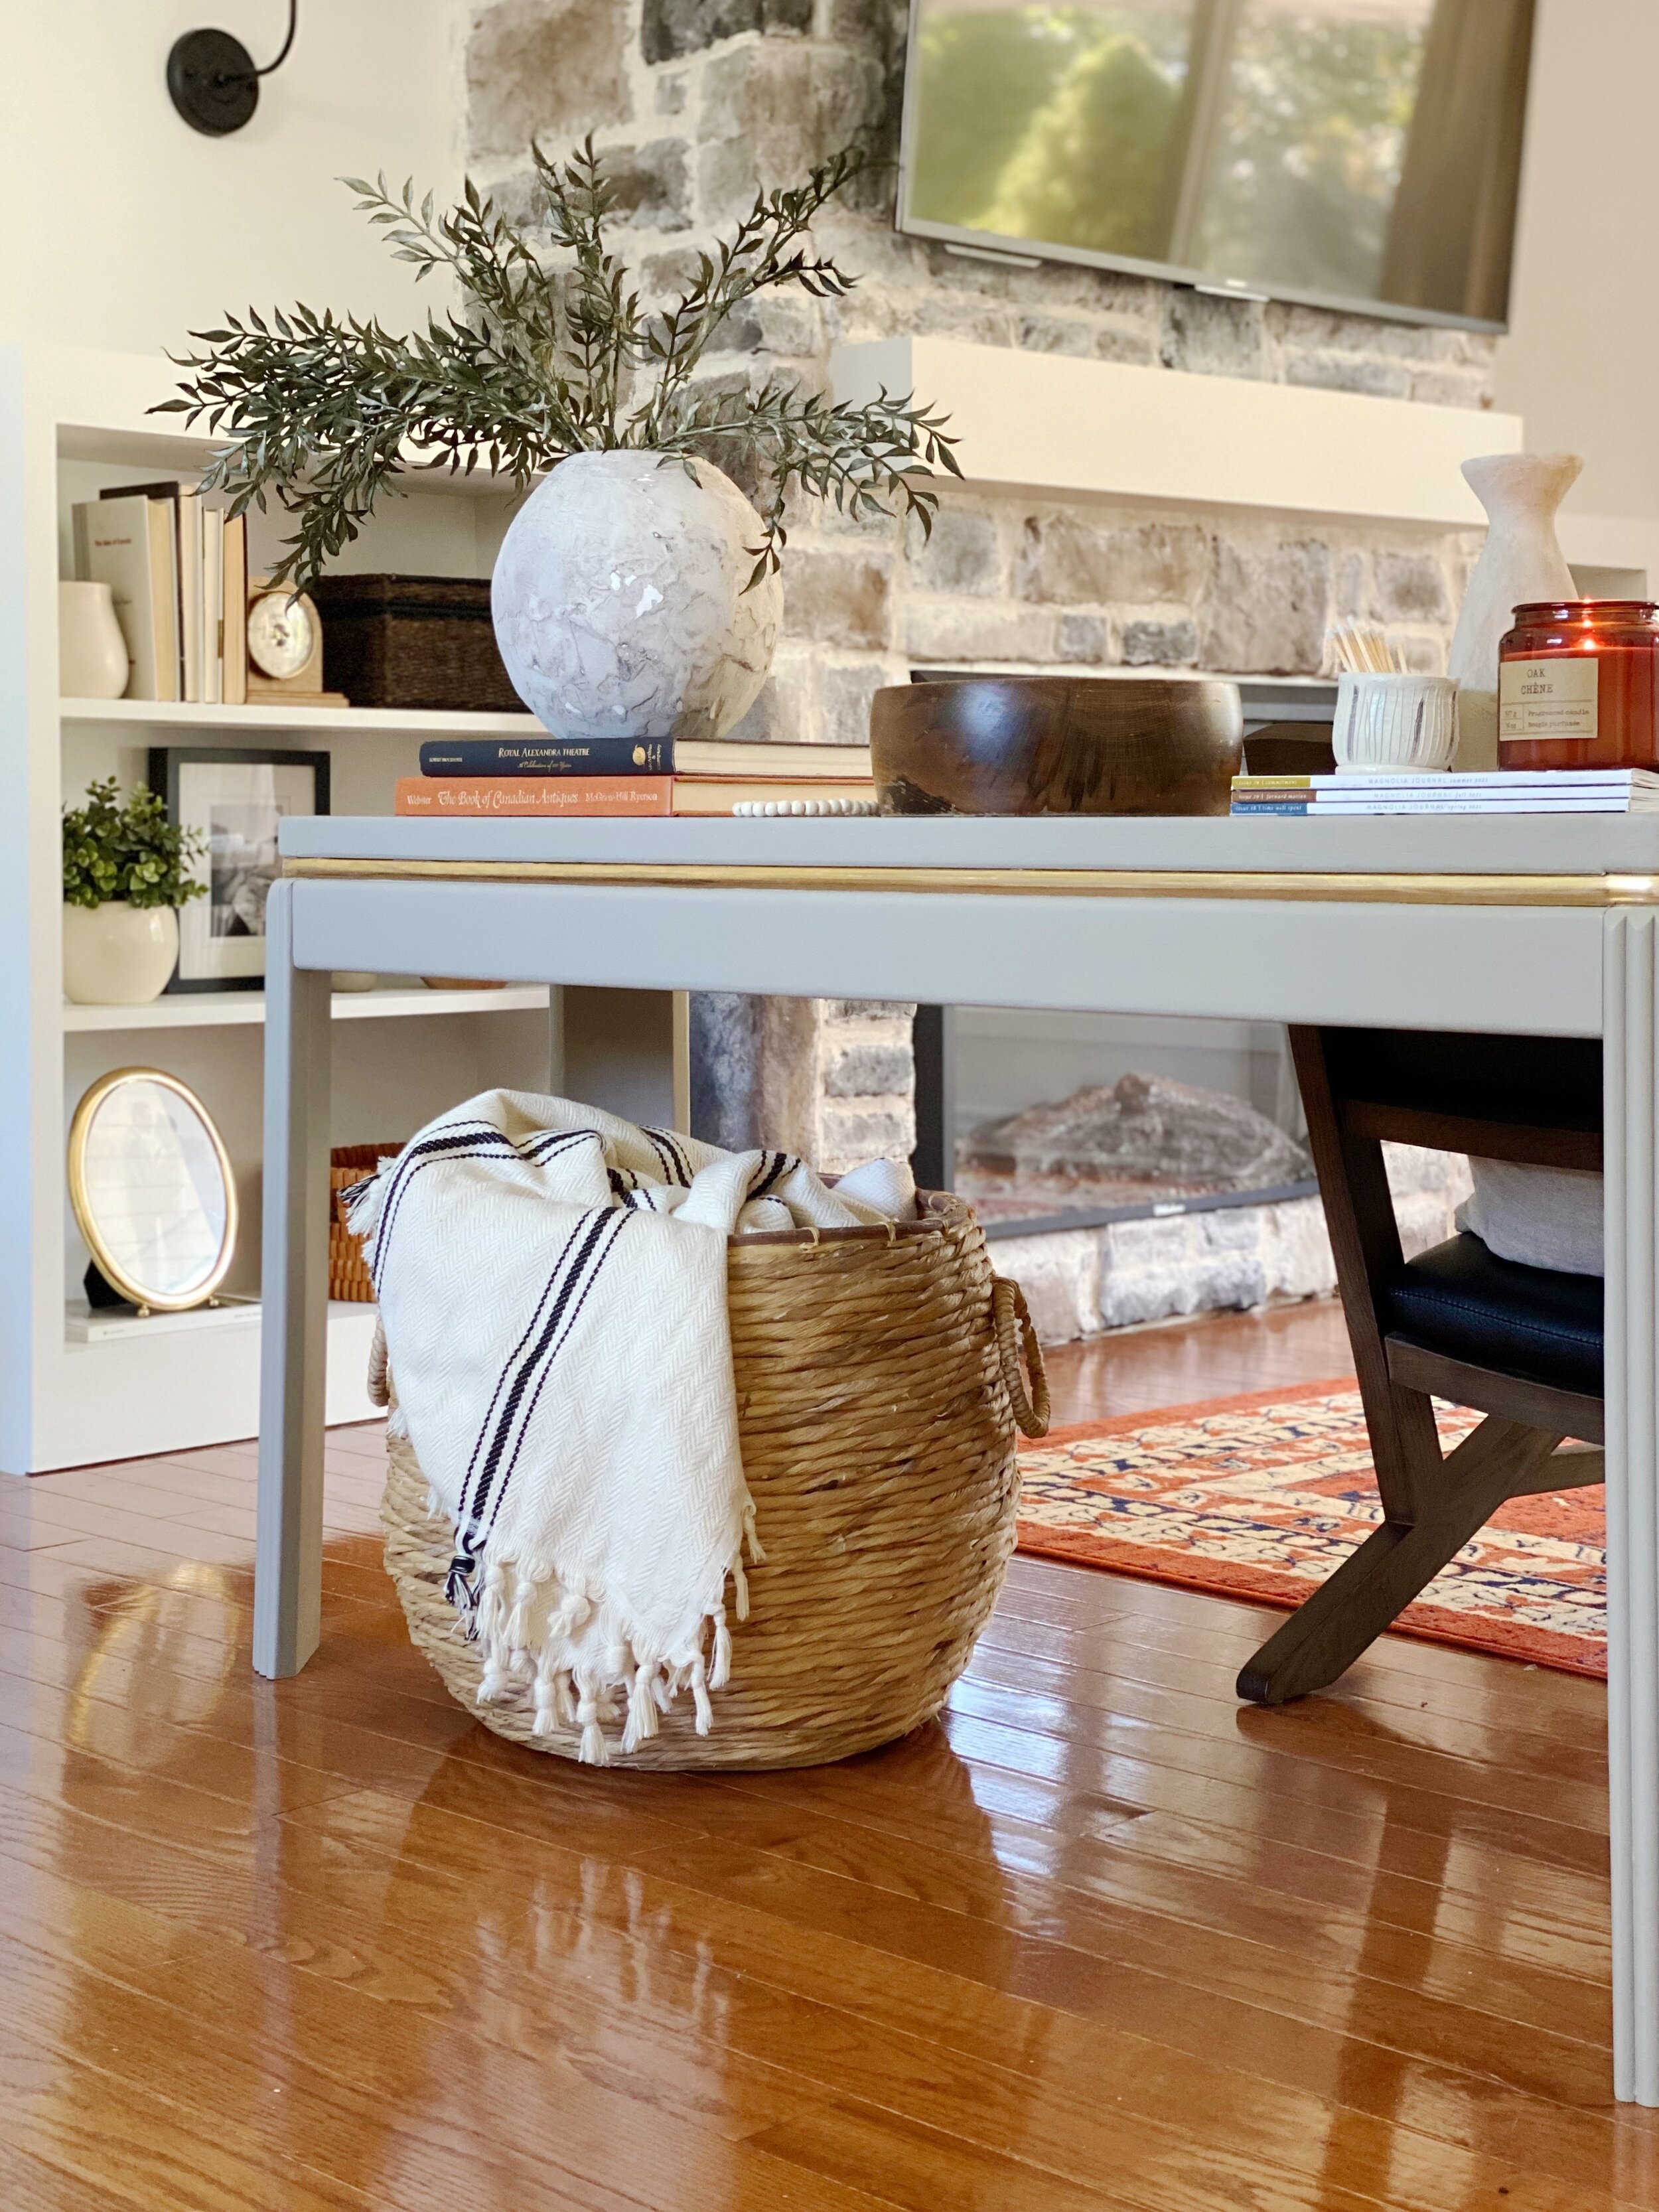
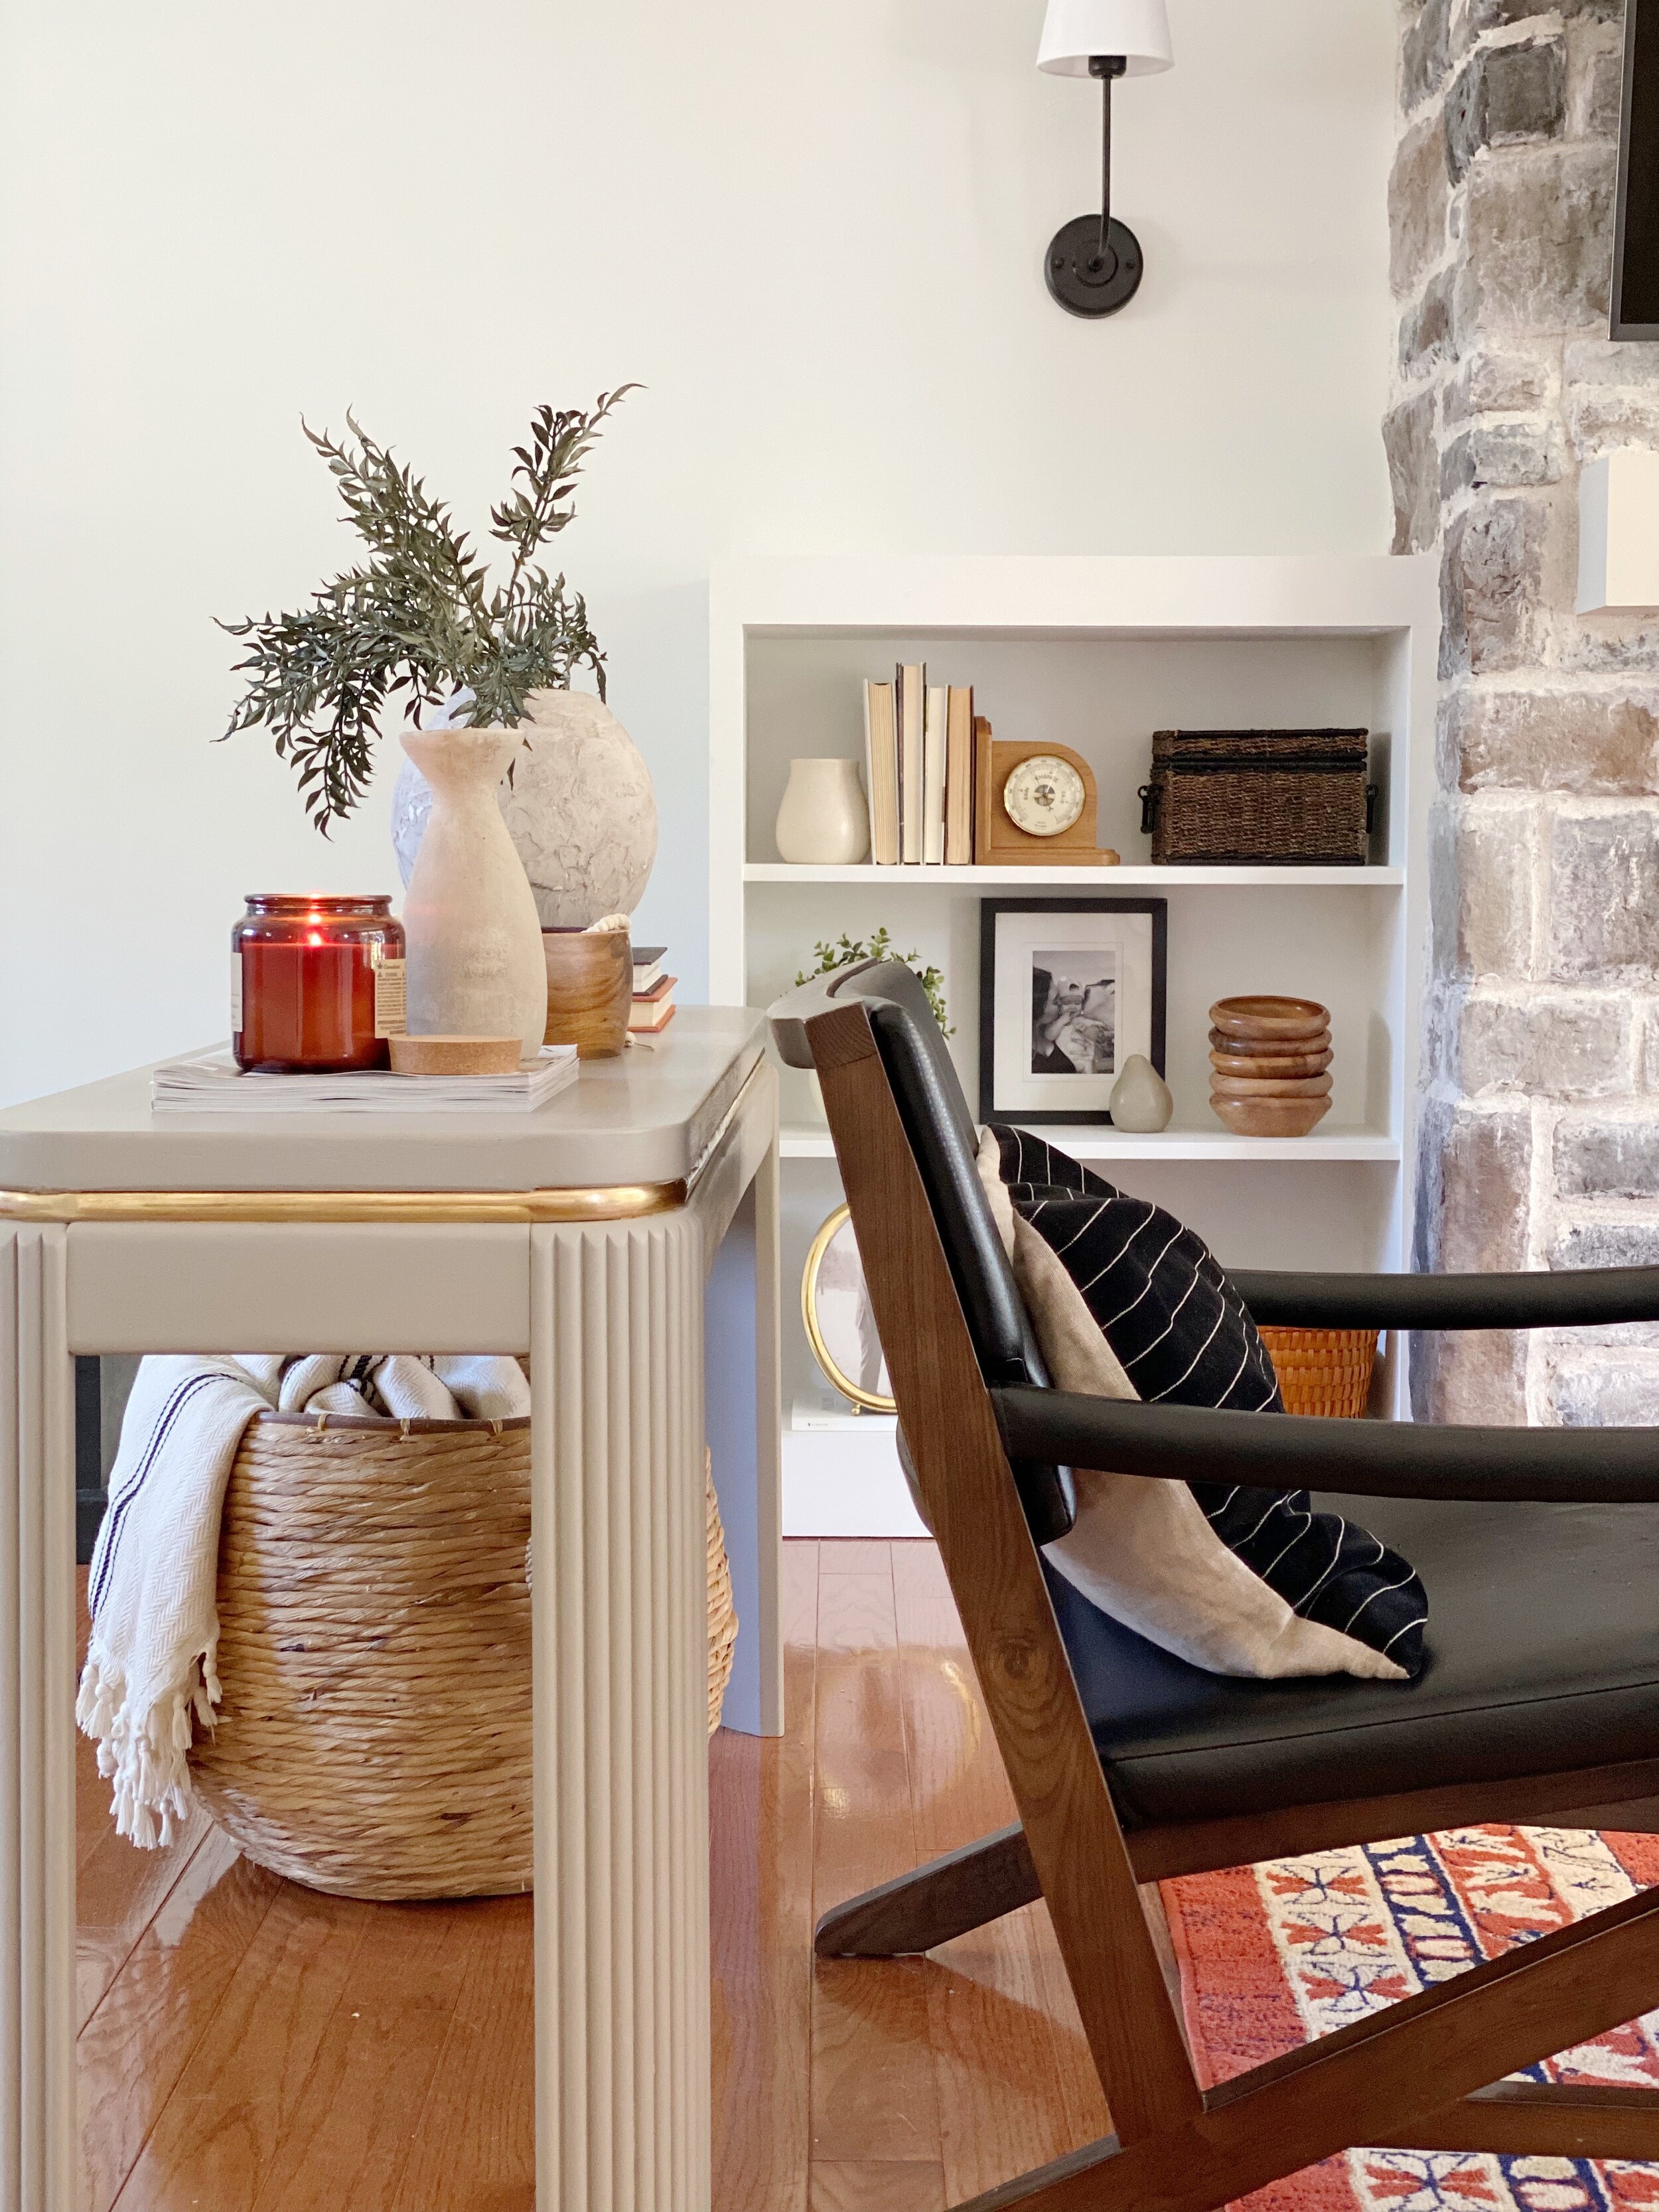
After
But visually, it didn’t fit so well. The table previously existed in another home’s entryway. It had such pretty details and was in great condition, but was really outdated. The honey oak finish was so popular in the nineties and early 2000’s that it took me right back to being a kid, standing in my best friend’s family home. I knew I had to be strategic with picking a colour. Anything too dark would conceal some of the pretty details. Anything too light would wash them out.
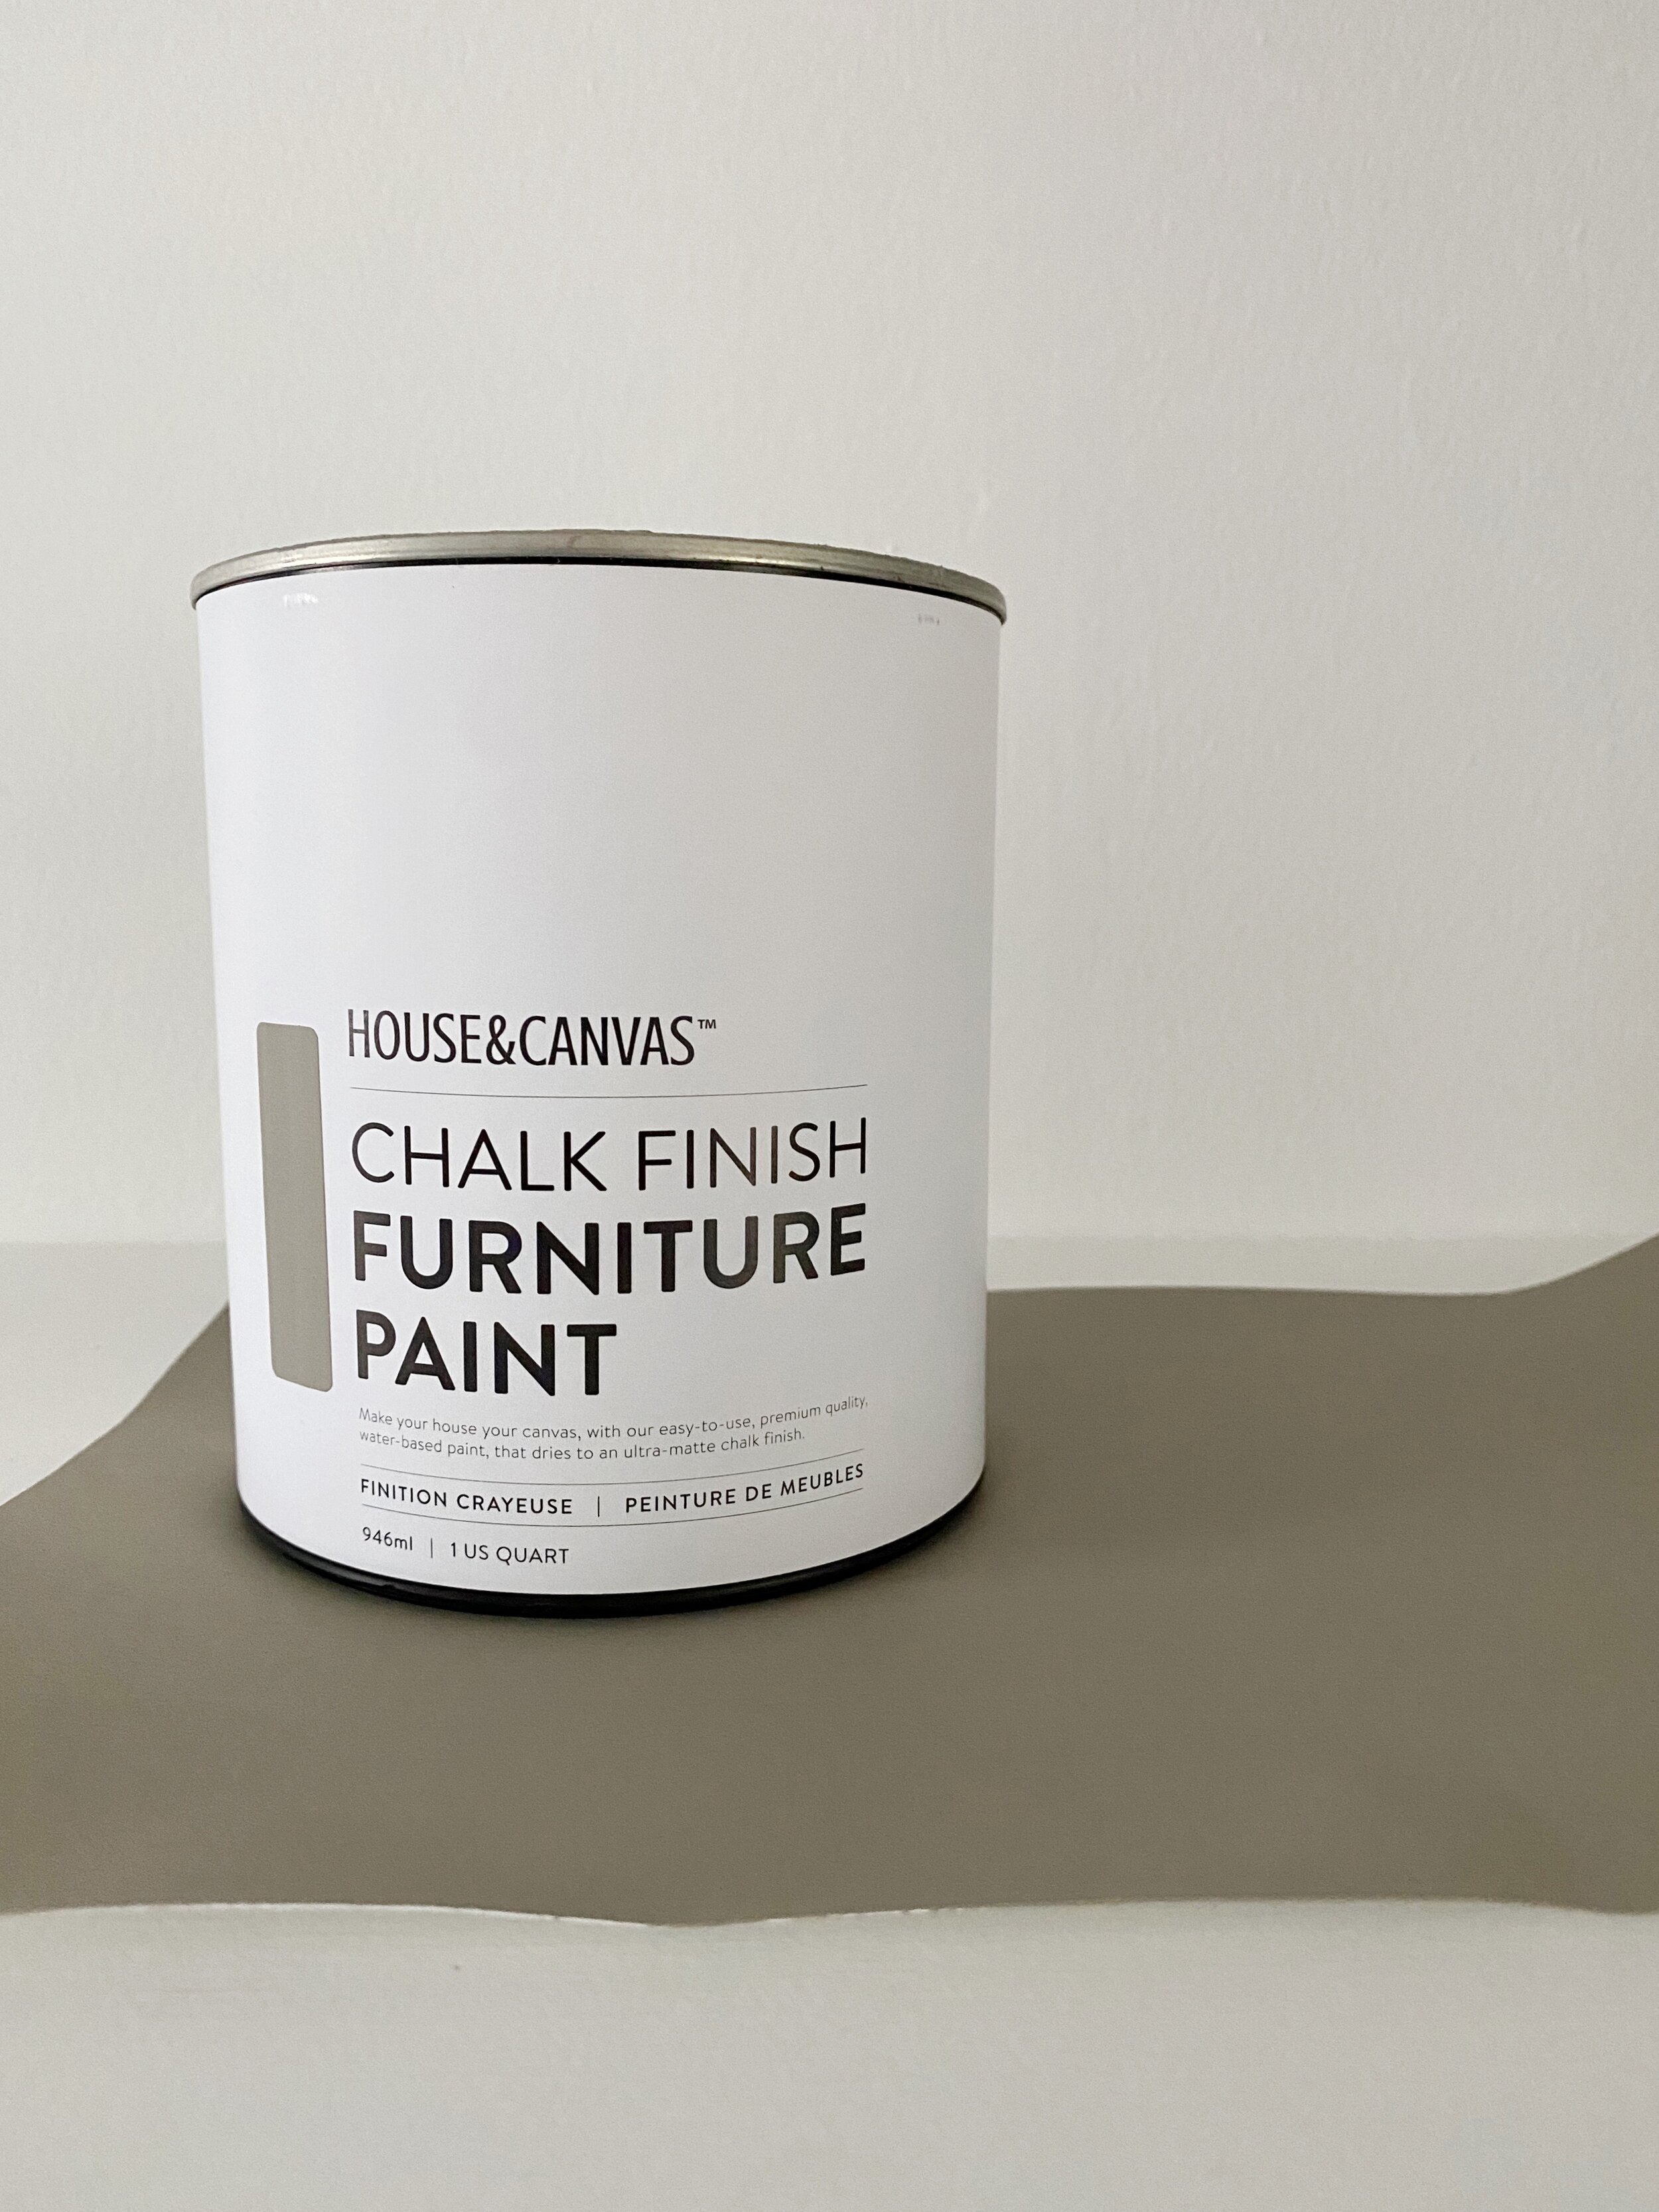
When selecting the colour, I took into consideration the fact that this table will exist as both a part of our living room and our dining room. I have some big projects planned for our dining space this fall, so I was able to decide on a colour that would connect with what we already have and where we will be heading in our future designs. I came across this pretty colour called Linen by House and Canvas - a Canadian-made chalk paint company. I compared it against our fireplace tones and the colours I will be using in the dining space and it fit in perfectly. I love that it is a neutral colour that pulls out the green undertones I have living in these spaces. I also love that it gets to stand alone, but still connects. A perfect choice for a piece of furniture that intends to check those exact same boxes.

Like I do with all my painted furniture projects, I started by wiping the table down with Dawn dish soap and some warm water. It’s so important to remove any dust, oils, and grime before painting, or else they will bleed through your finished paint job. Once the water had dried, I scuff sanded the entire piece using a 150 grit sandpaper. Chalk paint technically doesn’t require any sanding or priming (which is why it is so universally loved), but I want my finish to hold up really well over time, so the scuff sand ensures that my paint has just a little extra grit to hold on to. It can be done really quickly by hand, so in my mind, the extra 5-10 minutes of work is worth the longer-lasting finish.
Once the piece was wiped down, I also opted to prime it before painting. When you paint over wood furniture, you risk the wood tannins (oils) bleeding through your painted finish and staining. In my mind, priming is a necessary step, regardless of what type of paint you are using. The only time I may opt not to prime is if I am painting a piece of furniture a really dark colour, like navy or black. I always use Zinsser BIN Shellac-Based primer because it completely locks in any wood tannins and oils. However, since it is shellac-based, it’s very smelly and difficult to clean (don’t attempt to clean up with water). I usually opt to use a disposable brush and work with it outside, if possible. At the very least, make sure you can open a window or get a nice cross-breeze in your space as you apply it on your piece of furniture.


I ended up applying two coats of chalk paint to this console table. I wanted to keep the brass band detail, so I cut in around it using a brush. I definitely could have tape it off to protect it before painting, but I will admittedly spend more time cutting in by hand than it would have taken me to tape something off just to avoid the task. I tried to work quickly and made sure to avoid leaving any heavy brush strokes in the paint finish by painting in the direction of the wood grain. The paint covered really well and looked so beautiful when it was completely dry.
Once my paint had cured for a couple of days, I applied the House and Canvas clear topcoat in a flat finish. This will also help with wear and tear over time and make the table easier to wipe down when needed. I applied this in the same way I applied the paint. I worked quickly, brushed in the direction of the wood grain, and was careful not to repeatedly go over the same areas again and again. I allowed the top coat to cure for a few days before placing anything on the table.
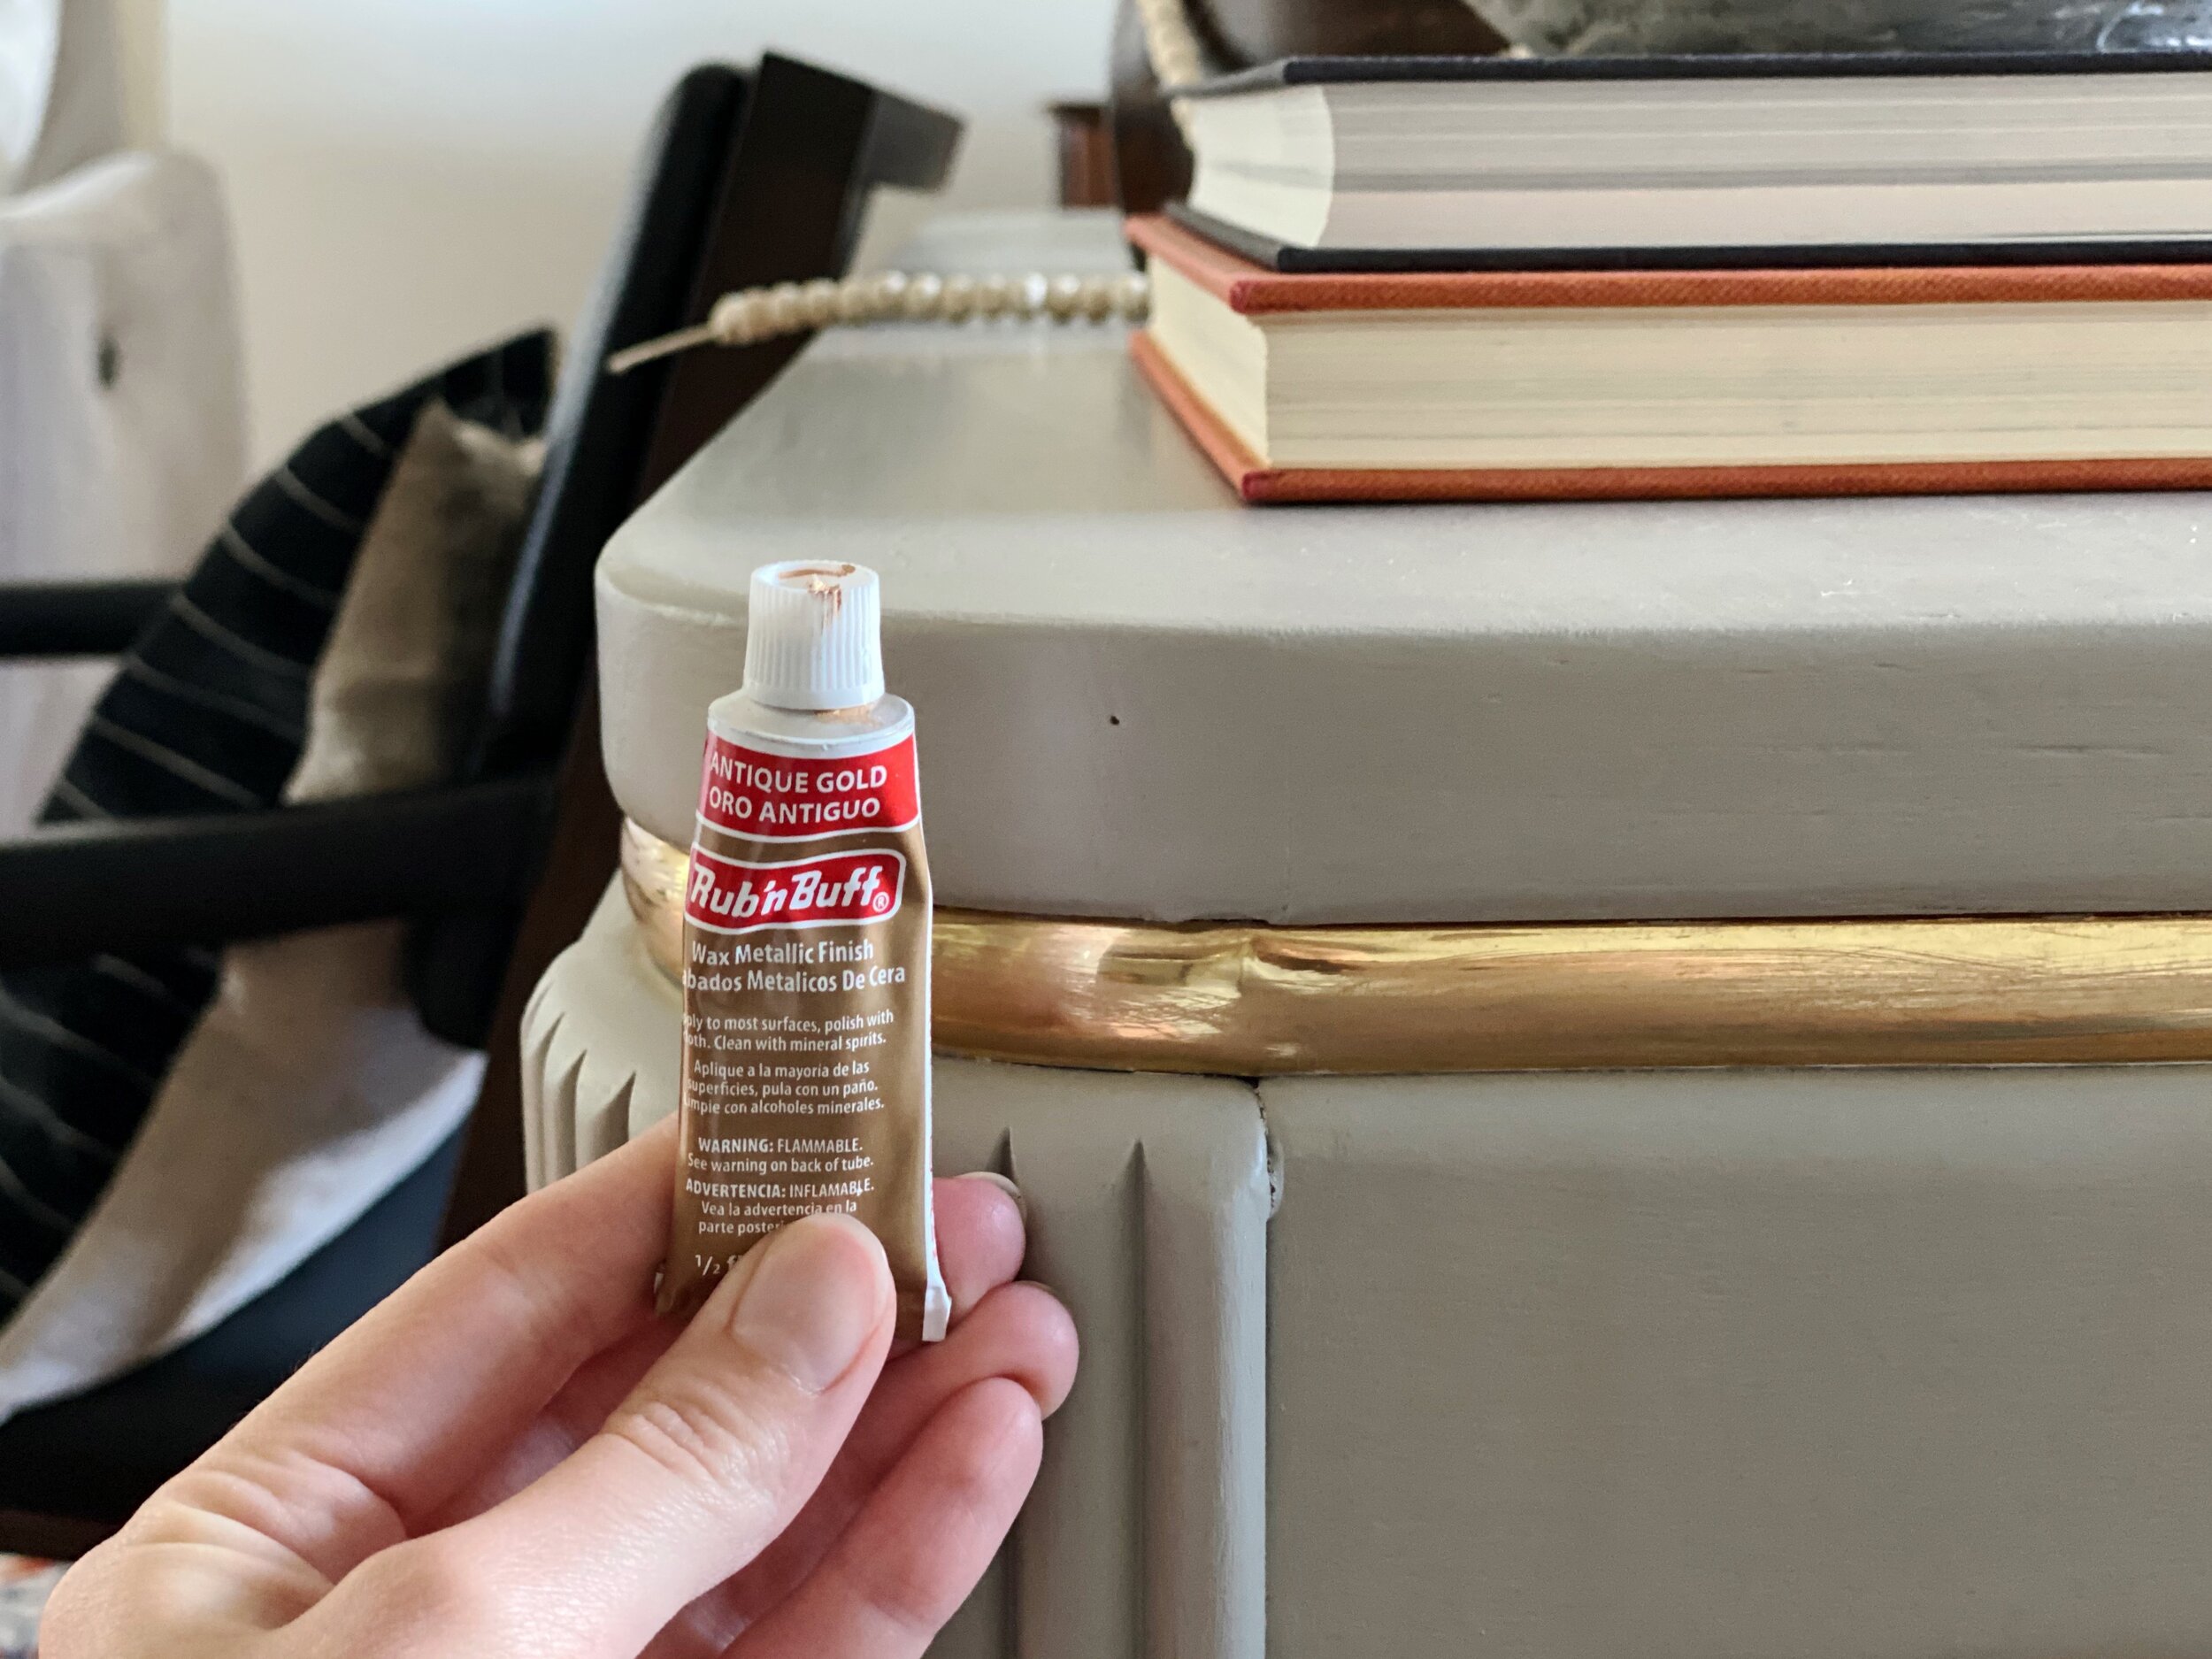
When I stepped back to look at the finished table, I couldn’t help but notice how the freshly painted surface made the brass band detail appear more yellow. It was very obviously cheap. I considered a few options, like fully painting it out or applying a different finish using spray paint, but landed on attempting to elevate the metallic brass finish with a little bit of Rub ‘n Buff. This is a wax-based metallic product that can be applied to a variety of surfaces. You then buff it out to give a really concentrated metallic finish. I taped around the brass band (which was obviously my initial avoidance of using painters tape coming back to haunt me) and applied Rub ‘n Buff in Antique Gold with a clean rag. It was such a subtle change that made a huge difference. The brass band finish now matches the brass finish of the curtain rod in our living room and just completely connects this table to the space.
The table project itself didn’t take very long to complete. But I wanted to nail the styling too. I love a well-styled space, but the reality is that we just don’t have the budget to go out and buy stuff for the sake of stuff. Oh what I could do with an unlimited budget!
Pretty styling doesn’t ever need to be dictated by budget. There are many affordable ways to achieve the style you are after. As I waited for the table to cure, I decided to hit the thrift store and collect items that I already had in my home that I could use in the styling of this pretty little table. I love thrifting for decor because it gives you the permission you sometimes need to get creative and think outside the box. Of course it always feels amazing to find the perfect piece on your treasure hunt, but more often than not, what you really find are hidden treasures just waiting to be transformed into something beautiful. I made over a big round glass vase (you can check out that tutorial here) to hold some faux stems, got my hands on a beautiful big wooden bowl, and stacked up old magazines to act as a grounding space to set a candle and some matches. I pulled out an old string of beads that a friend gifted me and played around until I found a configuration that felt right.


I love this pretty little table. It brings so much presence to our room and really establishes the separation between the living and dining spaces that I was after. It never ceases to amaze me how making one little adjustment to your space can bring a whole new sense of life to it. I’m really excited to see this space continue to evolve over this next season and I think this little table lays the perfect foundation.

Disclaimer: This post may contain some affiliate links. Learn more about our Affiliate Disclosure here.