Our Tiny Powder Room Makeover (on an even tinier budget!)
It’s been a long time coming, but I finally managed to finish our powder room makeover and I’m feeling pretty happy about it. If you missed it, the powder room right off our main living space was the only room in our house that I hadn’t even touched before this makeover. It was still the original blue colour that the previous owners had painted it and featured all of their leftover decor too - a thick silver framed mirror, a glass shelf above the toilet, and an existing towel ring. All I’ve ever done was hang a few pieces of art on the hooks they left behind and add a new hand towel. So basically nothing.
Back in the Fall, I was really craving a home project after taking nearly a year off from doing much to our home. After a little pleading with Curt, he agreed that I could finally tackle this little powder room, but only if I kept the changes under $400 CAD. I’m hesitant to even talk about the budget because I know that budgets are so subjective. To some people, $400 would be a lot. To others, peanuts. In our current market with intense inflation and a high cost of living, $400 doesn’t go very far. But I knew that if I was strategic about how I spent it, I could make it work and still make a big impact in this tiny space.
Before Photos
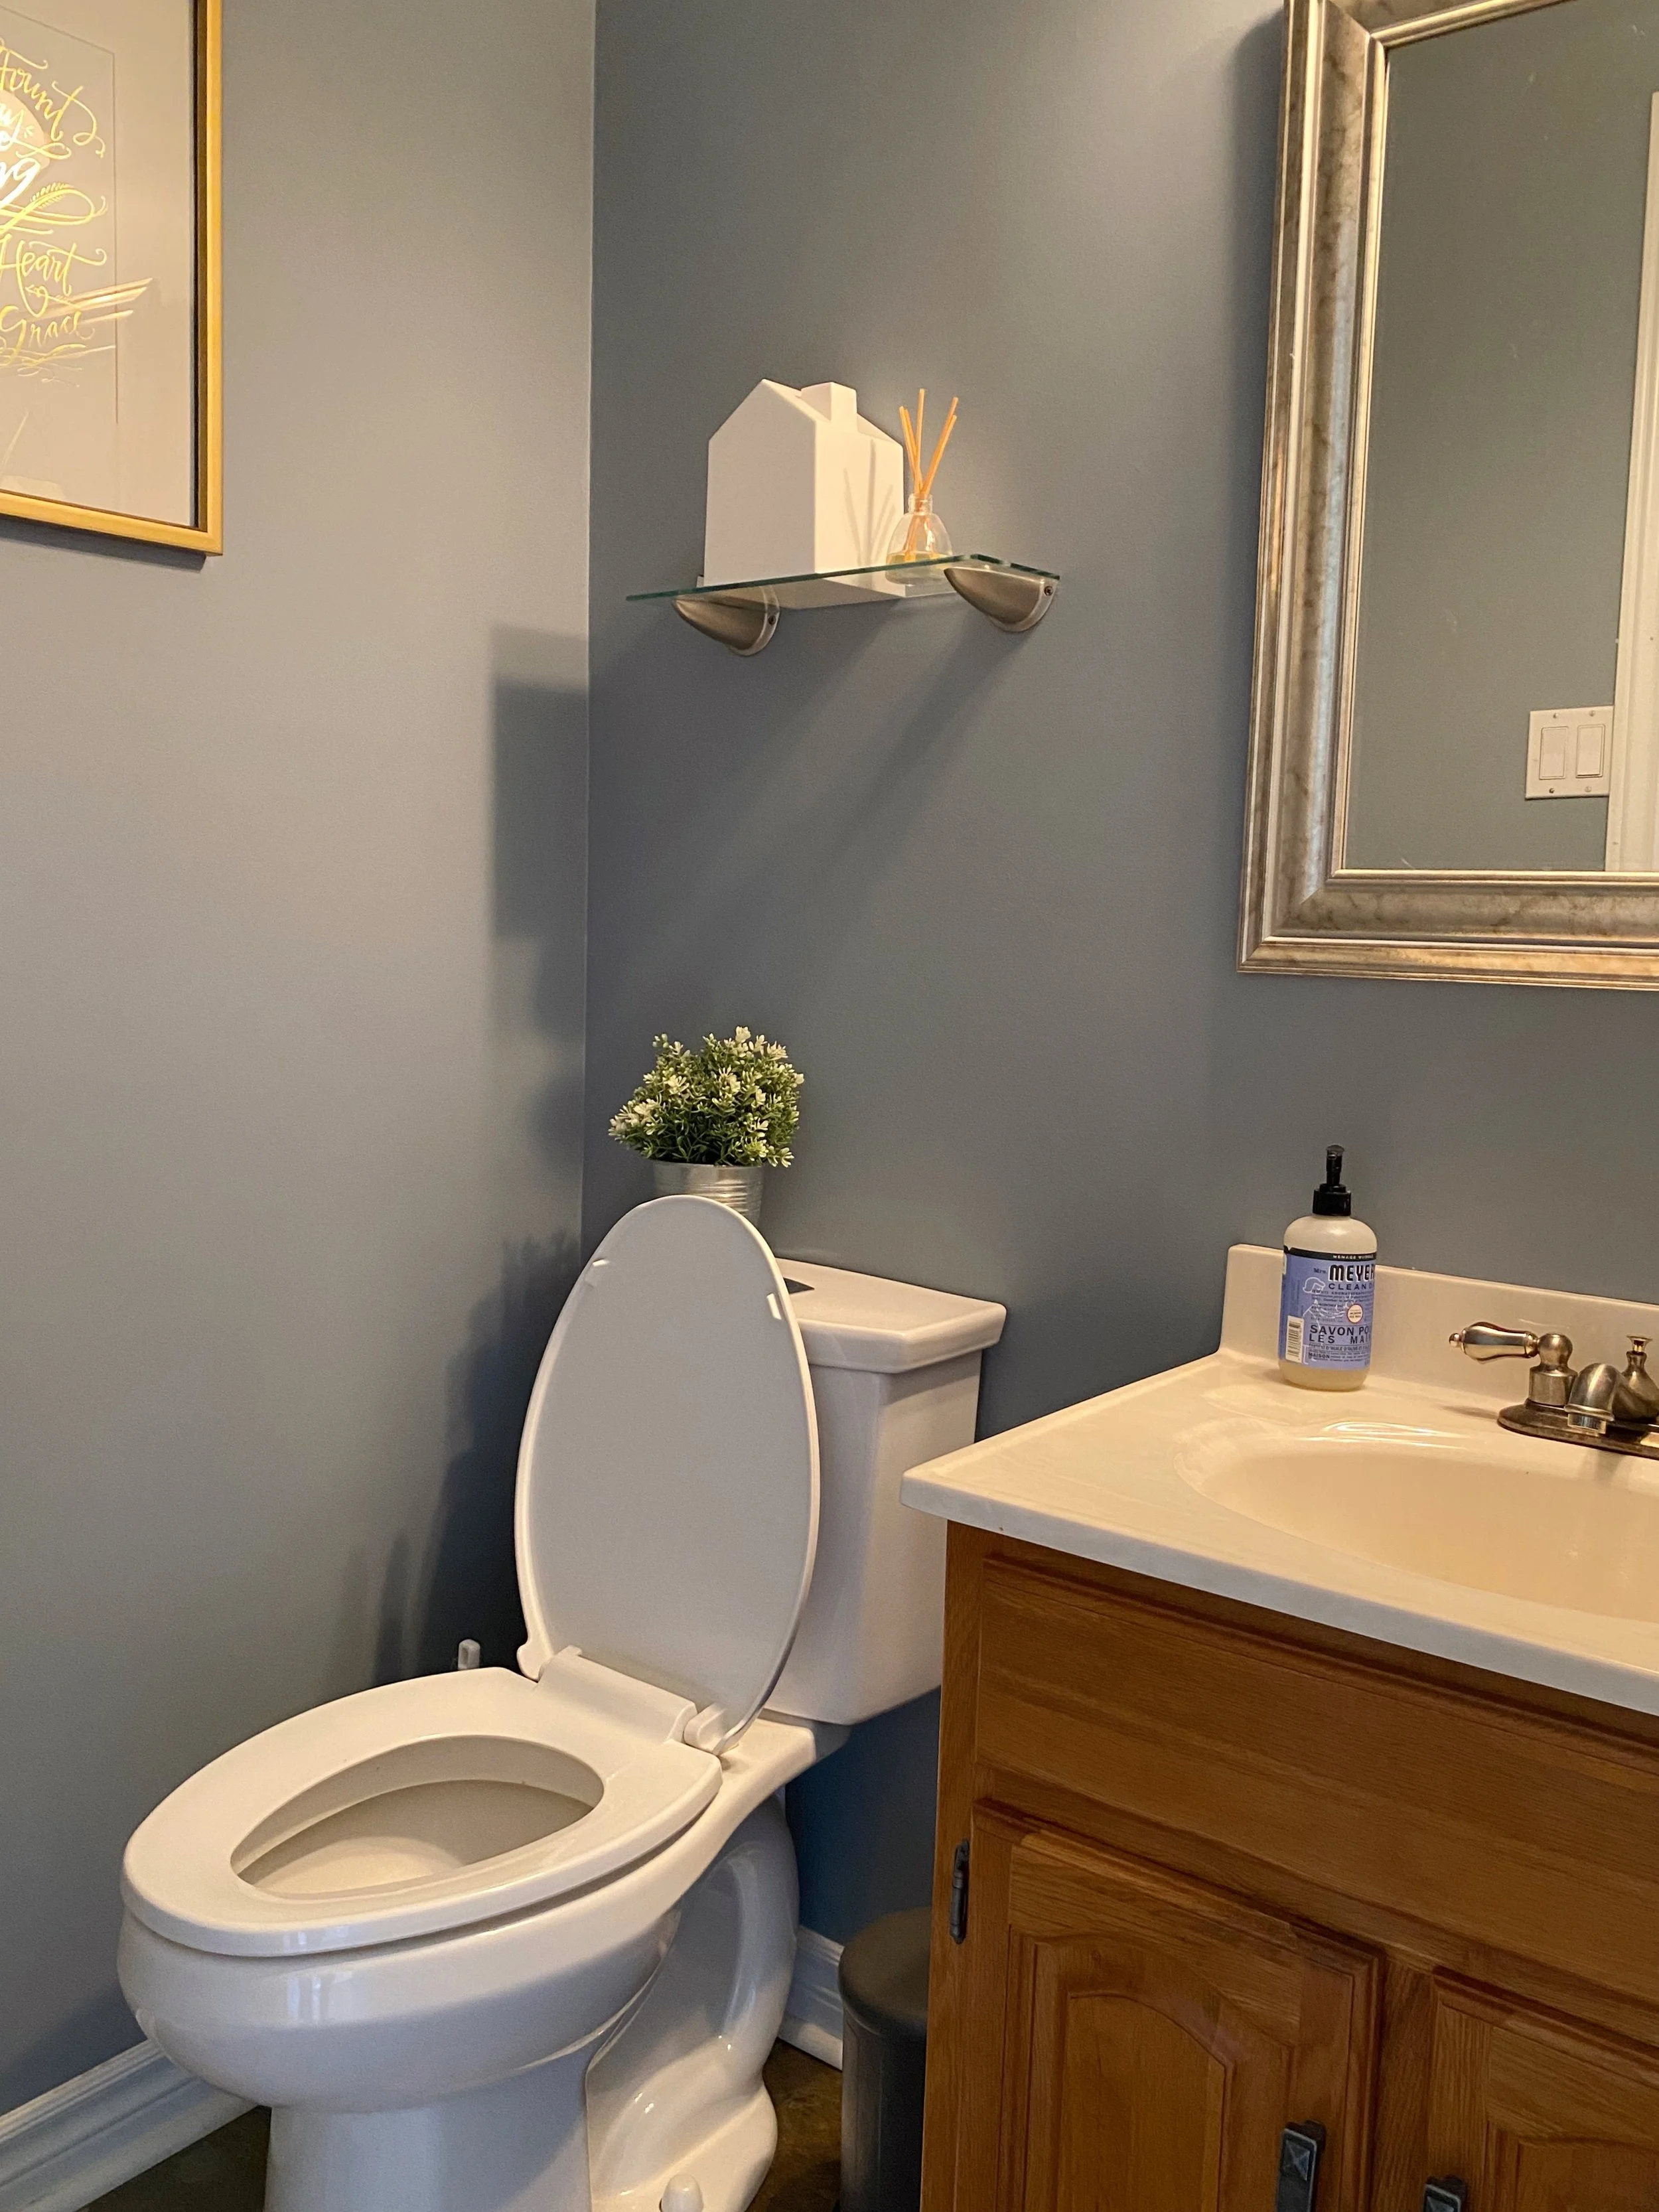
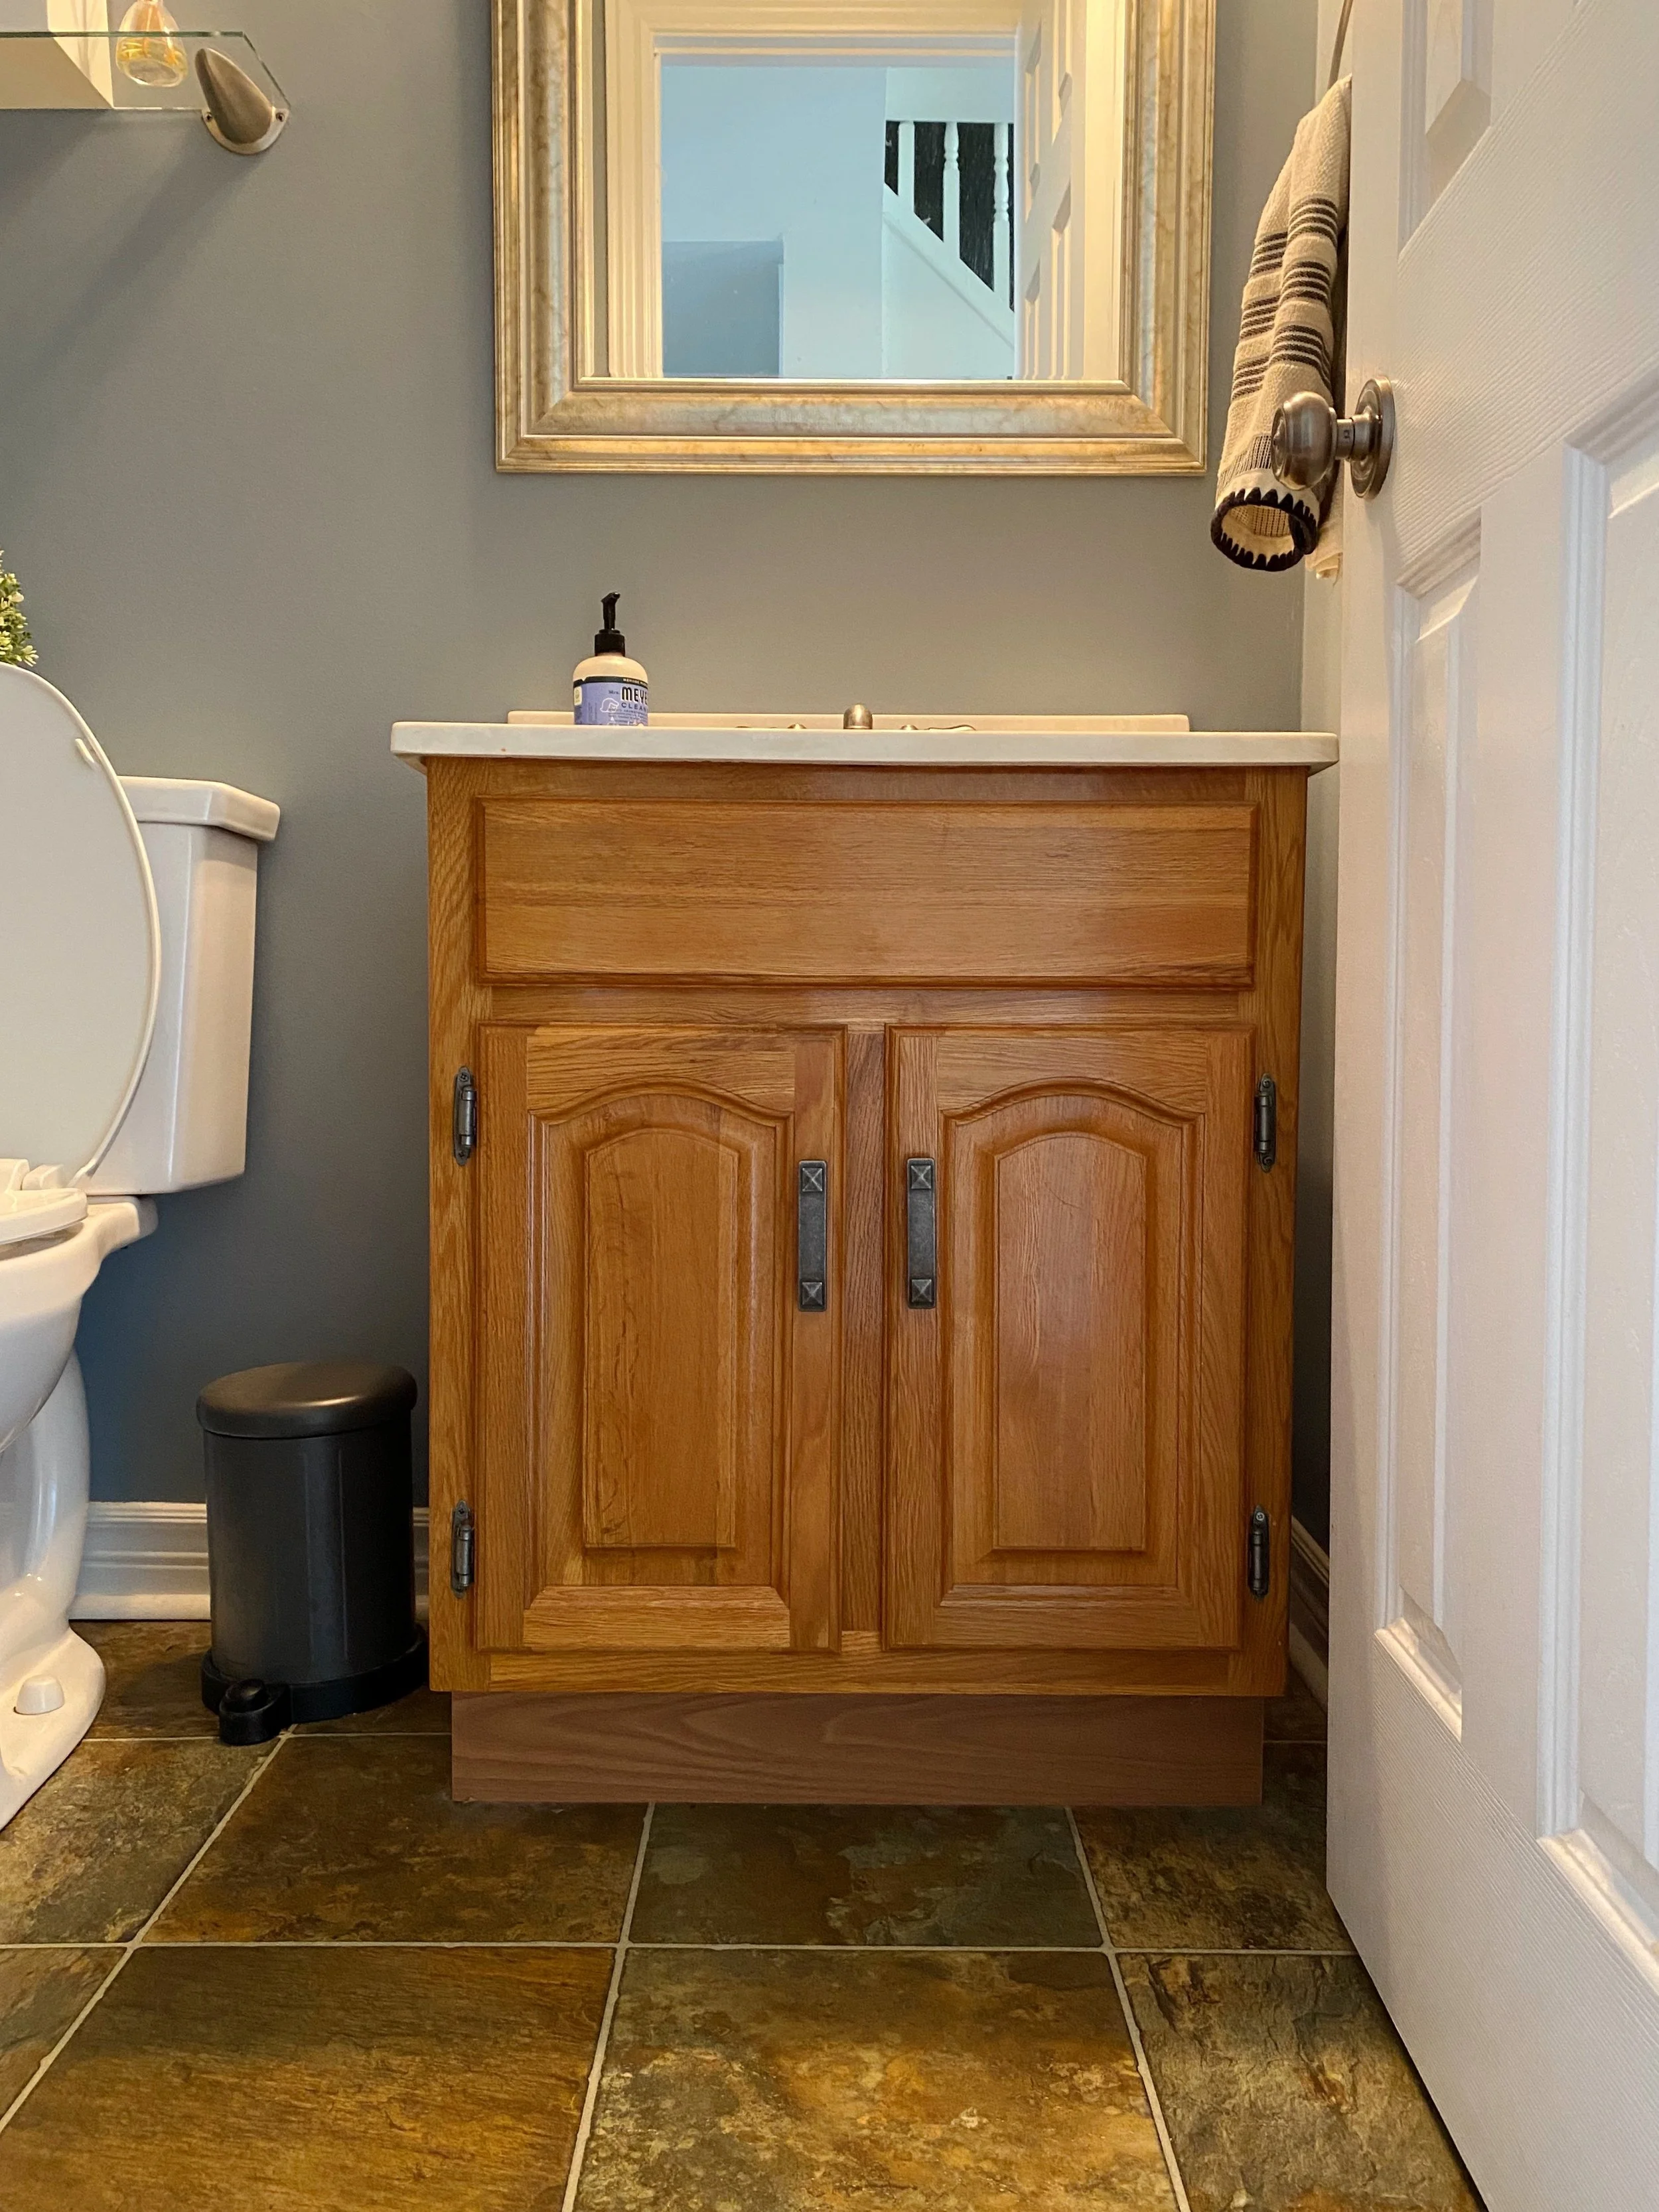
There’s really not much to see here, folks. As I mentioned, the space looked exactly how it did when we moved in 3.5 years ago. I knew with a small budget, there wasn’t much I could do to make any drastic updates, like tiling the floor or upgrading the vanity. This makeover would primarily focus on cosmetic updates to what was already there. The floor is a sheet vinyl with an array of tones. It’s definitely not my favourite, but since I wanted to lean into the moodiness of this windowless space, I knew I could pull a tone from the floor to make it work. The vanity was also quite dated with a classic 90’s orange-toned oak finish, but once again, I considered how I could bring it into this decade with a simple and affordable DIY solution.
I started this project with a little bit of prep and planning. I took my time entering different ideas into a spreadsheet to see how I could stretch my budget. I considered a wall feature to make a big impact, explored the idea of using a limewash paint, looked into potential replacement vanities, and worked out a combination of new fixtures that fit within the tight $400 limit. Would I still have enough left for accessories? I took my time considering all my options and ultimately landed on a plan that I shared about in this post. With everything sorted out, I started ordering pieces and gathering supplies to tackle a few DIY’s.
After Photos

I couldn’t squeeze the cost of real limewash paint into my small budget, but I loved the idea of making a statement on the walls since this is such a small space. I wanted to create some drama - a small powder room is such a fun opportunity to do that! After a bit of consideration and research, I decided to attempt a faux limewash paint technique that used regular wall paint. It ended up working so well that I shared a full tutorial about how I did it here. The tutorial post outlines exactly what I did to create this look, but it was ultimately based around a dark muddy green-grey tone called Porpoise by Sherwin-Williams. When all was said and done, I spent about $95 on paint and the supplies I needed to pull off this DIY technique.
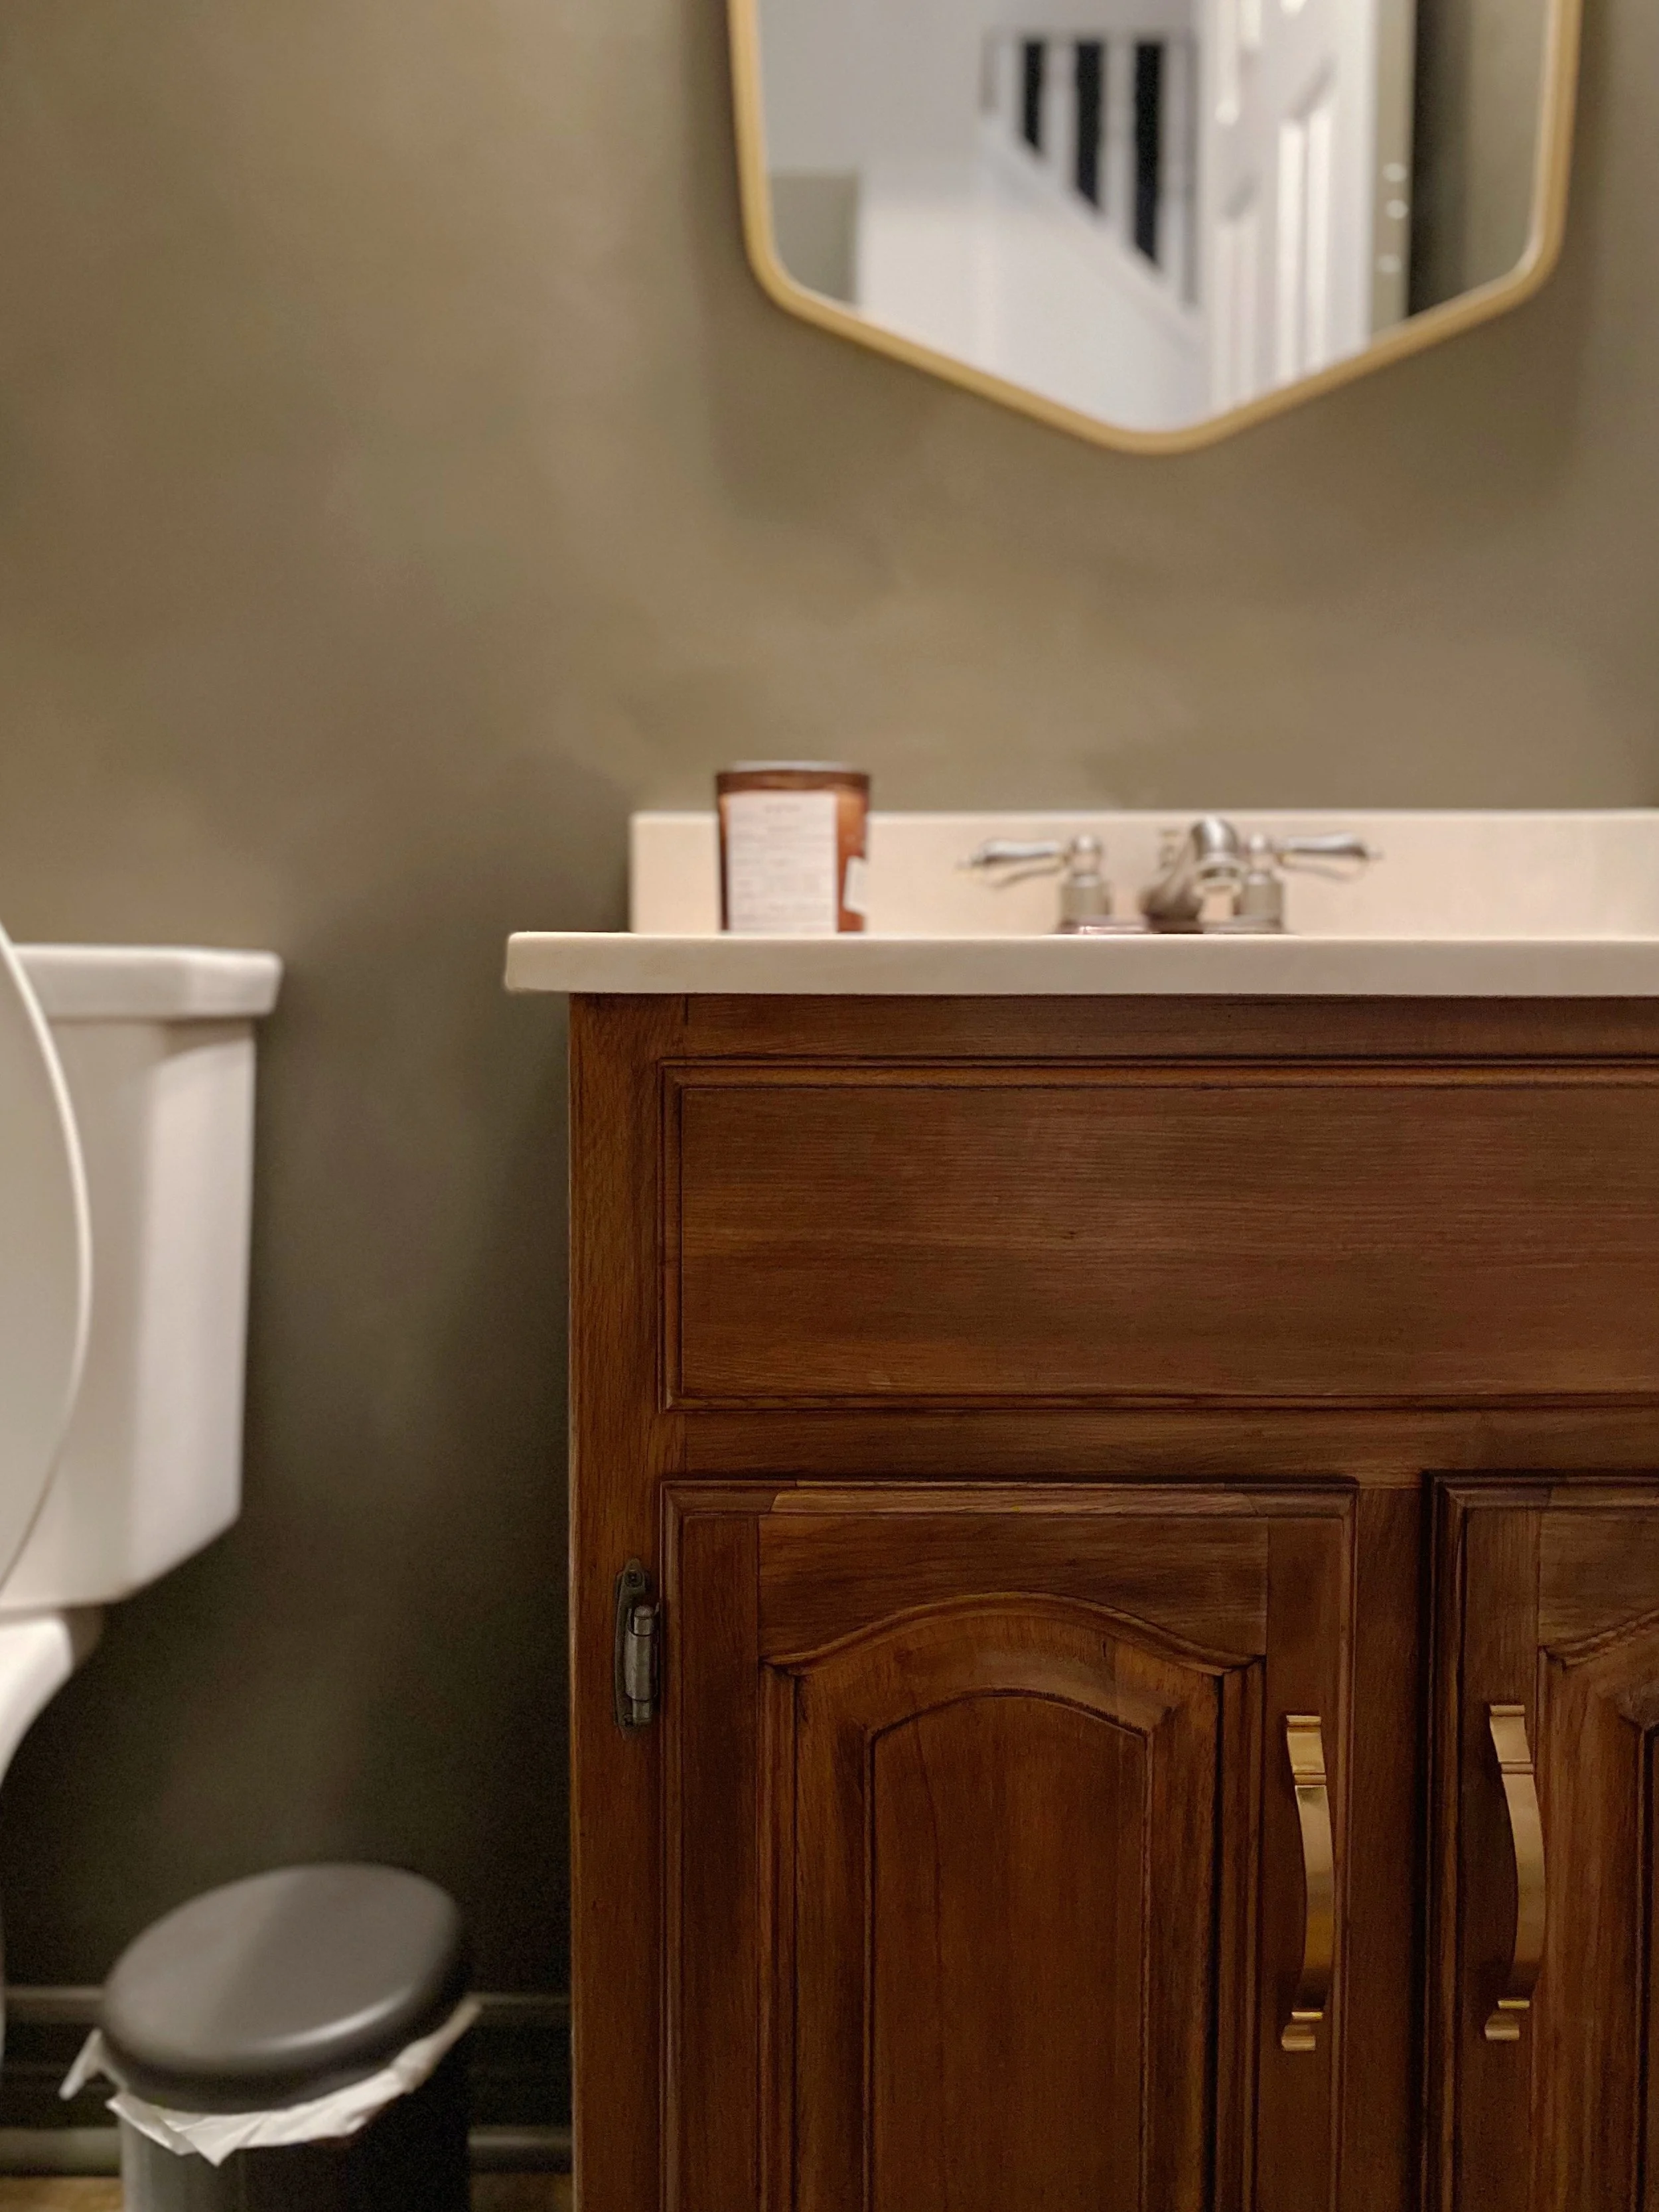
Another major component of this small space is the vanity. I saw a tutorial about how to apply gel stain over an existing wood finish to cut back on the time it takes to strip and sand an old finish away. I decided it was worth the attempt to be able to add a warm wood tone into the space and if it failed, I could always just paint the vanity instead. I followed the instructions from this tutorial exactly so I didn’t bother writing my own, but I used this gel stain and eliminated the dated orange-toned finish in favour of a rich, warm wood tone in a matter of a couple hours. I also upgraded the cabinet door handles and spent under $35 total on the vanity transformation, making it arguably even cheaper than a can of paint.
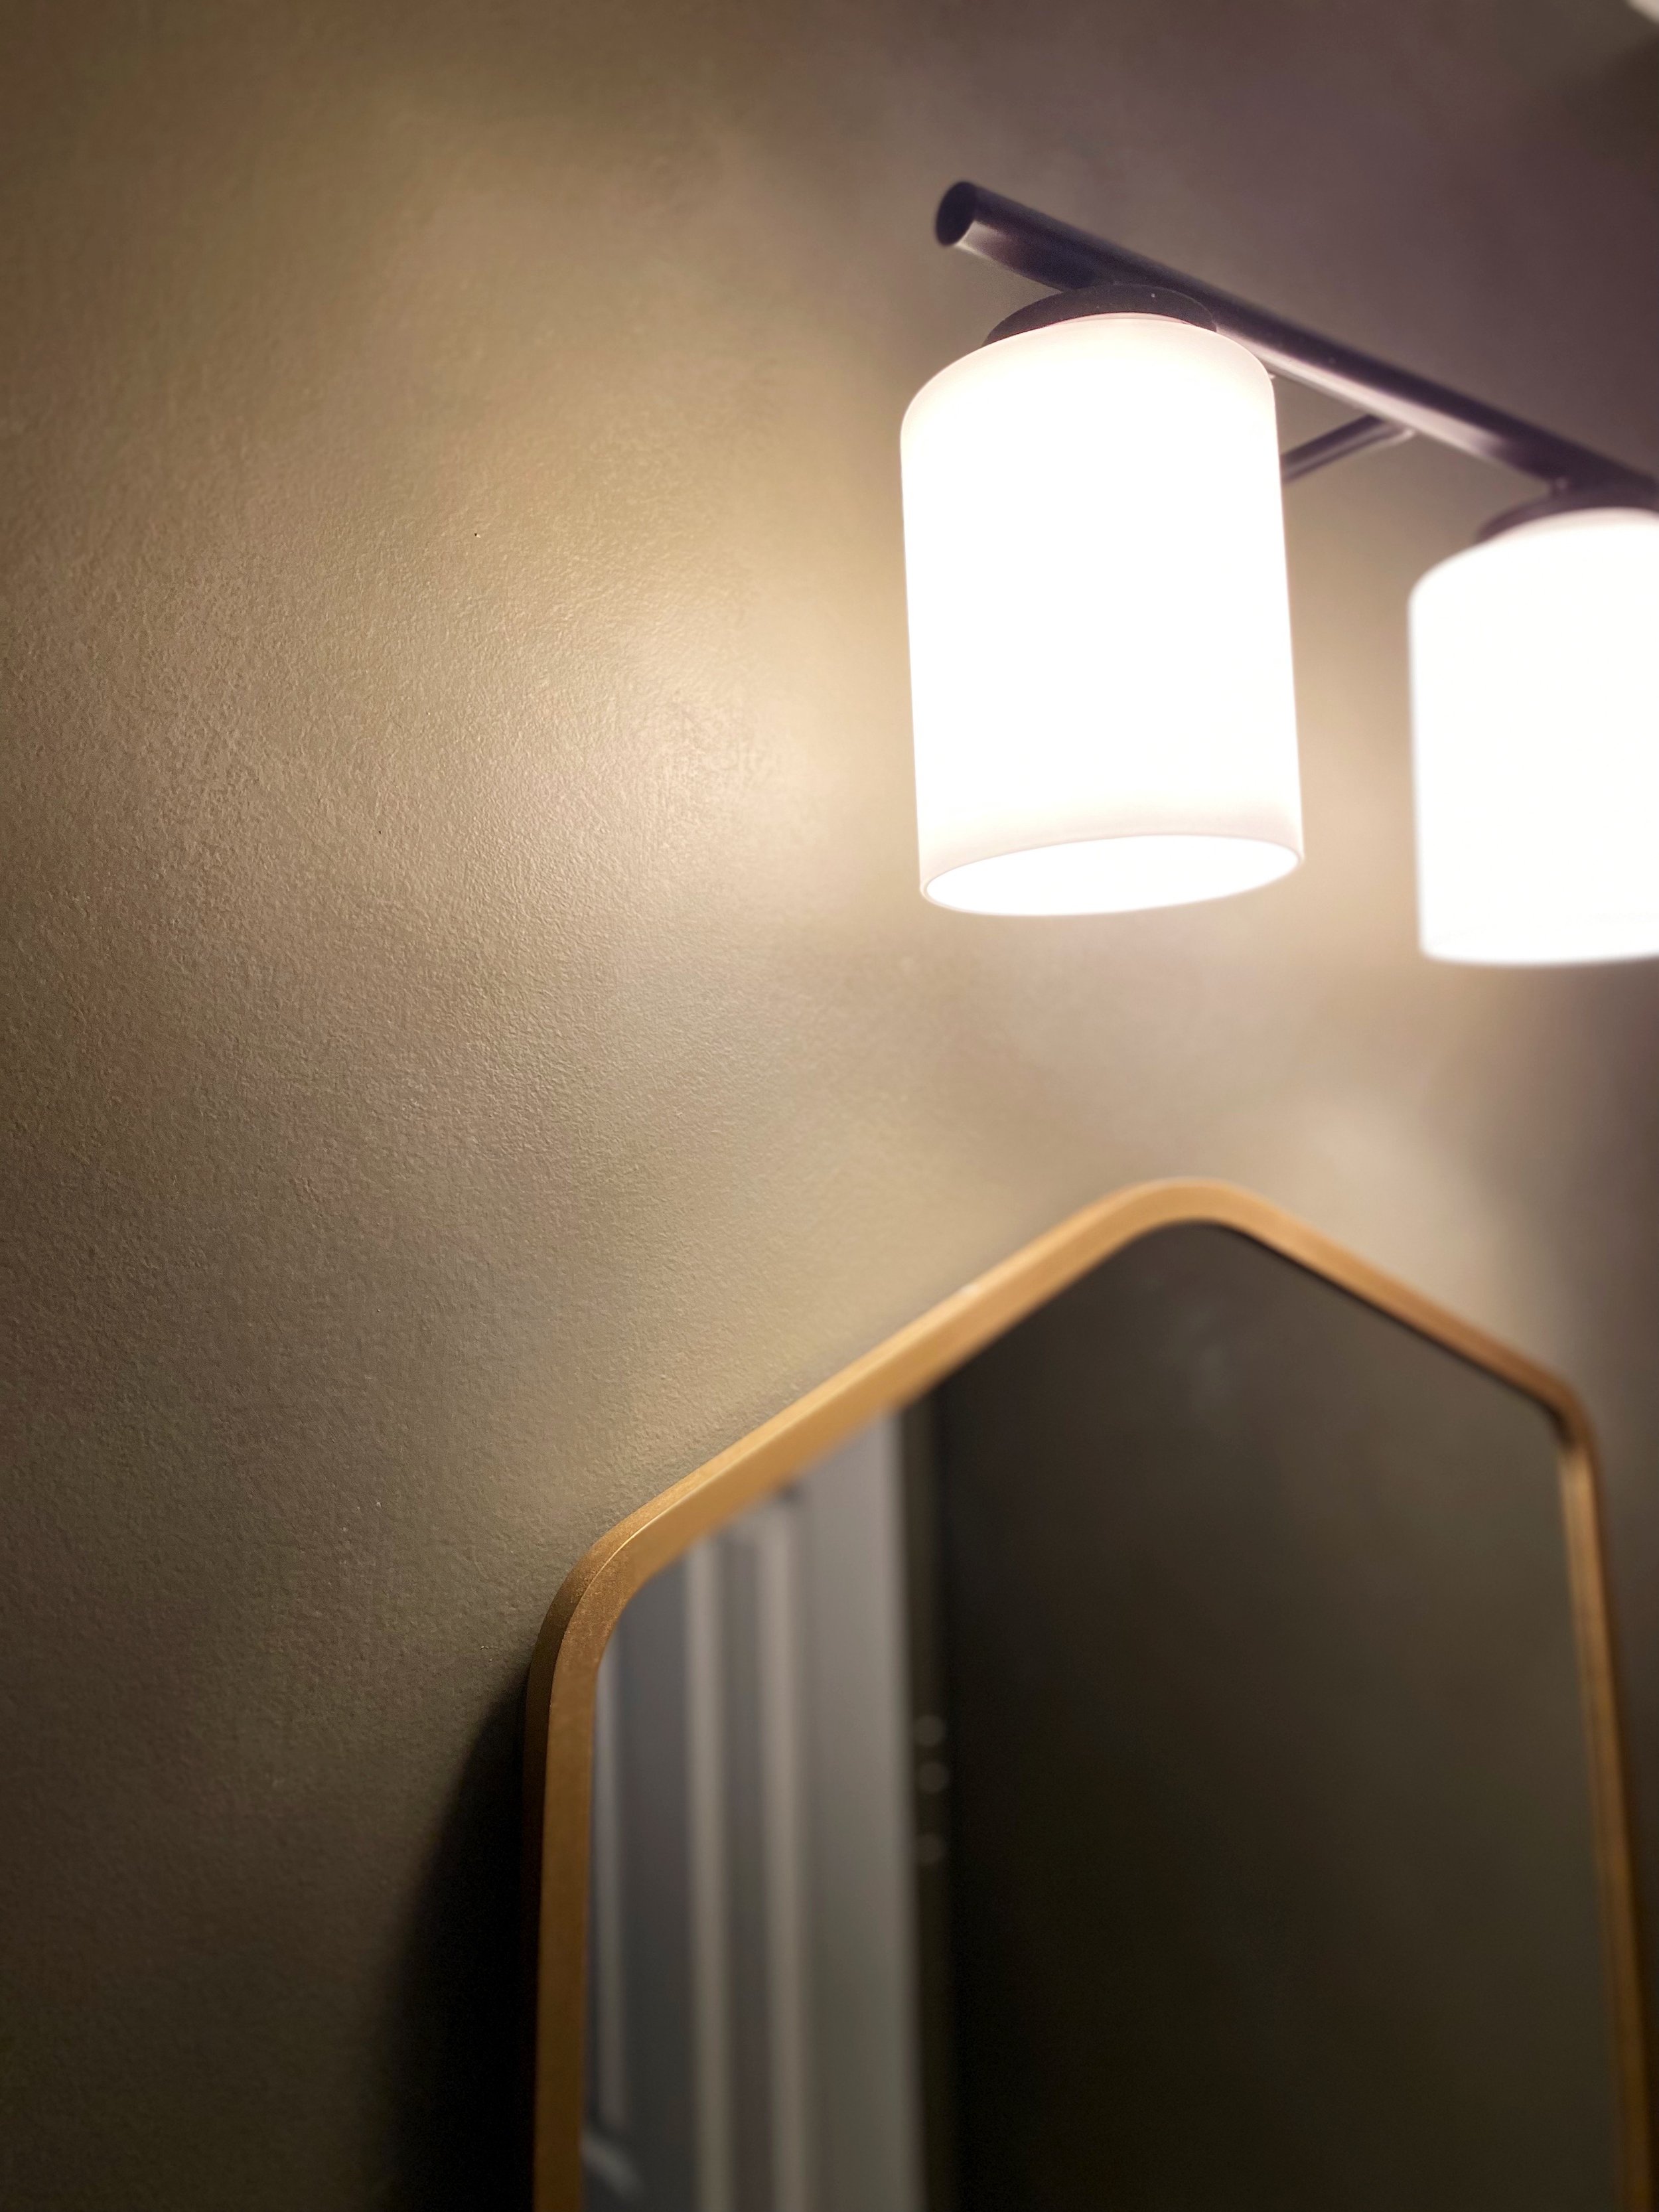
With the walls and vanity updated, the only thing left to do was tie it all together with some fixture updates and simple decor and accessories. I decided my budget would be best spent on updating the mirror and light fixture and so those two items were how I ended up spending the bulk of my budget. It’s worth mentioning that I got both during sale events, so I was able to purchase them and still had a bit of budget left to spare for accessories. I wanted to go for a mixed metal look in this space since the sink faucet was already an oil-rubbed bronze tone. I picked the light fixture to mimic that and then also introduced a bit of gold in the mirror frame. I love the unique shape of this mirror and think it brings a bit of interest to an otherwise simple fixture.
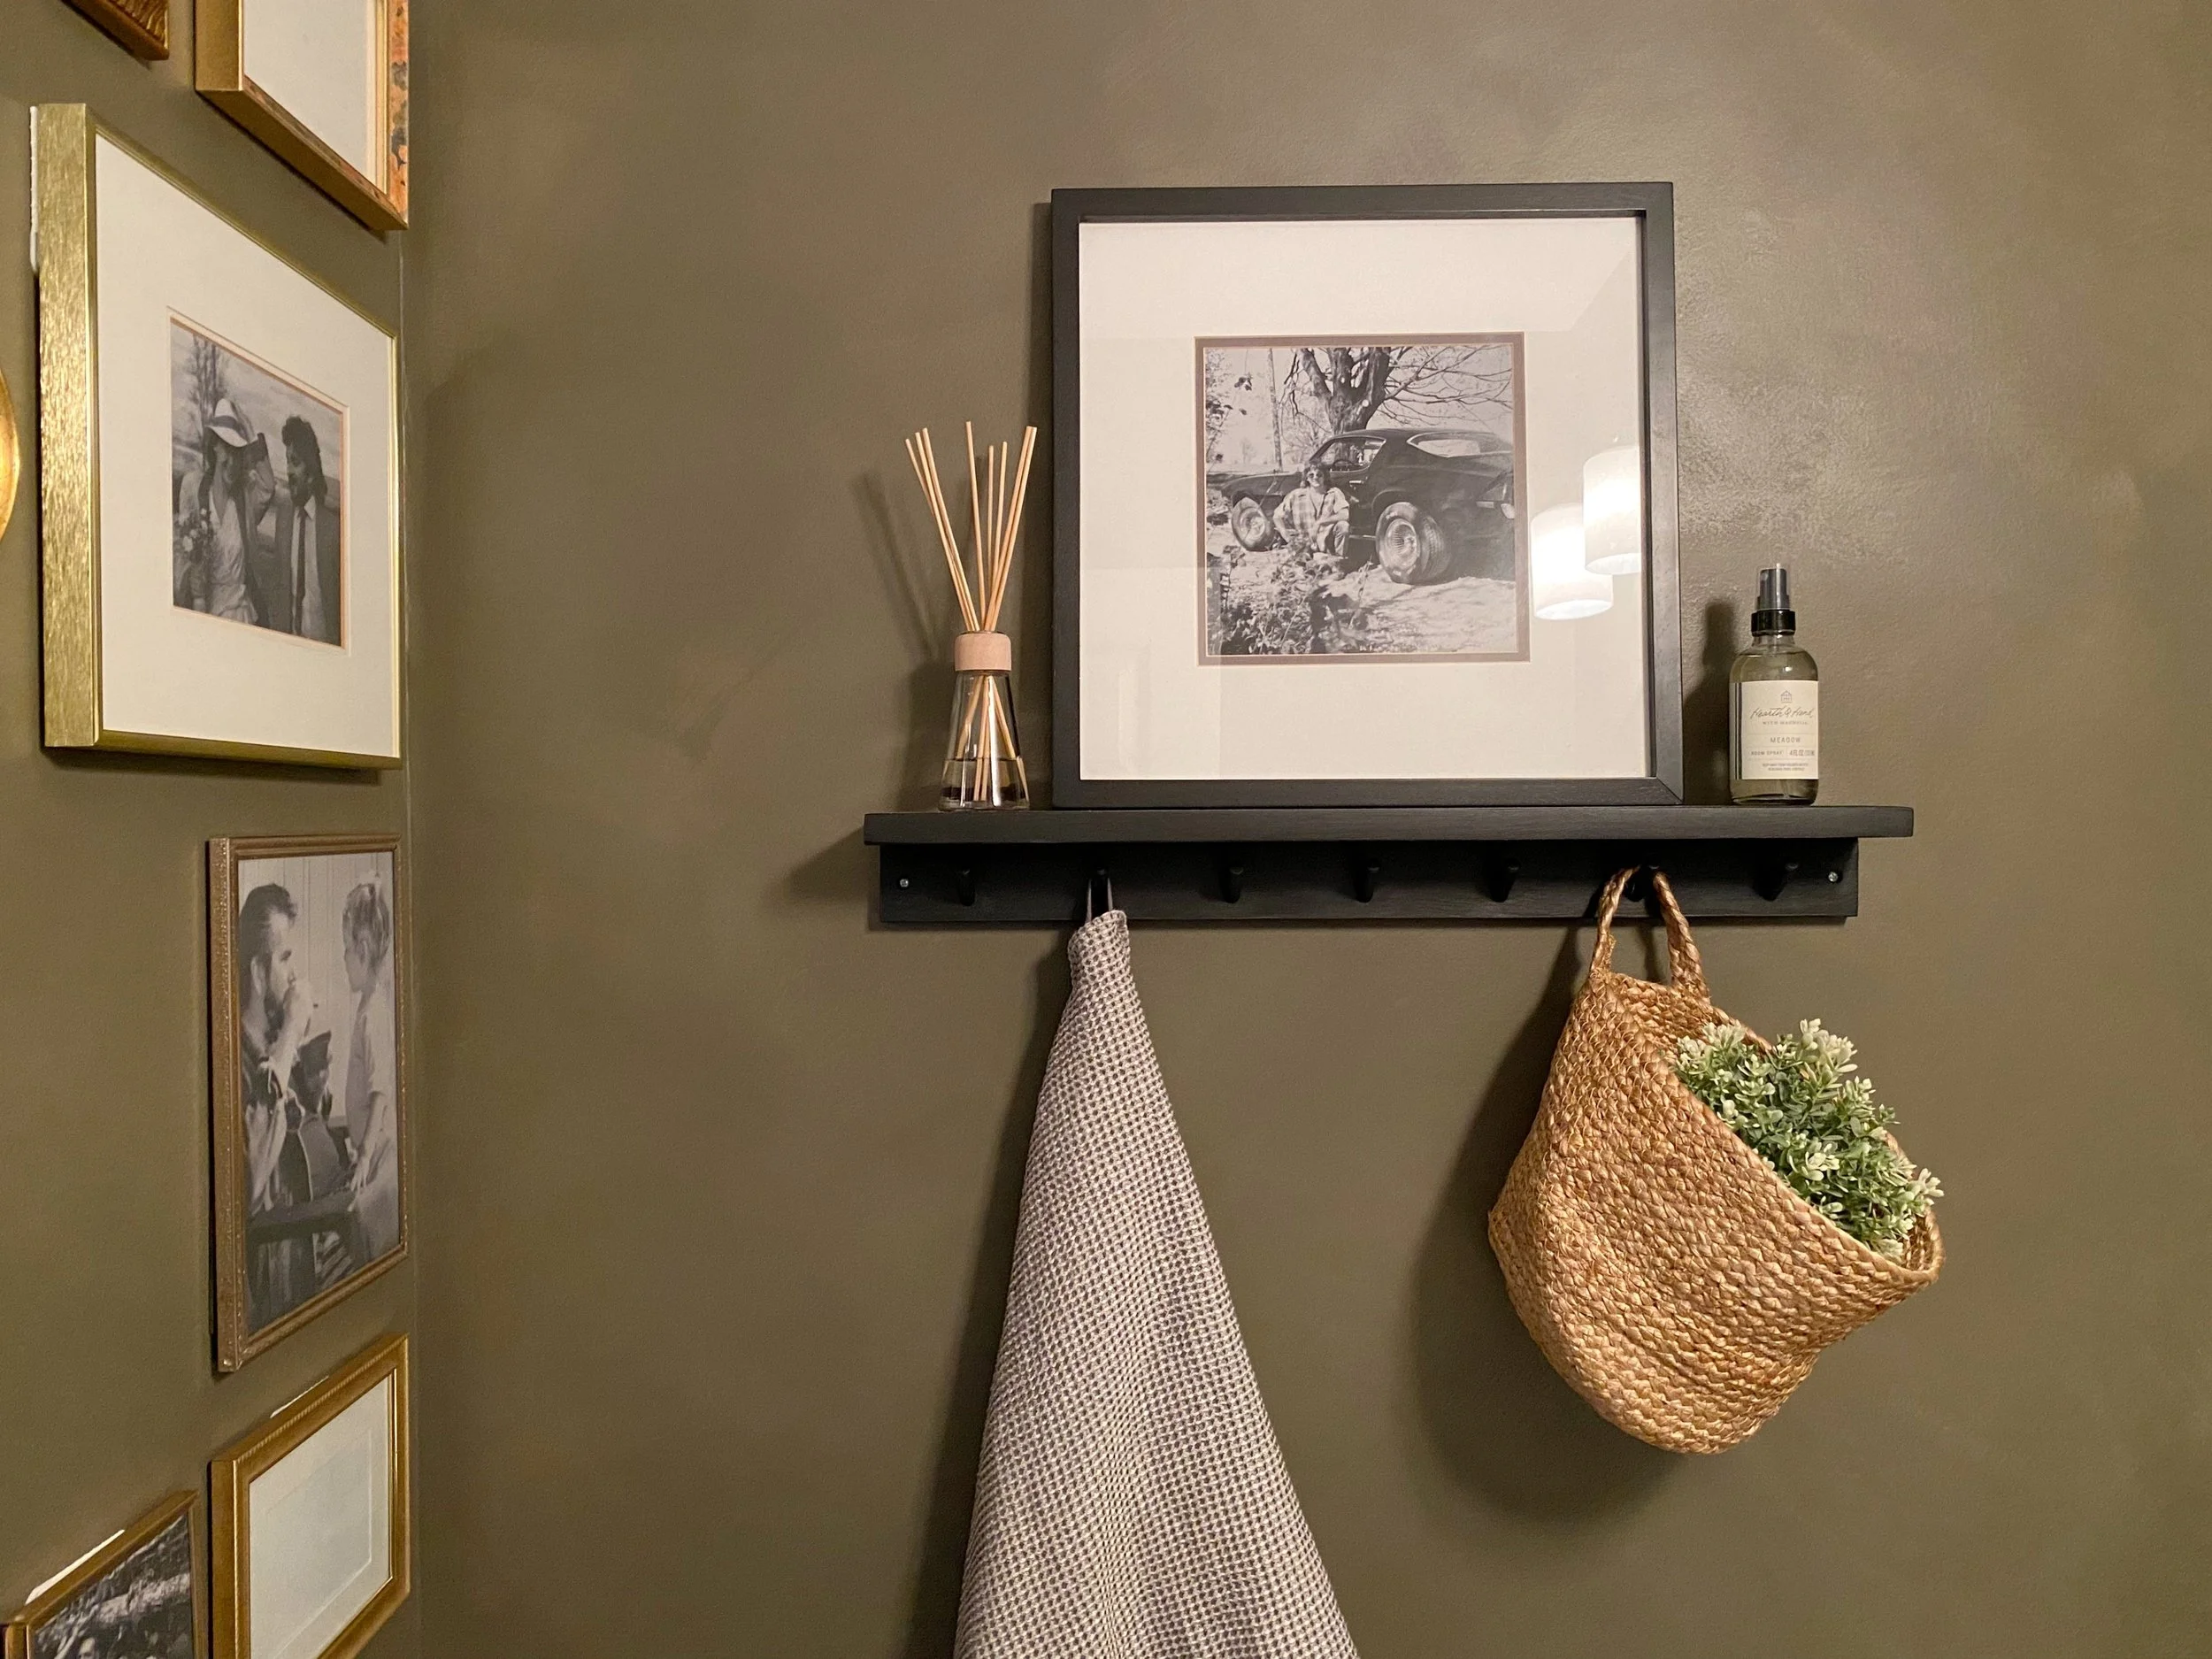
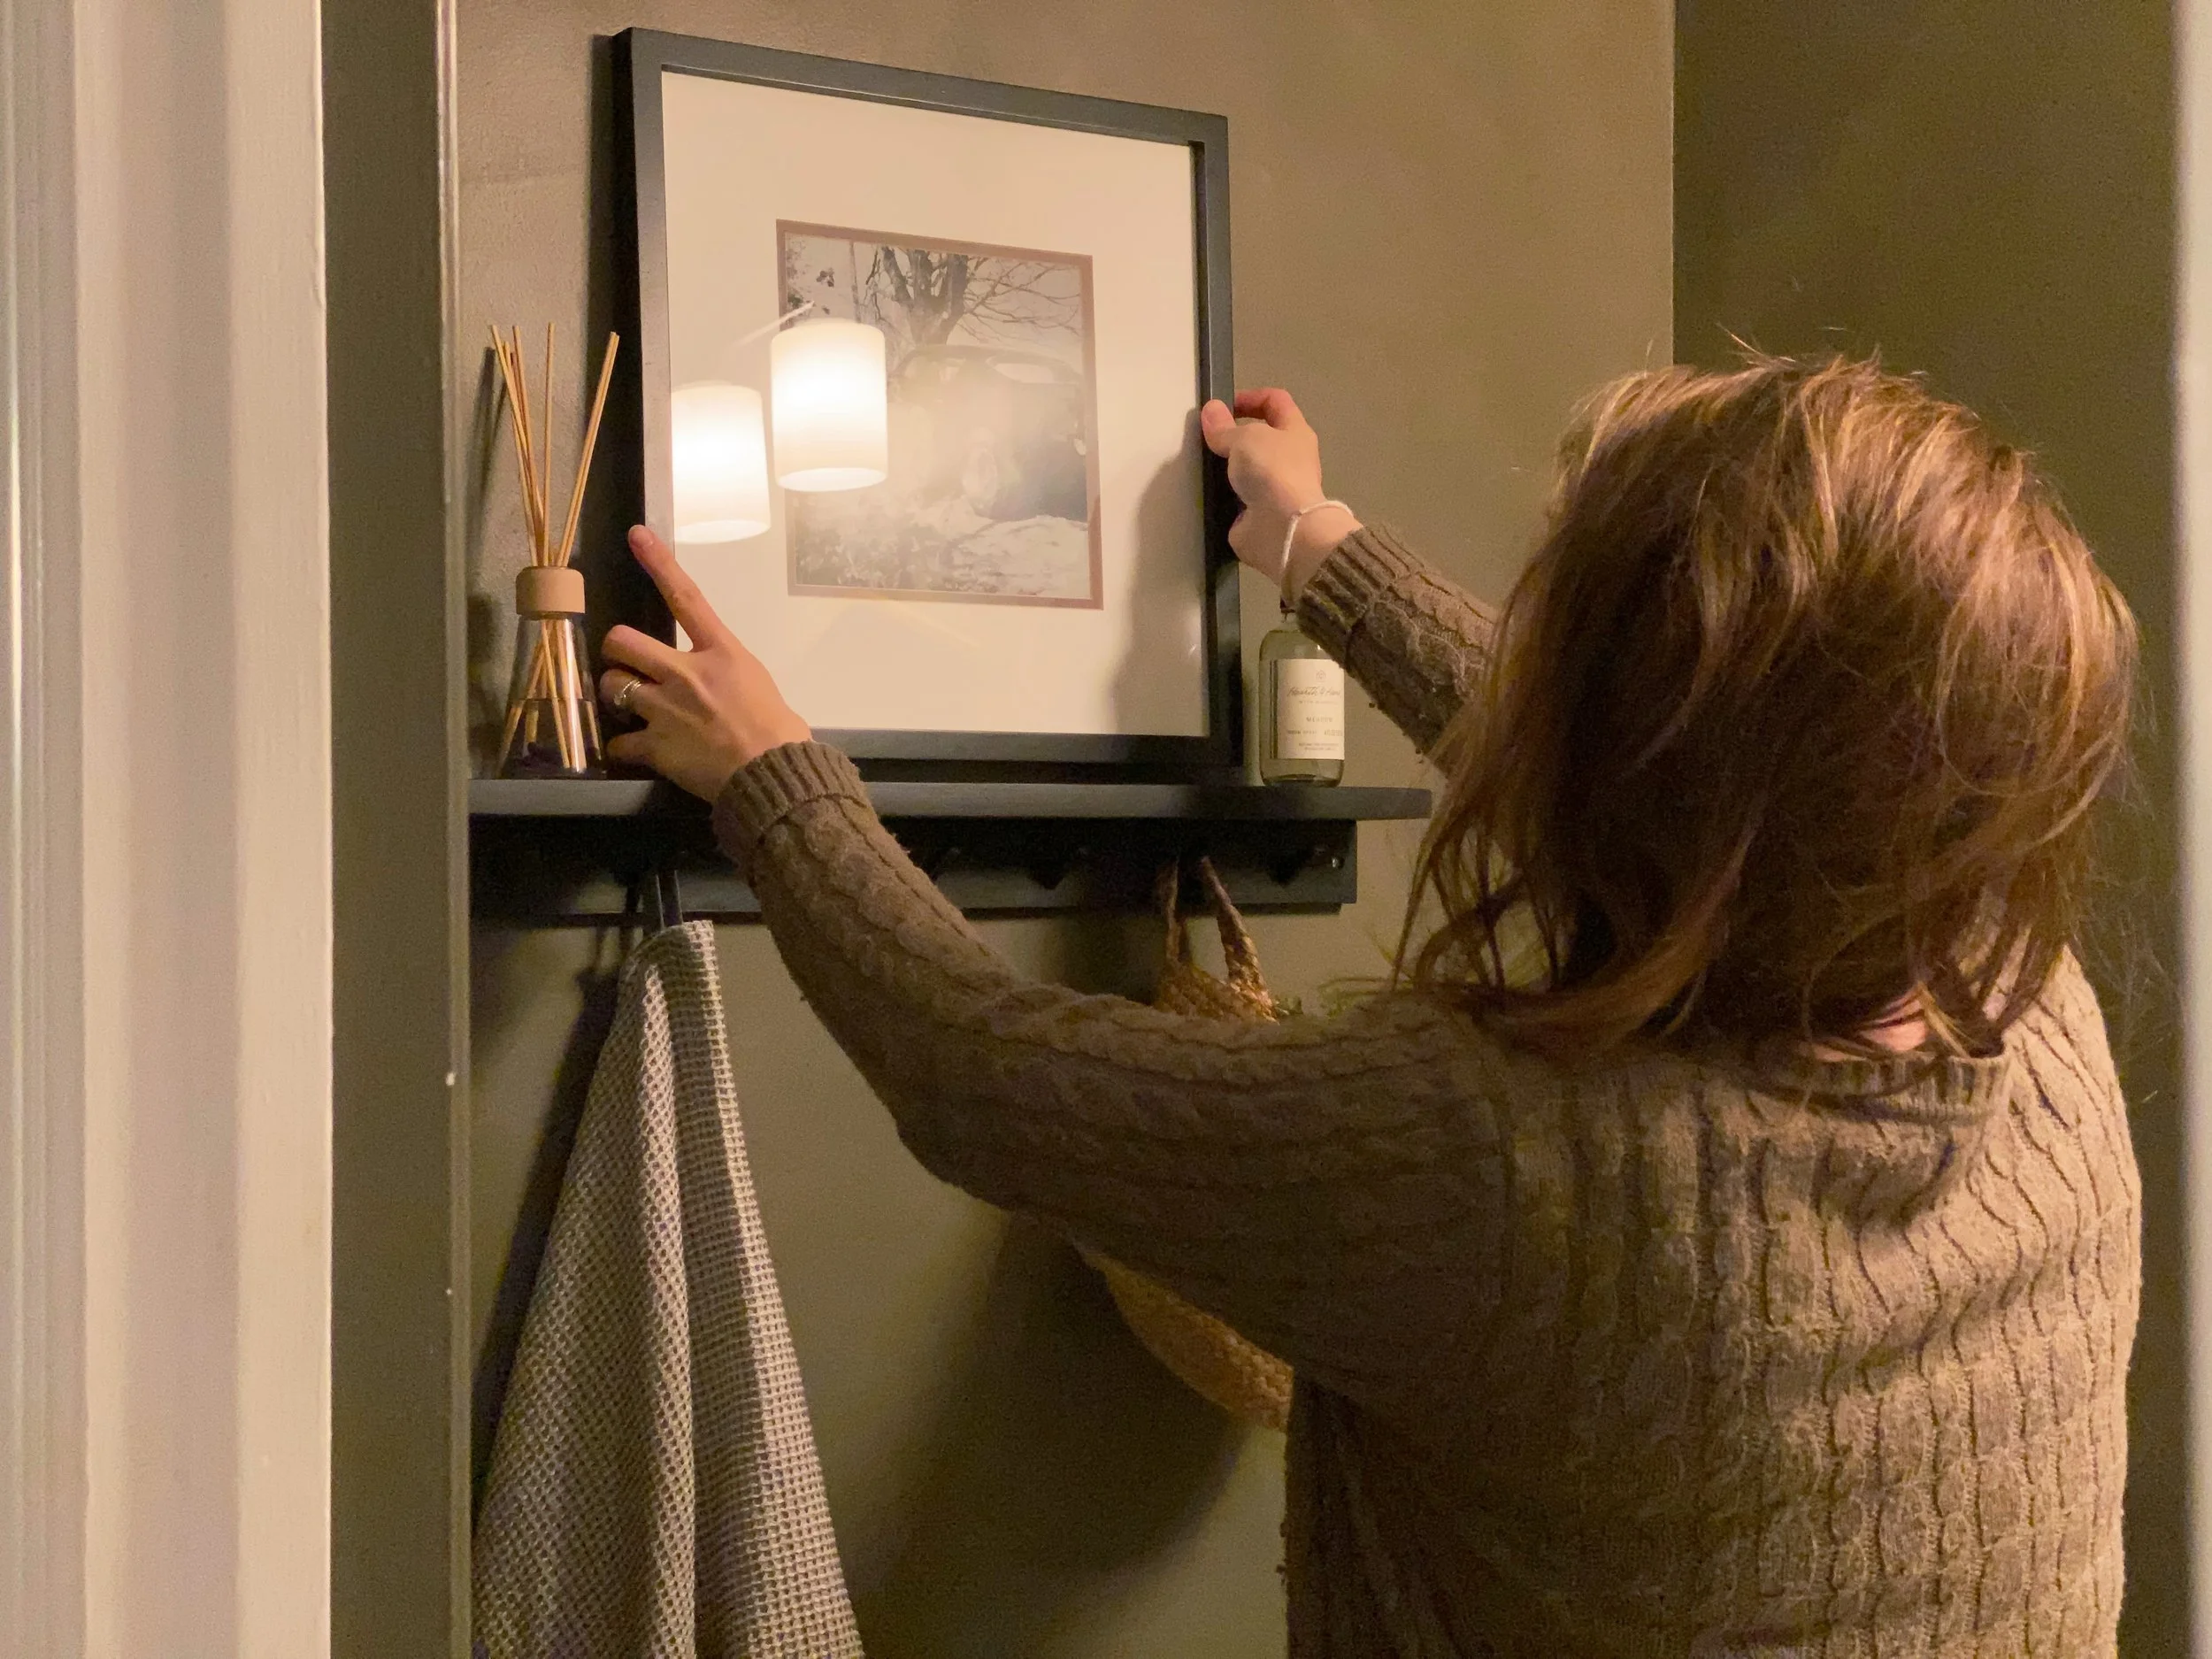
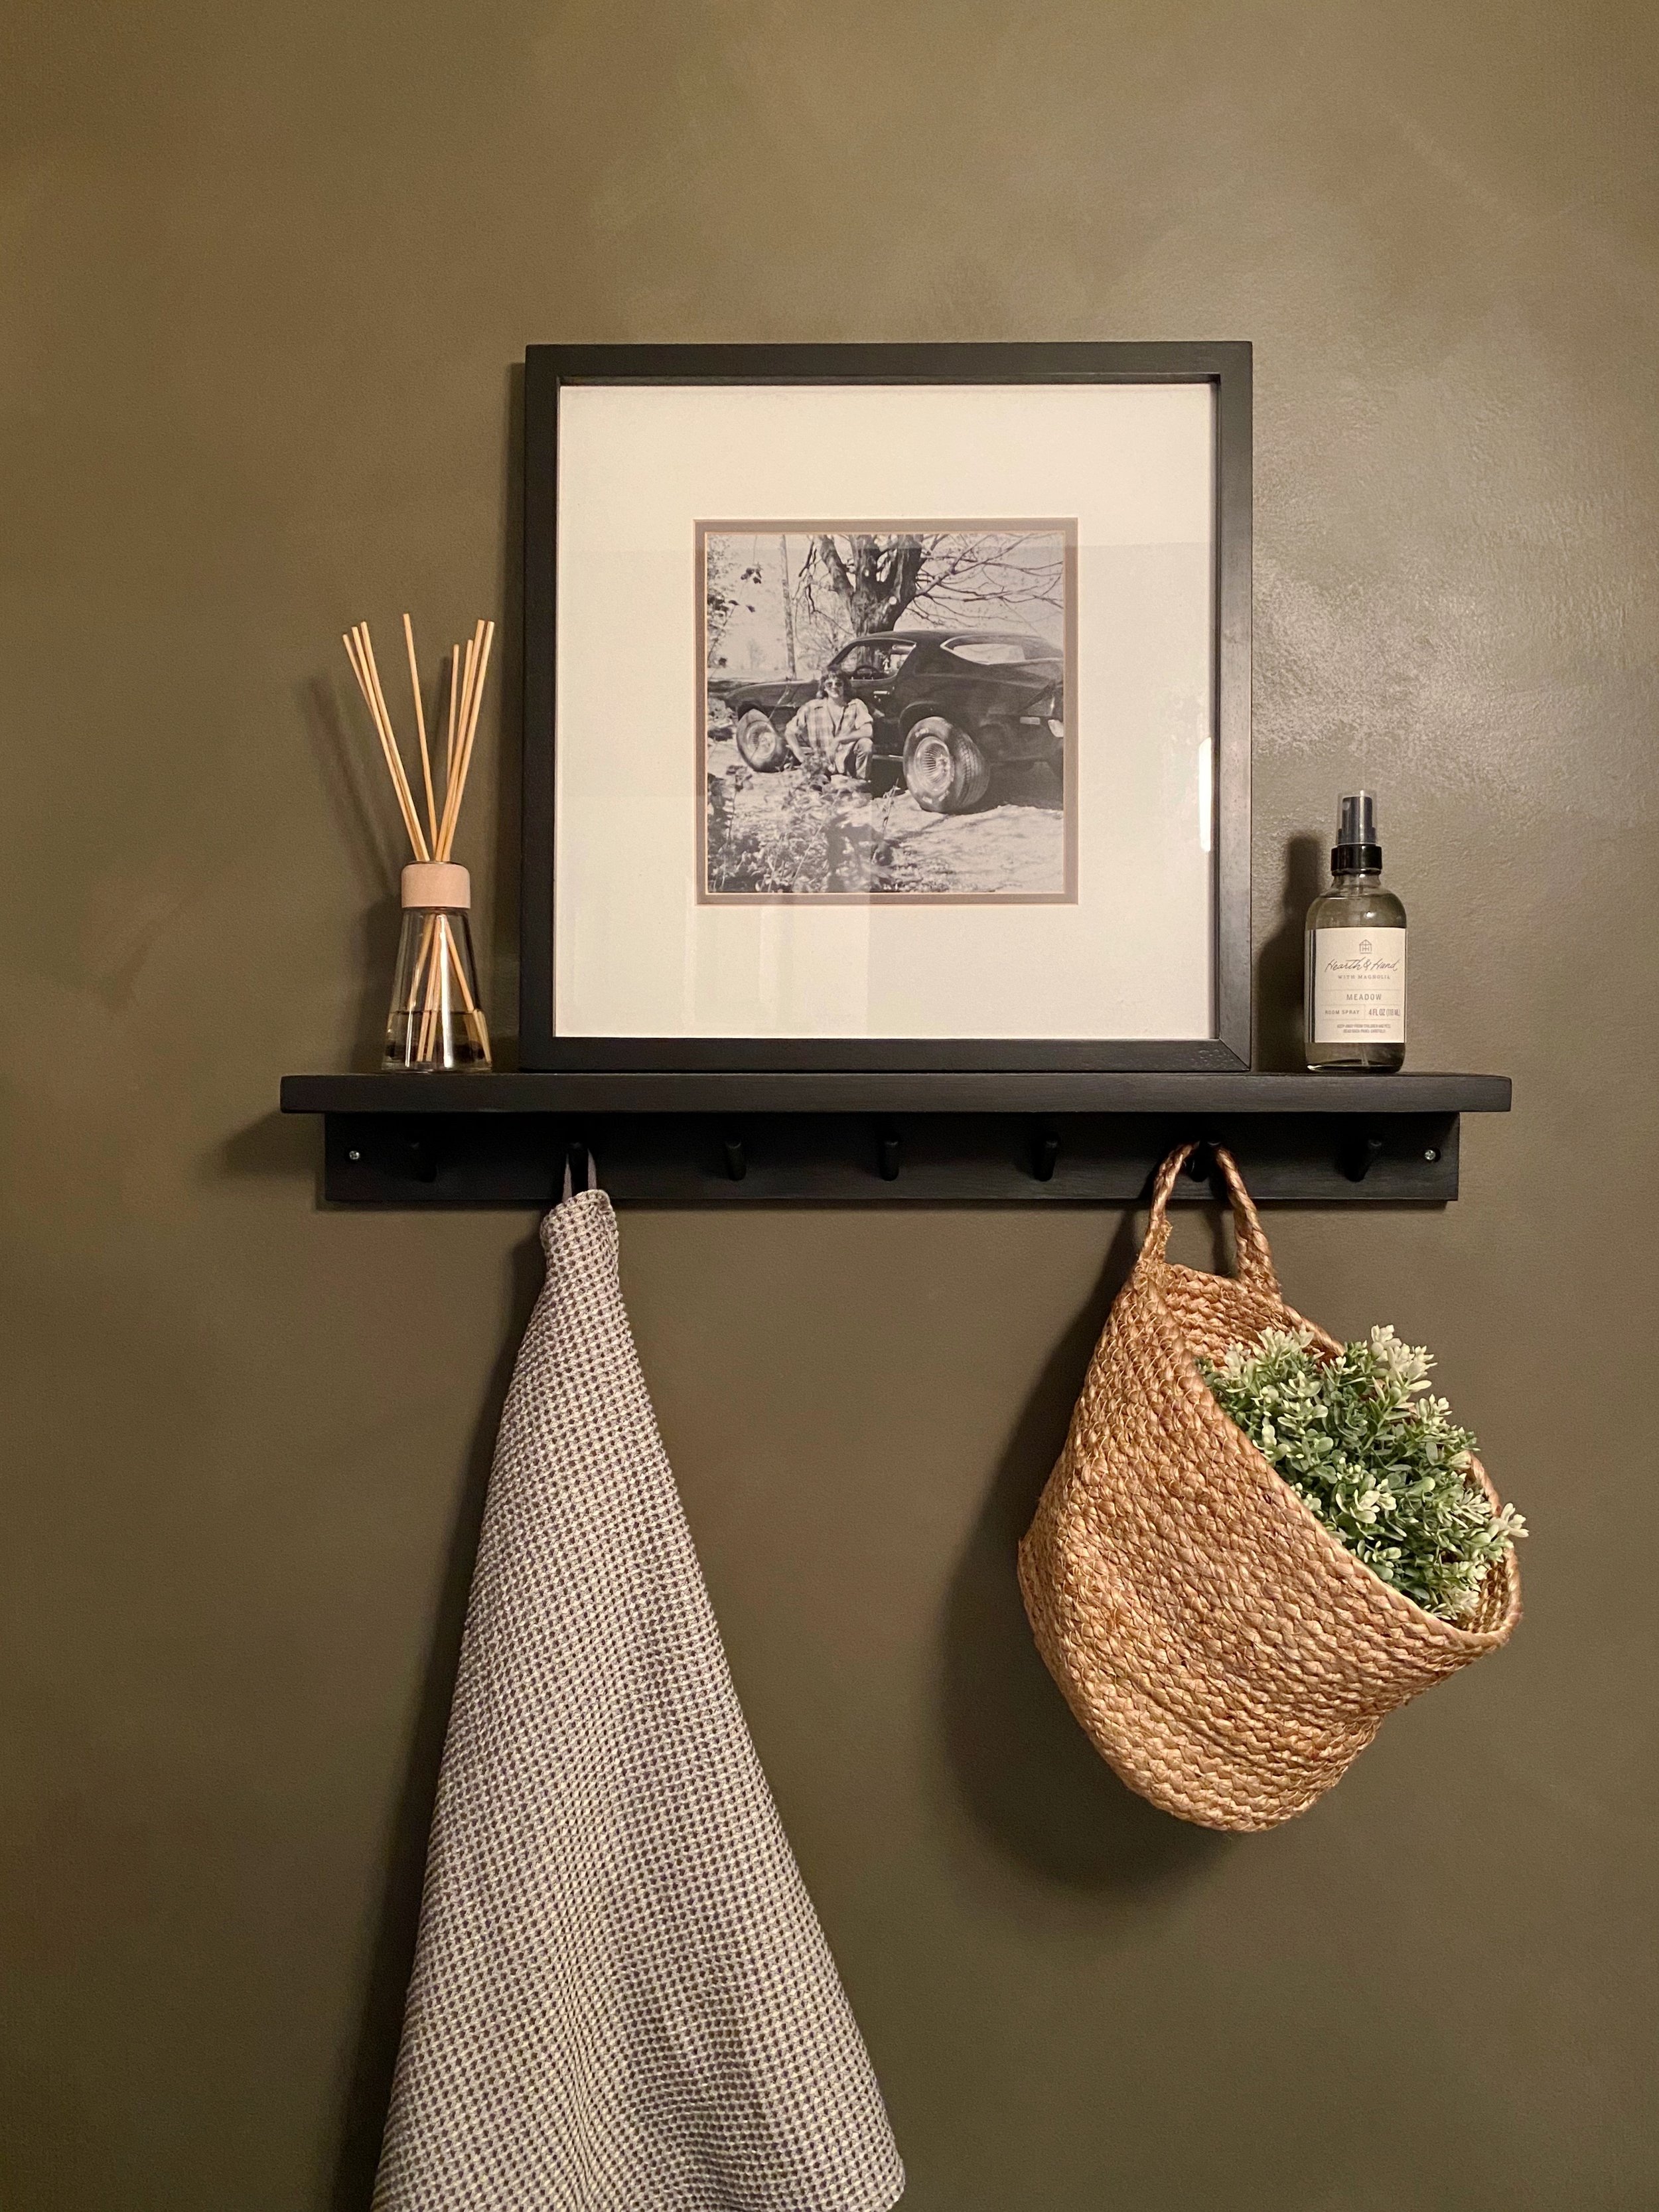
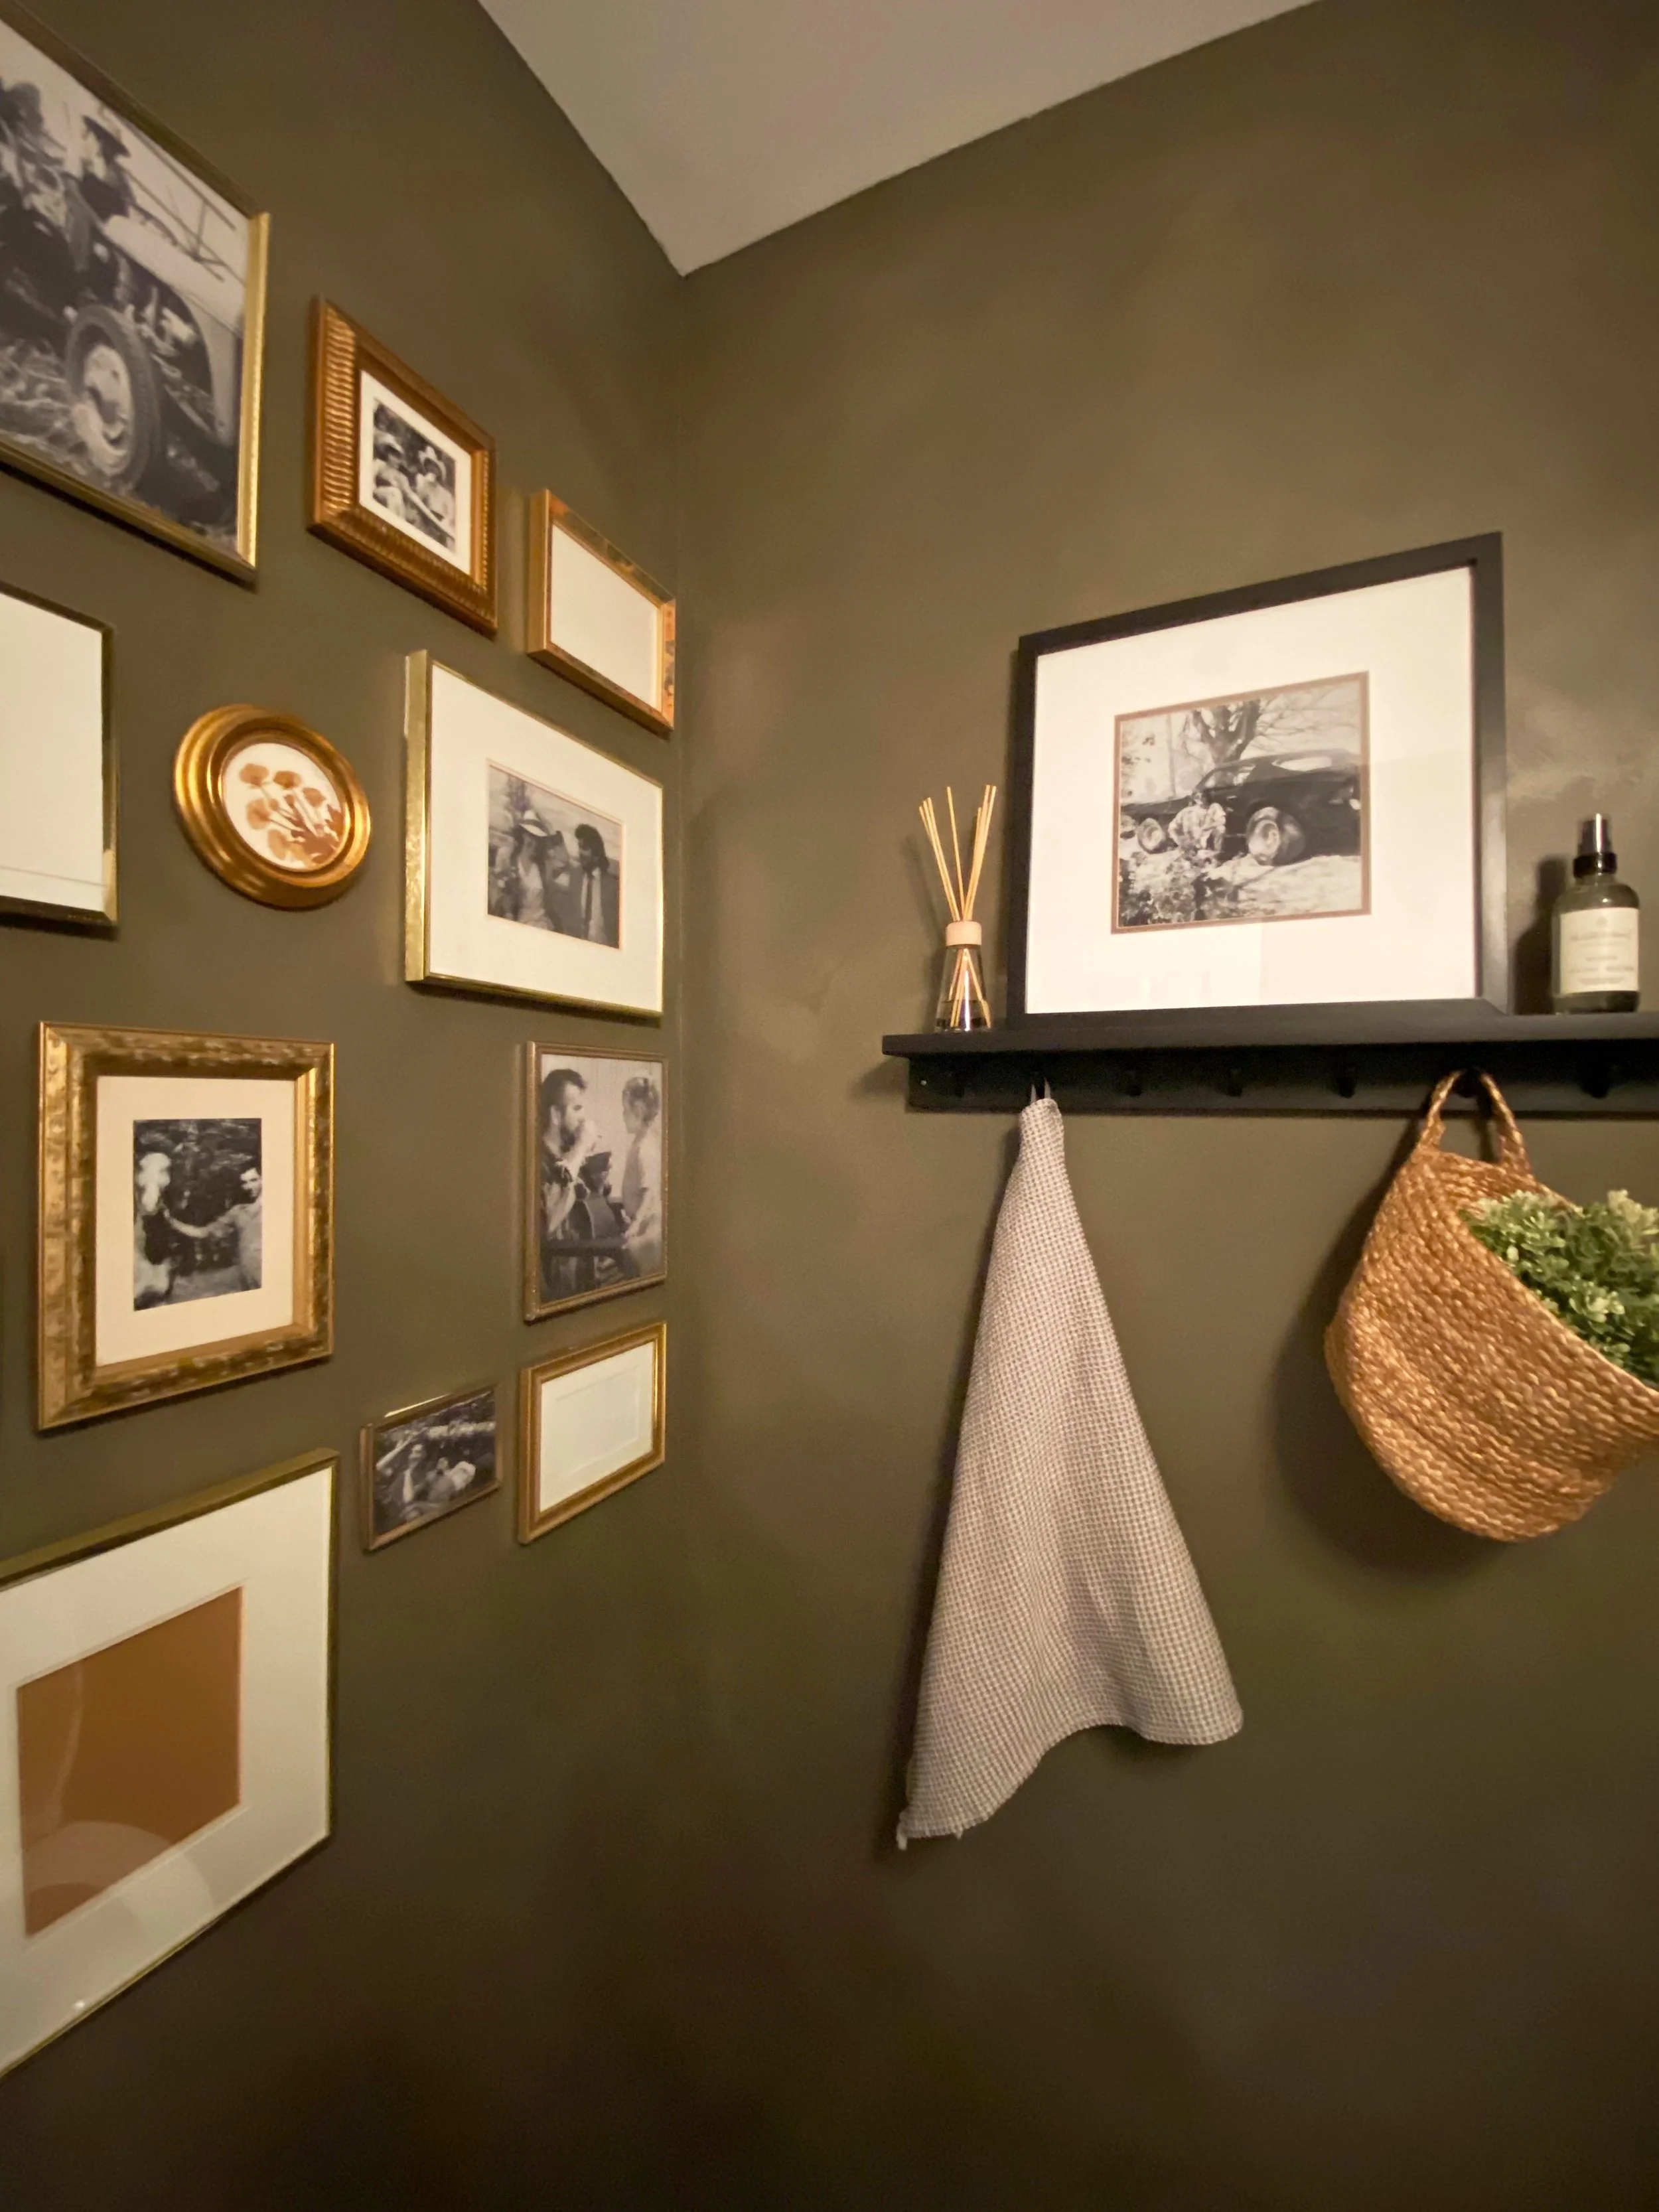
I liked having the small glass shelf above the toilet that the previous owners left because it gave me a surface to set some decor items on, but I wanted to streamline the look a little bit. I found an inexpensive peg rail (I actually have a handful of these around my house already and love them) and decided to add a small shelf to the top of it. I attached a scrap piece of 1x4” cut to size to the top and painted the entire thing using black paint. It was really simple but makes a big impact on the empty wall beside the toilet. I use the hooks to hold a hand towel and placed some simple decor items on the skinny shelf, including one of my favourite photographs of my Dad with his 1970’s Camar0 in a thrifted frame.
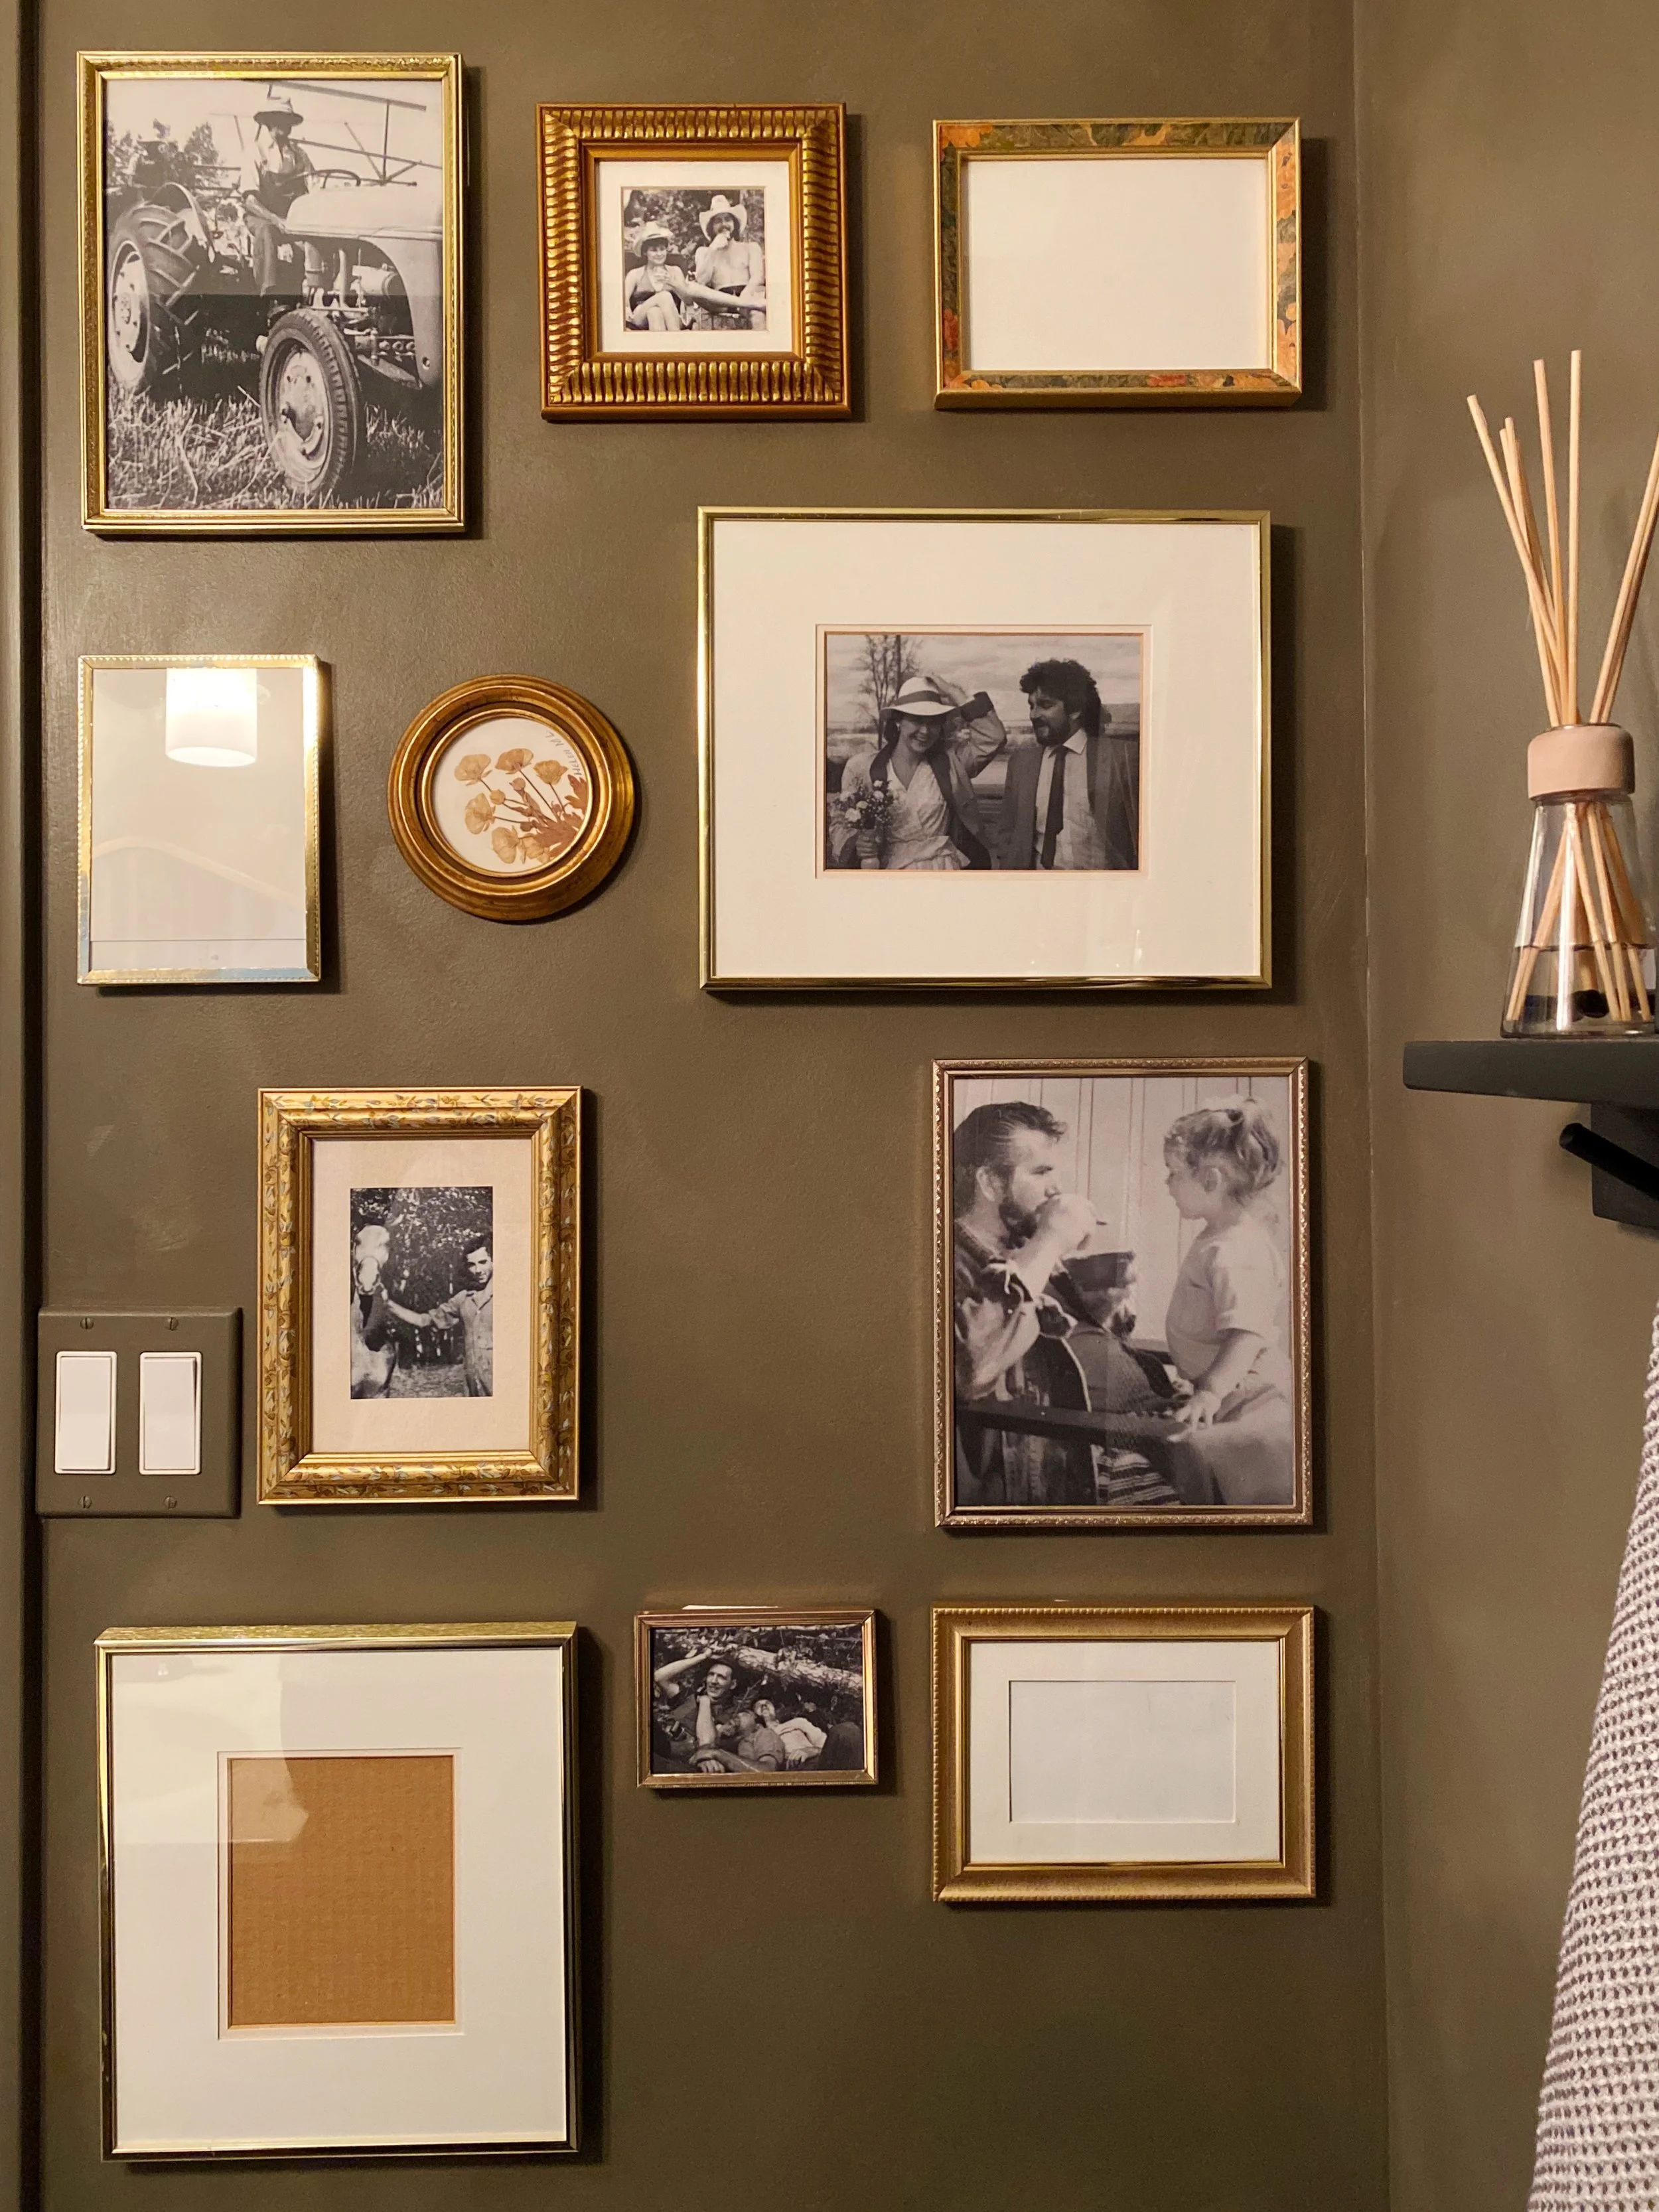
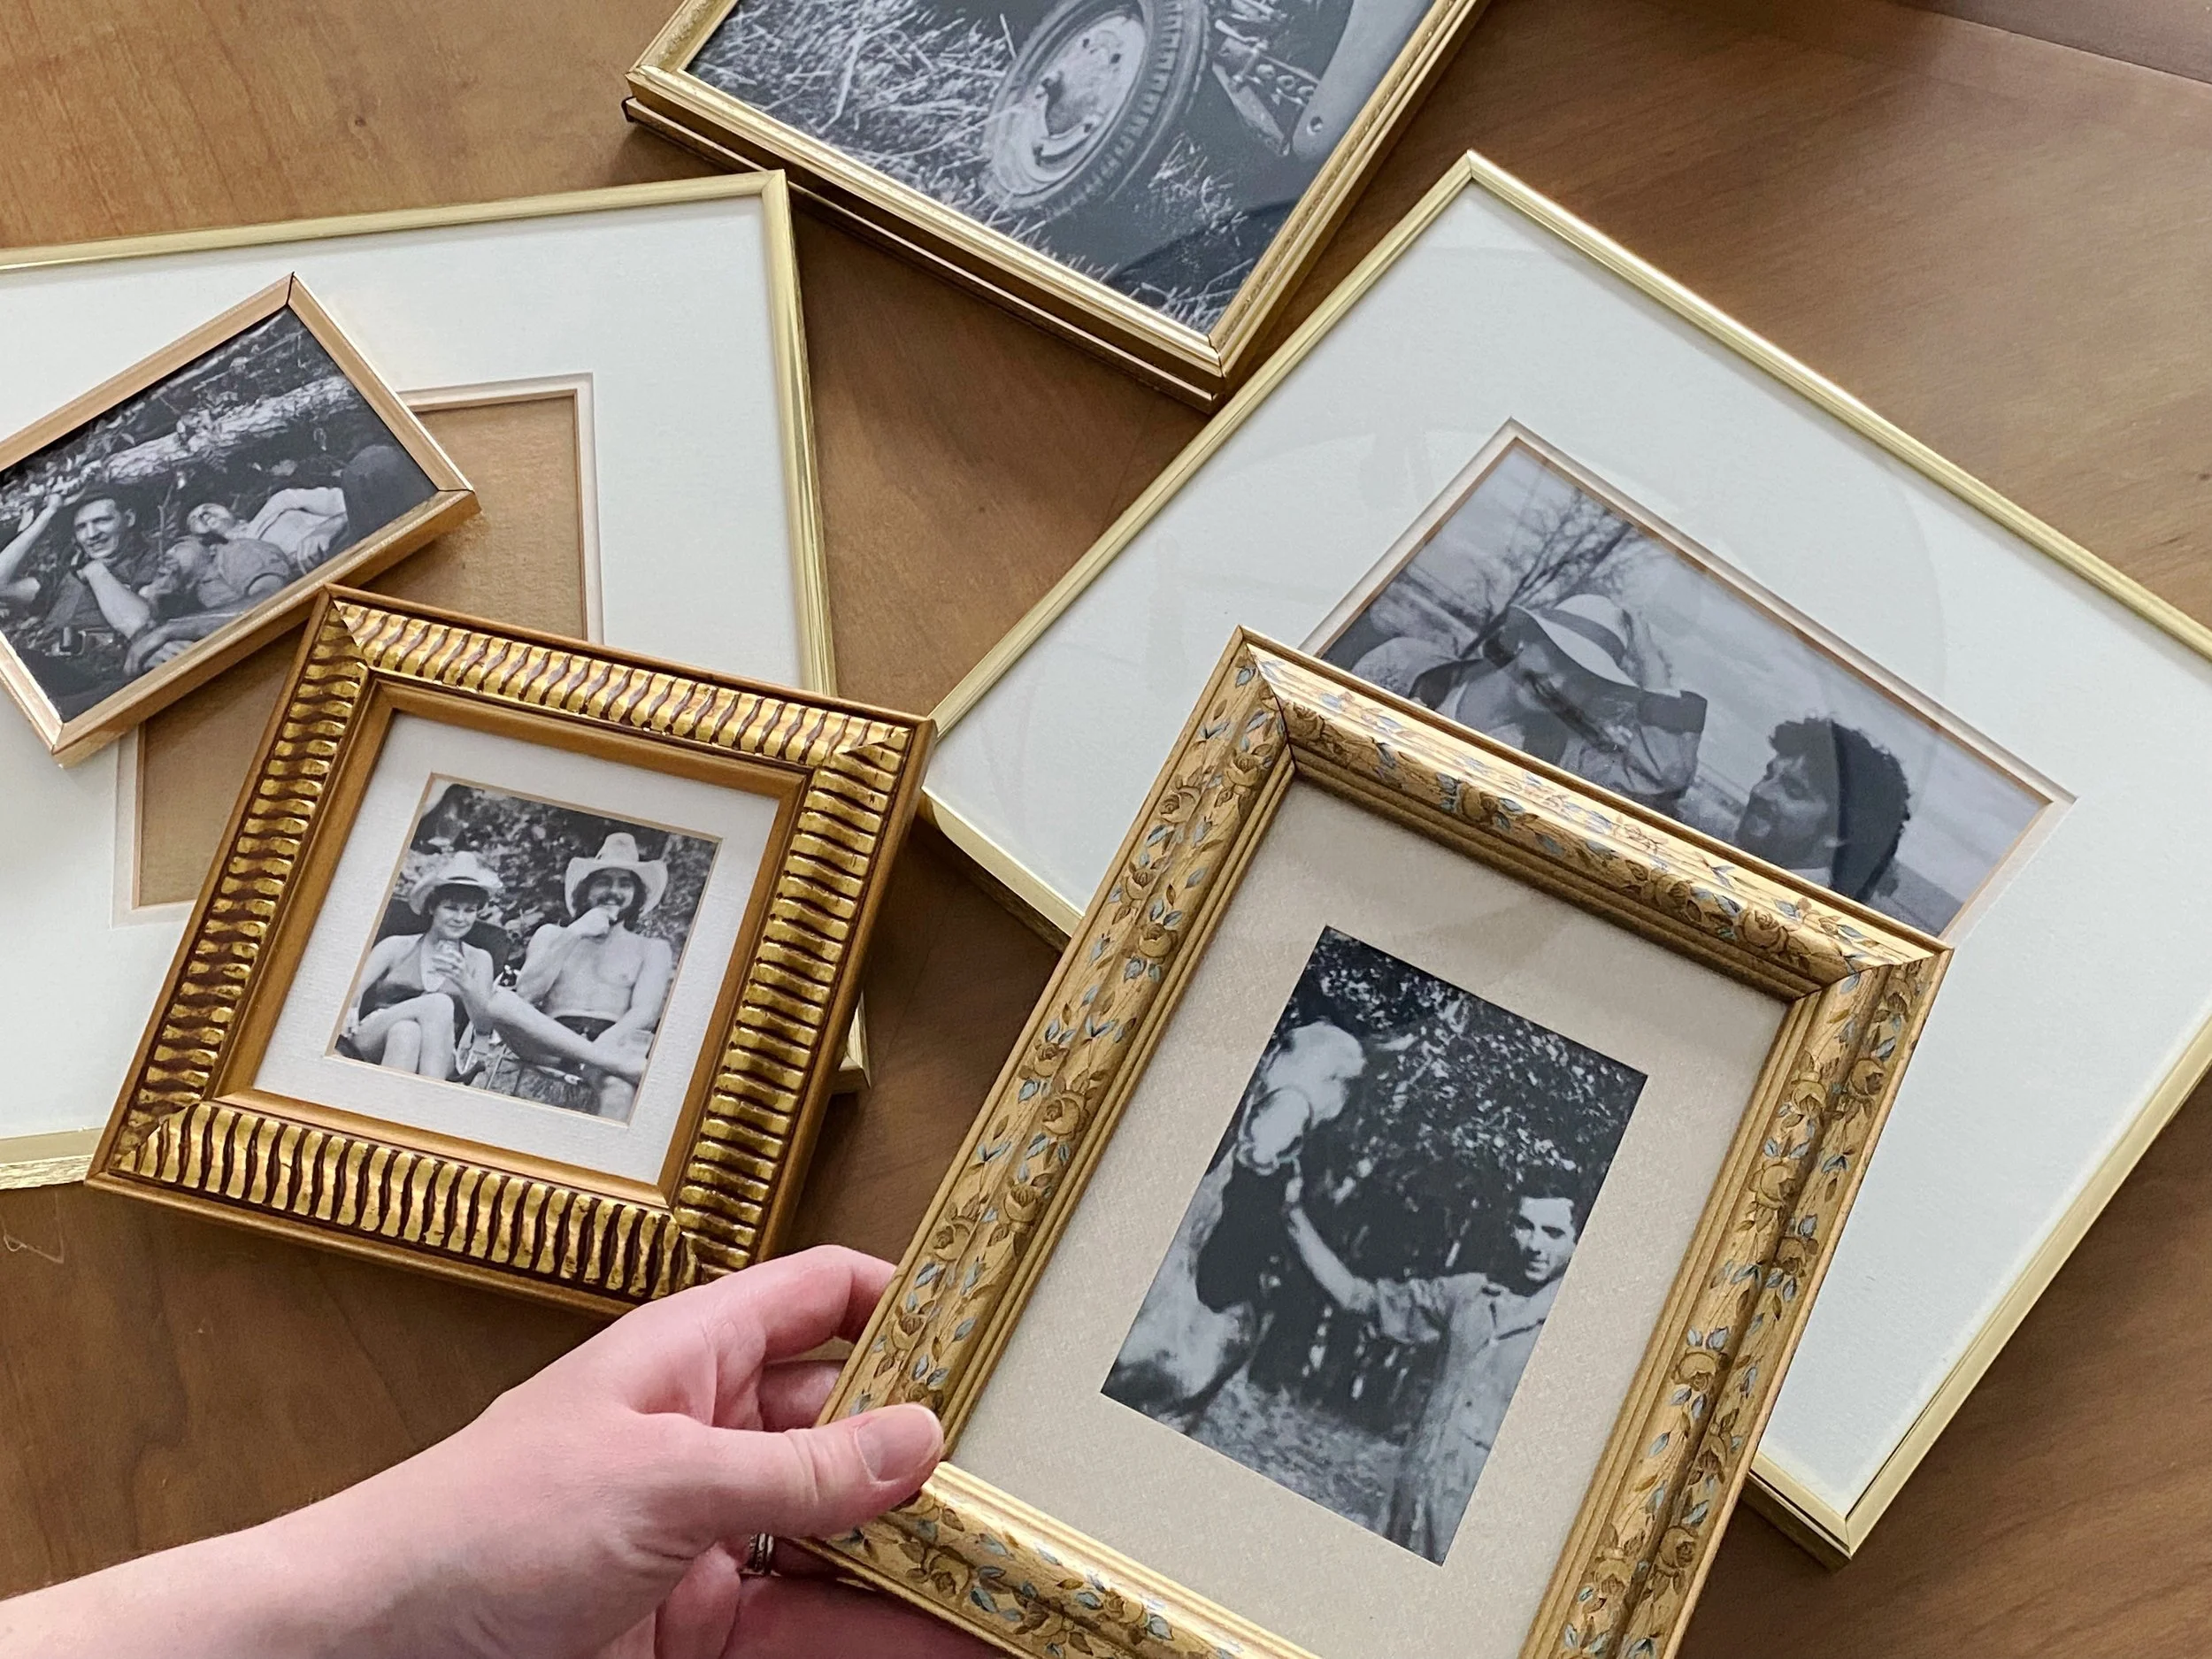
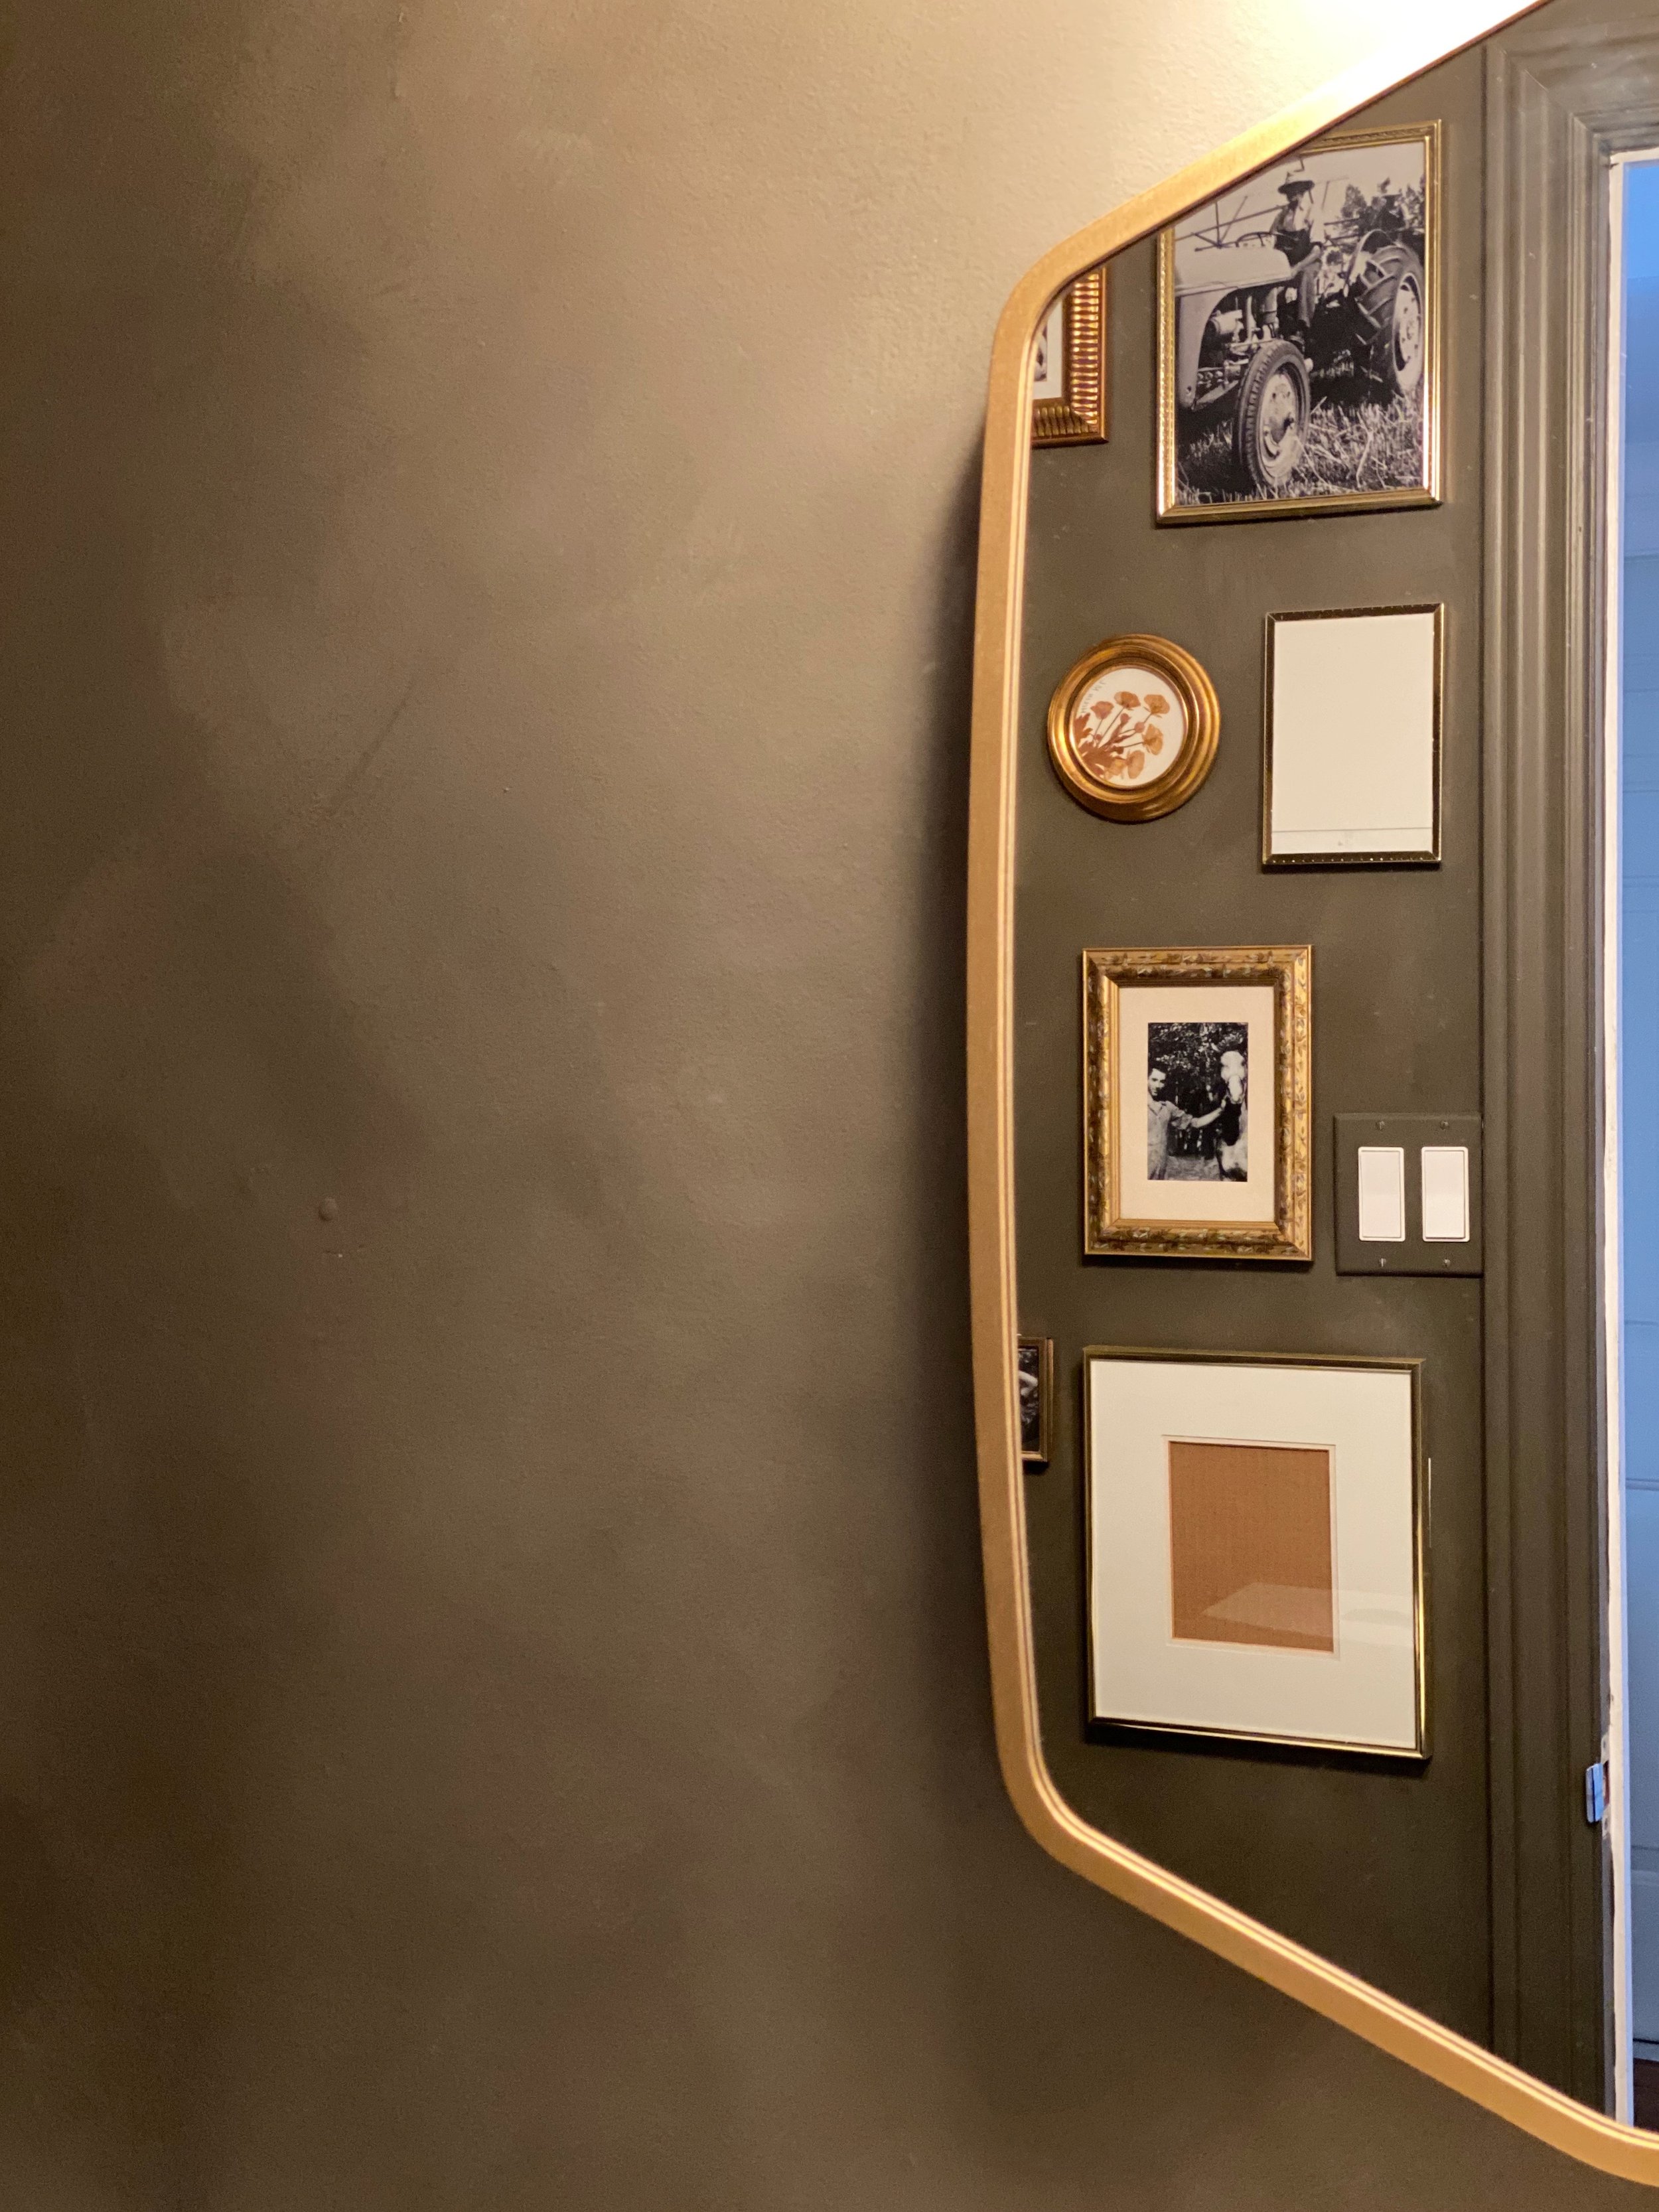
This powder room is the washroom that our guests use, so I wanted to create a moment on one of the walls that would be interesting to look at while using the bathroom. I had a handful of thrifted gold frames in storage that I’ve collected over the years, so I decided to create a family history gallery wall on the small wall across from the toilet. I gathered a handful of old family photos, including photos of my parents, grandparents, and even great grandparents and had copies printed off in black and white. I’ve created a few eclectic gallery walls in my day and this is one of my favourite tricks to make it look cohesive - use whatever photos you’d like, but tie them all together by making them all black and white. For some of the frames, I added a photo mat cut to size and randomly arranged them using Command Strips. I left some spaces to fill in over time and even left some frames blank for now so that I can gather a few photos from my husband’s side of the family too. I love the visual impact this budget-friendly DIY created, especially in such a small space.
I love that this little powder room now ties in with the rest of our home, yet has it’s own distinct features that make it a tiny statement space. I always love a cozy-feeling space and this feels like exactly that every time you step into it. I can proudly say that I stayed within my $400 budget, too, with just a few simple DIY fixes and cost-conscious upgrades. I love a good challenge and this one was worth every effort!
I created a video showing the process of transforming this space that is now live on my YouTube channel. You can find it here if you’d rather watch the transformation unfold. Until the next project -

Disclaimer: This post may contain some affiliate links. Read our full Affiliate Disclosure for more information.
Powder Room Source Guide
DIY: Main Wall + Trim Colour // Secondary Wall Colour // Vanity Gel Stain // Vanity Door Pulls // Picture Frame Matboards // Command Strips
Decor: Wall Mirror // Light Fixture // Peg Rail // Hanging Storage Basket // Faux Plant // Hand Towel // Reed Diffuser // Room Spray // Picture Frames, all are thrifted // Family Photo Printing
Tutorials: How To: DIY Faux Limewash Paint Finish // How To Apply Gel Stain to Finished Wood