How-To: DIY Faux Limewash Paint Finish
If you follow what goes on in the interior design world, you have likely heard of limewash paint. It’s a beautiful, natural wall finish that has been around for centuries, proving that it stands the test of time, but has more recently gained popularity in modern spaces. Original limewash is naturally white, so even when pigments are added, it results in a matte, velvety finish with natural variations. It creates such a beautiful sense of natural texture and can add a lot of depth and interest to a space.
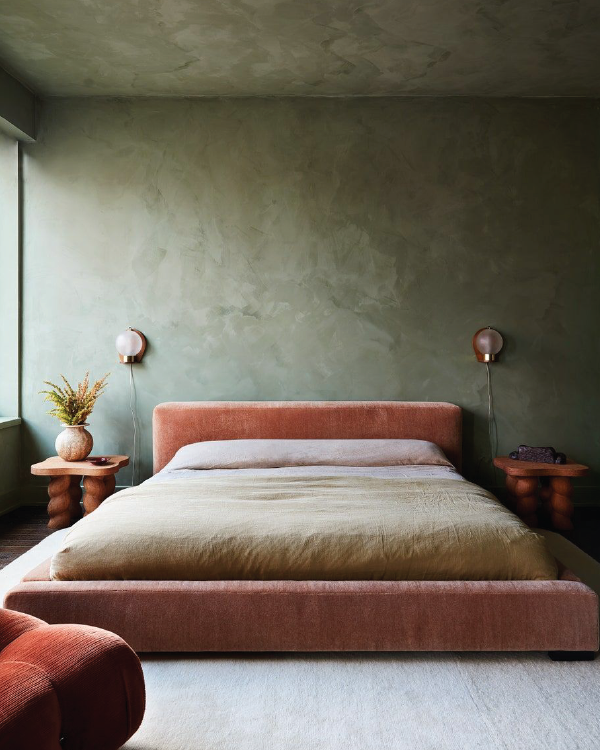
Inspiration featured on Architectural Digest
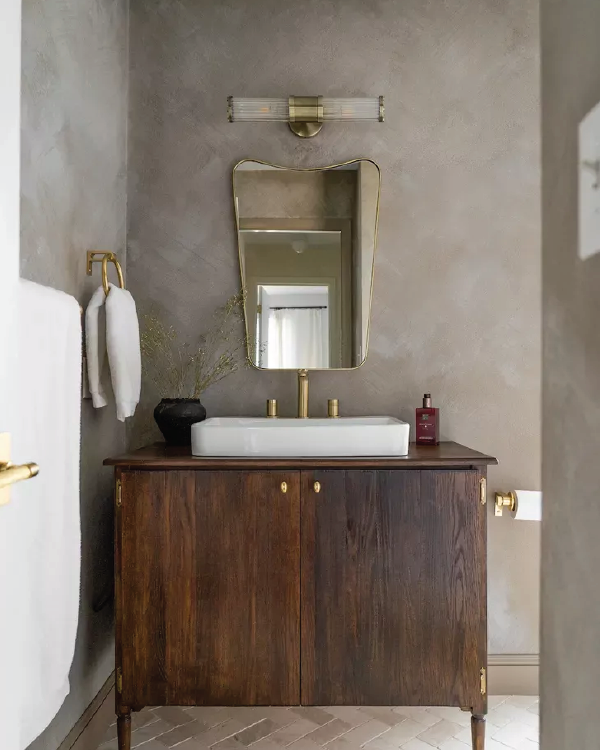
Inspiration featured on Food52
I, like many others, have had my eye on limewash paint for a while, seeing it pop up in design magazines and used by some of my favourite home influencers for a couple of years now. With it gaining popularity here in North America, limewash paints have become more readily available through brands like Portola Paints (USA) and Pure & Original (Canada), but it still isn’t widely available from any major retailers and can come with a pretty steep price tag. If you can afford it, I definitely think it is worth the investment since it’s a non-toxic and natural alternative to regular wall paint. But if you’re currently on a tight home budget like me, I think I have found a way to achieve the look for less.
I felt that limewash would be the perfect wall finish to bring some drama to our small powder room, however, I’m on a really tight budget for the space. After a bit of research, I realized that if I used traditional limewash, it would likely eat up most of my allotted budget. I started researching how to DIY it instead. I scoured a few different online tutorials and there were a few great ideas about how to make your own limewash paint using easily accessible materials. However, I wondered if there was a way I could simply achieve the look without making actual limewash.
I think I succeeded! Here’s my tutorial about how to create the look of limewash on your walls using only traditional wall paint.
What materials do you need?
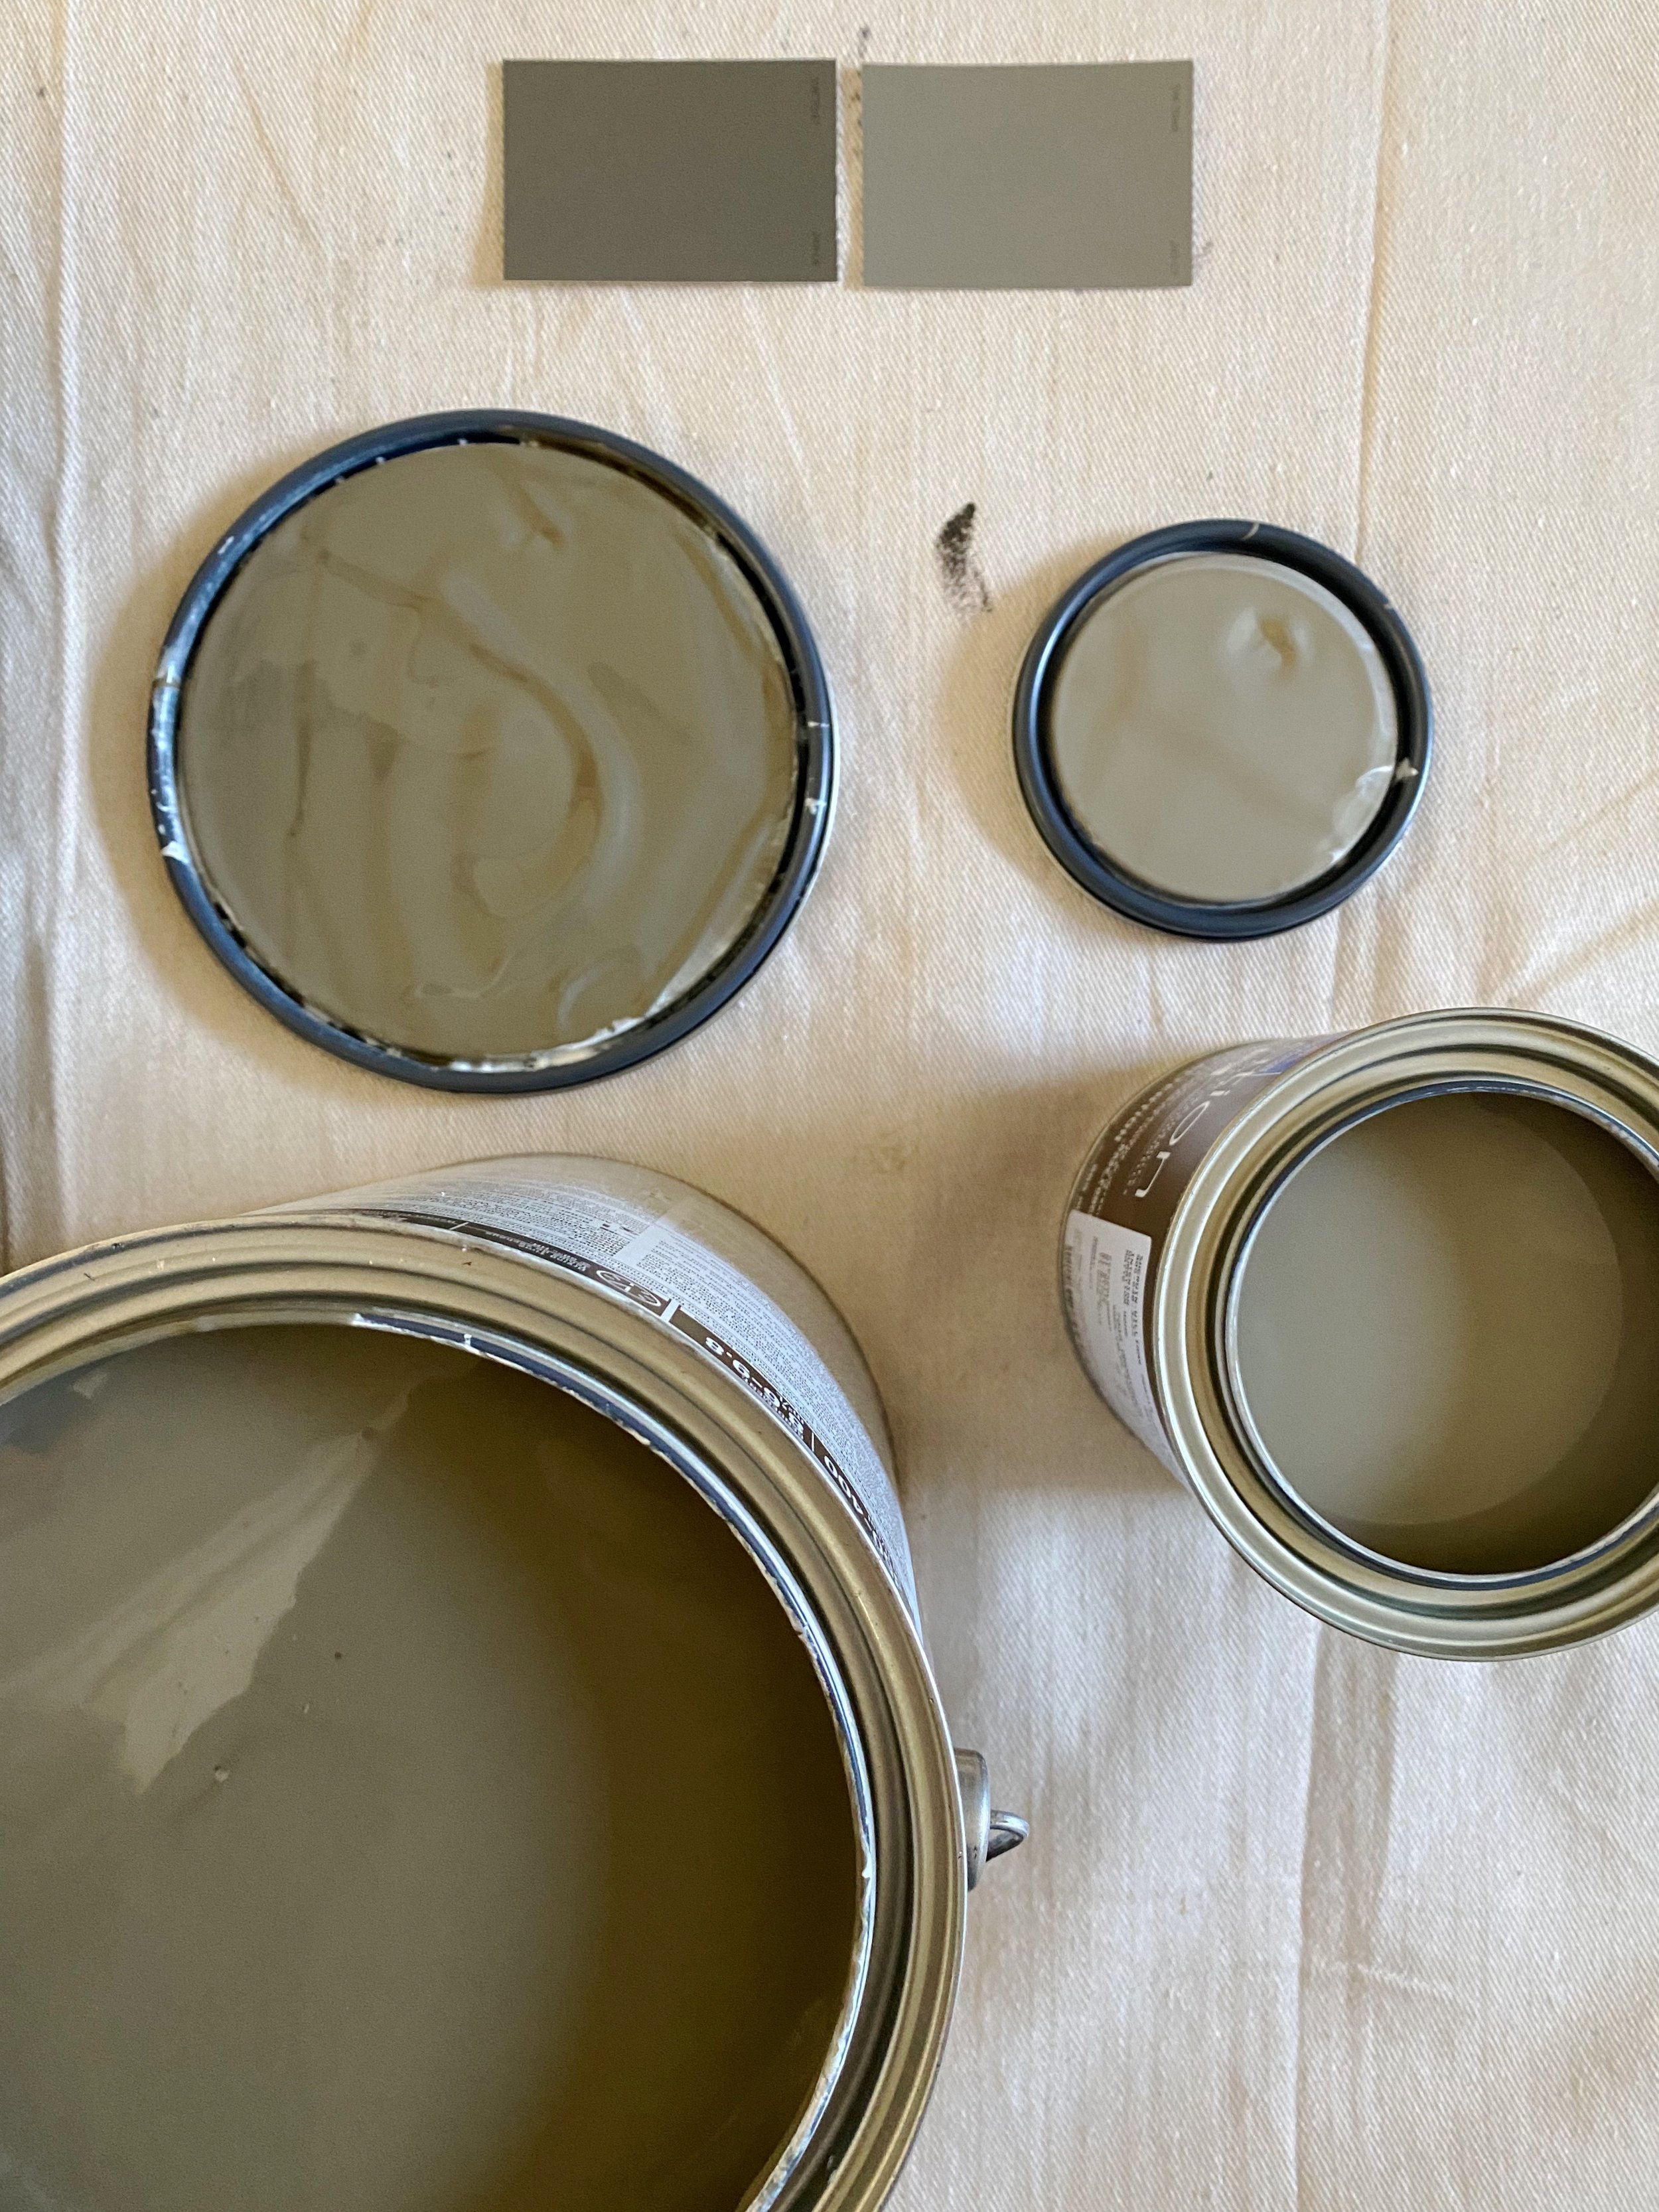
I wanted to keep this project affordable and easy, so I developed this tutorial using only traditional wall paint, but to achieve the beautiful textured look of limewash paint, you will need two paint colours. Start by selecting the colour you’d like your walls to primarily be and then supplement that colour with the colour either directly below or above it on the paint chip. Also, it’s important to note that traditional limewash is a natural finish, so the look is best achieved with more natural or muddy colour tones.
For my powder room, I wanted a dramatic and cozy look. I settled on a beautiful dark brown/grey with a green undertone called Porpoise (SW 7047) by Sherwin-Williams. Once I selected my primary tone, I picked my second colour by going one tone lighter, settling on the colour called Anonymous (SW 7046). To achieve the natural, chalky look, I made sure to purchase my paints in a matte finish.
The paint is the main component of this process, so the other materials are quite simple:
Primary paint colour in a matte finish
Secondary paint colour (either one tone lighter or darker than the primary colour) in a matte finish
Primer (optional)
Wide paint or stain brush (5” or larger)
Smaller paint brushe(s)
Painter’s tape

Step 01: Prep your walls.
It is important to start with a clean surface before applying any type of paint product, so the first thing I did was wipe down all my walls and trim with a dust brush. I also filled any holes and removed any imperfections with a little bit of soap and water. My walls were a deep blue tone, so I decided to forgo any priming, but if you are applying a light toned limewash look or if your walls need refreshing, it would be a good idea to prime the walls with a standard wall primer first. I also used painters tape to tape around the floor and my bathroom vanity and toilet. Take whatever prep steps are necessary for your own project. The prep work is the worst part of any paint project, but it’s worth the effort to do it properly.
Step 02: Paint your trim (optional).
I love the drama of a tone on tone look, especially when applying a dark colour to a room, so I decided to paint all the trim, baseboards, and the door in my powder room before applying the wall paint. To do this, I purchased a small amount of my main paint colour, Porpoise (SW 7047) in a satin finish and applied two coats. I didn’t bother being too careful where the trim met the walls since I would be painting the walls shortly anyways.

Step 03: Cut in the paint on your walls.
The brushing technique used to achieve the limewash look isn’t very precise, so you will first need to cut in using your main paint colour to ensure that you get coverage right up the edges. This includes around outlets and switches, along the trim and ceiling, and even in some of the corners. Since I was working in a tight powder room, I also decided to cut in around the toilet and vanity, just to ensure that I could get paint coverage in these areas even if I wasn’t able to reach in the tight spaces with the limewash technique.
Even though you are cutting in with a more precise brush, do your best not to establish perfect brush strokes. The success of the limewash effect is that it looks effortless and blended, so you’ll want to ensure that your wall edges don’t have a distinguished clean look either. What I did was cut in along the edges, but then fanned out the brush strokes in a random way.


Step 04: Get ready to “limewash.”
Place your roll of painters tape under one side of your paint tray to prop it up on a very slight angle. Pour some of your main paint colour into the one side of the paint tray so it stays in one area. Remove the roll of painters tape from propping up your tray and quickly pour your second colour in the empty spot. Be sure to keep your tray flat from this point on.
Using your wide paint or stain brush, dip just the tip of the bristles into the paint across both tones. Wipe the excess paint off by dragging it up through the little knobs on the paint tray. With this entire process, less is more, so you’ll want to prevent your brush from being too saturated with paint. You can always build up the coverage, but if you apply too much paint, it will appear streaky and thick.


Step 05: Apply the paint using random, radiating, and broad strokes.
Here comes the fun part! Starting in the middle of your wall, start applying the paint using random, broad strokes. Move your brush up and down, side to side, and everywhere in between. The entire purpose of using the broad brush is to avoid the precision of any lines and streaks, so start in a random place and make your movements…random. Think of it like painting a cloud from the center outwards. There should be no rhyme or reason to this process. In fact, the more randomly you work, the more believable the final look will be.
You will start to see variations in your paint as you blend the lighter tone into the darker tone, however, make sure that every time you dip your brush back into the paint, you keep it in the same position (light end goes into light paint and dark end goes into dark paint). Otherwise you’ll just end up with a homogenized colour. Also, be sure to blend, blend, and blend some more so you don’t get any individual colour streaking. If you add more paint to your brush and it appears too thick on the wall, continue to work with it to spread it across a broad area.
Let your intuition guide the process and just work away at it. You can continually build on areas you have already painted if you notice that they don’t have very much variation in them. If you find yourself overwhelmed and unsure about whether it’s working, take a break and let the paint dry for a little bit. As it dries, you will see more of the colour variation between the tones.
Work as close to the edges of your wall that you can get, covering over and blending into the areas that you cut in. Remember that you don’t want this to look too perfect. Your primary goal should be to achieve the best blend you can manage.

Step 06: Reapply, if necessary.
Depending on your colour choices and your prep work, you may need to apply a second or even a third coat. Don’t force full coverage in one coat. Remember that this entire finish is meant to look natural, chalky, and velvety, so the more you build it up, the better it will look. Do your best to have patience with the process and trust that it will work out without forcing it too much.
Allow your paint to fully dry before removing any tape or hanging anything on the walls. You can always do spot touch ups with additional paint, if needed. As the paint dries, it will show the beautiful matte finish and the variations in tone will stop you in your tracks every time you catch a glimpse.
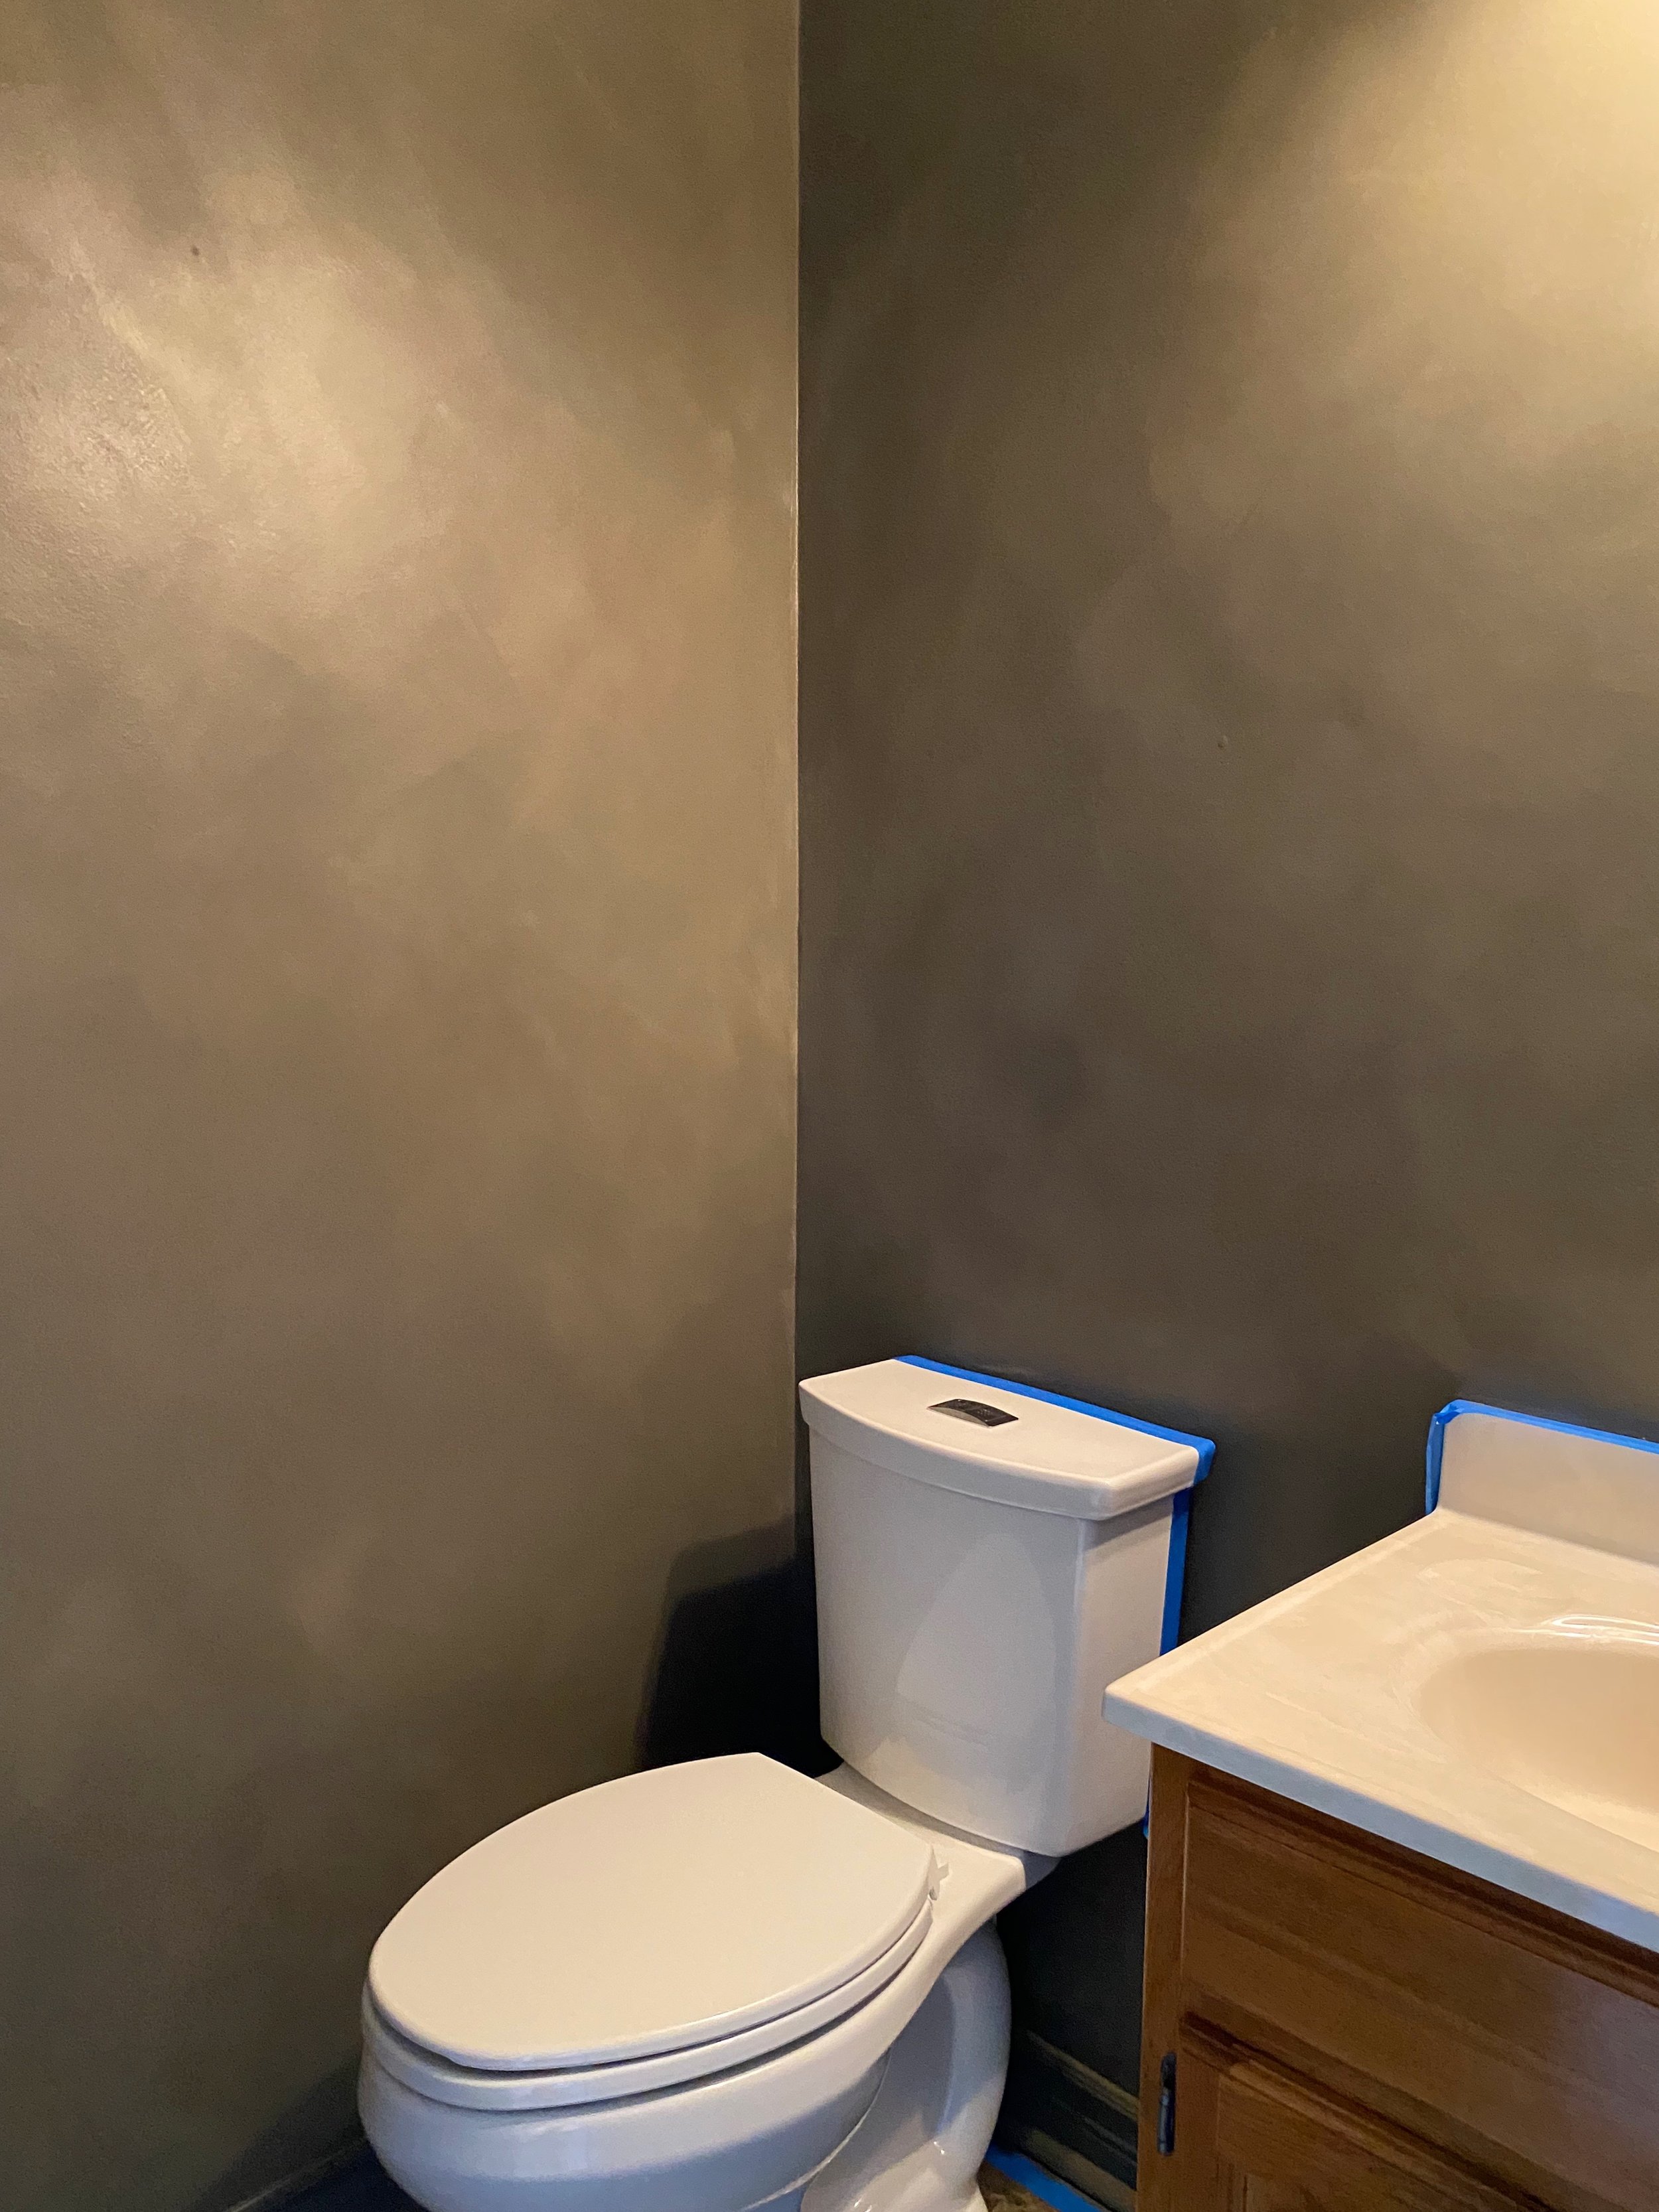

It really is that easy! I can’t believe I was able to achieve this look using only wall paint. It was the exact drama I was looking for in our windowless powder room at a fraction of the cost of traditional limewash paint. I’ll be revealing the full powder room makeover soon, but for now, these final photos show the completed paint finish. Be sure to leave a comment below if you have any questions about this process.
Happy painting! Here’s to making your home exactly what you dream it can be, even on a limited budget.

Disclaimer: This post may contain some affiliate links. Read our full Affiliate Disclosure for more information.