Main Floor Renovation: The Progress (15 Weeks In)

The past five weeks (since my update at 10 weeks in) have seen some significant action around the house. The place is finally starting to feel like home and the entire renovation picture is starting to come into focus. Some of the specific finishes we selected months (some even over a year) ago are starting to come together. The spaces are more specifically defined. Some rooms are nearly almost completed. It’s an exciting feeling to see all the details unfold and finally see the fruits of all our planning.
Over the past few weeks, these are some of the strides forward in the project -
Drywall Finishing + Trim
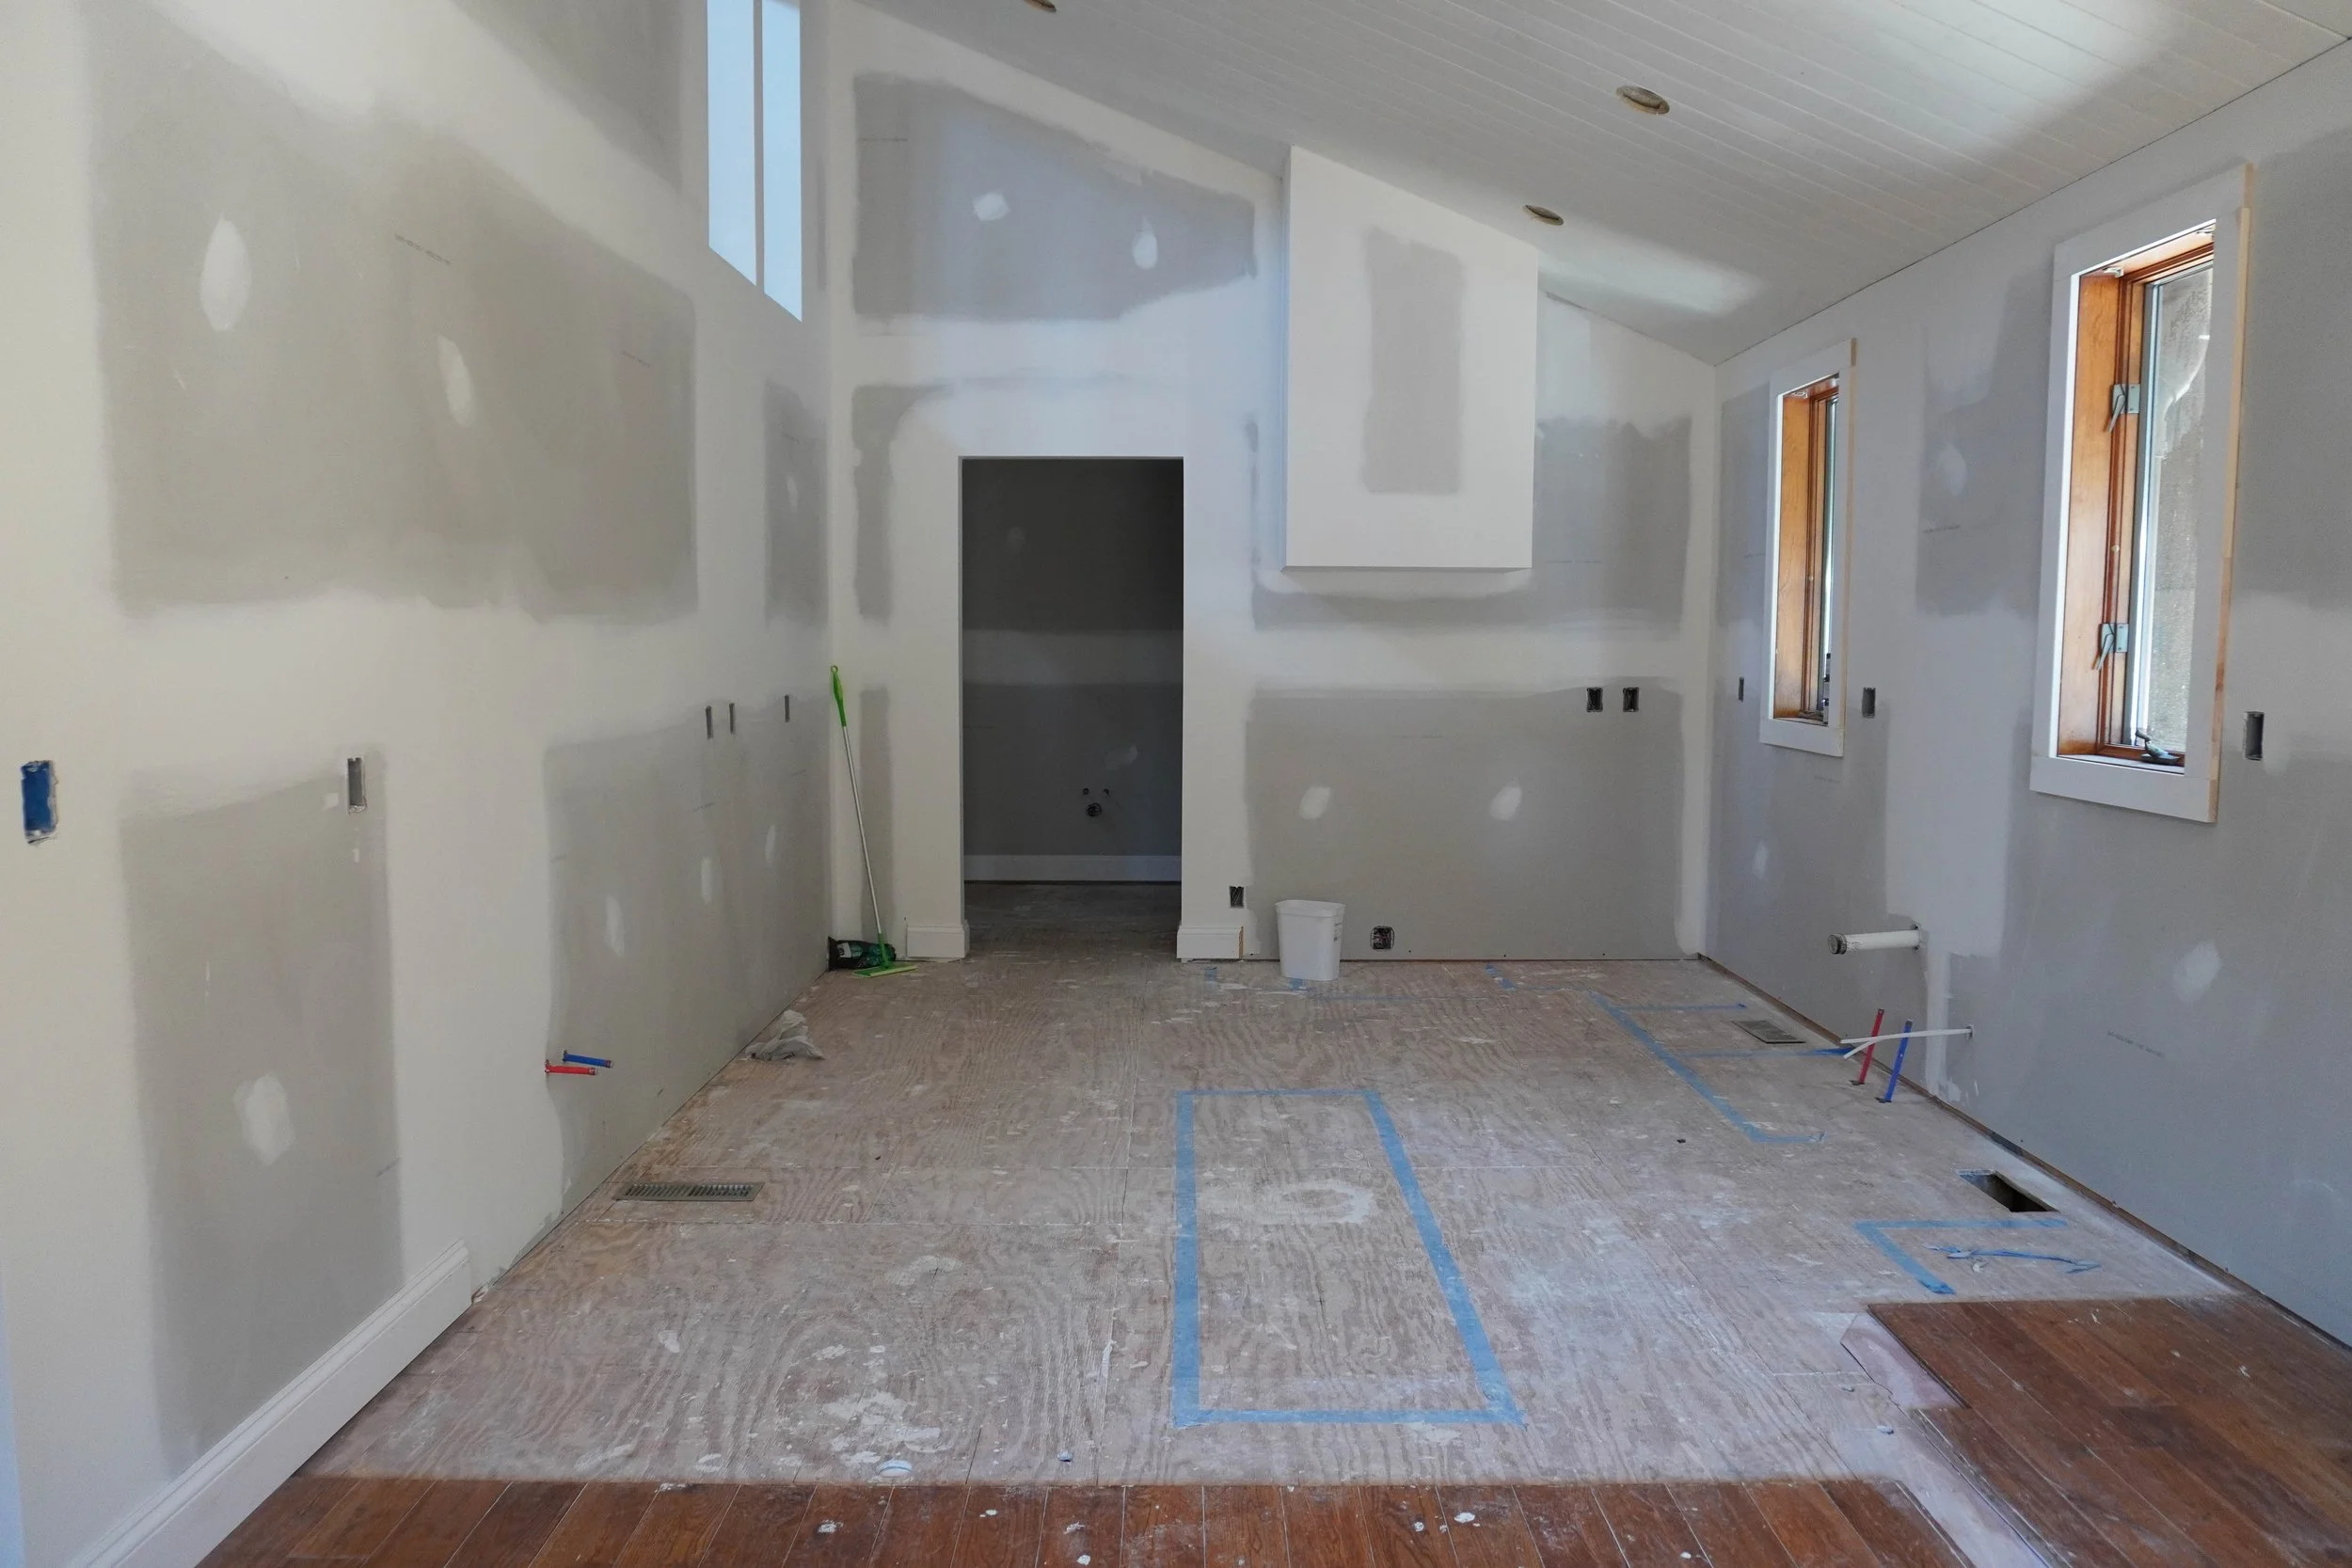
Prepped drywall in the kitchen looking into the laundry room

Prepped drywall in the kitchen looking towards the dining room

Prepped drywall in the kitchen looking towards the dining room
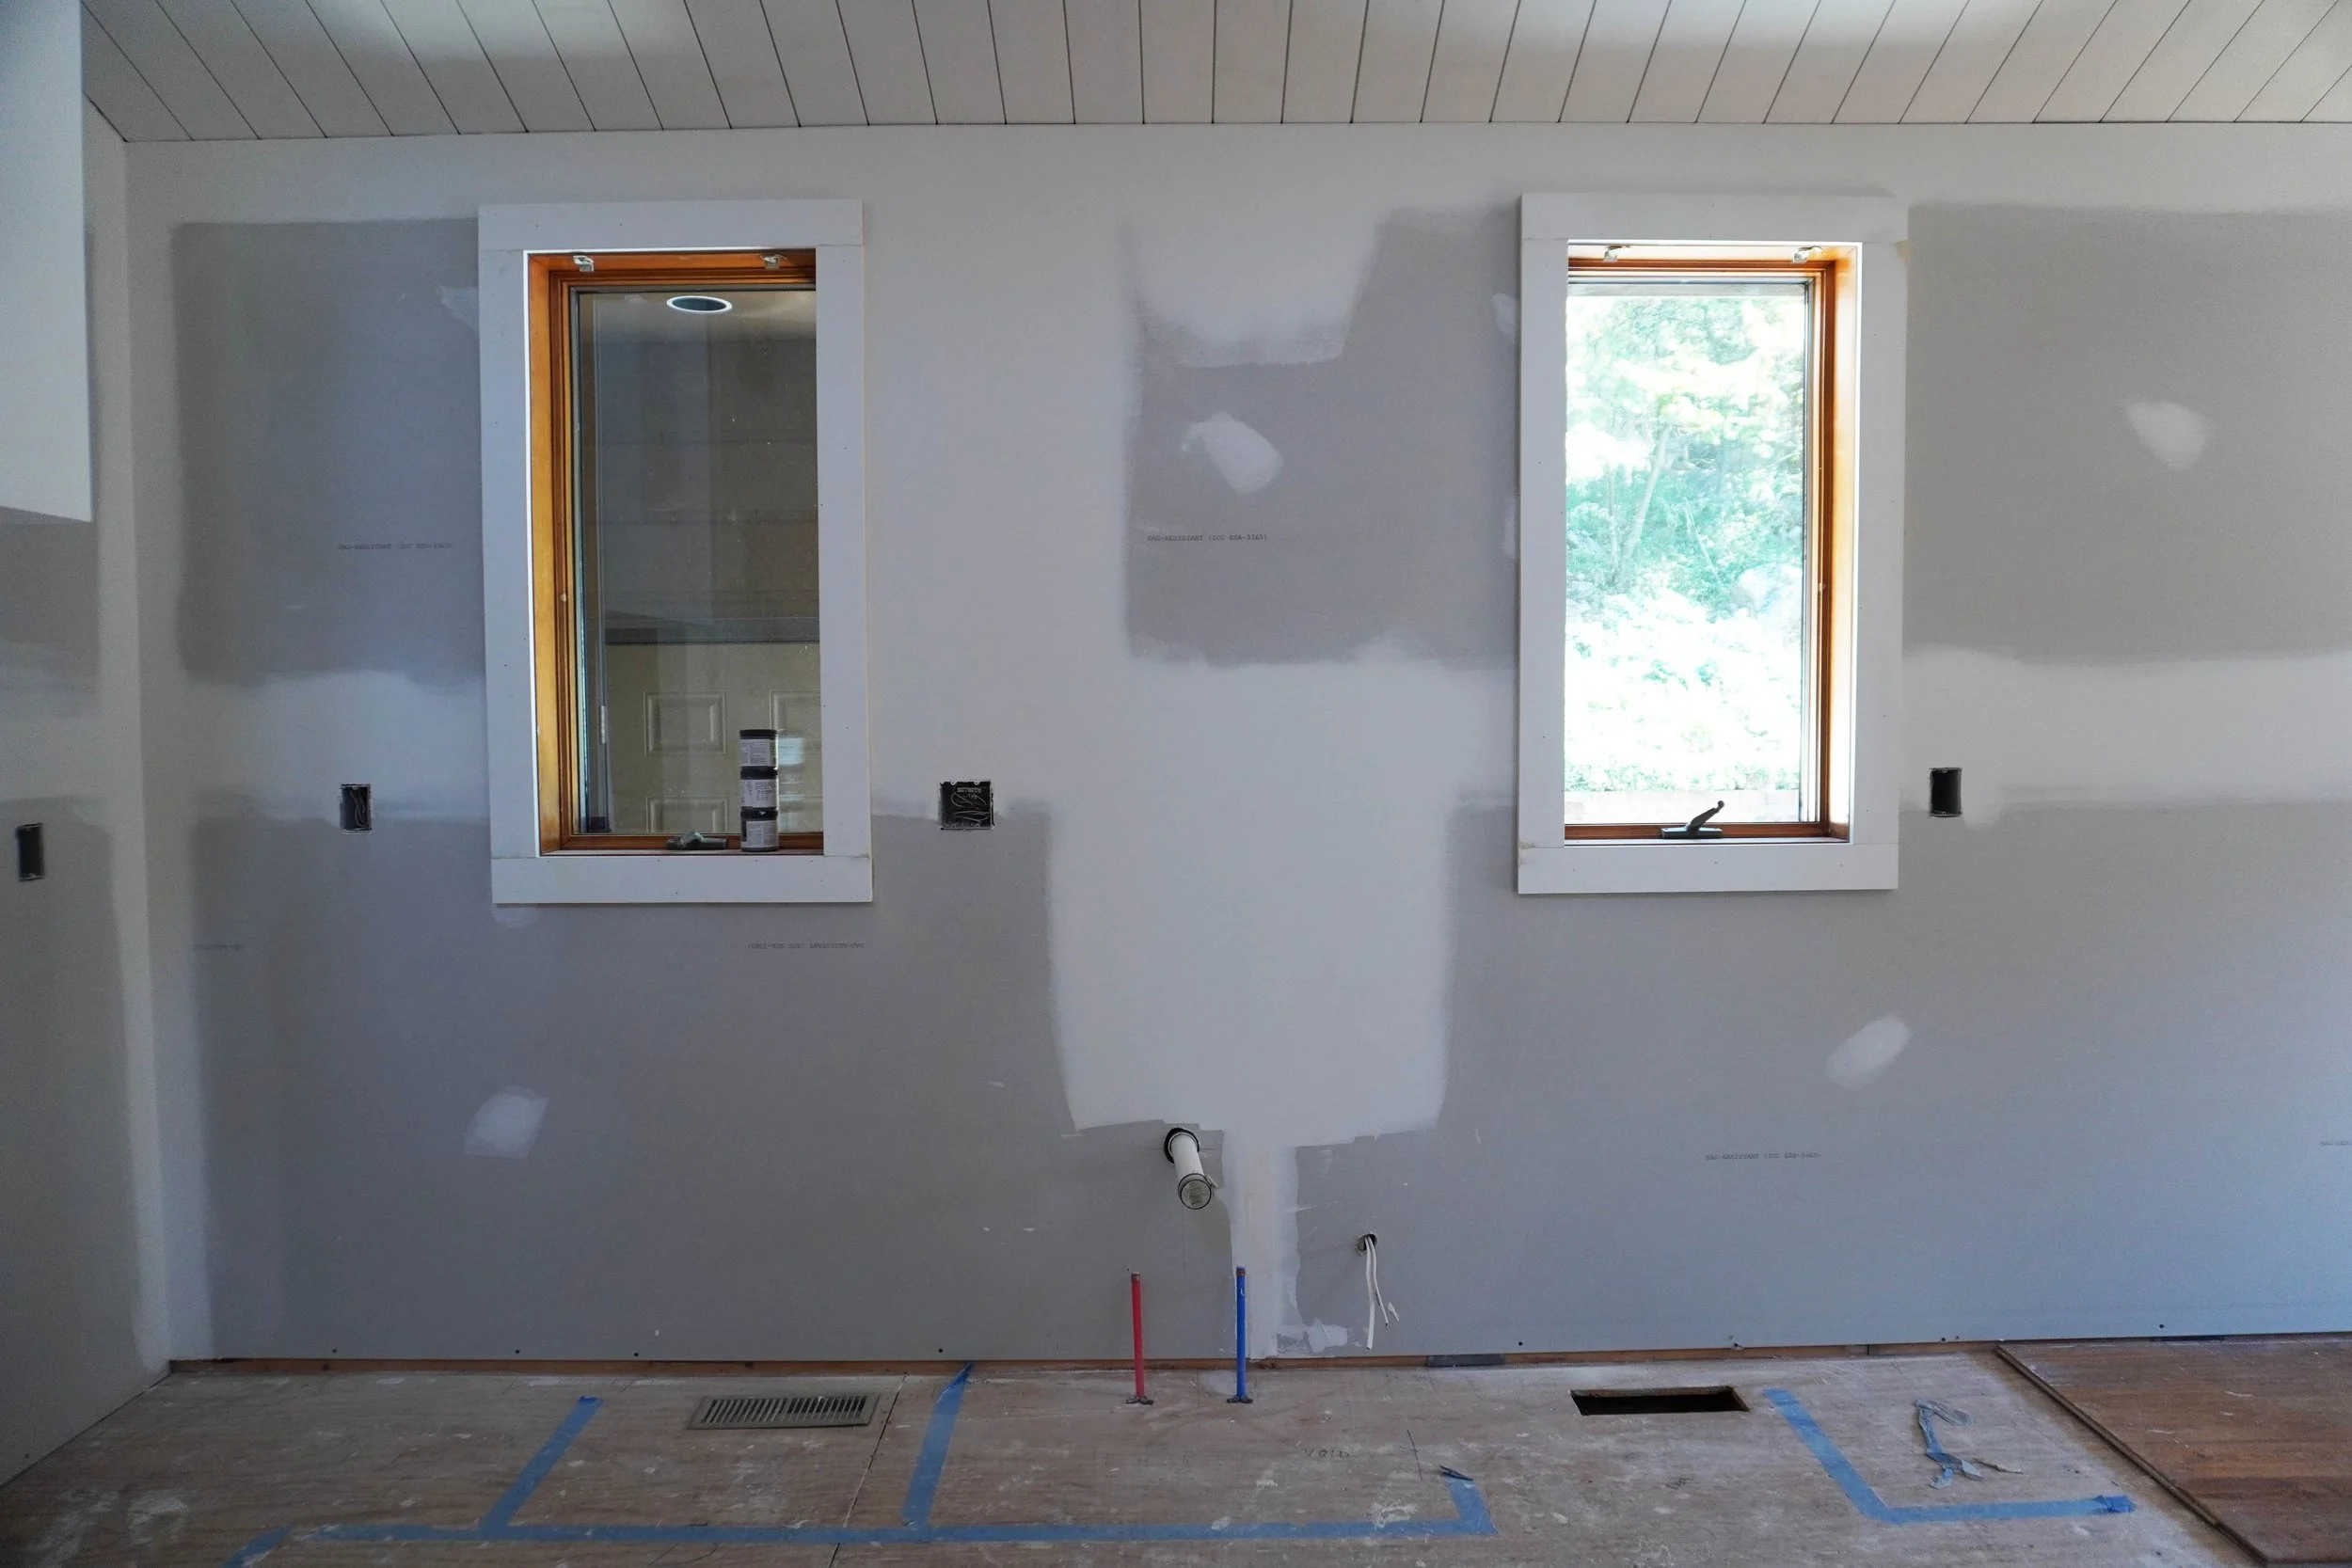
These windows were shifted up by 6” and updated with new trim
Where I last left it, the drywall had been patched in and hung in the spaces that have a new shape and layout. Simply hanging the drywall made the house feel like a house again, but once they started to tape, mud, sand, and finish, it all really started to take shape. The new openings at the top of the central wall were suddenly defined and the way the light falls between the different spaces was finally notable. The drywall finishers were exceptional. They had a lot of ground to cover with our home’s tall walls and quirky angles, but they did a really thorough job.
With the drywall work wrapped, the remaining trim was also completed in anticipation of paint. All of the door and window trim was updated to a new modern profile, but we kept the baseboards as they were. I like a good mix of modern and traditional details and it felt like an opportunity to keep some contrast and variety in the final finishes with the slightly more detailed baseboards.

Baseboards added to the kitchen/laundry room

Updated trim and drywall patches

The new cased opening into the laundry room

Updated trim on the interior brick wall
Paint

Fresh paint in the kitchen
Next came the painters. These guys had no small task with this project. In fact, they spent nearly a full week prepping the space just to apply the paint. For starters, our new planked ceilings had a few spots that required patching and sanding, which in and of itself was not an easy task considering their height and slope. Next came the windows. All of the windows in our home are cased in with a honey-toned wood trim, so even though we replaced the trim around the windows, there were still components of the window that required careful sanding and priming in anticipation of paint. Did I mention we also have four windows at the peak of the ceiling? Yep, those needed priming too.
The kitchen, dining, and living room are all connected with no definable starts and stops, so we had them all painted in one palette. For the walls and ceilings, we selected Swiss Coffee by Benjamin Moore. I love this slightly warm white in our space. It’s so warm and cozy in the evening golden sunlight, but bright enough to bounce the light around without leaning too far in a yellow or cream direction. For the trim, we used a beautiful warm grey tone called Pale Oak by Benjamin Moore. I wanted to try a contrast trim in this house and I love the subtle combination of these two colors.
Fresh paint in the kitchen with a peek into the laundry room

Living room wall, ceiling, and trim paint

New kitchen views with the completed paint
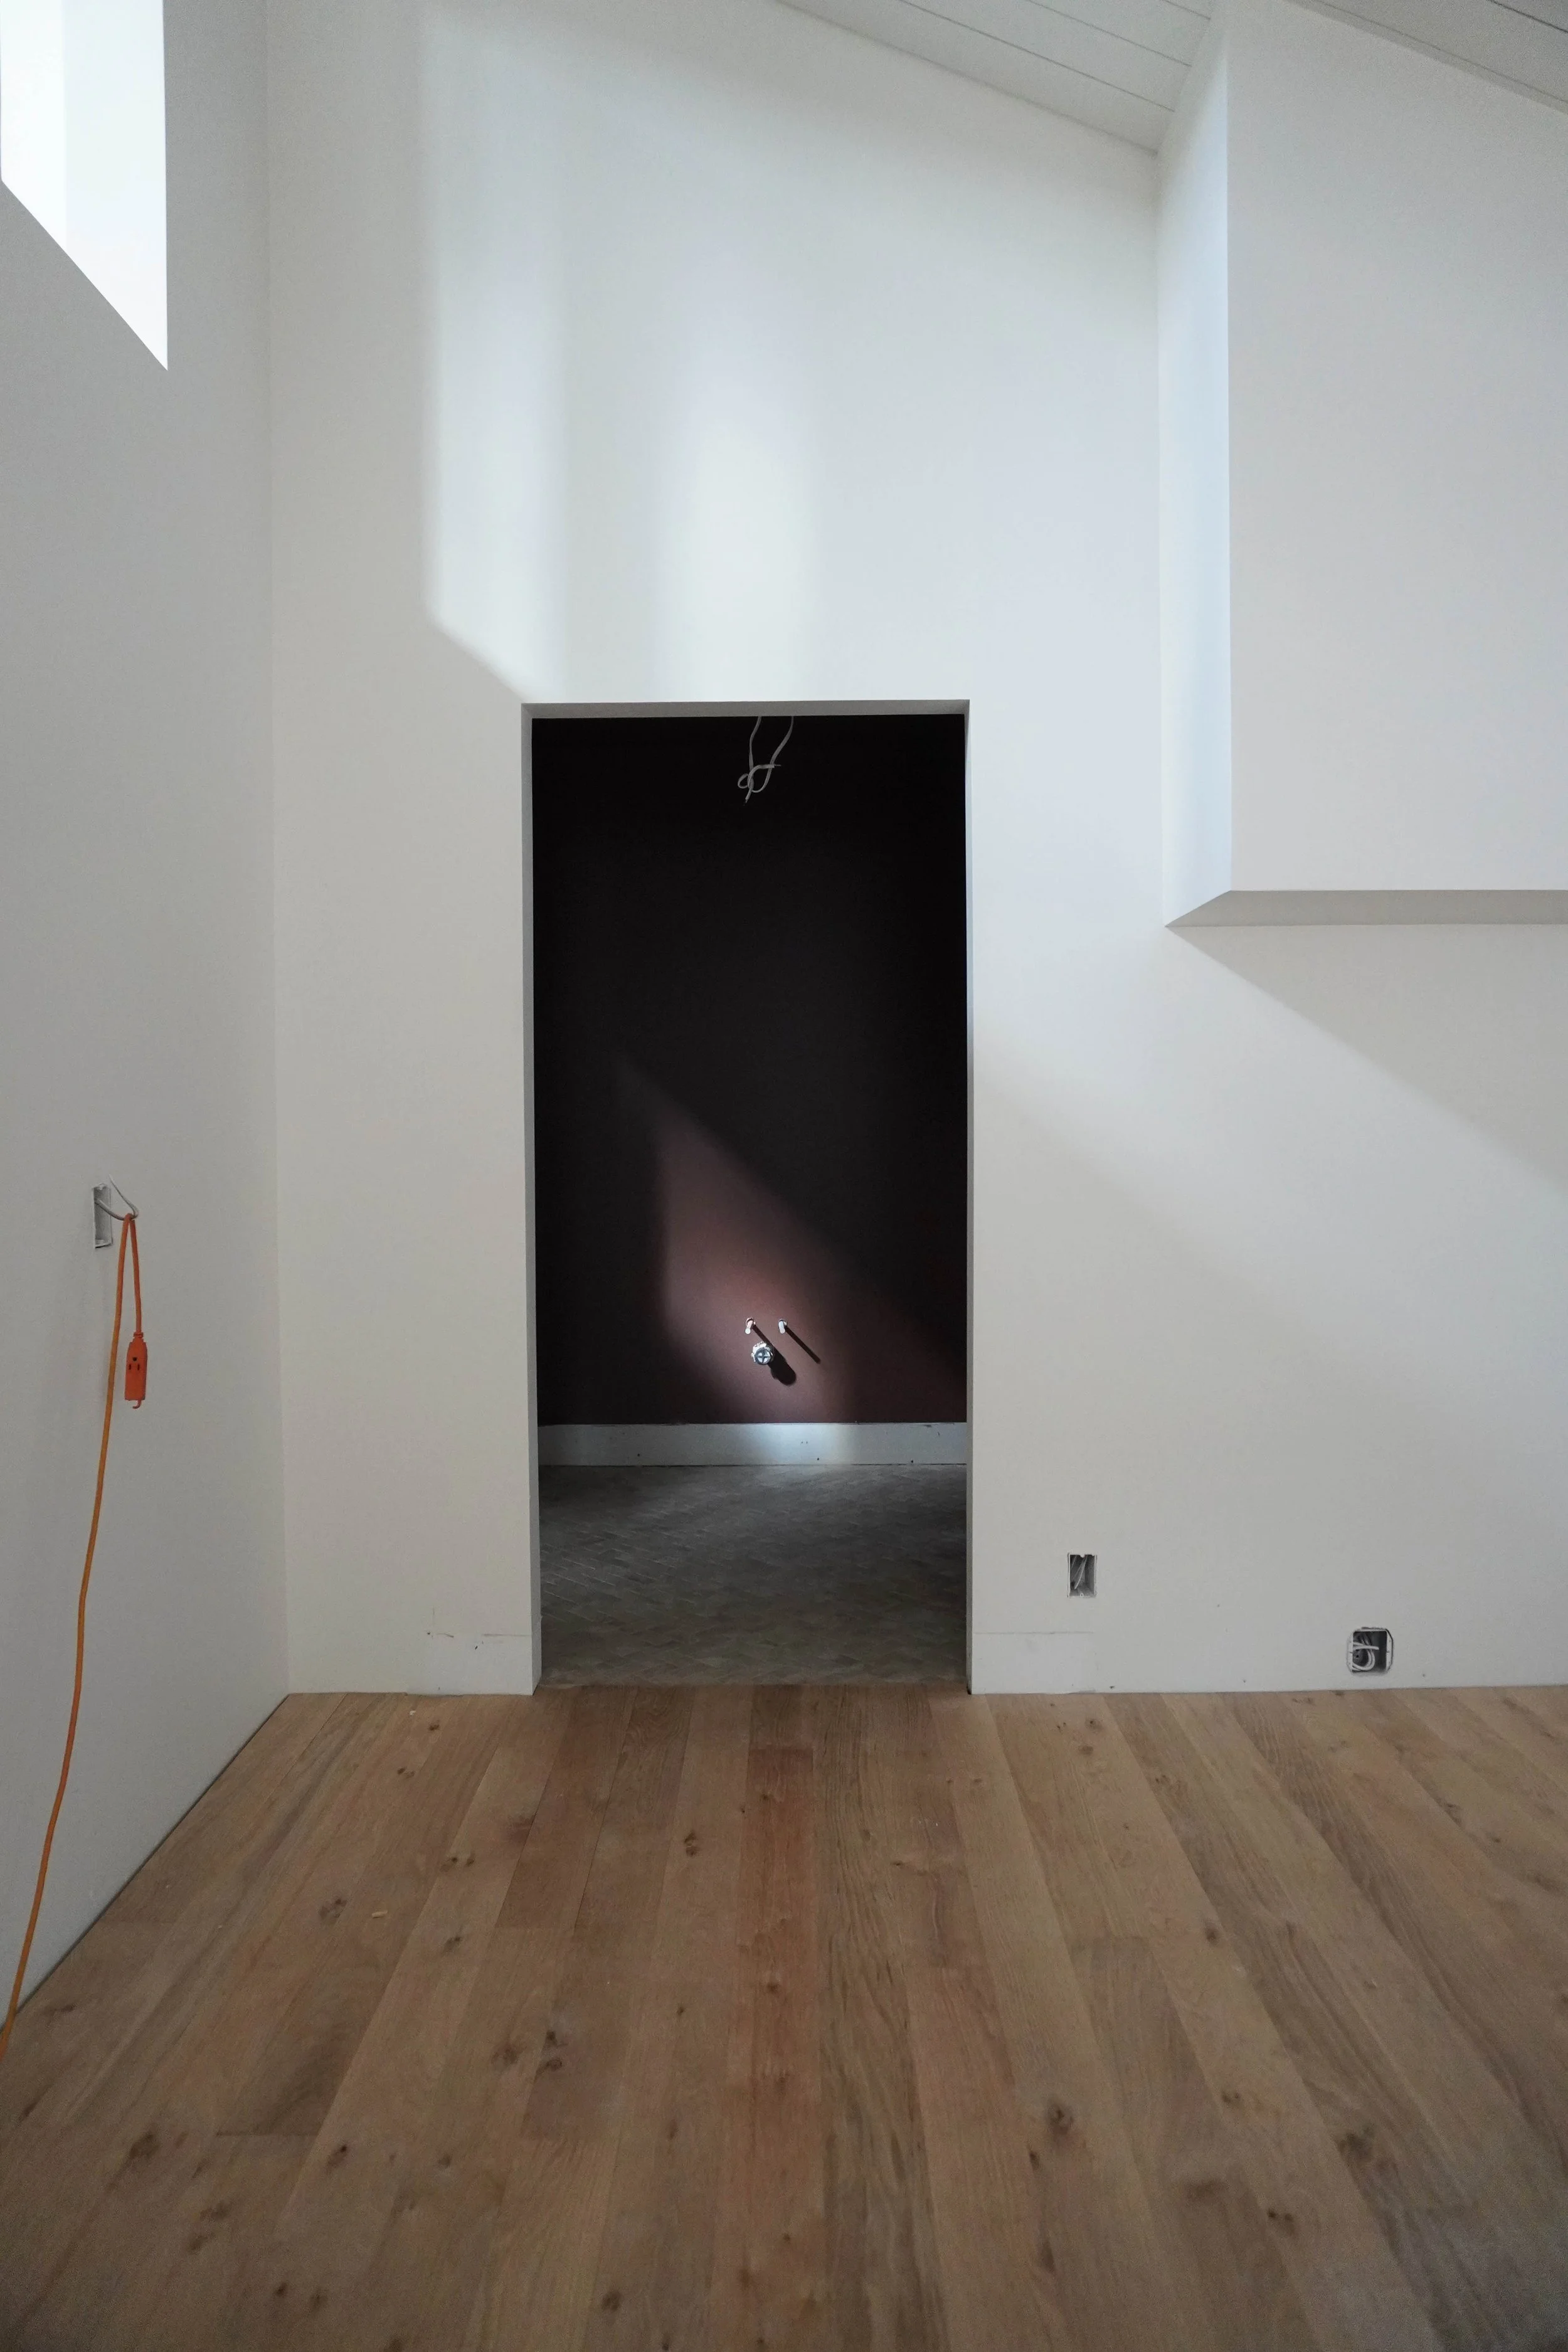
Since most of our rooms are interconnected, I wanted to have fun with color in the two spaces that were very definable - the sunroom and the laundry room. My goal for the sunroom has always been to capitalize on the beautiful sunshine that streams in the many windows, but to still make it feel like a warm and cozy space. Panelling all the walls and ceiling was one way I hoped to achieve that, but I also knew that I wanted it to be a color that gives you a hug when you walk into it. I selected Gettysburg Gray by Benjamin Moore because it’s a warm color that changes with the light. I also must admit that the name caught my attention - Curtis and I love history and one of our favourite trip memories was a guided bike tour through Gettysburg, Pennsylvania.

The sunroom


A different time of day, showing the change in tone as the light changes

Sunroom color
In the laundry room, I ended up choosing a color drench application of a rich, warm brown tone called Hasbrouck Brown by Benjamin Moore. The walls, ceilings, and trim are all painted in this color, but in different finishes. I love the depth this effect brings to this small space, especially when contrasted with the textured tile floor (but more on that in a minute).
Patching In The Hardwood Floors

New white oak floors in the kitchen

Looking straight down the central wall between the living room and kitchen
A fairly small job turned into a fairly involved one with our floors. For the sake of cost and time, we wanted to keep the existing hardwood floors throughout the house, but needed to patch in a small area in the kitchen where there used to be a linoleum sheet flooring. After much investigation, we were able to find the existing floors, but were soon disappointed to learn that they were since discontinued. However, in that investigation, we learned that despite the orange-toned finish, the floors are actually white oak and a high quality. Our contractors were able to find a local craftsman to custom mill new boards in a matching (and very obscure) width to be patched in. This process was not without a cost, but since the area was relatively small, it worked out well.
A flooring team installed the new boards in the kitchen and once everything else is completed, all of the hardwood floors will be sanded back to raw wood and refinished in a new tone. I have been busy sampling stain finishes and trying to narrow in on the exact look I’d like to have. I still have a few weeks to make those decisions though.
Laundry Room Tile

A dry fit of the laundry room tile


With hardwood throughout the main living space, it was definitely necessary for the laundry room floor to be tiled. Regardless of the practicality of having tile in a wet space, it made sense since this little room also functions as our mudroom. If you could only see the progression of tile choices I sampled and tried in the design of this room, you probably wouldn’t believe where I started. It was a good reminder to be flexible in design and how necessary it is for the space to have some input too. I originally started with a really large format checkerboard design, but the subfloor was unbelievably wavy and sloped. I jumped down to a smaller format checkerboard layout, then to a large format herringbone, to eventually being told that I had to choose something small that is available on a sheet to avoid any cracking and damage with use. The problem was that I really didn’t want a mosaic tile - it felt too much like a bathroom. I searched high and low and probably in every direction you could imagine before I happened to randomly stumble on these little herringbone tiles. I was skeptical at first, but decided to order a sample in both beige and white anyways since I really didn’t have any other contenders in the ring. When I first saw it in person, I honestly thought it was good enough. It still wasn’t my top choice, but I was pretty tired from my endless searching and kind of just let go of this one.
Now that it’s installed, I stop and stare at it every time I walk by. I honestly love it so much. The scale is perfect in this small space and it brings so much texture and contrast to this little moody room. We ended up using the beige color and used an ivory grout for a final warm blended look.

Fully grouted and ready


What’s Next?
That wraps up the progress to this point, but there are many good things ahead. In fact, the kitchen cabinetry is being installed as I write this and I have been busy testing floor finishes in anticipation of making that final decision soon. Over the next few weeks, our kitchen will finish being installed and the countertops will be templated and installed. The electricians will be back to work on installing all the light fixtures (you can catch up on that here) and many of the finishing touches will fall into place. I’m so excited and eager to see it all and am looking forward to writing the next update. I think it’s going to be good.
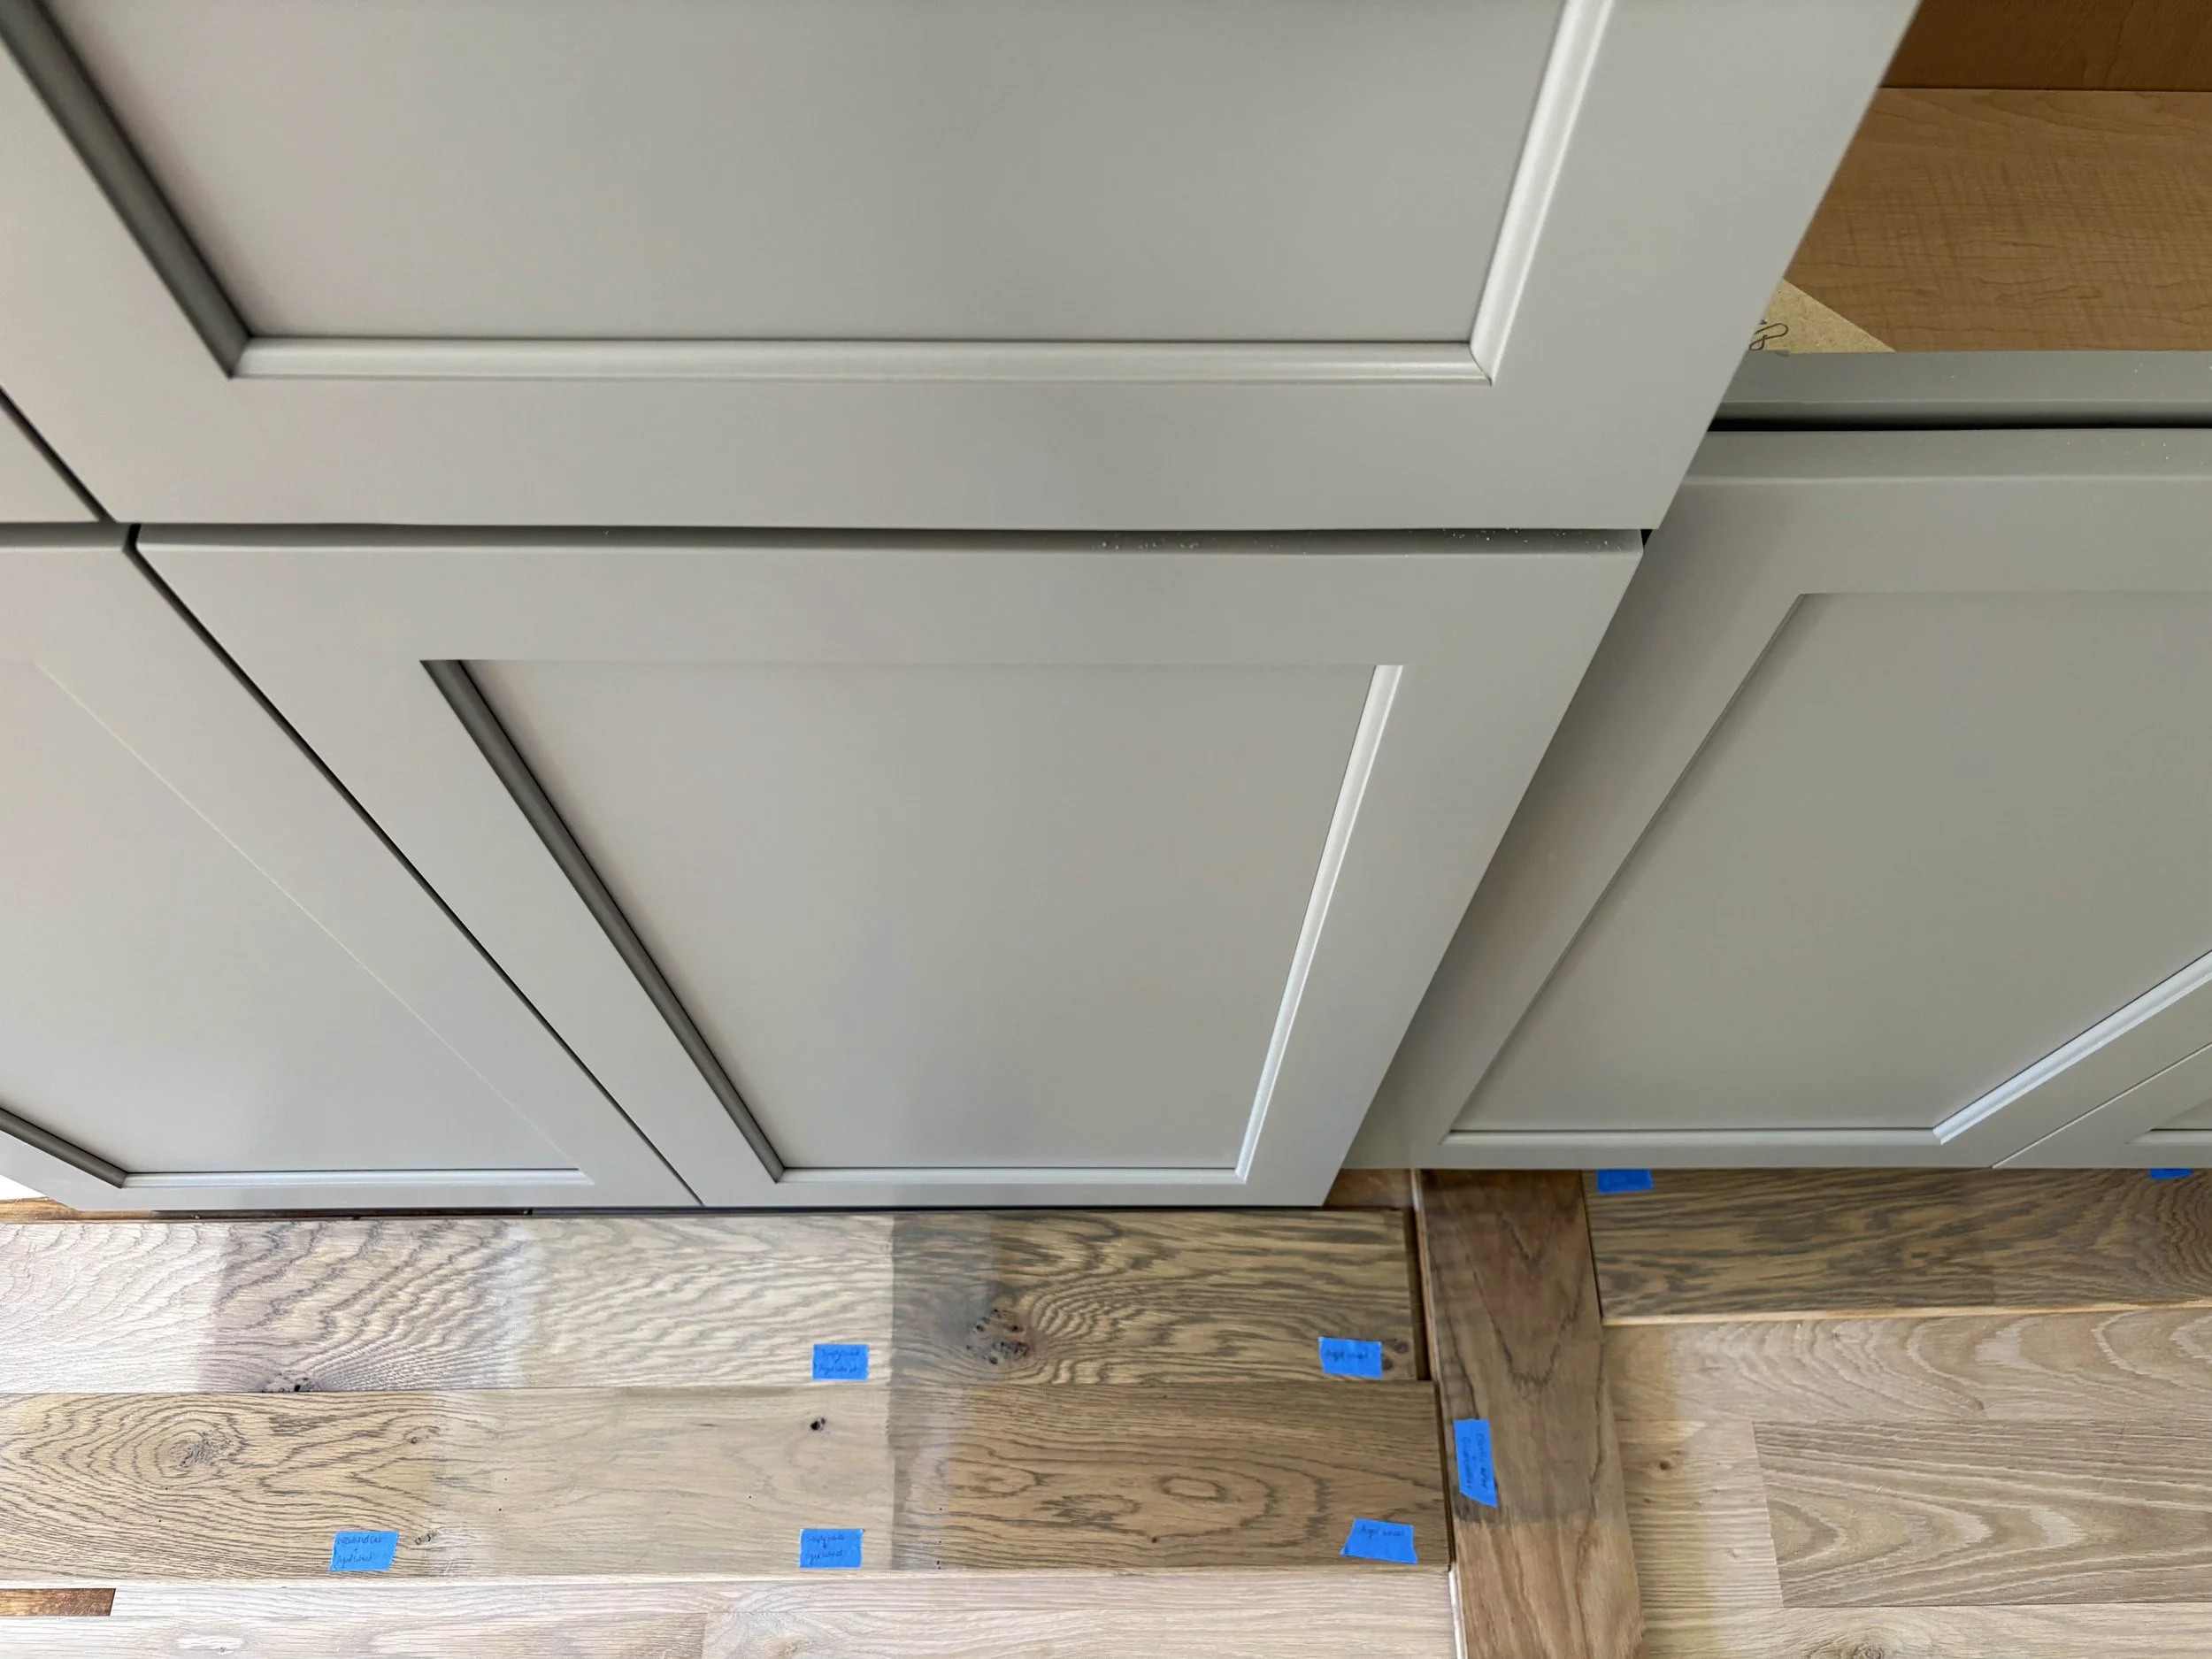
Sampling stains for the white oak floors with a sneak peek of our kitchen cabinetry
I’ll share another update soon. Thanks for following along so far!
