Fireplace Built-In: Choosing Finishes and Making Progress
As I previously shared, I wrapped up the construction phase of the main frame for the central fireplace unit on our living room built-in, but before I could proceed with the next steps, I needed to narrow in on how I want to finish it. Yes, the finish and style is the fun part of the process. But as an indecisive person, making this call was definitely intimidating and a decision that I admittedly left until I absolutely needed to make it. How permanent will this be? Will I still like it in ten years? How much is this going to cost?
Choosing finishes are fun! Unless it is for your own home and involves using your own money to fund it. This choice was definitely intimidating so I’d like to walk you through my process for making the decision that I did. Maybe if you’re an indecisive person like me then these steps will help you if you are one day making a big project decision too.
Step one was reminding myself of my overall goals for this project. When I set out to create the built-in fireplace unit, my goal was to add a focal point to our living room, up the cozy factor in our space, and add some interest and texture to an otherwise pretty neutral room. We were starting with a fairly blank canvas that lacked any personality and warmth. When I set out to do this, I wanted to create a space that felt really inviting and comfortable since it is a room we spend a lot of time in and is a space that is immediately visible upon entering our home. By reminding myself of these goals, I knew that I wanted a finish and style that was textural, warm, and neutral.
Which leads me to the next step.
Step two was finding visual inspiration. As a starting point, I gathered any image that caught my attention. Once I had a collection together, I sifted through them and looked for any patterns in the style and finishes. I am fairly confident in my understanding of what is my style vs. what is just currently stylish, but sometimes those lines can blur pretty easily. In this case, I wanted to be sure that I was choosing images that truly spoke to me, even if it was only a single component in it. I wanted whatever I chose to be fairly timeless, yet inspiring. Some of the patterns I recognized in my image collection were textural and over-grouted stones, dramatic trim work, and some element of contrast.
Inspiration image by Oakstone Homes
Inspiration image by Craftberry Bush
Inspiration image by Craftberry Bush
Inspiration image by Studio McGee
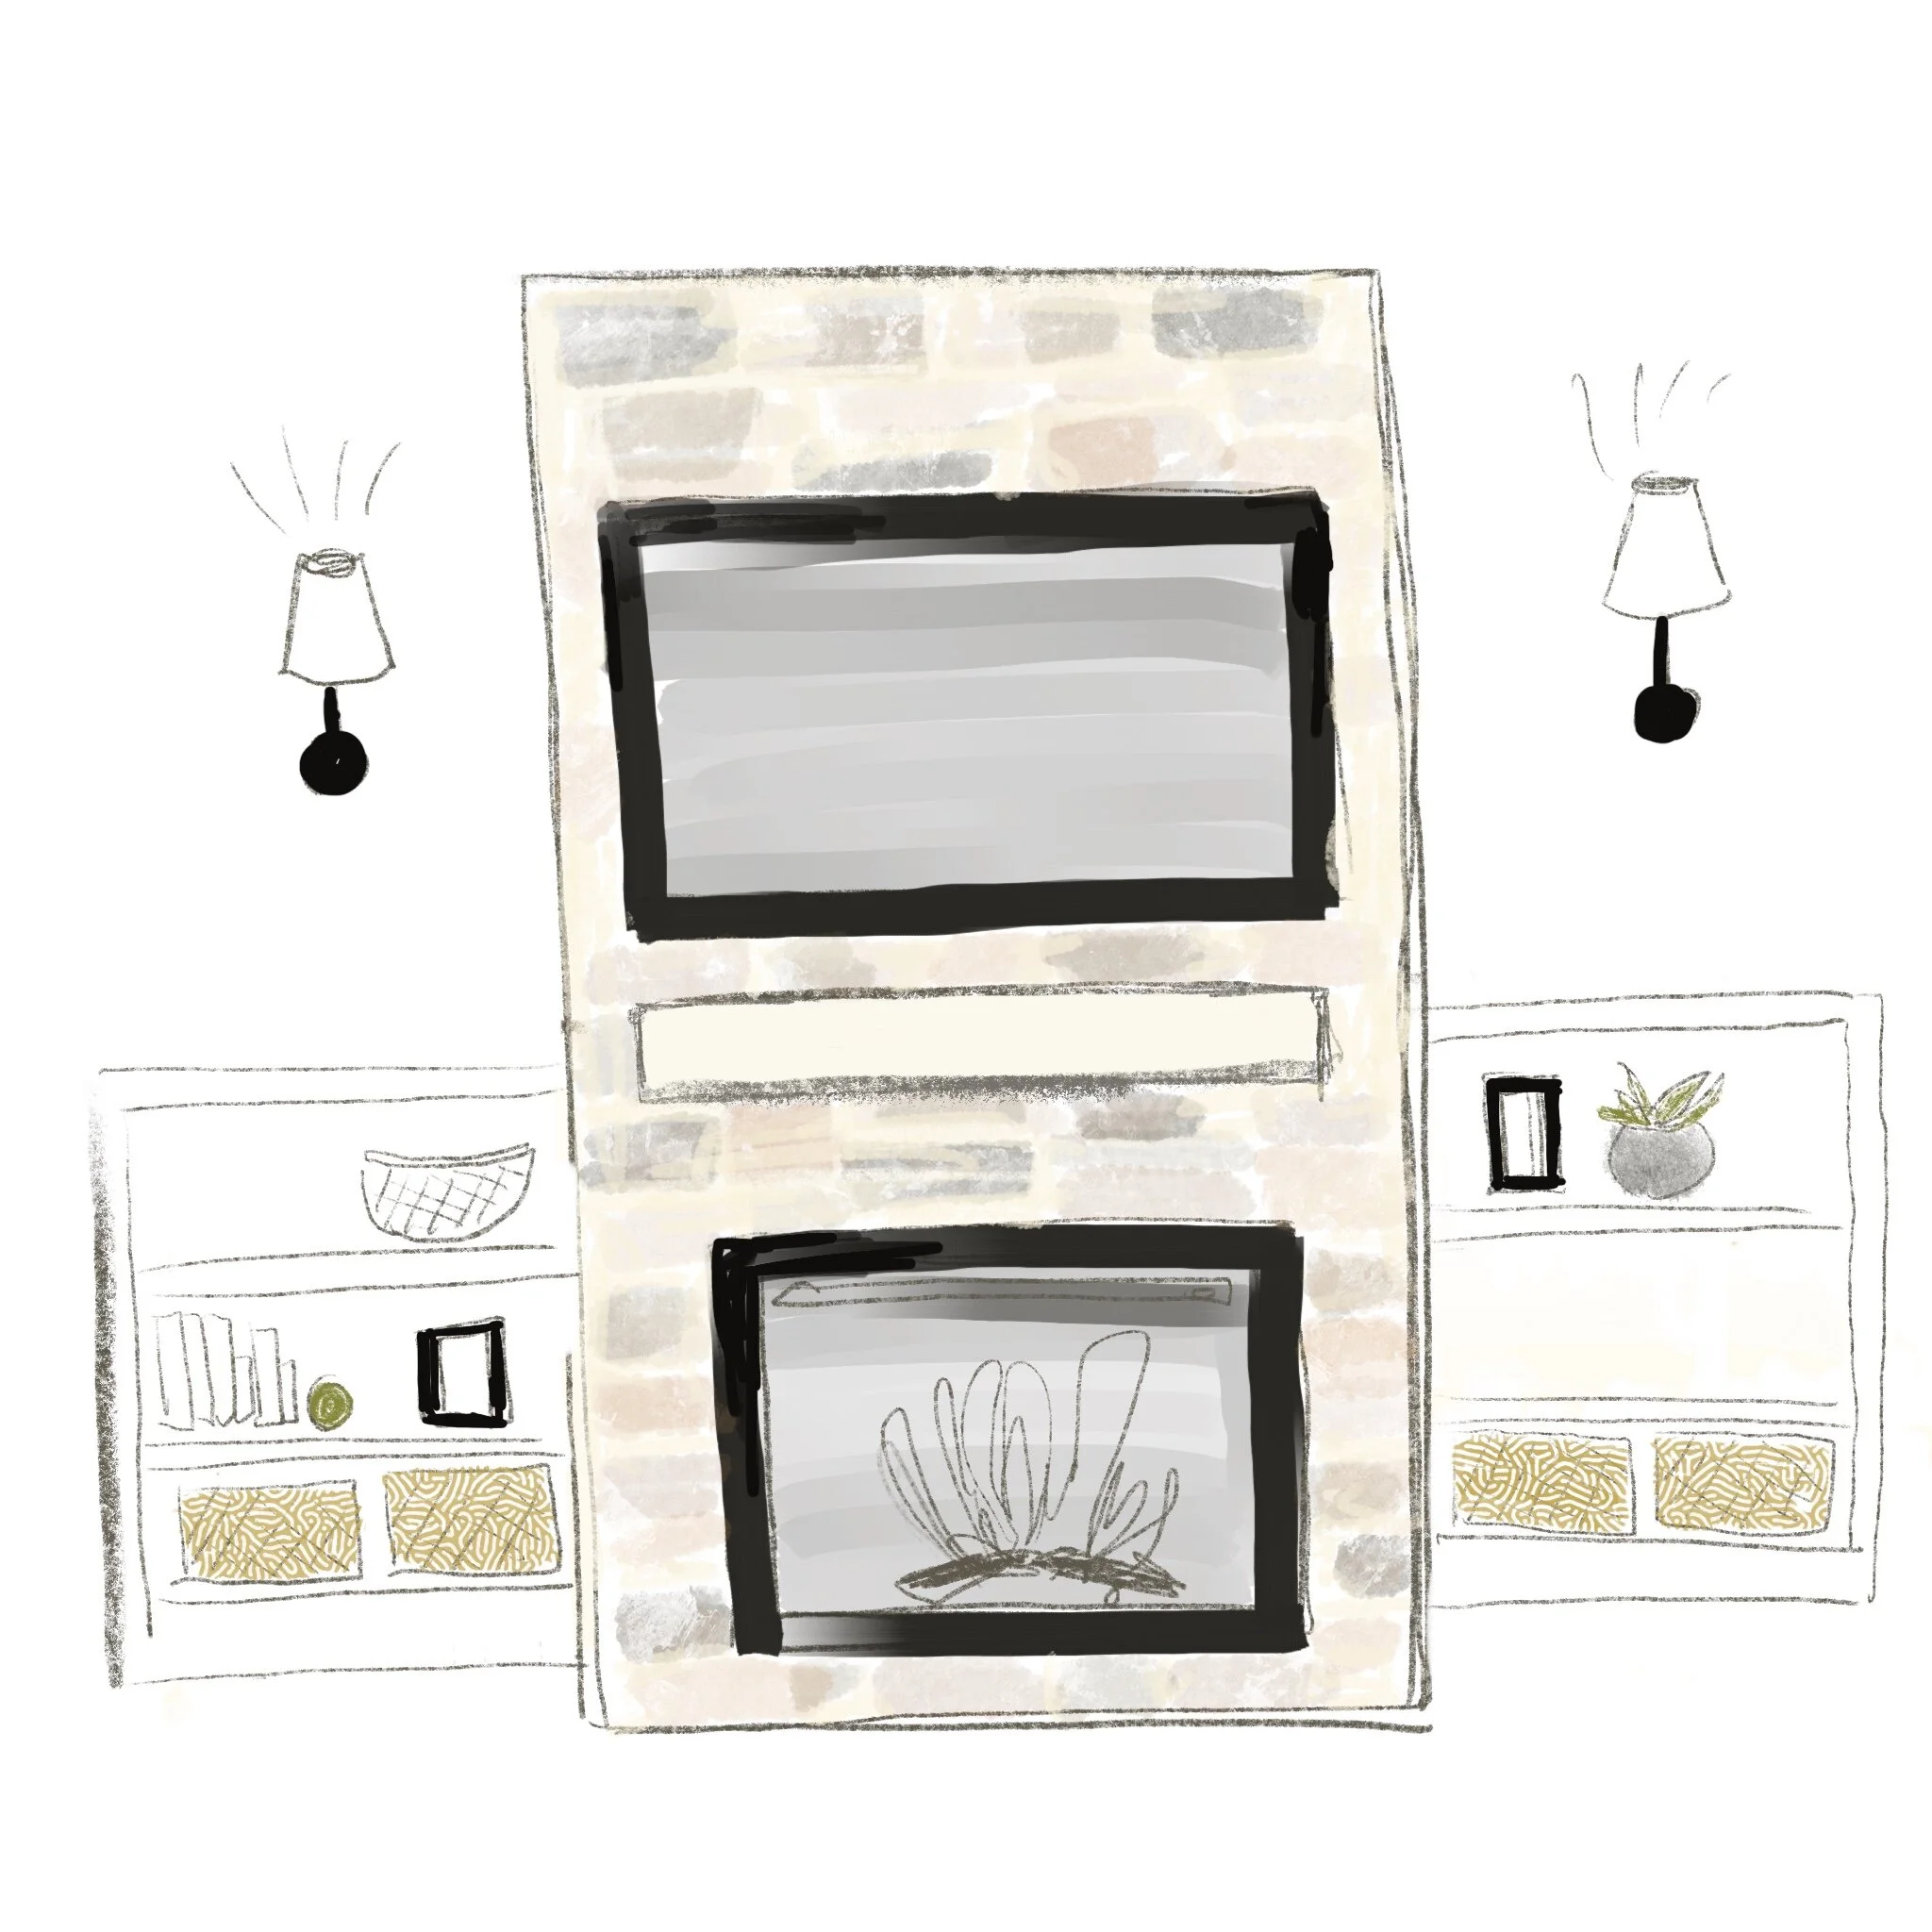
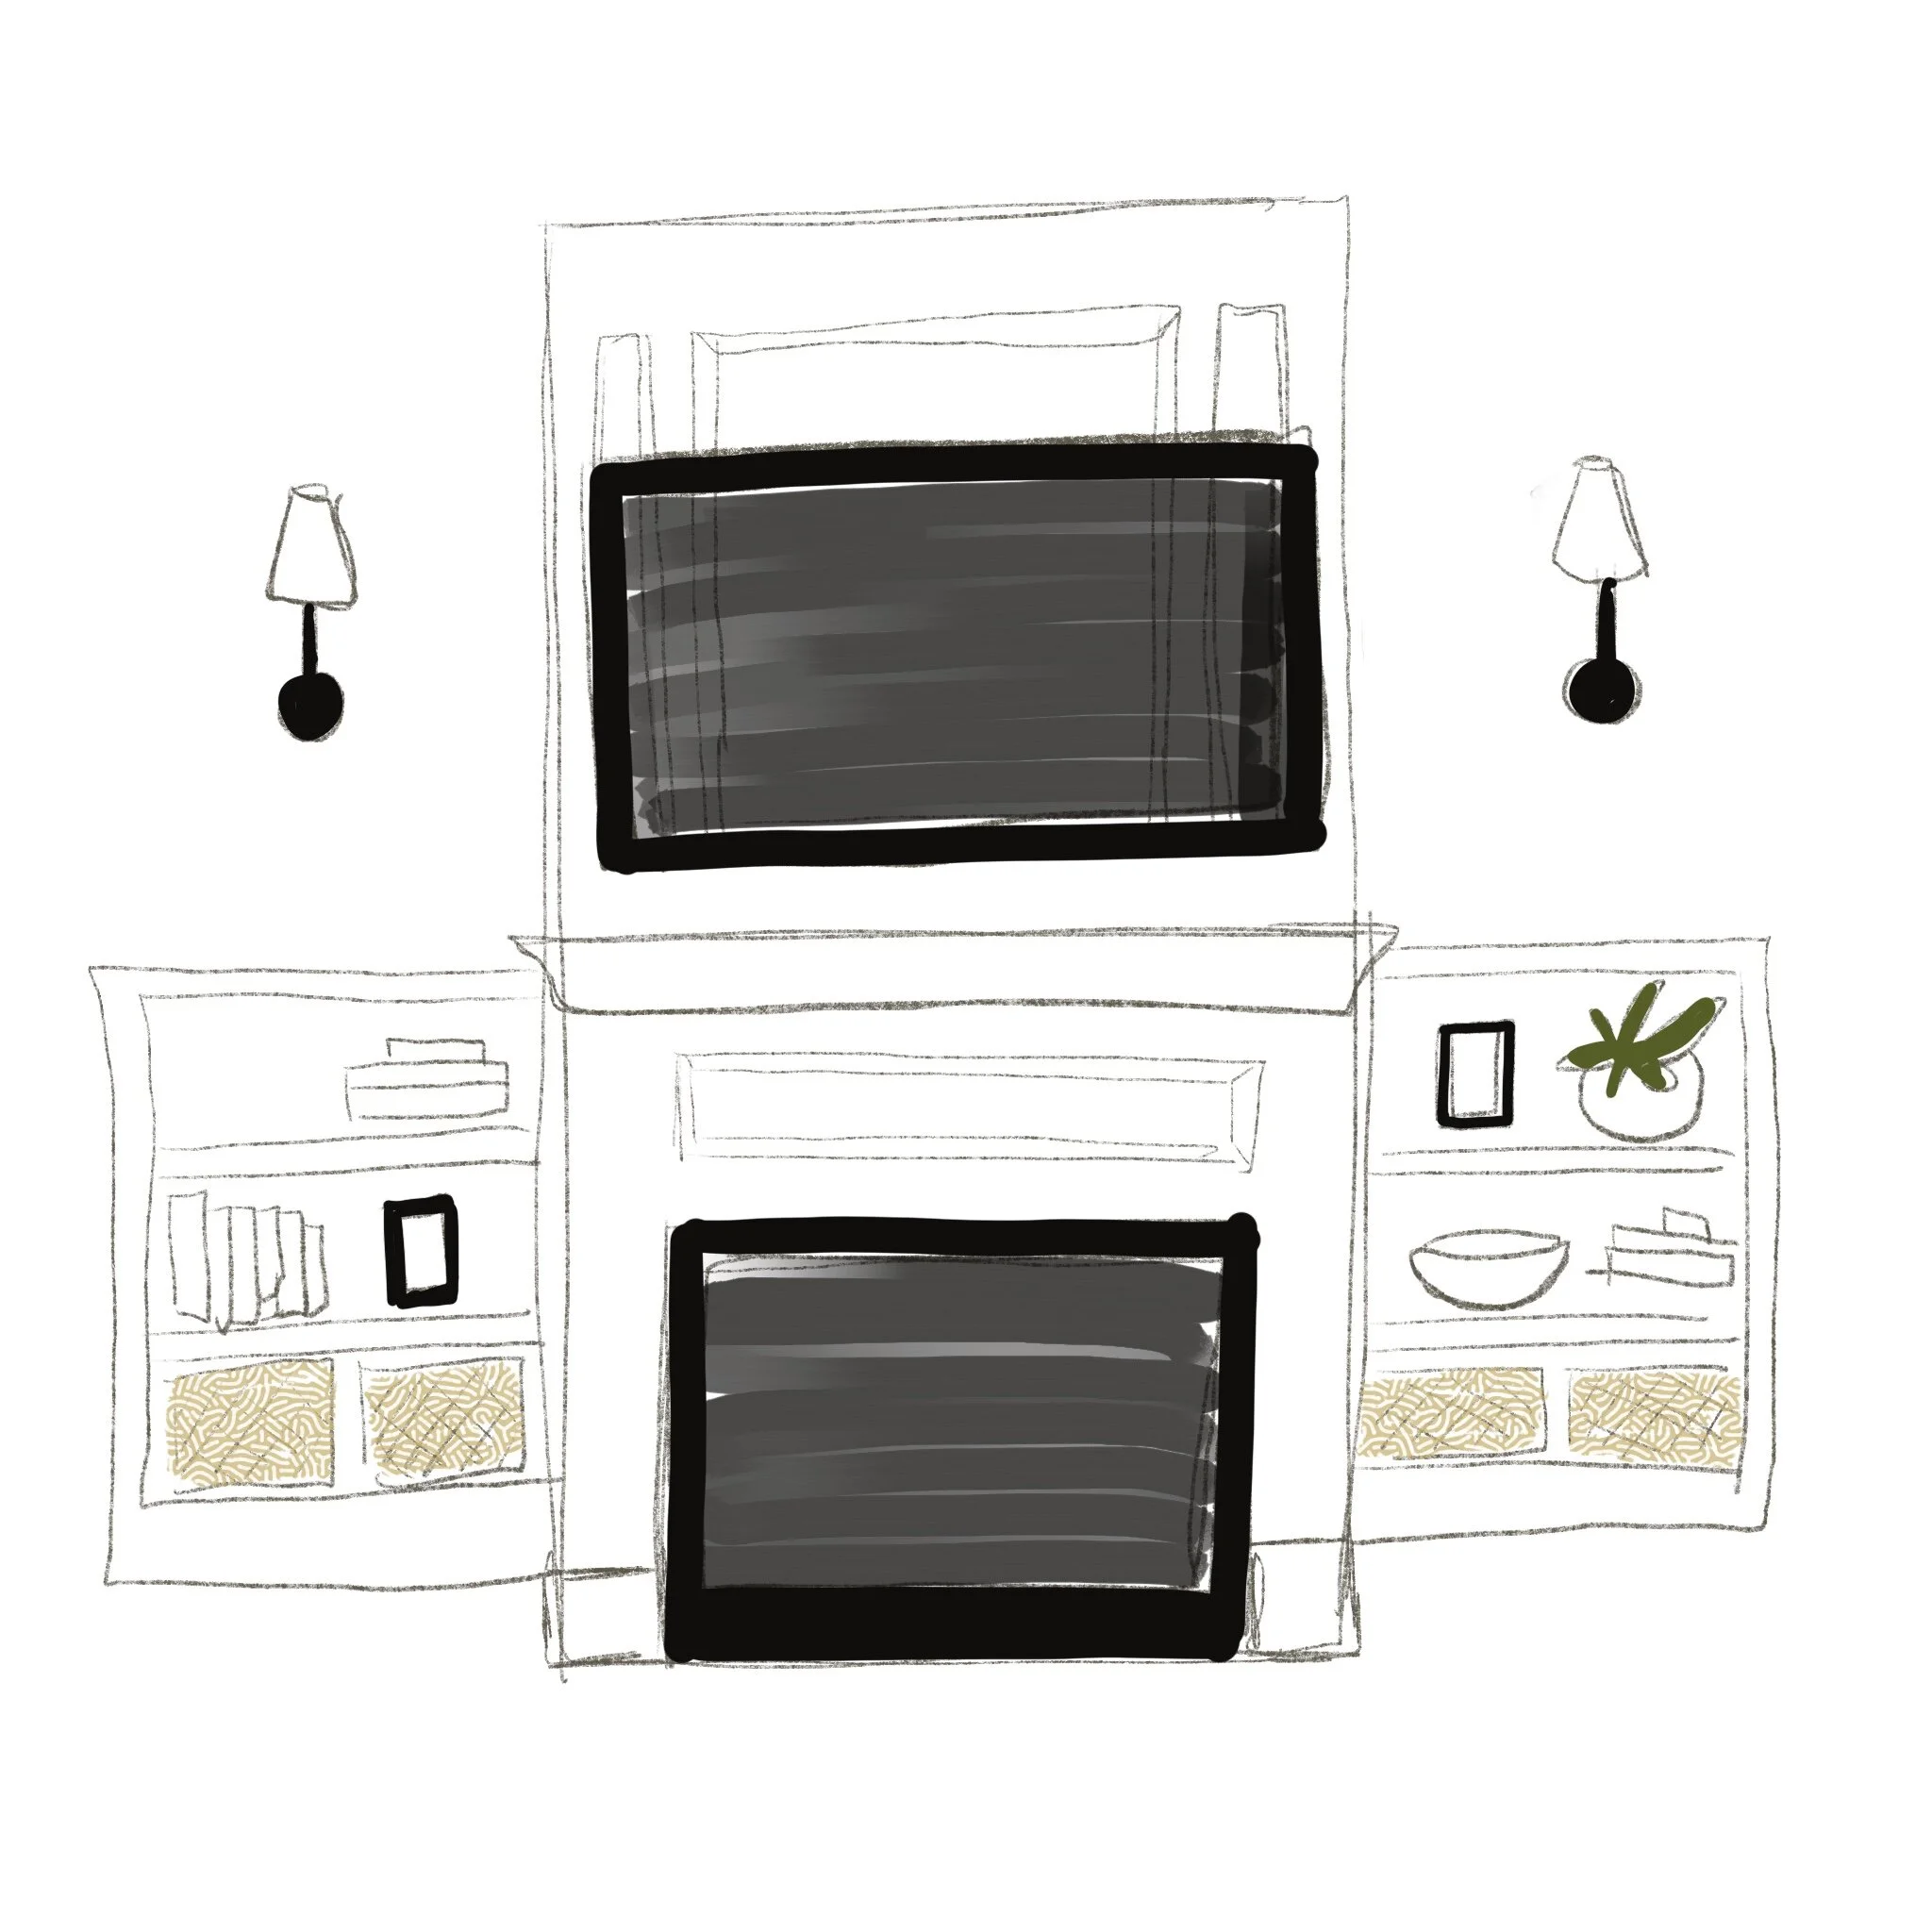
I realized that essentially I needed to decide between two directions - either stone or trim work. I loved both options for two very different reasons. The stone felt very textural, warm, and cozy, while the trim felt very classic, timeless, and clean. I found that the logical third step to make my decision was to create a pro and con list of each. My gut instinct was the stone, but I had a lot of questions about product sourcing, installation (I am DIYing this project after all), and cost. Alternatively, creating an interesting trimmed finish felt much more approachable, cost-effective, and less permanent, but if I’m being honest, it felt safe. The pros and cons really felt balanced for each option so I dove into each direction by doing some further research. I watched installation videos, sourced and priced specific products, and even drew up my specific plan with each finish to give myself a visual. I genuinely love both options, so I knew that it probably didn’t matter what option I chose - I just had to choose one.
Option One - Overgrouted Stone
Option Two - Pretty Trim
So I picked the stone. Yes, it involves learning even more skills to be able to install it. Yes, it is more expensive. Yes, sourcing the materials has been a journey. But I know deep down that this direction is what my gut is telling me to go with, so it feels worth the extra cost, time, and effort to make it happen. I found a great faux stone veneer product that uses a pretty easy adhesive product to install it with, so although laborious, it feels doable.
Until I realized that next I need to pick the stone style and colour. Sigh.
We are still in full-out lockdown where we live, so it has been difficult to visit any showrooms to view product samples. Finding the specific product style and colour has been an extensive process involving scouring the web, requesting samples for products, literally being told that my first four choices have all been discontinued, and finally getting an order placed only to be told that my choice is on back order for 4-5 weeks. It’s been frustrating, but these are the times, so I’ve been trying to roll with the punches and trust the process. There has definitely been lots to work on in the meantime.
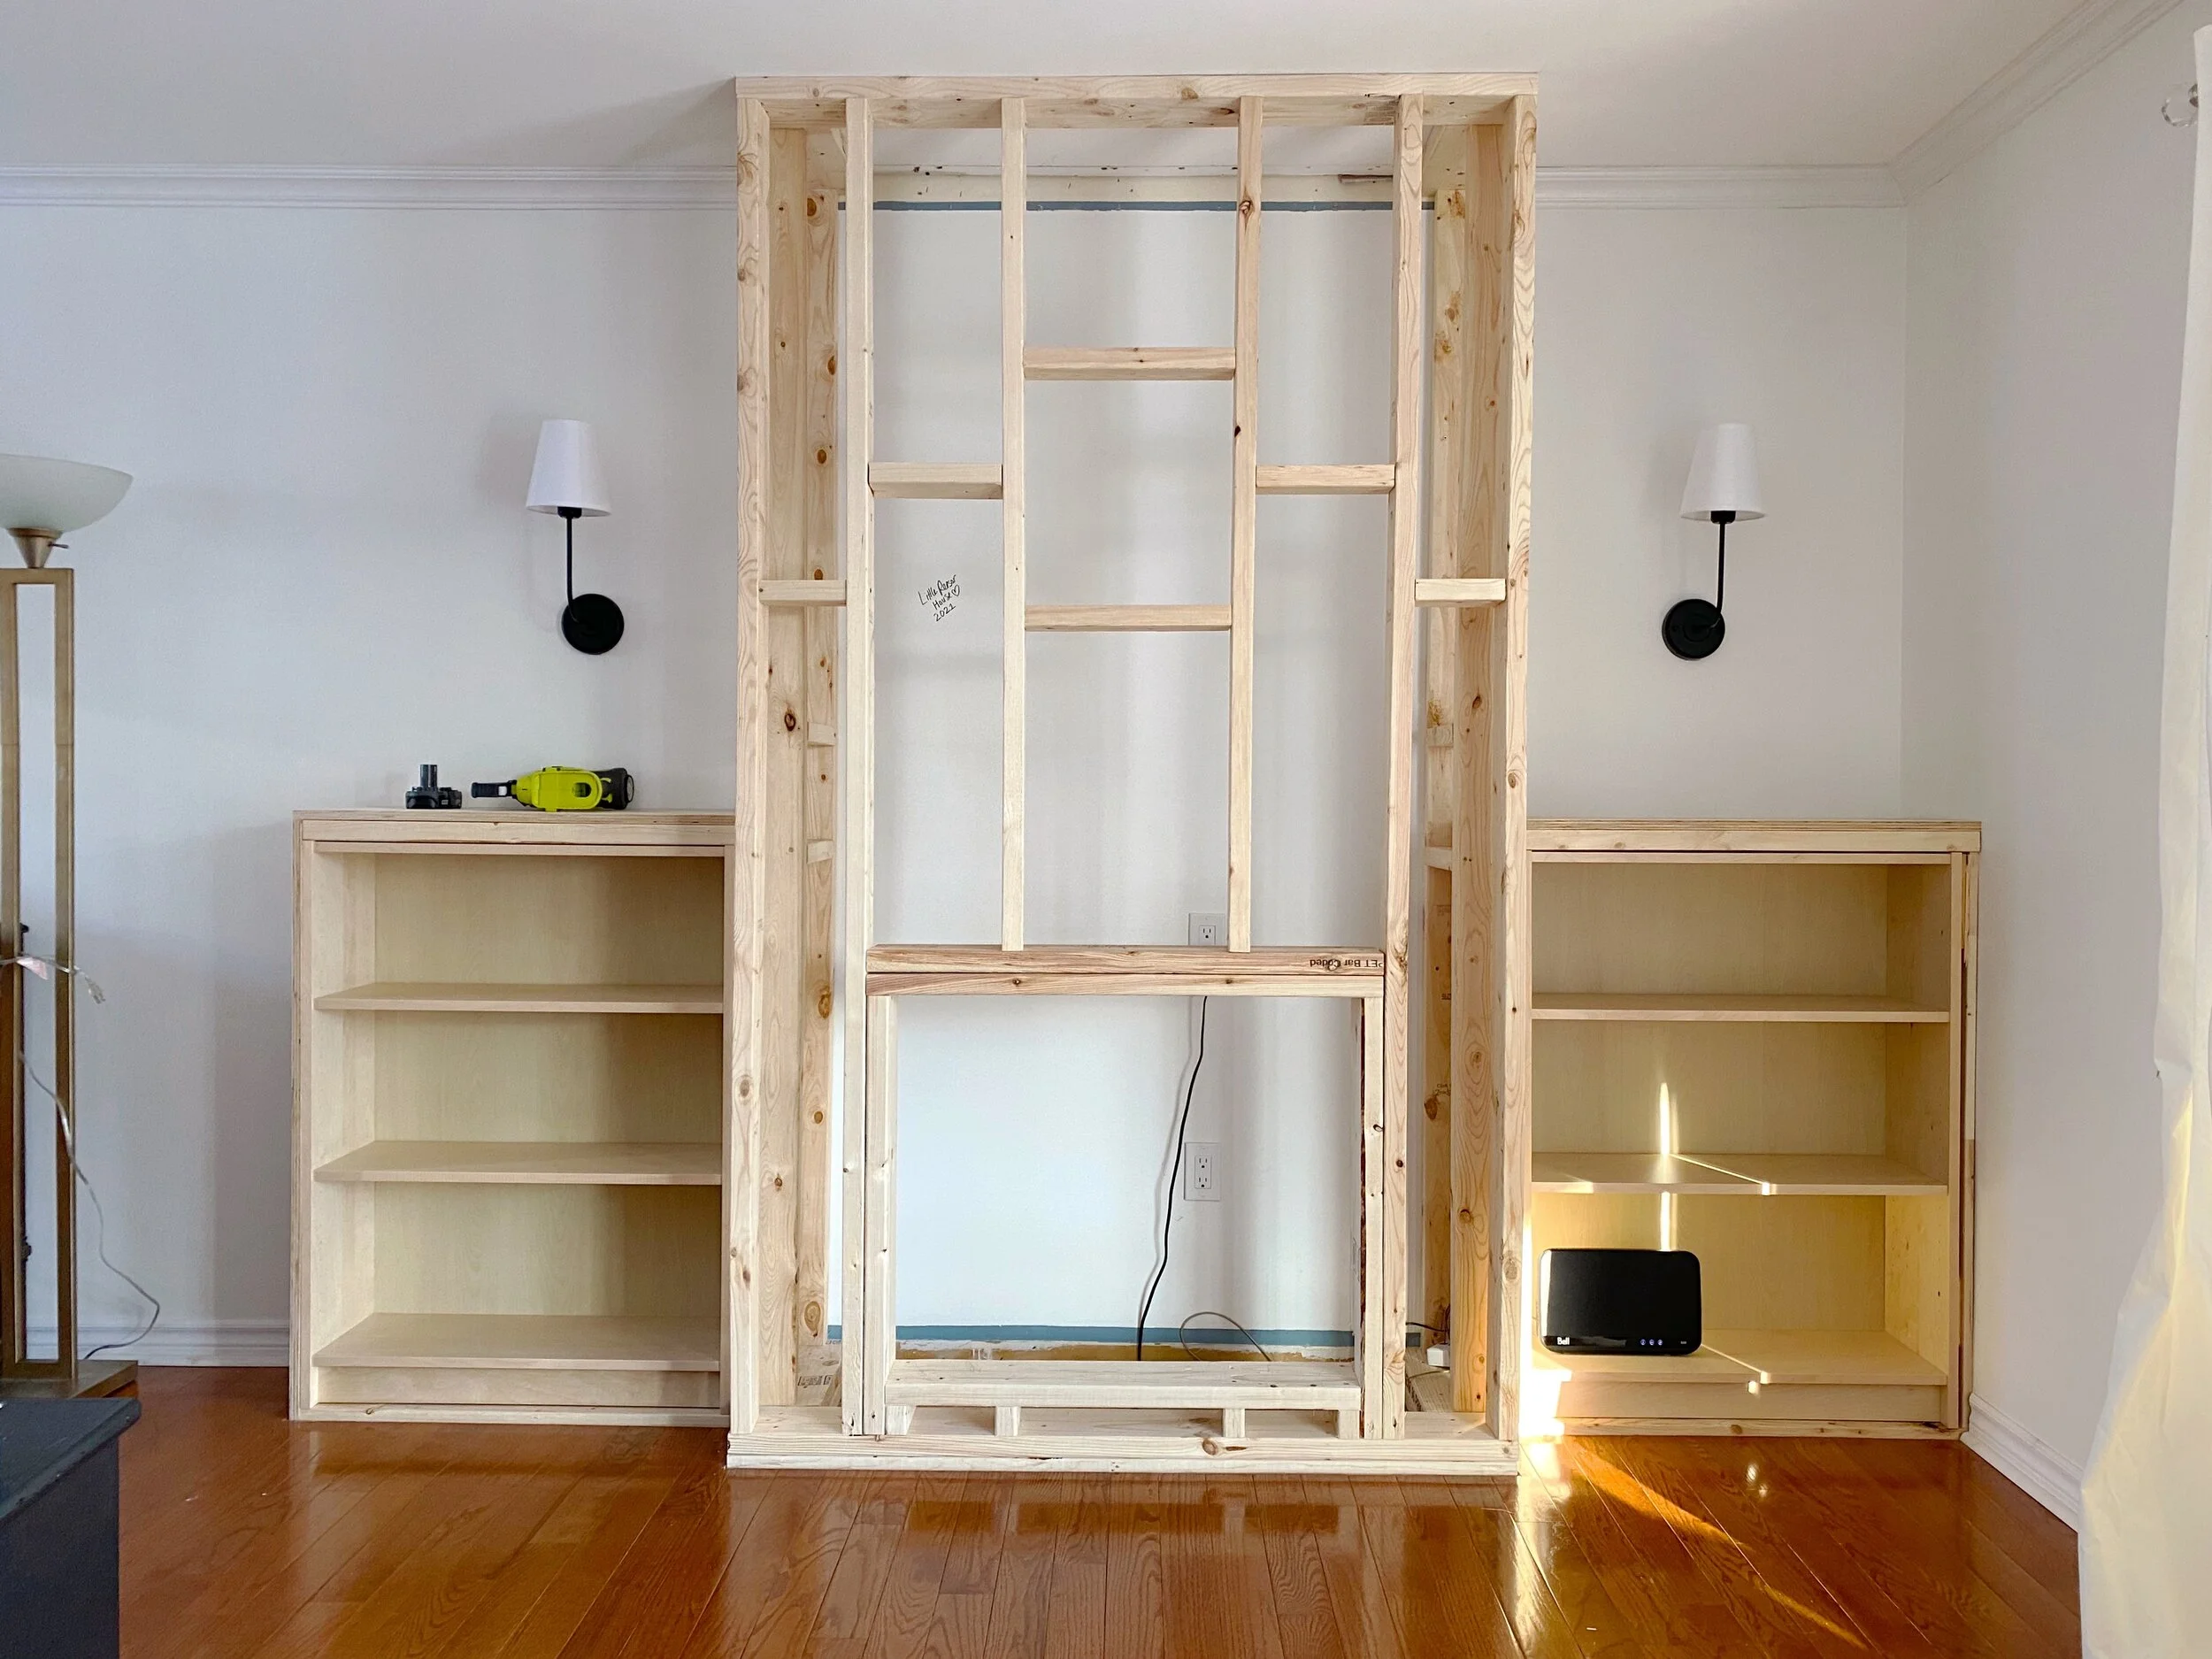
With the stone ordered, I decided to move onto the built-ins. I originally figured that I would get the fireplace section completed first and then come back in to create the built-ins, but as I started rolling, I realized that it would make much more sense to get the built-ins in place. I had already cut the hardwood floor, so all I needed to do was add a 2x4 frame to the subfloor that I could sit the IKEA Billy bookcases I purchased on top of. I decided to go with Billy bookcases because they are incredibly inexpensive and will help expedite the process rather than building the shelving from scratch. However, I did want to bulk them up and build them in so they looked more substantial and custom. I added a 2x4 to the main fireplace frame to give the sides more bulk, added 2x4’s to the top of the unit, and covered the ends and top with pieces of 3/4” plywood. As you can see above, the many different pieces were attached together and secured in place.
To make the unit look cohesive, I decided to face it with 1/2” MDF. I’ll go in with some wood filler to fill any gaps and use some paintable caulk to fill in the cracks. Once everything is filled, sanded, and smooth, I’ll prime the entire unit and then paint it using the same colour as the walls so the shelves blend in.
It only feels like a little bit of progress, but there has been a lot of time and effort put in behind the scenes on processes like decision making, research, and product sourcing. The planning aspect of this project has been so important and essential, but also exhausting and - at many times - frustrating. However, with much of the structure in place now, I’m confident that once we get rolling with the finishes, they will come together pretty quickly. In the meantime, I’m trying to relish in the process and enjoy the satisfaction that comes from each small victory.
Next up will be installing the cement board on the fireplace frame and starting on the stone - eeep! I can hardly wait.


