Fireplace Built-In: Choosing a Direction and Getting Started
My first home project for the year is adding a little cozy factor to our main living room. In case you haven’t seen our home tour, our main living room is right off the front entry and is connected with the dining space. Other than a big beautiful window overlooking our quiet street, this room has very little going for it. Since the day we moved in, I’ve been dreaming of the day I could give this space a focal point and up the cozy factor tenfold. We spend a lot of time in this space so I decided that an electric fireplace built-in would be the perfect project to bring a little more life to it.
When I started planning for this project, I knew it was something I really wanted to DIY myself. My Dad is a contractor and growing up, our family home was always undergoing some sort of renovation to make it more our own. I loved being a part of those projects, and although I was rarely involved in actually doing the work, I spent a lot of time observing, helping to plan, and most importantly, understanding the satisfaction that comes from working on these types of projects yourself. I was (and still am) intimidated to learn all the skills required to make this built-in a possibility, but I also know that failing to try would only perpetuate the intimidation about all these processes. Practice really does make progress.
So I’m going to build a built-in. By myself. And I’m so excited.
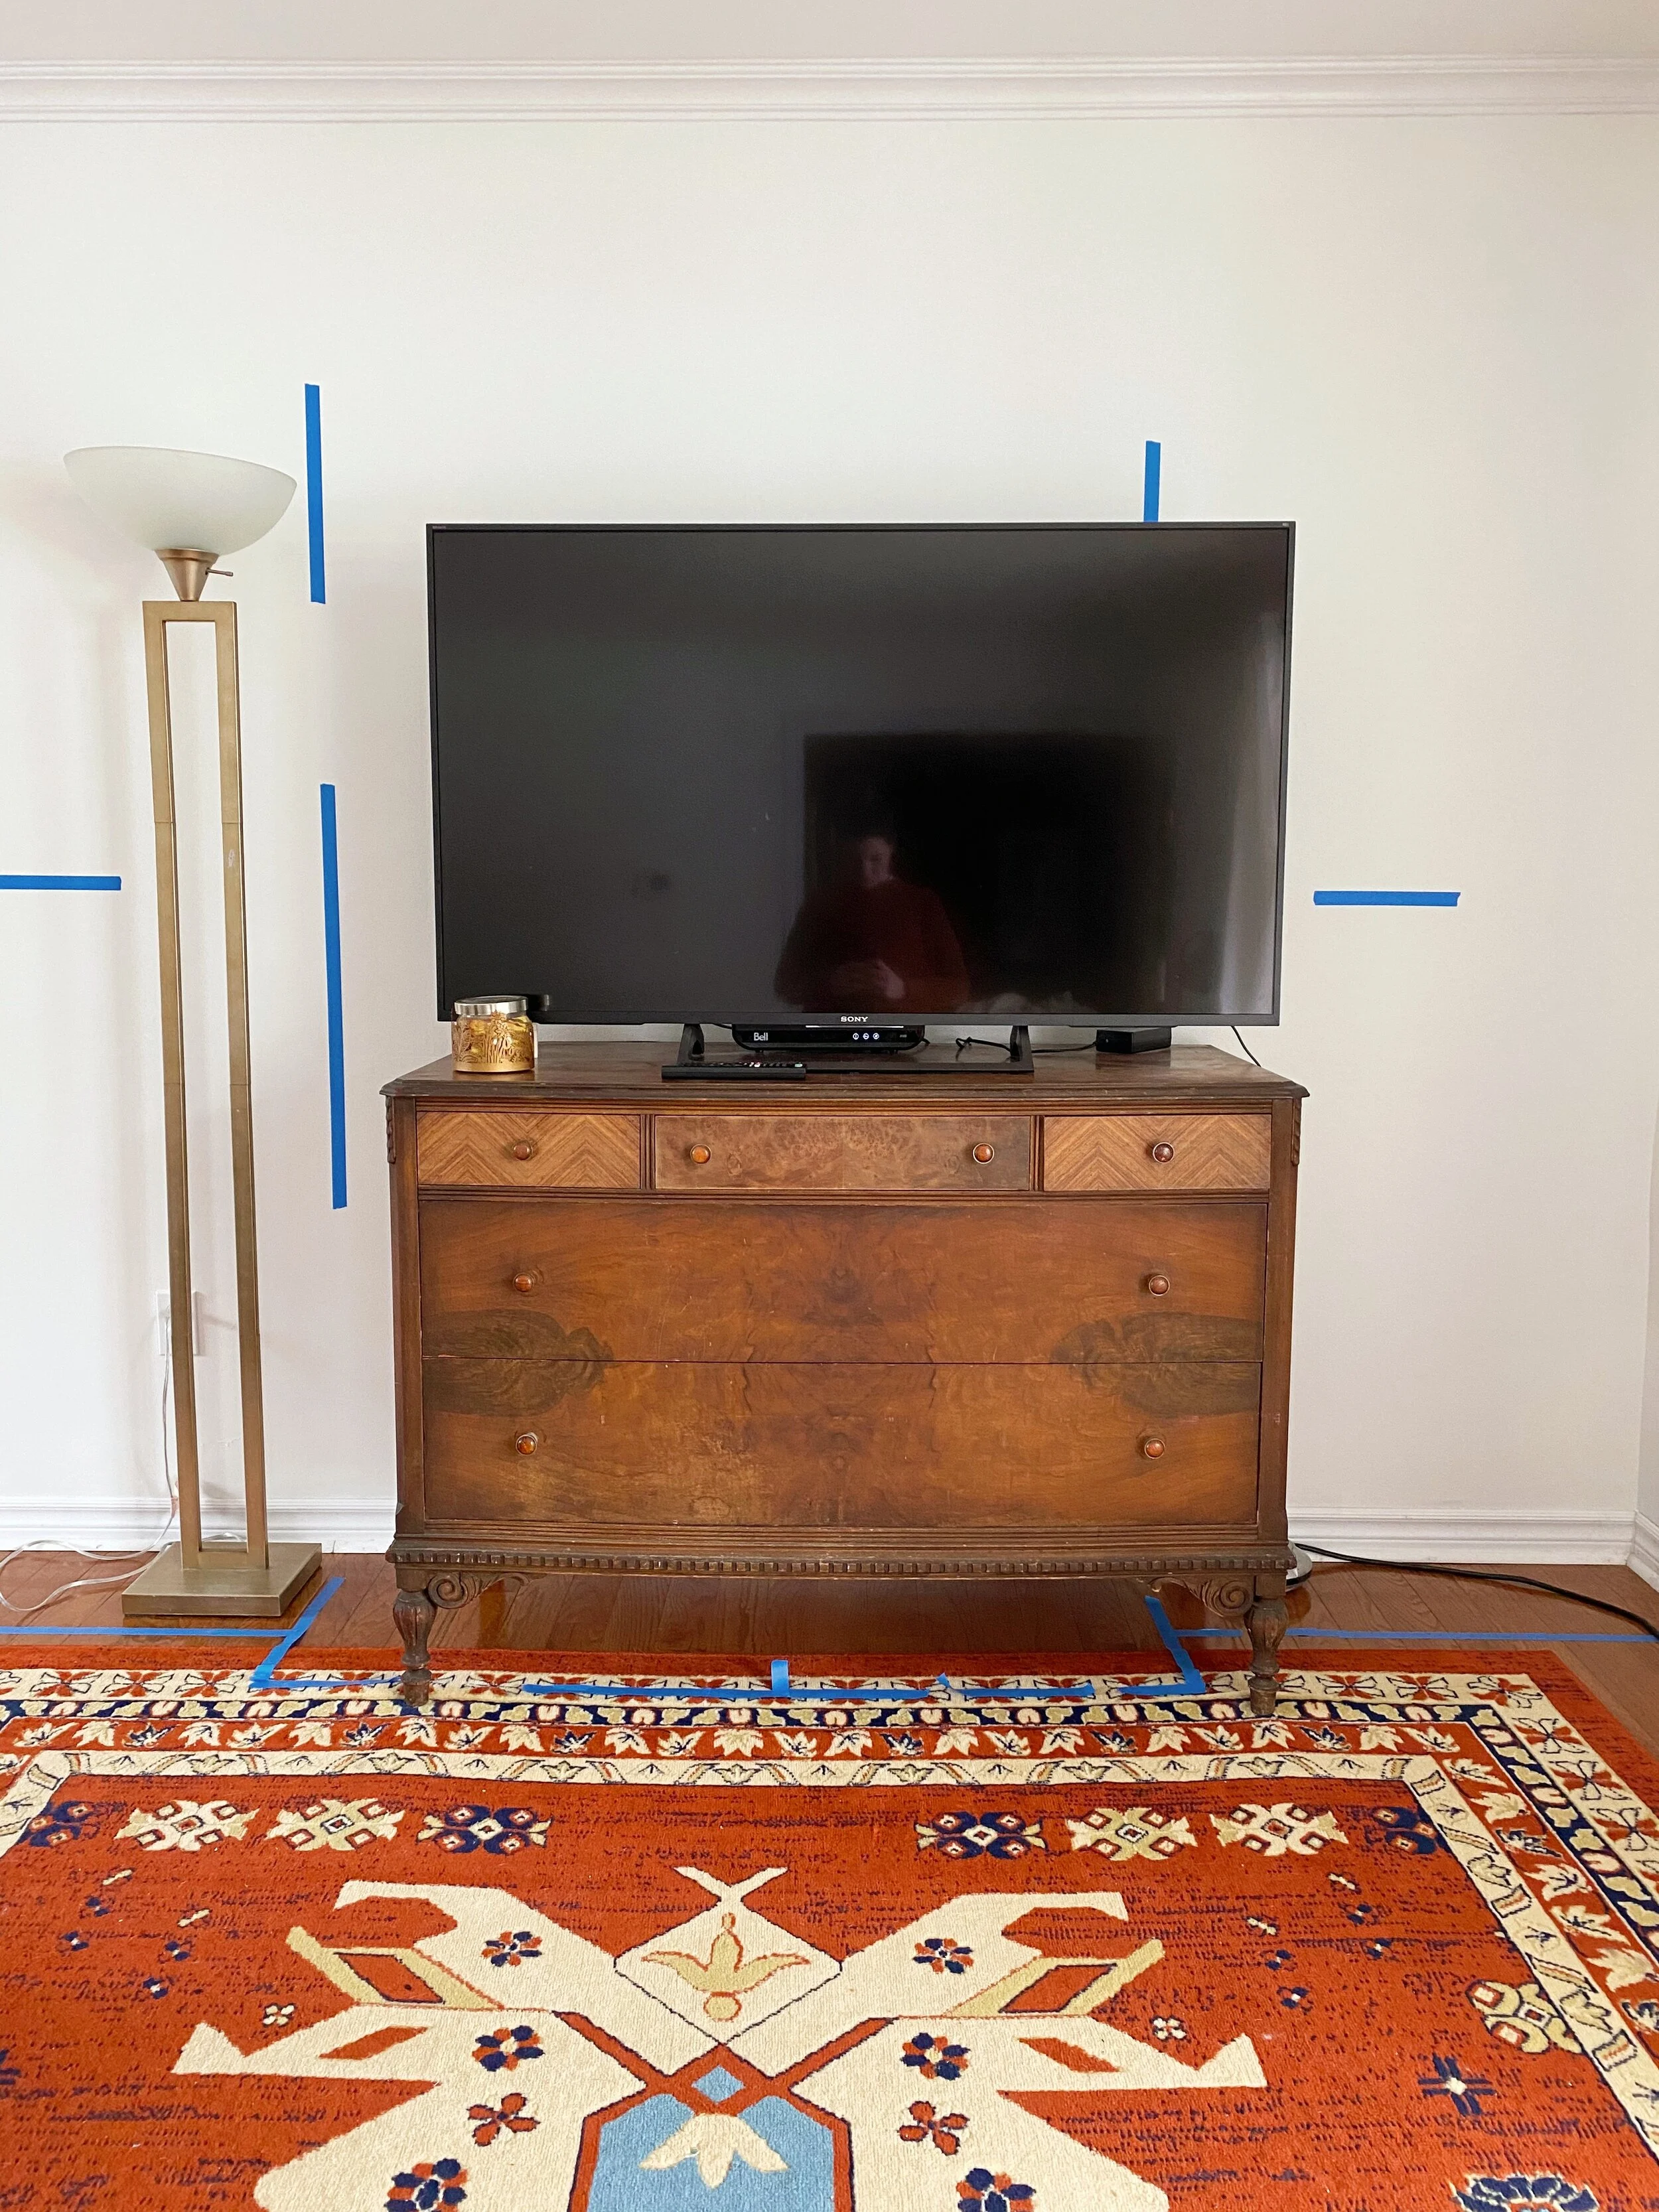
Where to begin? I started by gathering some inspiration photos. I want to build a unit that brings some focus and texture to our space. Ultimately, I landed on a couple of ideas and configurations that could work. I decided to go ahead and plan the project with a floor to ceiling unit to house the fireplace, sandwiched between two half-height built-ins on either side. I didn’t want any built out components on the actual fireplace component, other than potentially attaching a mantle piece separately once the unit is built. I made a detailed, to-scale drawing of our space with specific measurements in place so I had an idea about size and placement and then taped out the footprint on our floor and wall to give us an idea about scale and whether it felt right. Some things I had to consider when planning the size was that our 55” tv would be mounting on the top and we wanted a plug-in electric fireplace unit.
Inspiration image from House of Jade Interiors
Inspiration image from Cherished Bliss
Step two was gathering and preparing the parts of the project that were important to have in place before starting the build – like the actual fireplace unit, the tv mount, and the hardwired sconces for either side. Having these items on hand before beginning was so useful in the planning process. I could figure out the exact dimensions of the fireplace to build into the frame, plan where the studs would perfectly line up for the tv mount, and have an electrician come in to ensure our electrical components would be safe and in the perfect place. Which reminds me – electrical is one thing I would absolutely not do myself. We hired a professional to add in some hardwired sconces, move a couple of outlets, and create a new circuit for the fireplace to be plugged into.
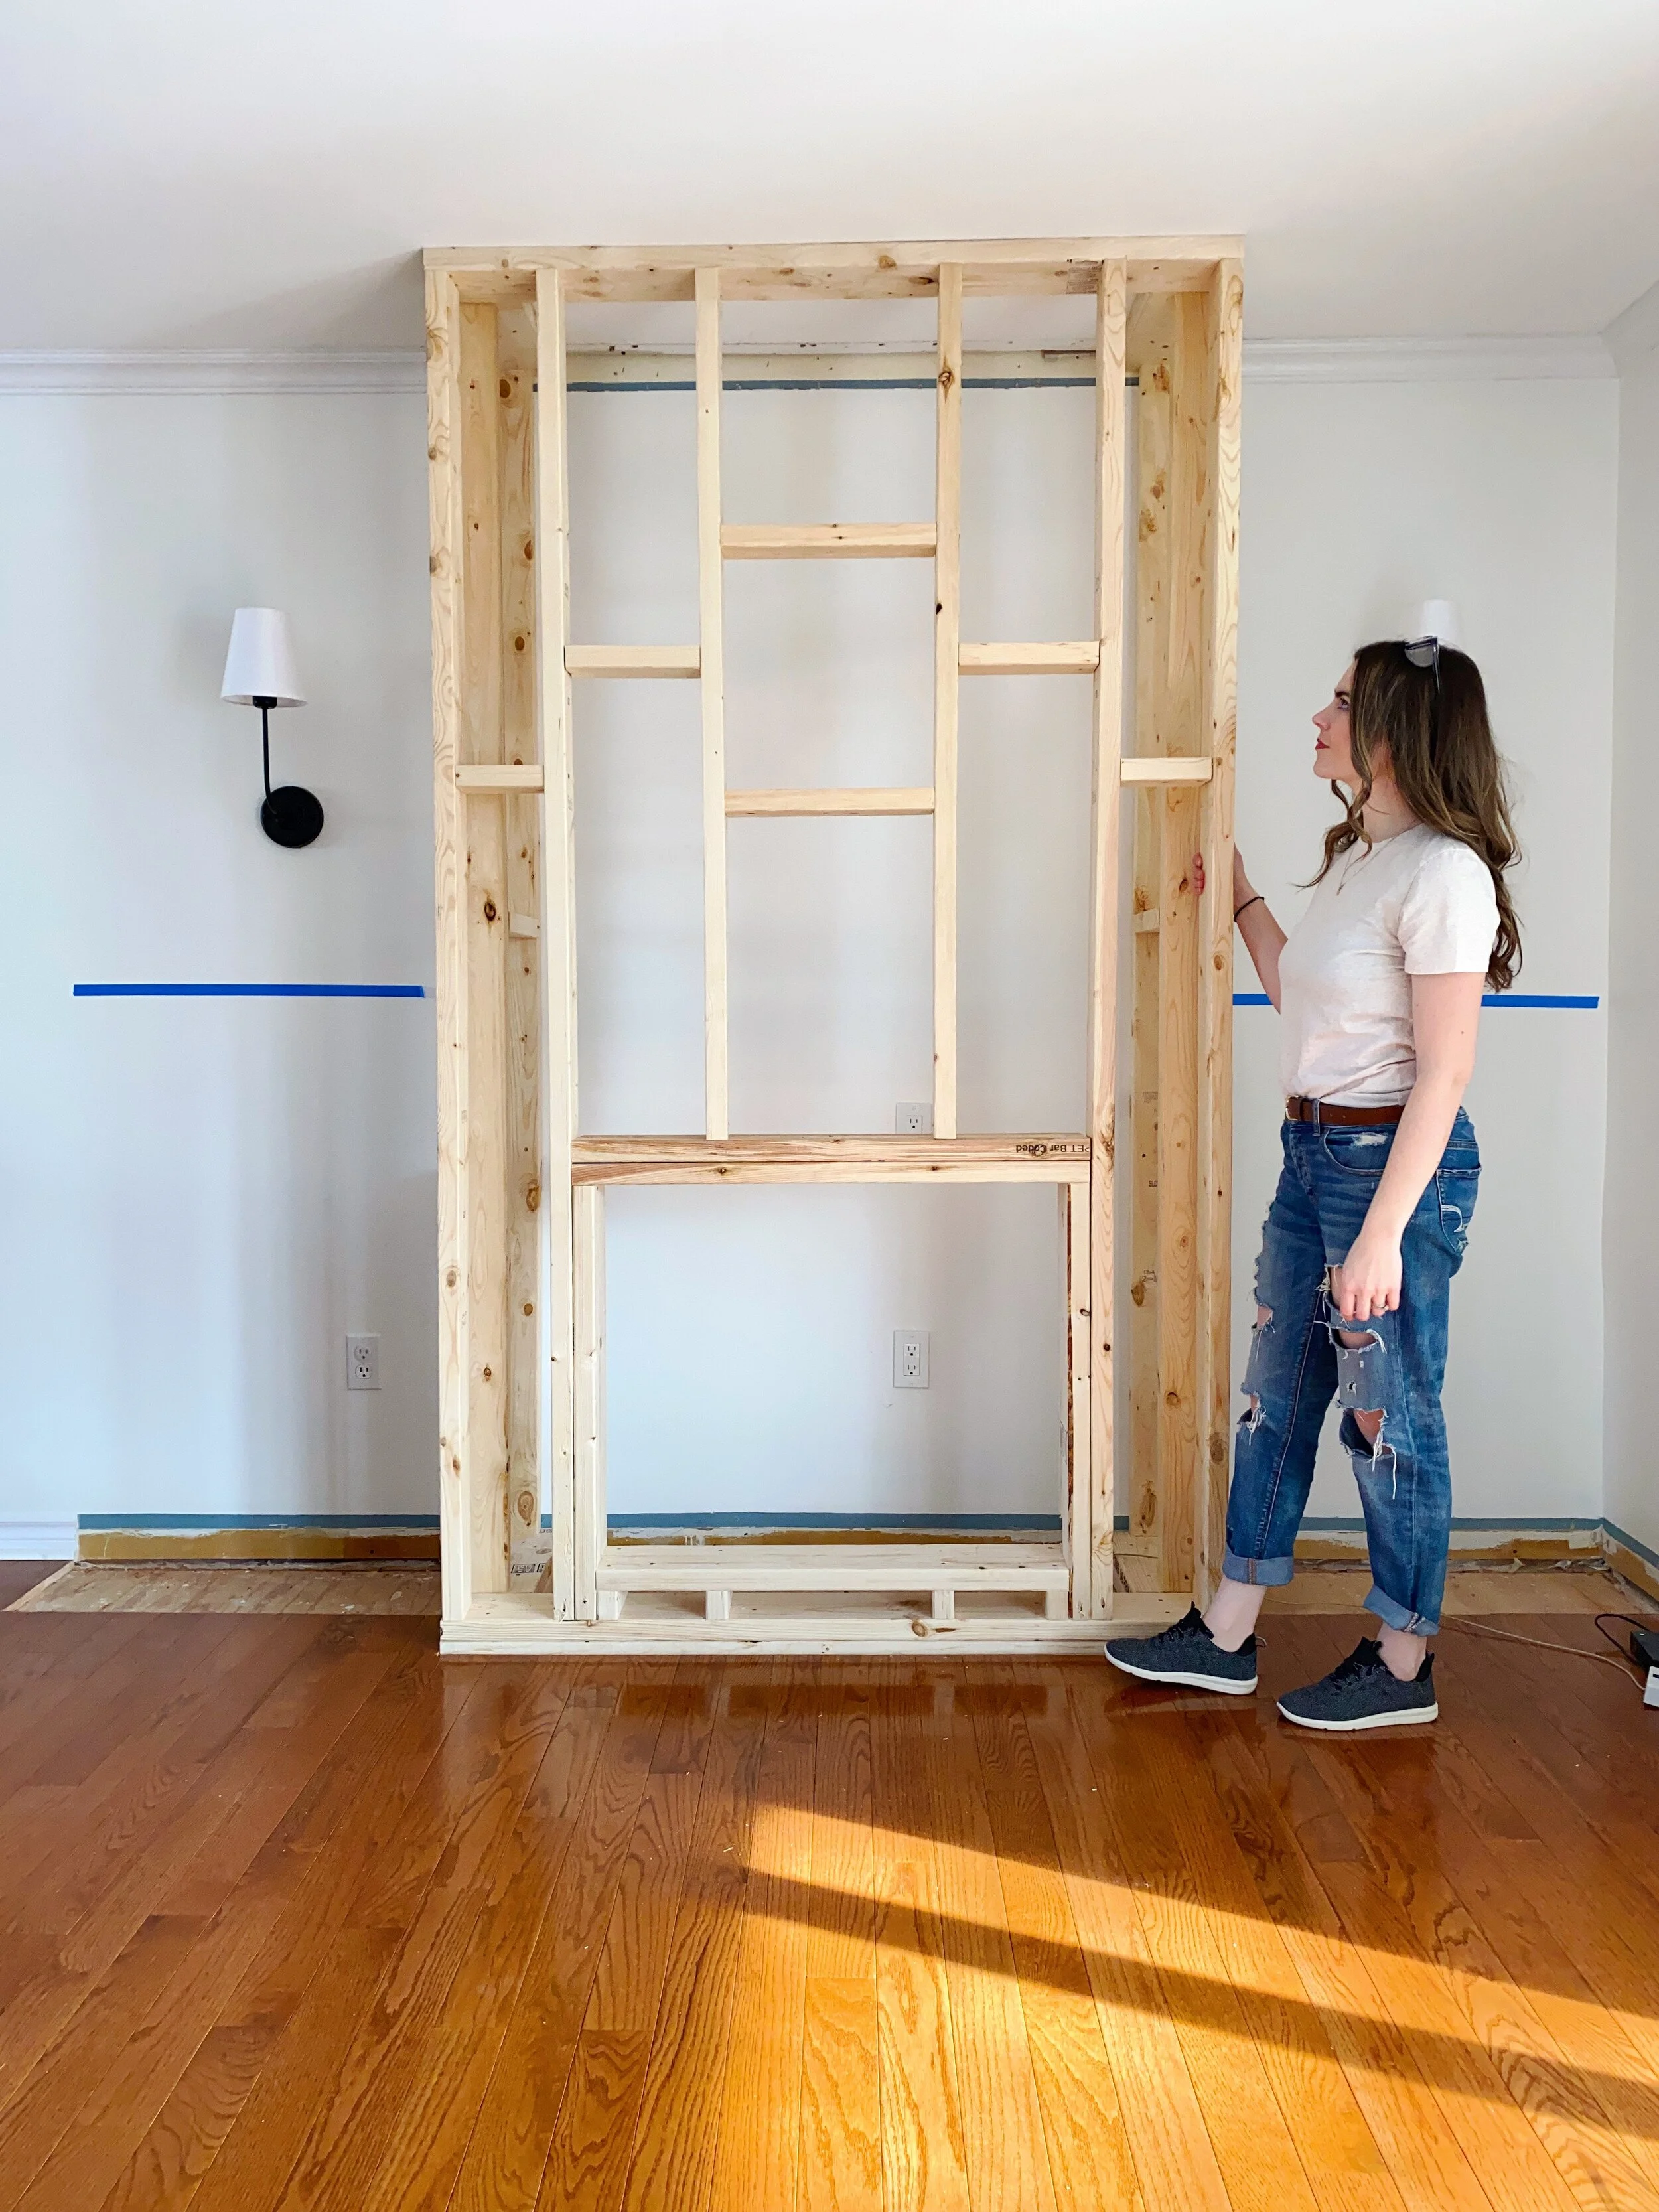
The next step was framing the fireplace unit. This post is going to make this process seem like it was pretty easy, but I want to acknowledge how much planning and preparation went into this. First of all, I have never framed anything in my life and this process also required me cutting through our hardwood floors, so I really wanted to make sure I was doing it right. I spent a lot of time researching framing basics, materials, and methods and then brought my new found knowledge into a series of drawings and plans that were specific to my space. I wanted to have a really clear picture about where I would be placing every single piece of wood to ensure that I was building this thing correctly. I also needed this drawing to plan out the materials and tools I would need so I had everything lined up and ready to use.
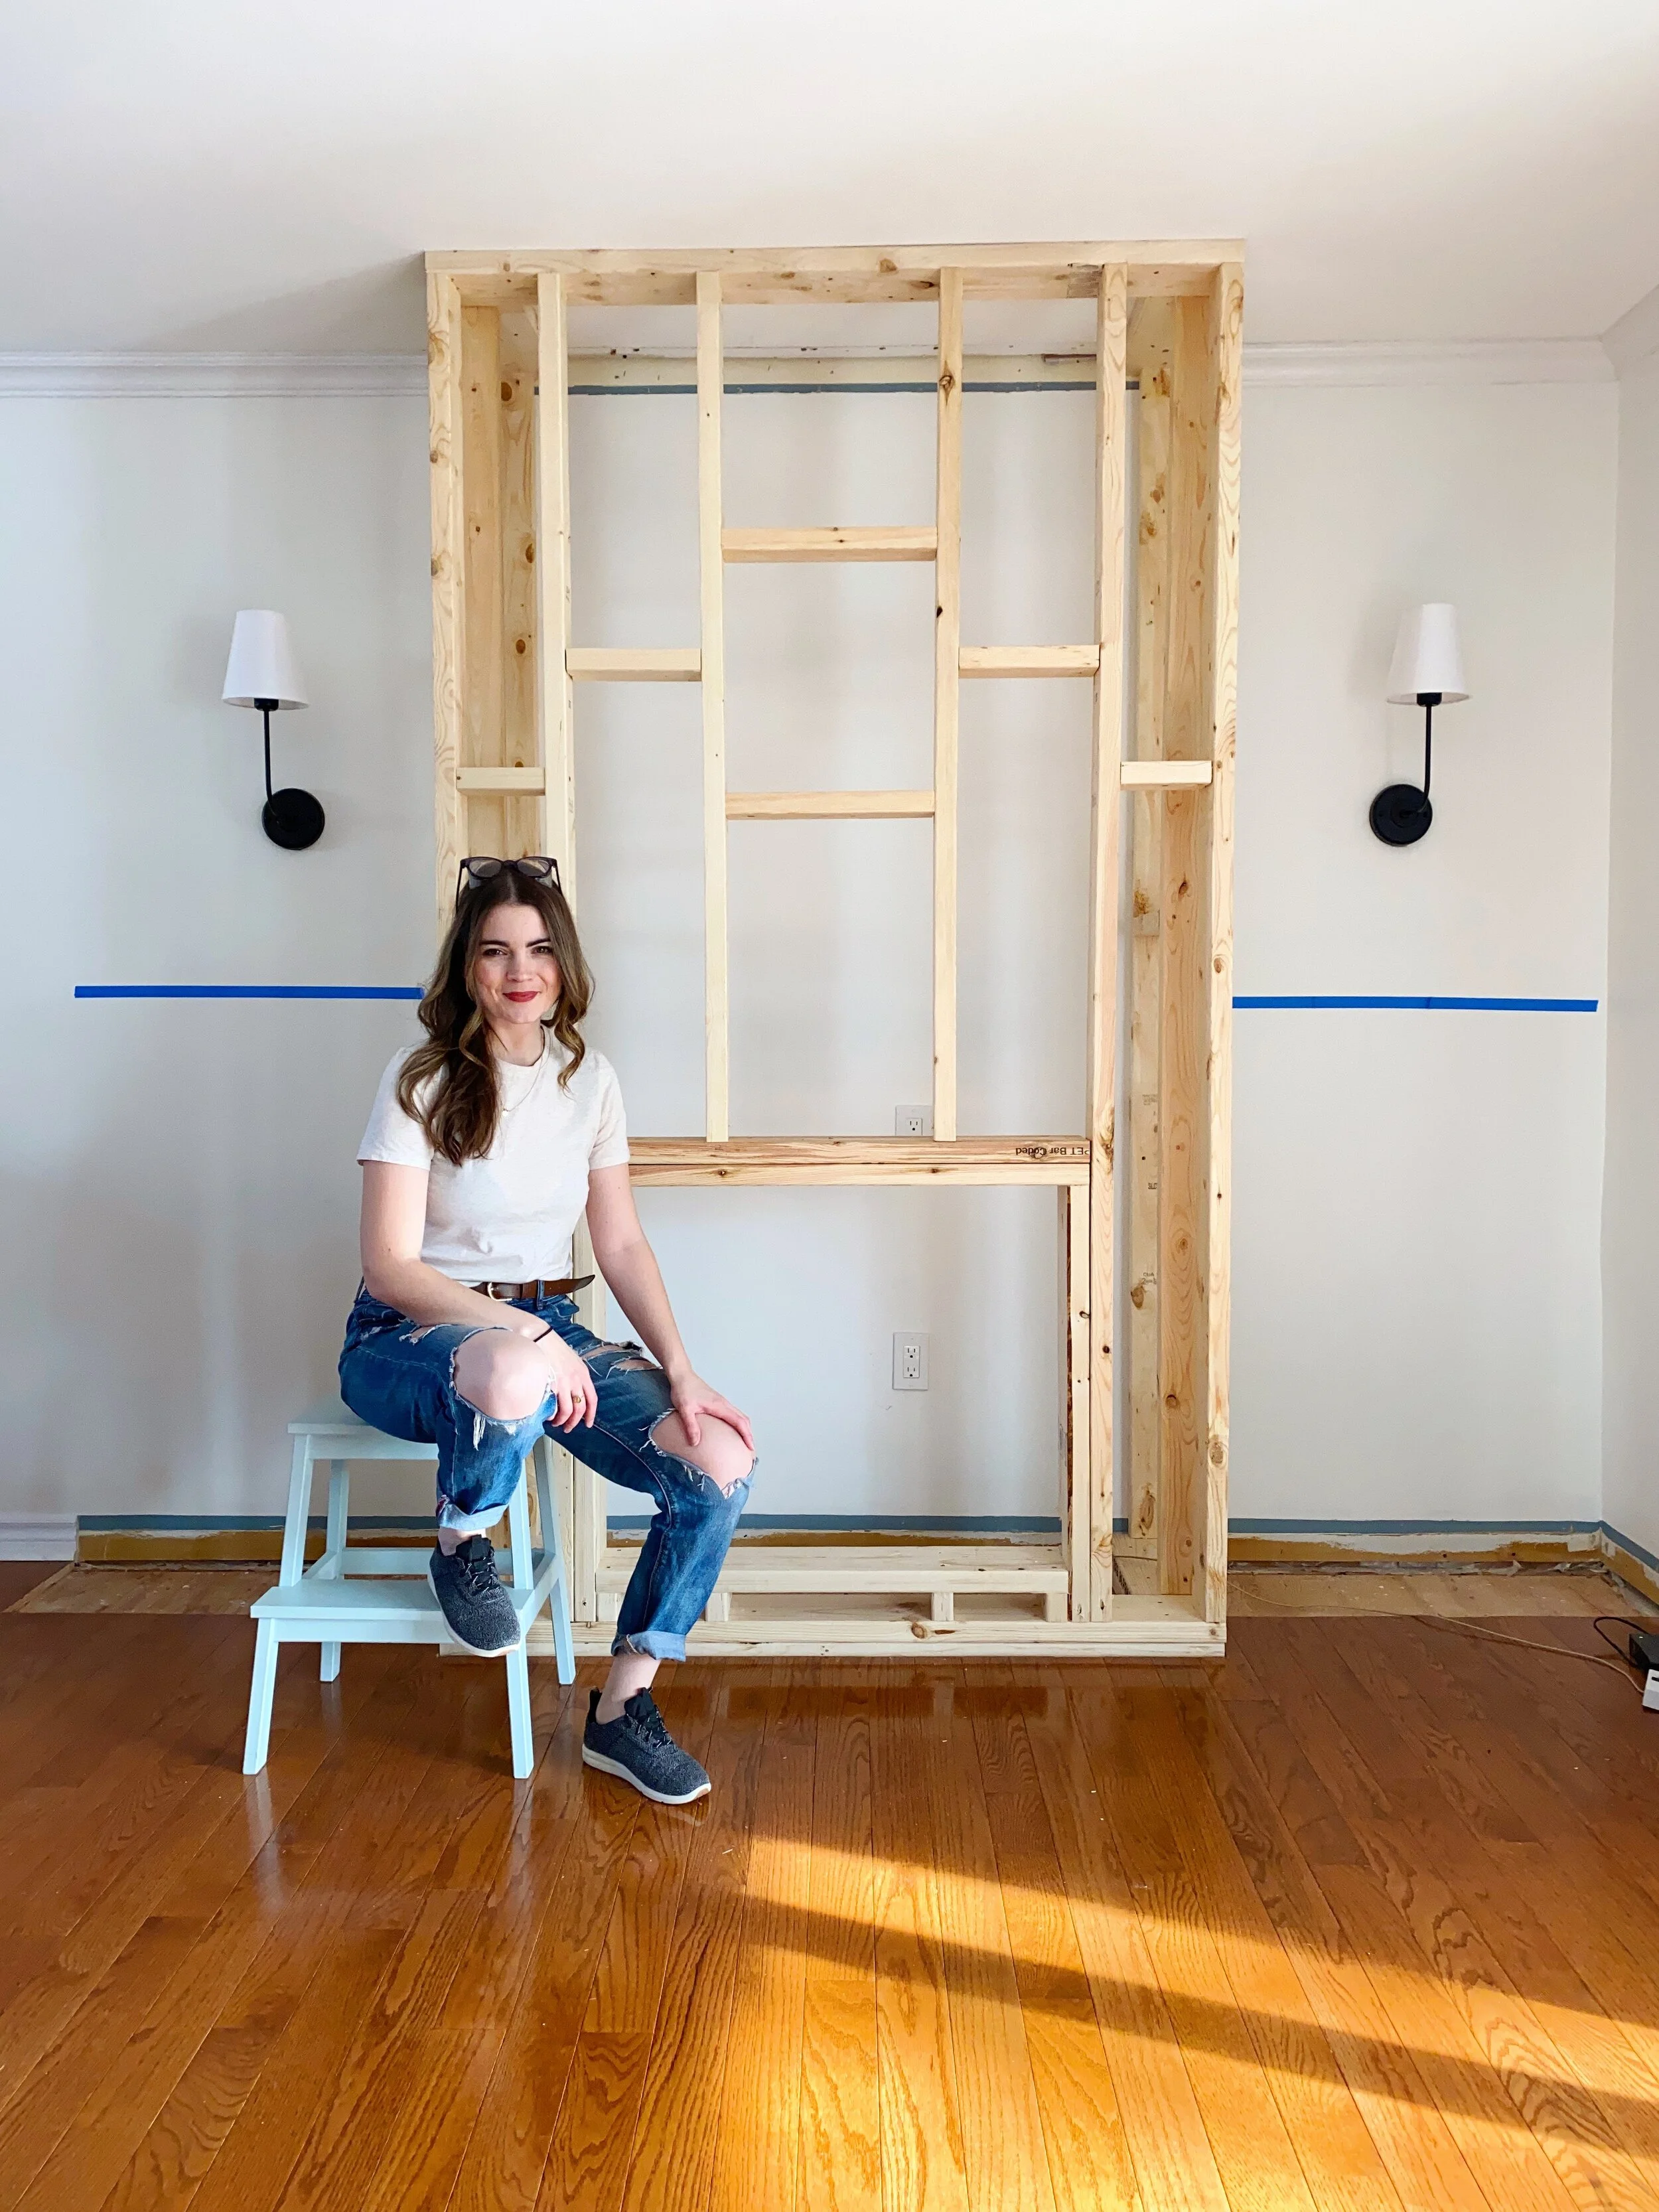
I opted to use 2x6s for the top and base plates, as well as to frame out the fireplace insert. I decided to go stronger to ensure I kept my options open for finishing materials, as I am considering adding a stone veneer and wanted to ensure this thing could carry some weight. Everything else was filled in using 2x4s. By this point, I felt about as ready as I would ever be, so it was time to go for it!
I accurately taped out the footprint on my hardwood floor and drew a specific dark line on the tape that I could follow with my saw. I went in with my circular saw and cut through the hardwood, getting as close to the walls as I could get. I had to then use a dremel tool to cut through the baseboard and the edges of the hardwood that I couldn’t reach with the circular saw. It was terrifying making these cuts, but once I got going, I felt confident in my decision to do all this. Just as a note, I had to adjust my circular saw to the exact depth of my hardwood (I had a spare piece on hand that I could compare against) and be really smooth but firm in my cuts. I was lucky and didn’t hit any nails, but it definitely was a possibility.
Once I tore out the cut floor, I had a perfect footprint for the unit. This was probably one of the most intimidating parts of the process so far, so I felt really proud of myself once I got through it. The framing part felt way less intimidating and came together really quickly once I got rolling. I followed my exact plan and had the entire frame built within the weekend.
I can’t believe I did this. I am only a couple steps in on the entire process, but I feel so proud that I’m here. My next step is deciding on the finish so that I know how to proceed. One possibility requires cement board while the other only requires drywall, so I’m back to the drawing board to meticulously plan out the next steps. I can’t tell you how helpful planning has been in tackling this. I have yet to learn many of these skills, but taking the time to plan and prepare has made a world of difference in my confidence. I’m moving forward feeling nervous, but confident.
I’ll be back soon to share more progress as I start to narrow in on the aesthetic design. I’m currently drawing up my two main ideas because a visual always helps with the decision making.


