How-To: Refinish an Old Wooden Outdoor Table

Let me introduce you to…our tired outdoor dining set. Believe it or not, this set is only about five years old, but thanks to a handful of Canadian seasons exposed to the elements, it already looks like it has lived a very weathered life. I’ve known this table set has needed updating for a while, but now that it will be living on our covered deck at our new home, I felt like it was definitely time to give it the tender loving care it deserves.
On our most recent trip to Virginia to visit our new home (yep, still haven’t made the move), I made this my project. It was extremely straightforward and gave me an opportunity to be outdoors soaking in the beautiful weather while I worked. But before I get ahead of myself, let me give you a better idea about some of the wear on these wood pieces.
Before Photos

The bench tops and table top were very worn from direct exposure to the elements.

The tops were worn, but the skirting and legs were still in pretty decent shape.
The majority of the wear and tear was on the horizontal surfaces, such as the tabletop and bench seats. This set used to sit on our patio beside our pool, so it was exposed to direct sunlight and direct rain. There is some warping to a few of the wooden slats, but thankfully the set is still fully functional and safe to use and the rot was only on the surface. In fact, the skirting and legs didn’t look very weathered at all.
That being said, I knew that if I was going to make the effort to refinish it, I wanted the new finish to last a very long time and wanted to make sure it was consistent across the full piece. My plan was to sand the entire piece back to bare wood and refinish it with either a paint or stain.
Step 01: Sand, Baby Sand
Since the majority of the finish had flaked off the surface already, I decided to jump straight to sanding rather than using a chemical stripper. I have taken that route in the past when I refinished my dining table (you can read about that process here), but since this table set is meant to be outdoors, is made of solid wood, and I wasn’t as concerned about it being perfect, I went straight to the sandpaper.


I started with a more coarse 150 grit sandpaper and removed the entire finish, including on the legs and skirting of each bench and the table. This part of the process only requires time, so I popped in my earbuds and indulged in a few podcasts while I made my way through all the pieces. I fully sanded the benches in one afternoon nap period and the table in a second. I decided to use a stain and sealer product rather than paint (more on that in a minute), so I opted to remove the entire finish; however, if you are simply painting, you may only need to sand the rough and chipped areas.
Once I had removed the finish from every surface, I changed my sandpaper to a finer 220 grit sandpaper and gave every surface a once over to make sure everything was buttery smooth.

One of the fully sanded benches.
Step 2: Select a New Finish
I’m going to get some hate for this, but even after removing the finish to reveal all the wood, I decided not to go with a traditional wood finish. Now that I’ve upset you, let me explain why. Some of the wood surfaces (in particular, the table top) had some grey staining on the planks from the raw exposure to the elements that ran deeper than the sanding could remove. If I applied a traditional stain finish to the piece, those areas would noticeably take the stain finish differently than the other areas and I wanted a really consistent, fresh look. Secondly, our deck is painted entirely dark brown. Floor boards, railings, ceiling - all dark brown. In considering the bigger picture for our deck, I wanted the table to offer a bit of contrast to the other elements, so I didn’t want the same type of finish it originally had. And finally, I really wanted this project to be long lasting, even if the table wasn’t directly exposed to the elements like it had been before. All of these factors lead me to the finish I ultimately settled on.
I selected Cabot’s Solid Color Acrylic Stain and Sealer in one of their pre-existing colors called Acorn. This product has excellent reviews for outdoor projects. It applies like a stain in that it soaks into the wood (which is why full sanding is required), and in doing so, acts as a sealer to prevent future rot. It comes in a variety of transparencies, so it’s definitely possible to achieve a more traditional stained look with this product, but I opted for the solid finish so it looked more like a painted finish without the risk of chipping. With this type of finish, you can still see the wood texture, but it almost looks and feels like a composite material when all is said and done.


Step 03 - Apply the Finish
By this point in the project, I had a curious helper who was eager to be involved. The orbital sander seemed a little bit intense for her to operate, so I let her jump in on painting instead. All to say, if my five year old can successfully apply this stuff, so can you!
I went section by section around each bench and the table, brushing the product on in the direction of the wood grain of each piece. It was a little tedious, but very straightforward. I started with the top of each bench and then worked my way down and around the legs, making sure to catch and brush out any drips as I went. I tried not to rebrush areas too often, as I found that the product started to dry pretty quickly while working outdoors. I ended up applying two coats for full coverage, allowing 24 hours of dry time in between coats (although not necessary).


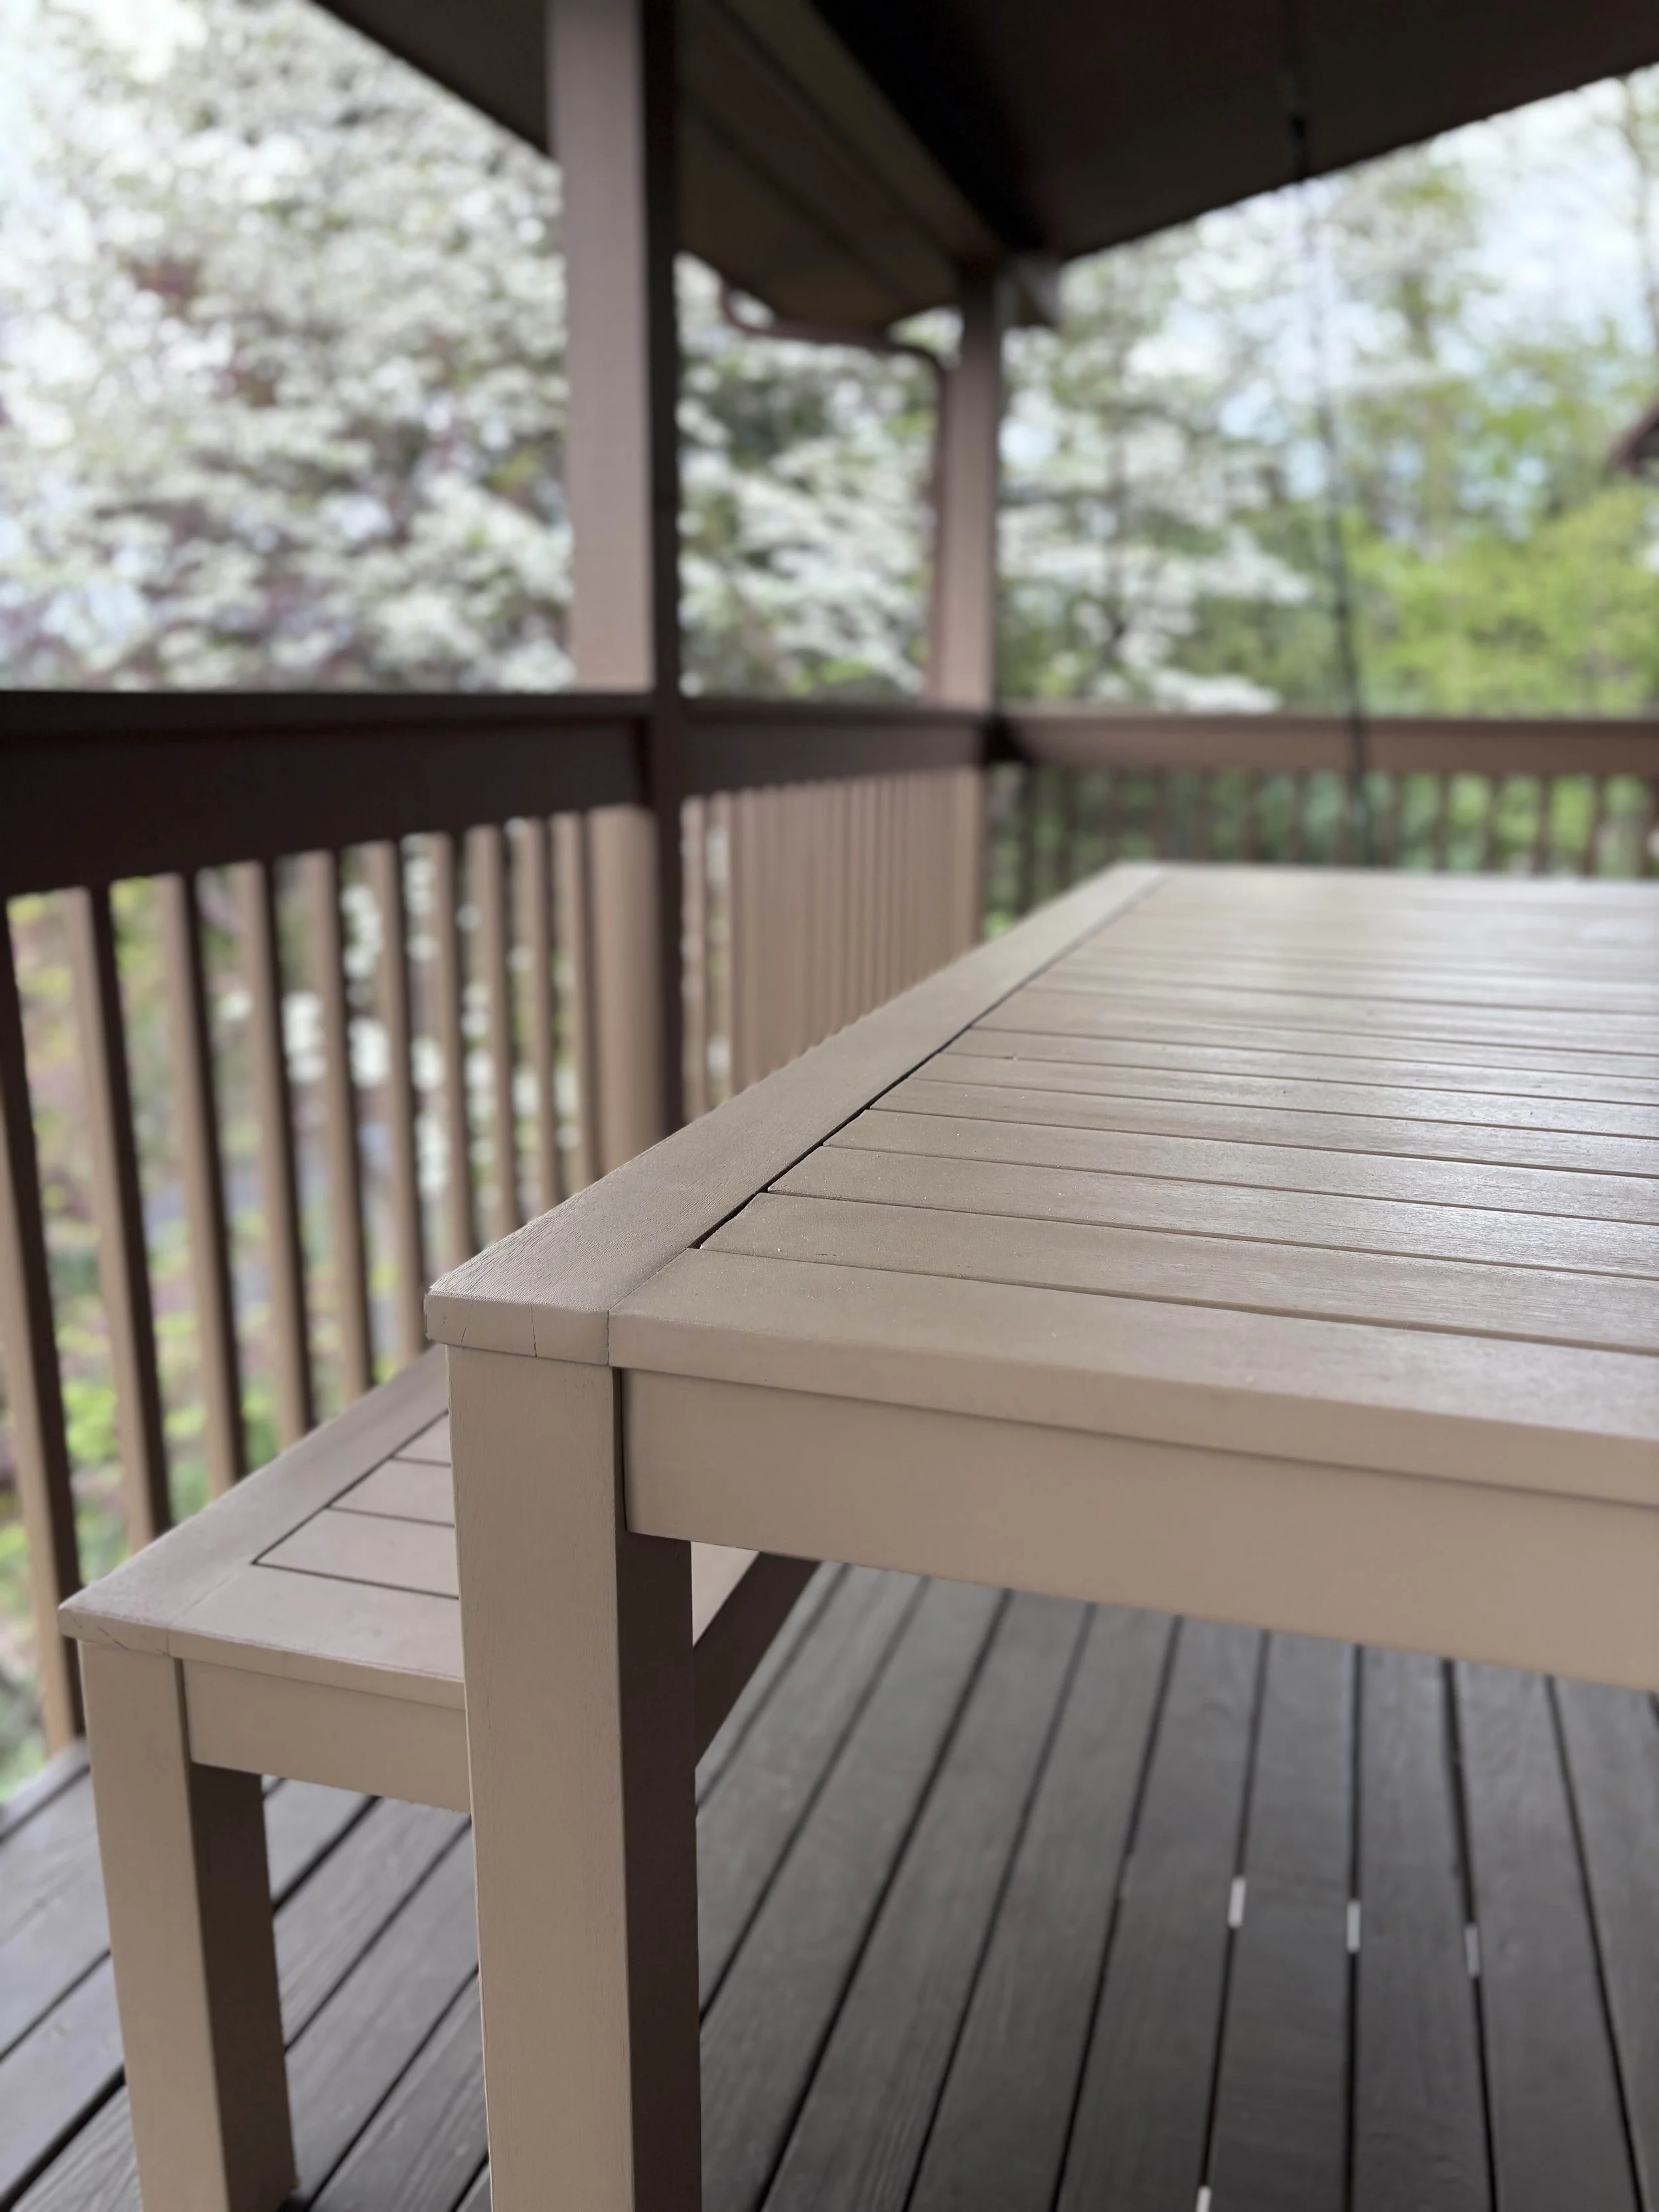
The Finished Product
While far from beautifully styled after photos, I did want to include a few photos of the finished result. As you can see, the wood grain and texture is still evident, but the entire set feels very fresh and smooth to the touch. It will be easy to spray off or wipe down, but will also hopefully last us quite some time before it needs to be addressed again. I think we will be enjoying lots of al fresco dining out on this deck and already can confirm that it makes a great home base for the bubble machine.


We are so close to making our move. In fact, I can almost feel it in my bones that this will be our home in just a short matter of time. I’m already looking forward to sharing the journey of making this beautiful house our home, but in the meantime, thank you for your patience with me as I’ve massively scaled back on what I have been capable of sharing here over the past couple of years (still stupidly crazy to me that it has been a couple of years). It has felt like honey to the soul to tackle some of these mini projects during our short visits to our future home and I already know there is more for me to share. God is faithful, life is so very unexpected, but oh so darn good.

Disclaimer: This post contains some affiliate links. Read our full Affiliate Disclosure for more information.