A (Mini) Full House Makeover
It was Christmas 1999 and my grandmother presented both my sister and I with a dollhouse she had custom made for each of us. They were created from kits, but no detail was left undone. She had wallpapered the tiny walls with floral prints, hand-painted the floors, cut and glued tiny little artworks into tiny little frames, and crocheted miniature floor rugs. The pillows on the beds were carefully stuffed and glued in place. The furniture was perfectly arranged in each room. These little homes were beaming with love and epitomized my grandma - she was creative, thoughtful, and loved pouring herself into projects for the people she loved.
A few years ago, my mom dug the two dollhouses out of a small closet as she was purging her house of our childhood items. I happened to be over at the time and she asked if I still wanted mine. Already having welcomed a daughter of my own, I definitely wanted to keep it to redo for her to play with one day, but more than that, I had an idea to makeover my sisters old dollhouse for her daughter to enjoy. And that is where this project began.
Before
Before
The original dollhouse was a little worse for wear. The decor my grandma had created nearly 25 years ago had seen better days. The wallpaper was peeling, the carpets were dated, and some of the furniture pieces had fallen apart, not to mention the paper window trim that had peeled away and ripped. The house needed an update. In thinking about my precious niece, I decided to go ahead with a Key West-inspired design. My sister and her husband have special memories associated with that area and had decorated my niece’s bedroom with a palm and flamingo theme when she was born. I thought it may be a cute opportunity to makeover the dollhouse with that same influence too.
The Bones
The first thing I did was strip the entire house down to the core. I gently removed the window trim pieces and discarded any pieces that were damaged. I pulled up the old carpet and peeled back the wallpaper as best as I could. I saved the furniture for the time being, as I didn’t know whether or not I’d need to reuse some of it.
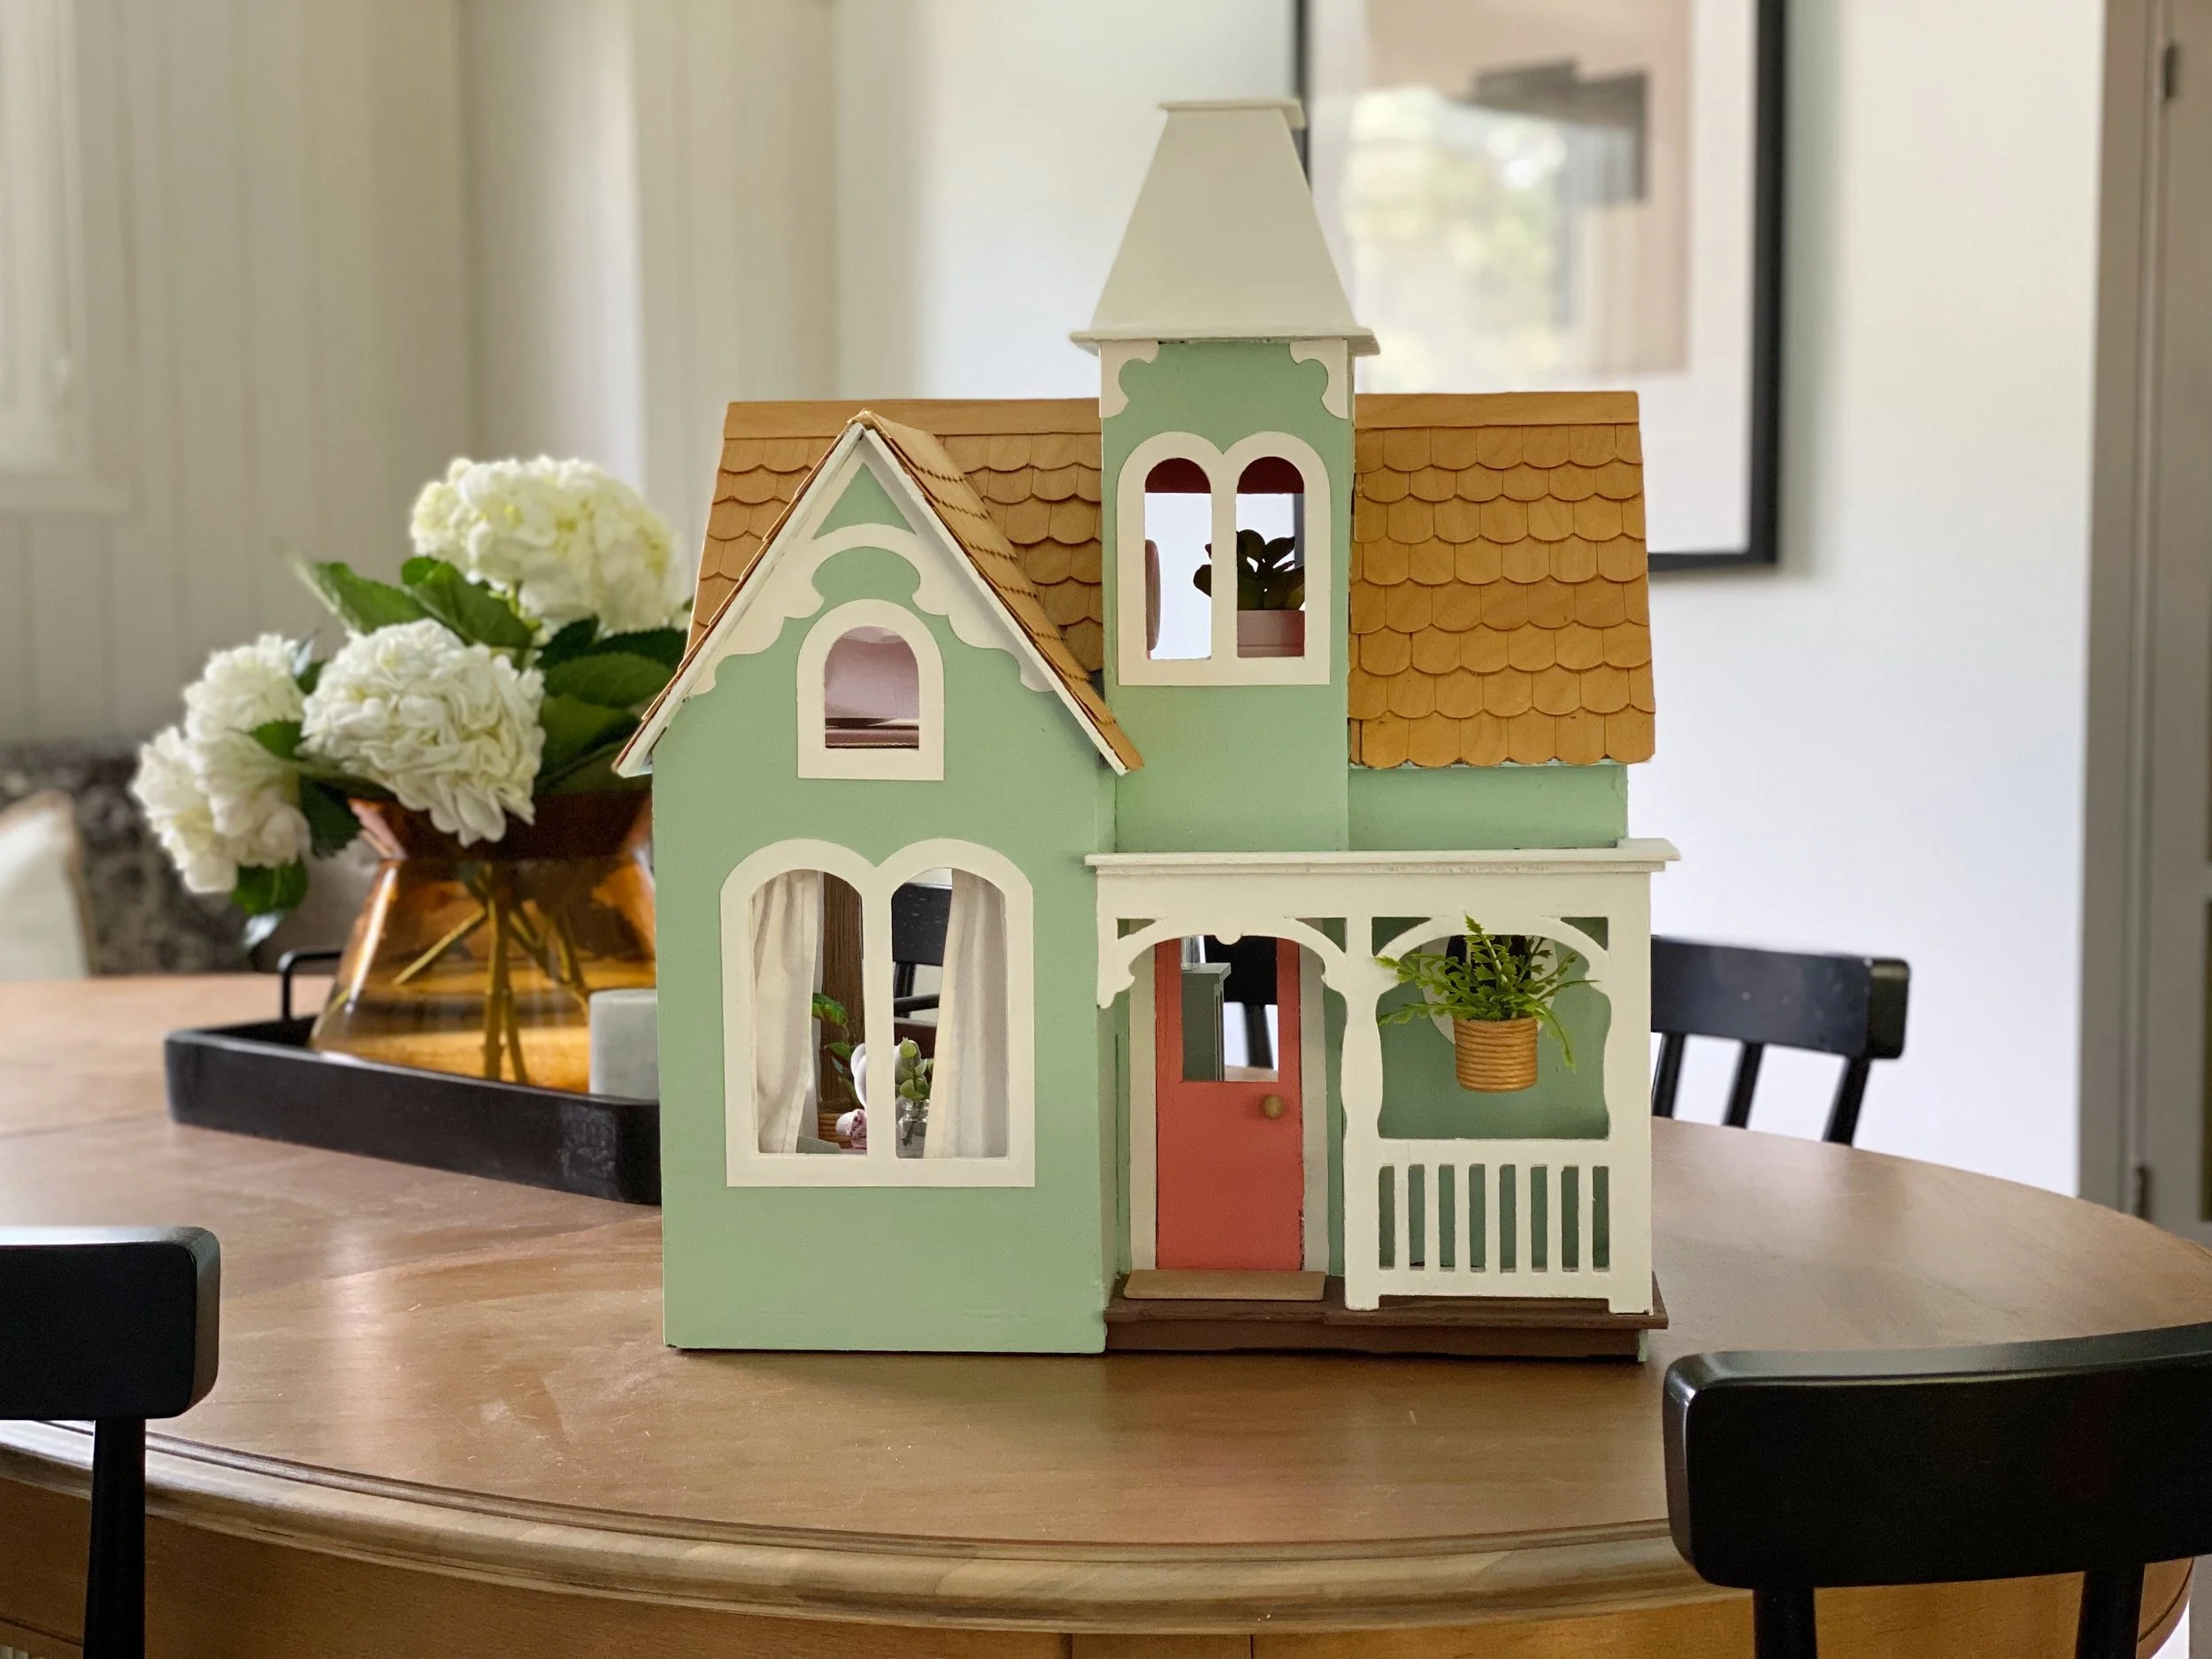
Once everything was removed, I started painting. The first colour I chose was the exterior colour, a sea-glass hue of regular craft paint. It took a few coats to cover the original navy, but I couldn’t believe how it instantly set the tone for the new design. I also did a few coats of white on all the trim and accent areas of the exterior to freshen it up. I had removed all the window trim pieces, but carefully painted them each in the same fresh white to give them a new life and traced and recut new trim for the few windows where the trim was damaged. I glued the trim pieces back into place and chose a bright coral tone for the front door.
The interior is where it got really fun. I picked up a few scrapbook papers from the craft store that I figured may work well with the theme - a busy palm print pattern and a woven-looking pattern that I knew would be perfect for the floor. I started with the kitchen and covered the walls with the palm print as a nod to the wallpapering my grandma had done on the original house. I felt it needed a little something more, so I opted to use big popsicle sticks to create wainscotting along one corner that I then painted white. I cut and laid the floors next, using ModPodge in a matte finish to keep it all in place. I finished the kitchen with a sweet pop of pink on the interior of the front door.
Next I painted the bedrooms. I used the two pink tones I had already used on the home, one for the main bedroom and the second for the nursery. My goal was to make the entire house feel cohesive, but give each space it’s own personality. For the upstairs flooring, I cut up a neutral woven placemat I had purchased from the dollarstore. It kind of looks like carpet, but without the fluff and the fraying.
The final room I tackled was the living room, and it took a little more conscious effort and consideration before I got started. With the boldness of the other rooms, I felt it needed to be a little calmer, but wanted to do something more interesting than just painting the walls white. I ended up spending an entire evening shiplapping the walls with big popsicle sticks to add some continuity with the kitchen. Despite the fact that it took a hot minute to complete, it was the exact detail this room needed. I used the same paper for the floor that I used in the kitchen.
Tiny Furniture and Tinier Styling
With the bones all in place, it was time to focus on the details. This is where the project gets a little harder to explain. In essence, I furnished and styled the house with a wide range of items. I don’t think I ended up keeping a single piece of furniture from the original house. Instead, I gathered a few dollhouse furniture pieces from the craft store and dollarstore, customized the look to fit with my theme, and also built some pieces from scratch.
Items Built From Scratch
Let’s start with the items I built from scratch. Over the course of a few months, I visited at least five different dollarstores to look for different supplies that inspired any ideas. The craft section proved to be a goldmine, with basic building materials readily available. I purchased popsicle sticks, square dowels, round dowels, chip board, wooden shapes, wired twine, and wooden beads. I also looked in other sections of the dollarstore for inspiration, which also proved to be fruitful. I purchased faux plant stems, small plastic storage containers, a set of pillowcases, and tiny glass jars. I tried to let the supplies I could find inspire my creations and it proved to be a fun endeavour to scour different dollarstores to see what else I could find.
The biggest items I built were the bed, the couch, the coffee table, and the floor lamp. I built the structures out of square dowels and popsicle sticks and then covered them in other materials to mimic linen and rattan. I created houseplants by cutting up faux stems and assembling them into tiny potted trees. I stained wood dowels and beads and wrapped twine around plastic containers. I crocheted tiny blankets and sewed floor-length curtains and stuffed mini pillows sewed together by hand. I don’t think I could capture in words just how satisfying it was to see these little creations come to life.
Going into it, I didn’t have a clear picture of how the design would shape up, but each new piece I created inspired new ideas. I continued to work away until each room felt complete. I never started and finished a room in one swoop - I was constantly jumping around between spaces, items, and styling. I think this helped keep the entire house design cohesive as I mixed materials and balanced using them across rooms.
Items Purchased and Custom Styled
The other items were created from specific dollhouse furniture pieces I found at Michaels and the dollarstore. Even though I purchased them specifically as dollhouse furniture, I think I pretty well customized every single piece. I added fluted dowels to the fireplace and buffet. I painted tiny chairs and stained wooden tables. I glued beads to the bottom of cabinets to look like legs and built a faucet and sink to transform a piece of furniture into a kitchen cabinet.
Some Items Created and Gathered to Decorate
The only item I purchased that I didn’t change was a tiny woven basket. I love using baskets in my own home’s decor, so I couldn’t resist when I saw it at Michaels. Even though I didn’t change the look, I did create little items to sit inside the basket for the nursery - little books made of wooden craft squares and a ball made from a bead. I also painted building blocks from tiny craft cubes. I think the tiny detail items were my favourite part to create.
The Assembly
I want to note that this entire process was very organic. I didn’t create everything and then assemble it together. Instead, I worked away very fluidly, adding pieces in, adjusting, creating something new, and layering in more. No single room shaped up first. I made choices about colour and material based on how it looked in relation to other areas of the house. When the bedroom needed a pop of blue to balance out the pink, I opted to paint the picture frame instead of staining it. It was a very natural process of creating.
I think that is exactly why this was such a meaningful project for me. It was singlehandedly the most creative and experimental project I’ve worked on in the past five years. There was no pressure to deliver. Everything was created from a place of curiosity, a willingness to try, and utter abandon to my own childhood creativity. As someone who works in a creative field, this project brought me back to a place of love and play. It was glorious and exactly what I needed, made all the more beautiful by the fact it was for the purpose of giving to someone I care about so deeply. It was pure magic.
The Reveal
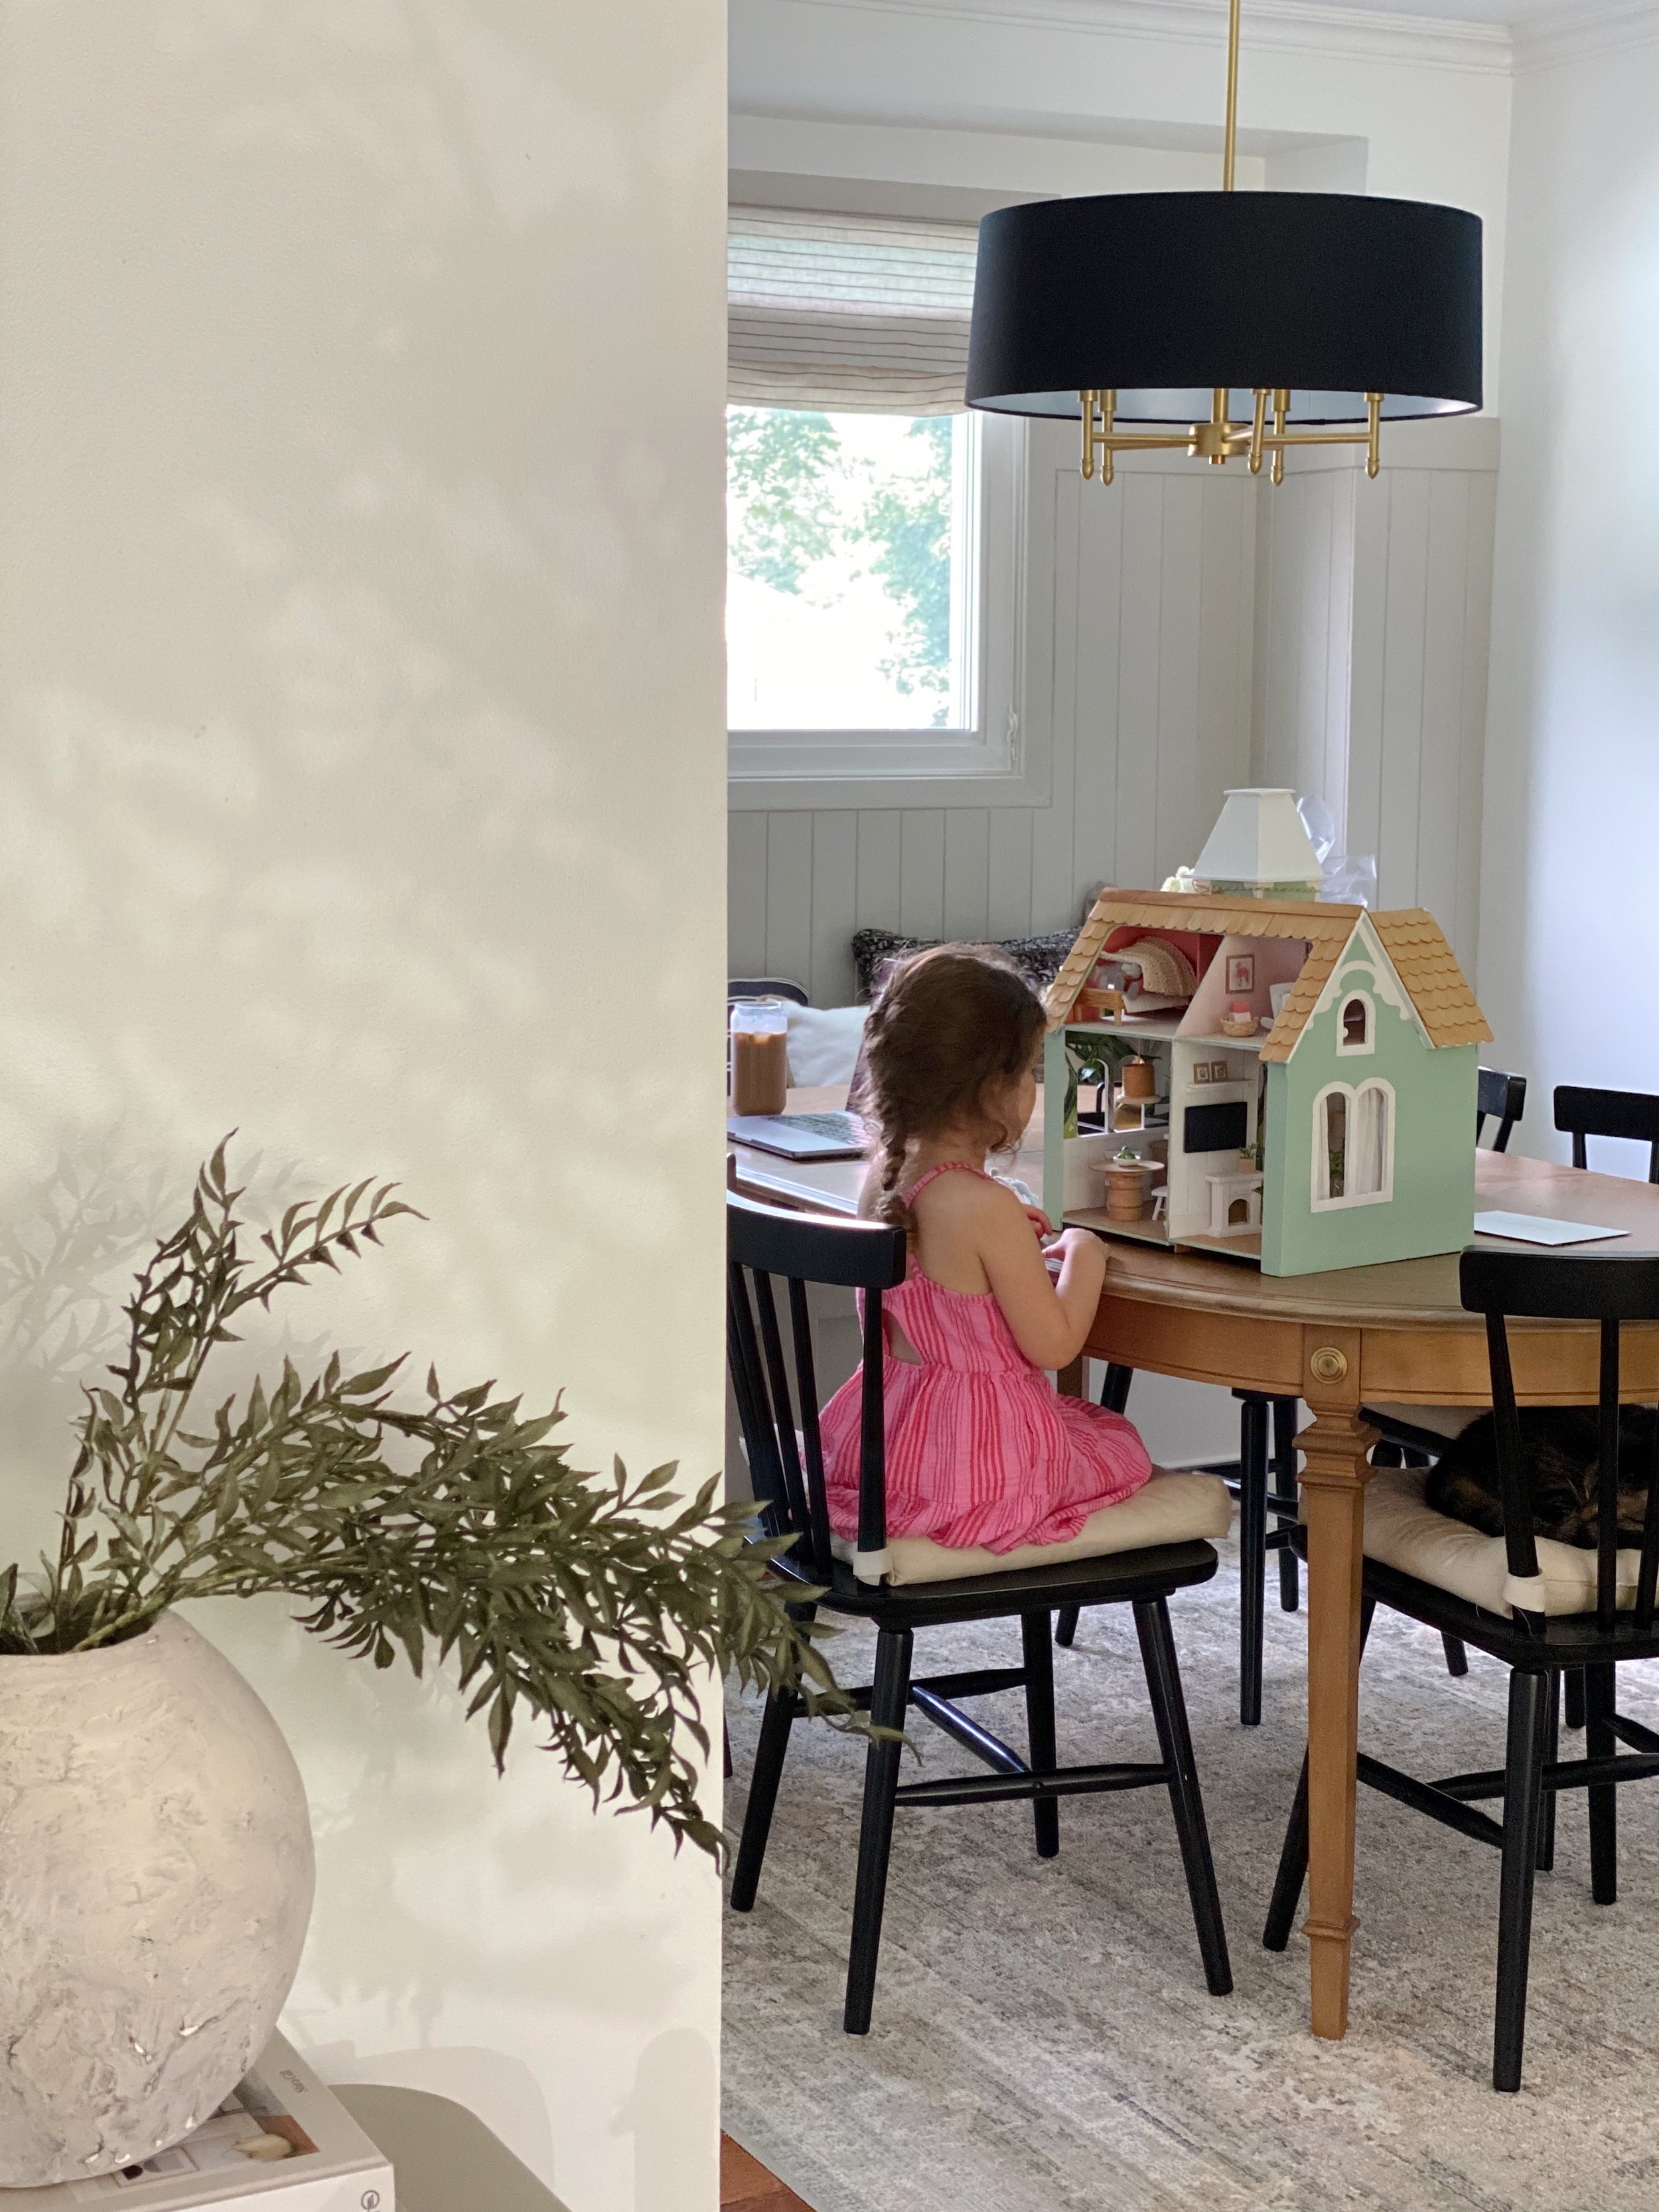
I think that pretty well explains this project. In an ideal world, I would be able to give you a step-by-step of how I did it, but the reality is that I just did. And you know what, it felt good. I’ll just leave these final photos here so you can peek the details as much or as little as you’d like.
I still have a whole other dollhouse to do over (my own!) and if my daughter’s interest in this one is any indication, it’s going to be worth every minute of the execution. If you liked seeing this project unfold, let me know. I’d be happy to better document (heck maybe even film!) the process of doing over that one if it’s something you’d like to see.
I hope I did my grandma proud on this one.


