How To: Turn a Downloadable Art Print into a Custom Piece of Art

I’ve been sharing a fair bit about a very simple project I’ve been working away at lately in our temporary space. This post today is connected with that project, which involved making a few simple changes to my (almost) five year-old daughter’s temporary bedroom to make it feel a little bit more personal to her. I went into detail about that process in this post, but today I wanted to further explain a very simple and affordable way that I customized some art for her little room.
My daughter loves anything and everything to do with princesses and constantly talks about the pink castle she is convinced she will one day live in. When I was looking for art for her room, I came across this downloadable vintage art print on Etsy of that very thing — a pink castle. It blew my mind that such a thing existed in visual form, but overall, found the vintage image to be a little lack-lustre by the standards of a creative and imaginative five year old. For under $5 CAD, it was a no-brainer that I had to use it. I purchased the downloadable files and had it printed in an 11x14” size.
When the print arrived, I spent a few minutes (literally, the whole thing took me maybe 10 minutes to complete) to customize the print to better fit with my daughter’s bold and sparkly personality. As a downloadable art print, it was such a low-budget piece to begin with that I wasn’t afraid to mess it up and so I really just went for it. That’s the exact beauty of this project. I’ll walk you through what I did and then share some ideas of how you can take this same idea to create a piece of artwork that is custom to you!

Supplies Needed
Art print (If you need inspiration of where to look, check out this recent blog post where I go into detail about downloadable art prints)
Paints (I used inexpensive craft paints that we already had in our craft bin, but you could use any type of paint you have on hand)
Glitter Paint (optional)
Paintbrushes
Tape
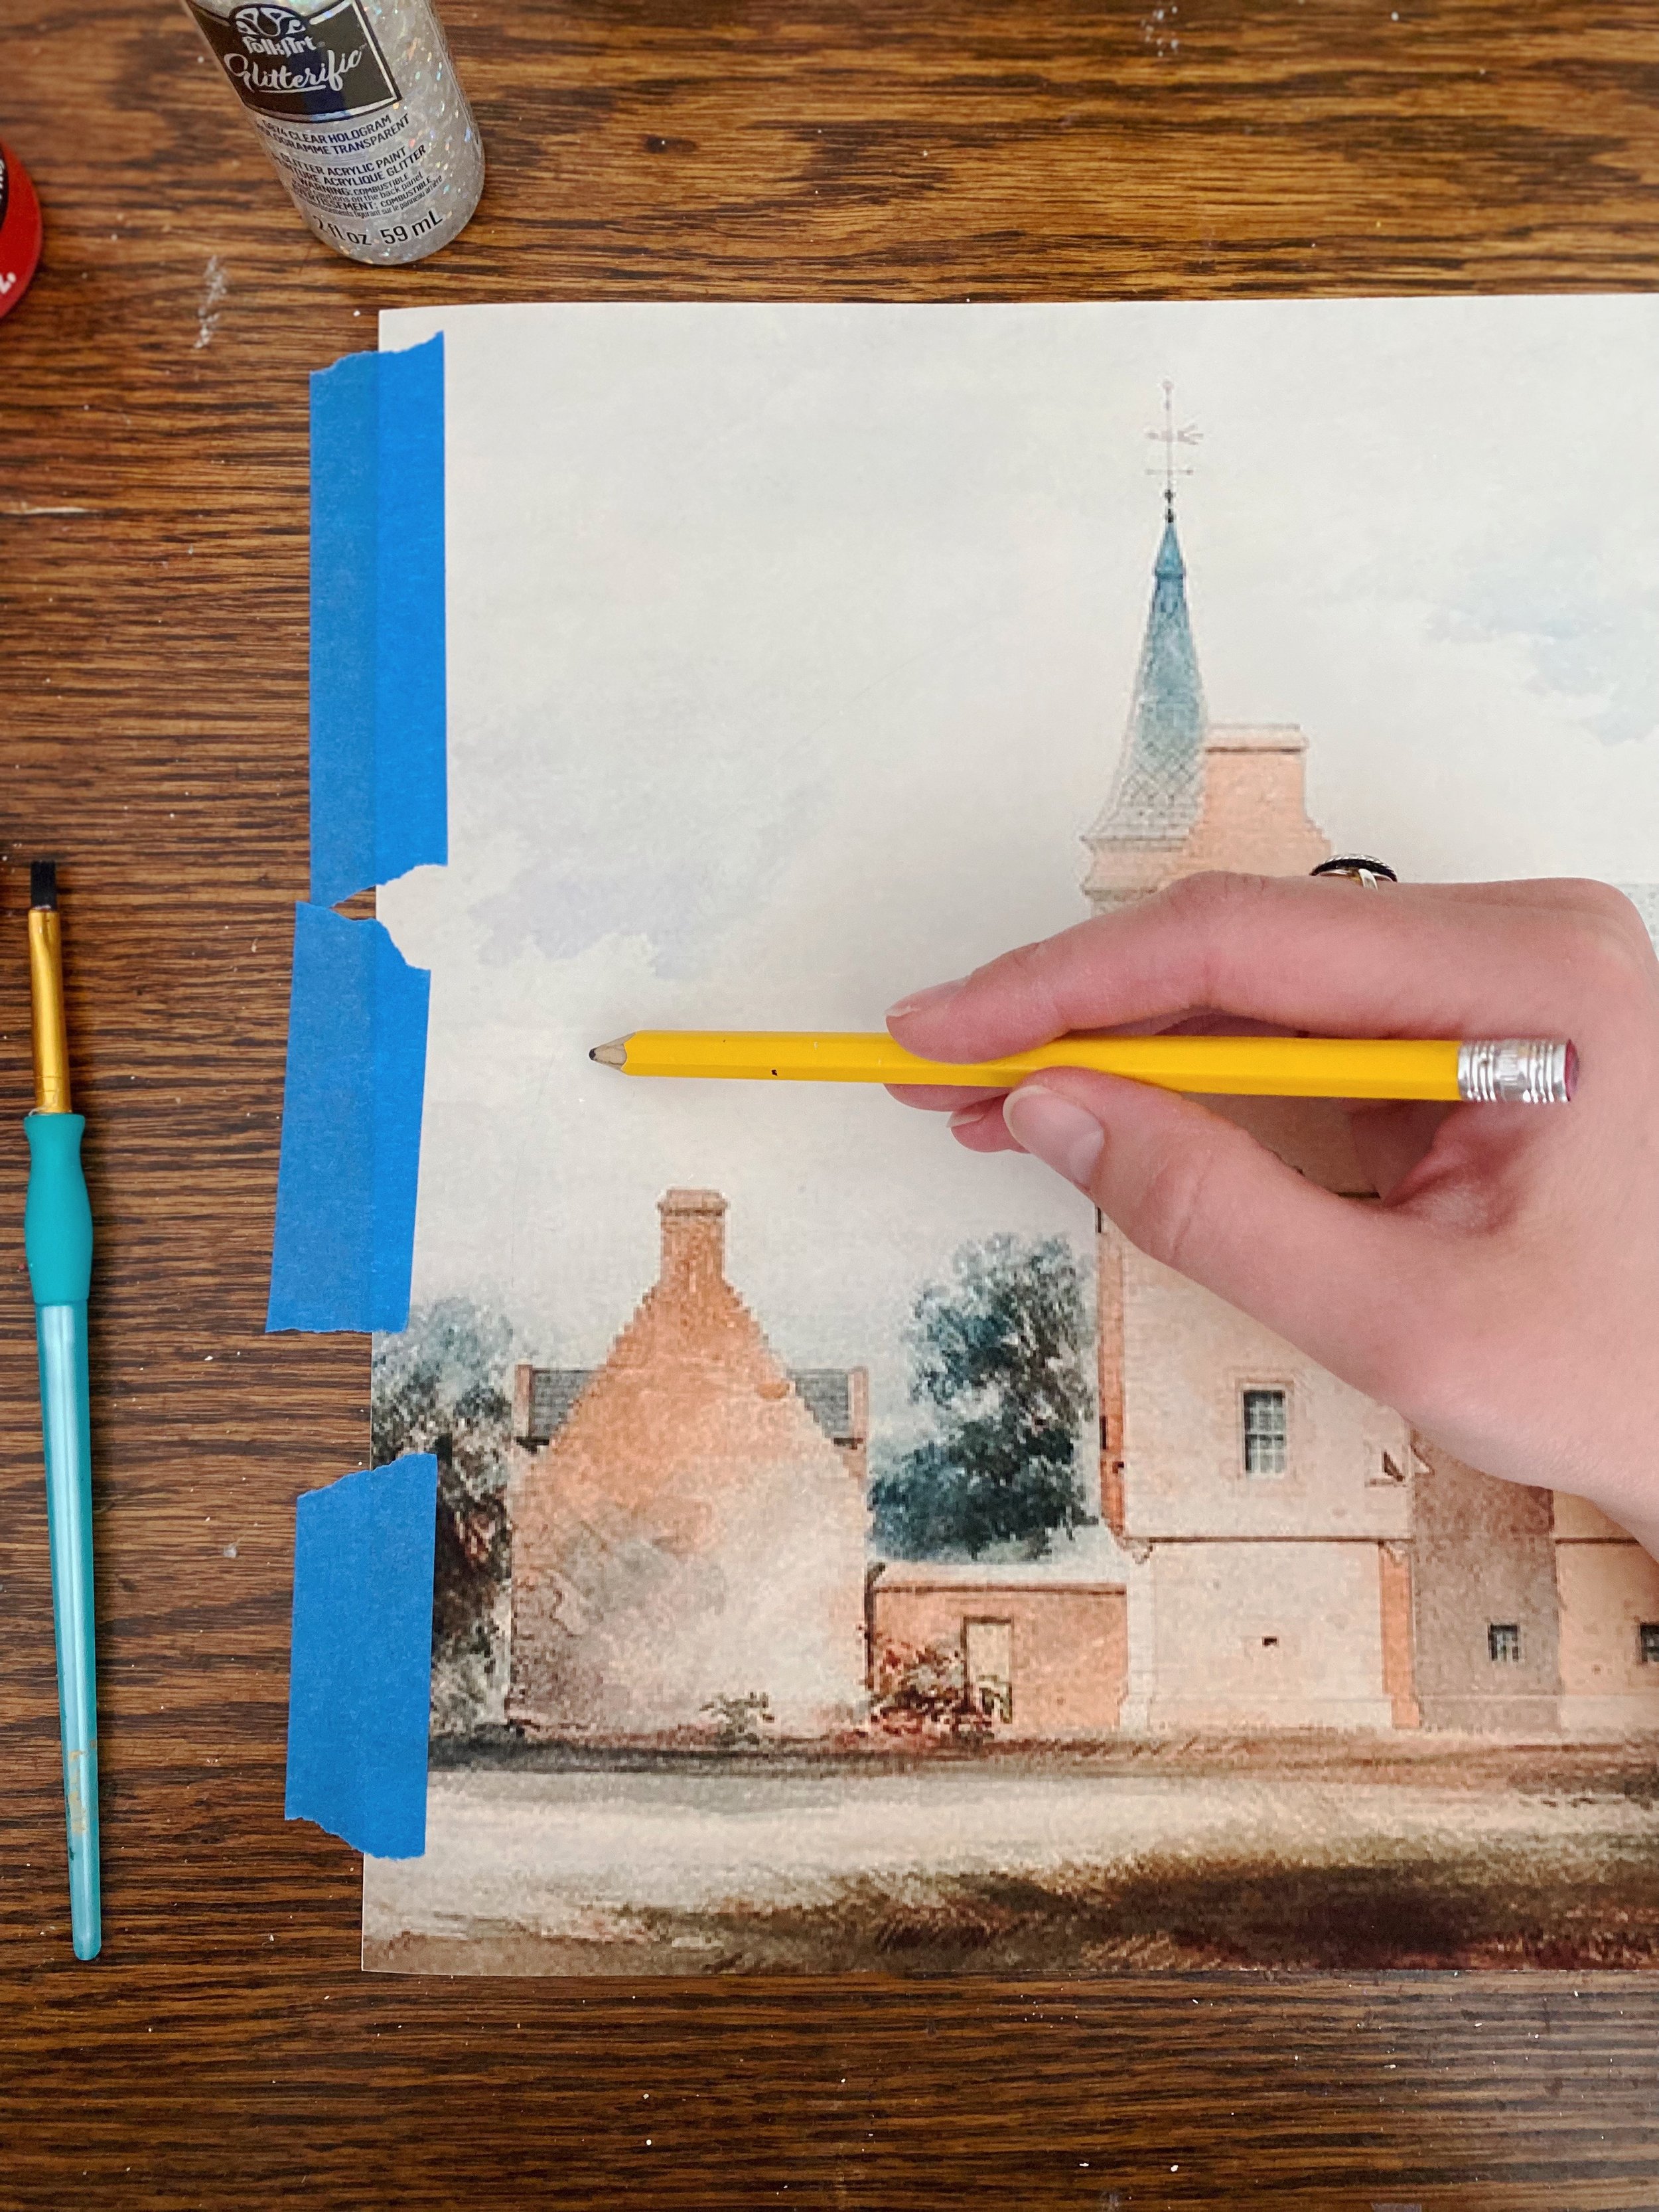
The first thing I did was tape my art print down flat to the table. Once you add paint to the paper, it has a tendency to curl, so this step ensures a flat surface as you work and as it dries. However, be aware that some prints may be more susceptible to peeling. I had my print made on archival fine art paper and as a result, the tape peeled back some of the image when I removed it. If this is the case for you, take precautions to avoid using tape on the actual printed image.
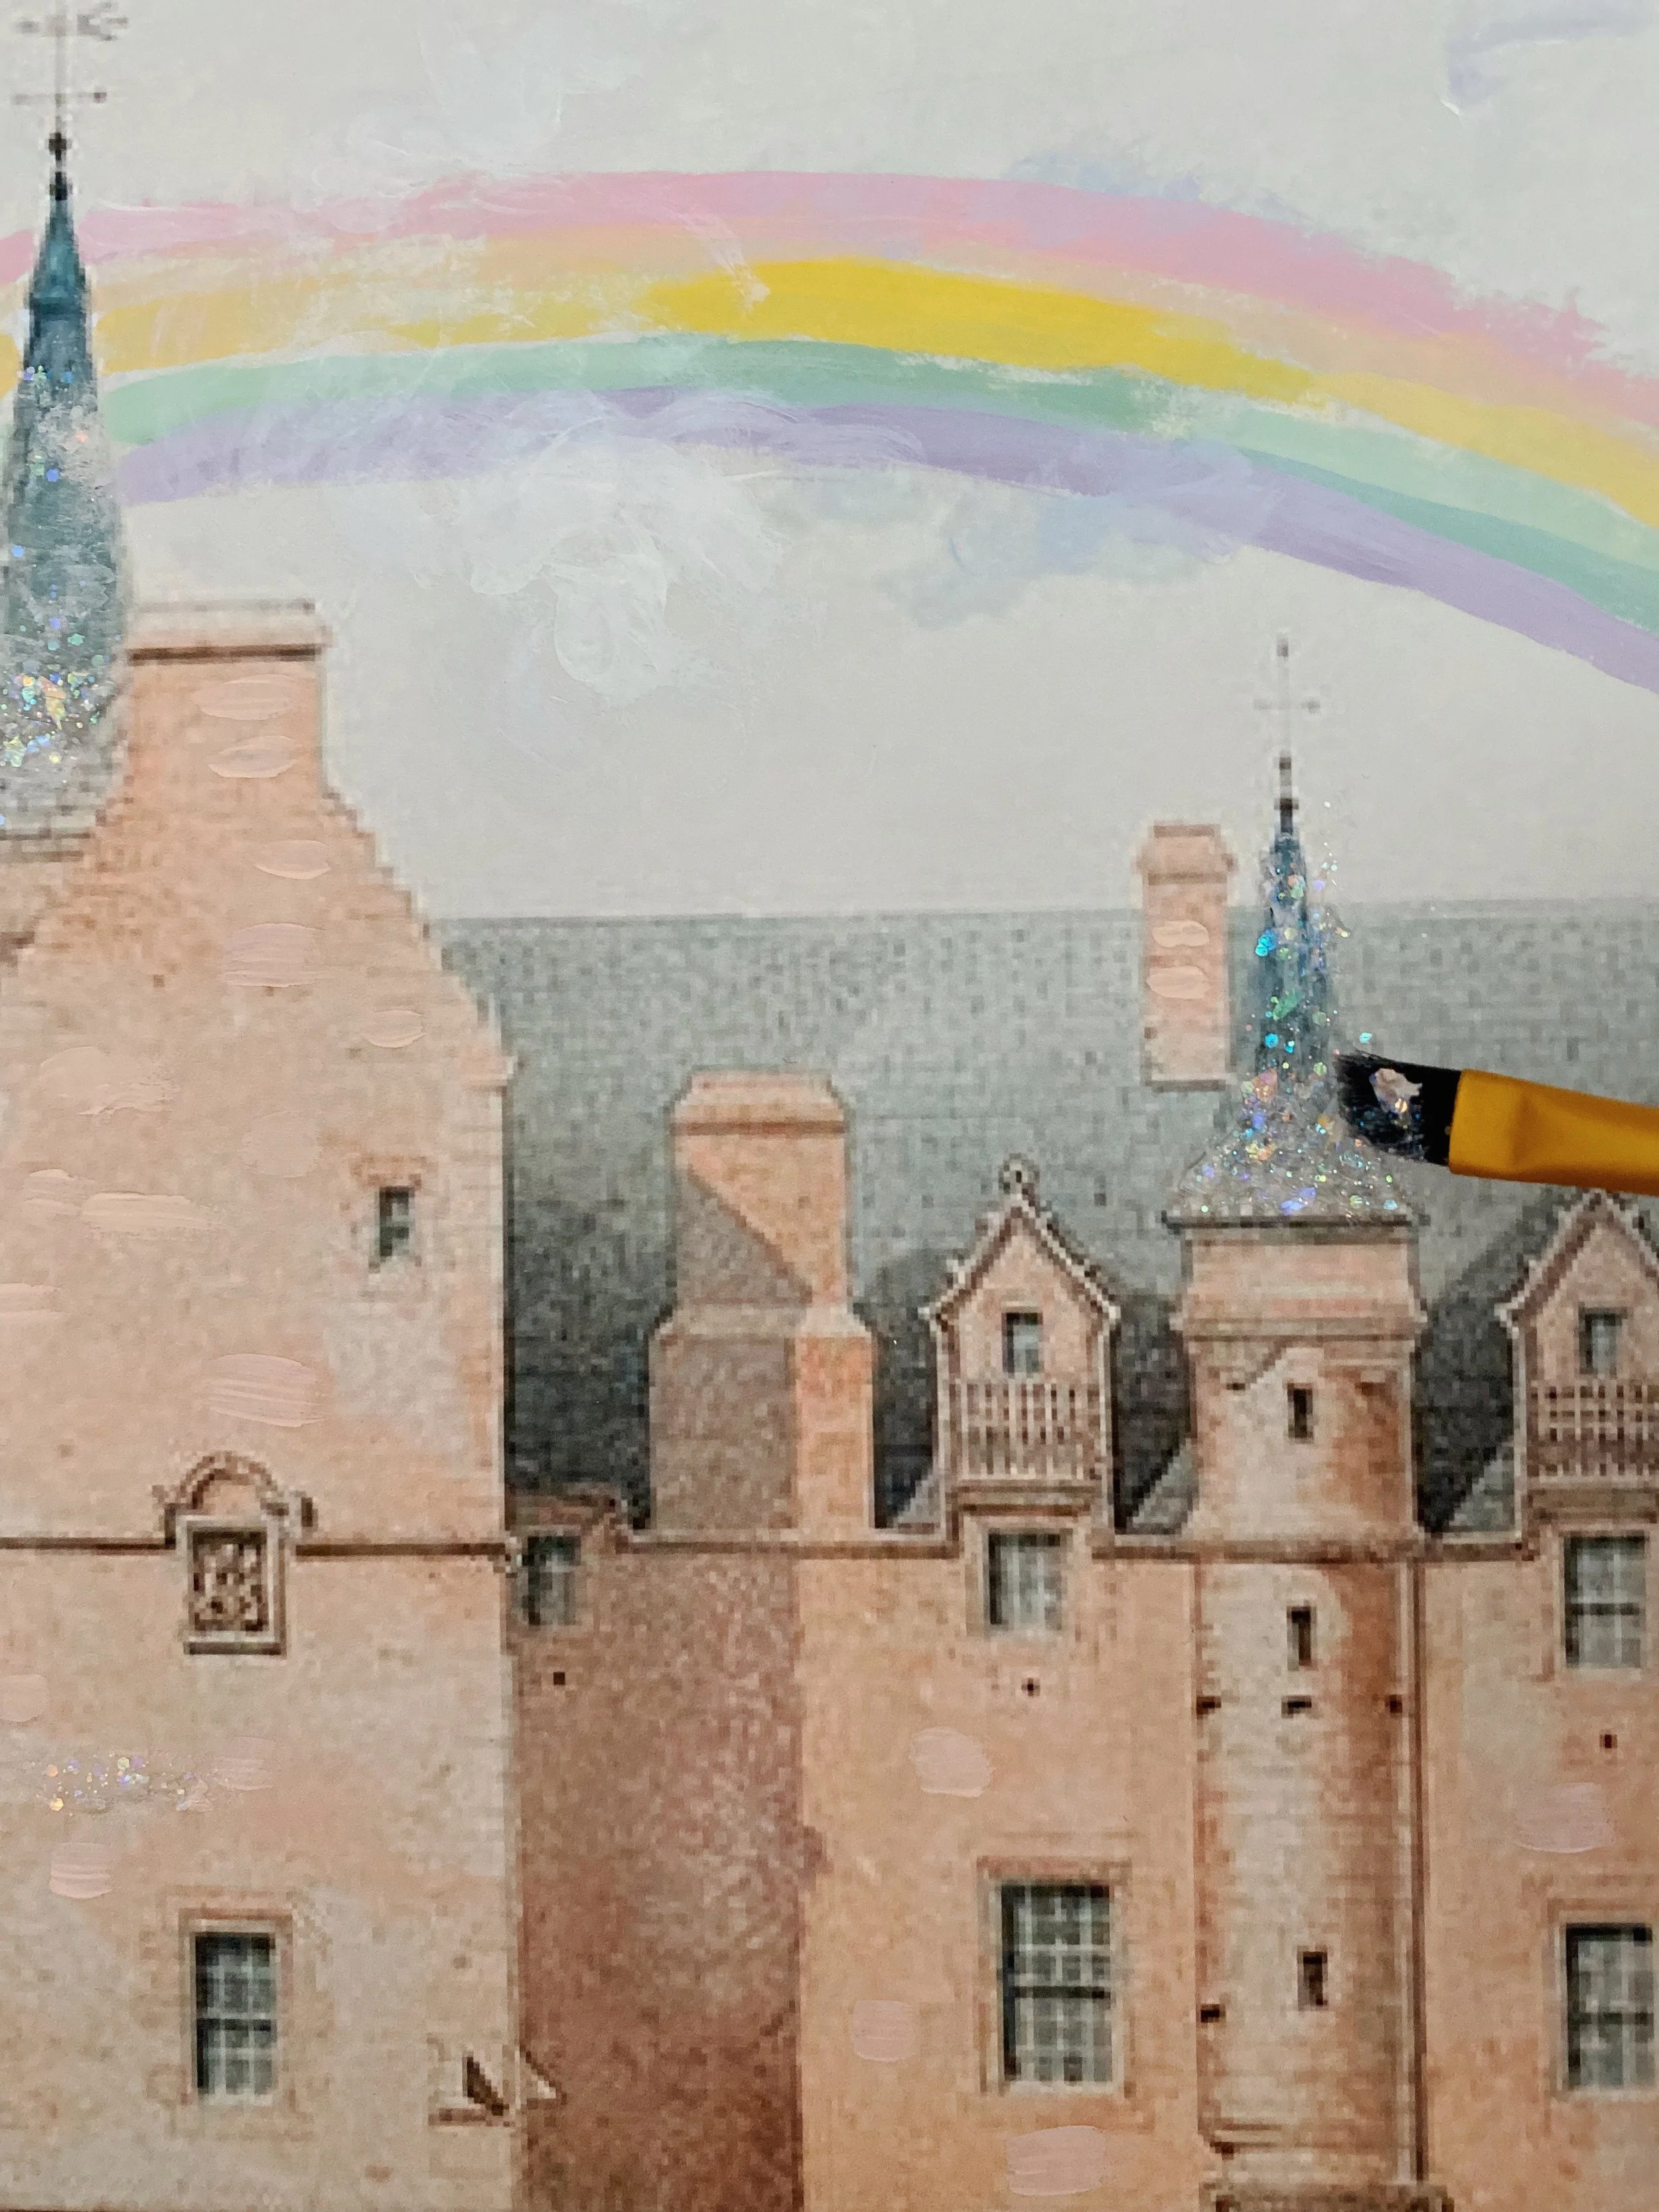
As I mentioned, my daughter loves anything to do with princesses, rainbows, sparkles, unicorns, and the like, so I wanted to play into her likes without sacrificing the vintage style of the print. I decided to add a pastel rainbow to the sky and some subtle glitter detailing on the castle. I started by sketching in a rough shape of a rainbow with a pencil. Then I used a small paintbrush to fill in the colours. I didn’t plan this out too much, but let myself run with it.
In order to better blend my rainbow addition with the painted vintage style of the print, I went in with some paint in the same tones as the sky and added some additional clouds around the rainbow. I also added a few paint strokes to some of the existing clouds on the print to give them some dimension.

In that same regard, I also decided to added a few strokes of paint on the castle in a similar tone to the bricks. I felt this step helped to integrate my additions to the existing image by creating a bit of dimension and bringing a more painterly style to other areas in the image too. The key to this part of the process is knowing when to stop. I think it could be easy to go overboard and before you know it, you’ve basically covered the entire print in paint. My advice would be to just take it one little stroke at a time and keep it as subtle as possible.
As an additional detail, I added some clear glitter paint to the turrets on the towers. Once again, this addition is pretty subtle, but adds some whimsy and fun to the print, making it much more appealing to a five year old.

Once I finished, I let the print dry flat before removing the tape. The tape peeled back some of the image from the paper my print was made on, so I had to use some paint to fill in some of the areas of the image. I then popped the print into a simple frame and place it in my daughter’s room. I can honestly say that she squealed with delight over it. It was such a simple project, but she immediately pointed out the glitter and loves having her own pink castle to look at.

How To Customize You Own Downloadable Art Print
I know the final product is hyper-specific to my daughter’s interests, but this same approach could be applied to a variety of art prints. I love how customizable this project is for that very reason - it can be custom to you! A few ideas I had to try this out with include:
Adding something hilarious to a vintage scene, much like the viral thrifted “ghost art” trend that went around last autumn. You could add an unlikely animal to a landscape or paint something funny in the window of an architectural piece. The vintage style lends itself really well to imperfectly adding something whimsical and ironic.
Adding large brush letters over a piece to highlight a personal saying or mantra.
Gluing decals or gems to a portrait to add interest and dimension.
Using embroidery thread to stitch a floral pattern into a piece. If you try this, just ensure that your art print is printed on a thick paper stock to reduce the risk of tearing.
Printing out multiple prints of the same image and then painting something a little bit different on each one to create a diptych, triptych or gallery wall series (think Andy Warhol vibes!).

This was such a simple little project, but was so fun to play around with. Would you try this out?
